Getting Fully Sussed
Technique / Equipment


Introduction
Each issue we refer to it. It’s one of the single most expensive elements to our bikes. It is fundamental to the way your bike works & feels. It can be pivotal (quite literally) to our performance and a major factor in our overall riding experience. For the vast majority of us, it is probably the least understood element of our ride experience. Suspension has become relied upon by many but truly understood by few.
This issue we take a look at getting more bounce for your buck and less buck from your bounce.


Most of us are probably more likely to get divorced, change our bank account and our dentist all on the same day, (unless your spouse is a cheating orthodontist, spending money from the joint account on their new flame), than make any informed changes to our suspension set up.
Suspension technology has advanced at a rate that most of us have not kept up with in terms of understanding. Sure we will all feel its benefits and from time to time invest very heavily in upgrading either our fork or shock - but are you getting the most reduction in bang, for your buck? Could getting to know it better help improve our overall performance?
You may well have added or reduced the air in your cans (not a euphemism) and forks, possibly toyed with the rebound (having realised it’s possible, probably while fixing a puncture). However, for most (myself included) our knowledge rarely extends beyond the marketing blurb, product reviews, or hearsay anecdotal (mostly made up) evidence from a mate who is justifying their latest £1000 upgrade in an effort to stand out from (or above) the crowd.
Understanding more about your suspension will undoubtedly help you get more from your bike. Tweaking it to your weight, riding style, the terrain and the conditions, could well prove a game changer.
There is no shame in being amongst those counted as ‘not getting the most out of their suspension'. Even less in being counted amongst those that have little if anything more than a rudimentary understanding of it. Although there is no shame, well not much anyway, there is certainly no harm in knowing more and in fact much to gain. You don't need to be an engineering genius to get more from your suspension (or at the very least recognise when it needs more professional attention). If this author, a man who once asked his motor mechanic friend whether the performance issue of his diesel van might be related to never having replaced the spark plugs, has managed to get their head round it then I reckon so can most.

Suspension technology has come on a long way since the early days of rubber bungs that would have looked more at home in a chemistry lab bottle store than adorning a performance, high end (of its day), trail tamer. In the early days of suspension, a glorified bottle stopper, squashed between two washers was all that was available, cushioning your ride, ever so slightly, front and back. Rock solid when it was cold, softer than a weening baby’s poop when it was hot, and still thoroughly inadequate even when performing at their best it was all that we had, but it was the start of a new dawn.
The evolution of suspension units and the linkage by which the frame accommodates it has been through many designs and redesigns, and there are still a range of platforms in terms of frame design on the market. Single Pivot, Four bar, faux bar, VPP the list goes on. Slowly but surely the benefits have far outweighed the potential negatives. ‘Pedal bob’ and weight have continually improved allowing today’s rider to reap rich rewards whether going up, down or even sideways.

Today's forks and rear shocks have been game changing in the development of the sport both at the highest level and for those just out on a Sunday jolly. Suspension development has been simultaneously driven by, and responsible for the sports progression. Surely then it deserves a little more than a little tickle every now and again when things don't feel quite right…or we are having an ‘off day’ and looking for a viable reason to hawk to our riding buddies as ‘the problem’.
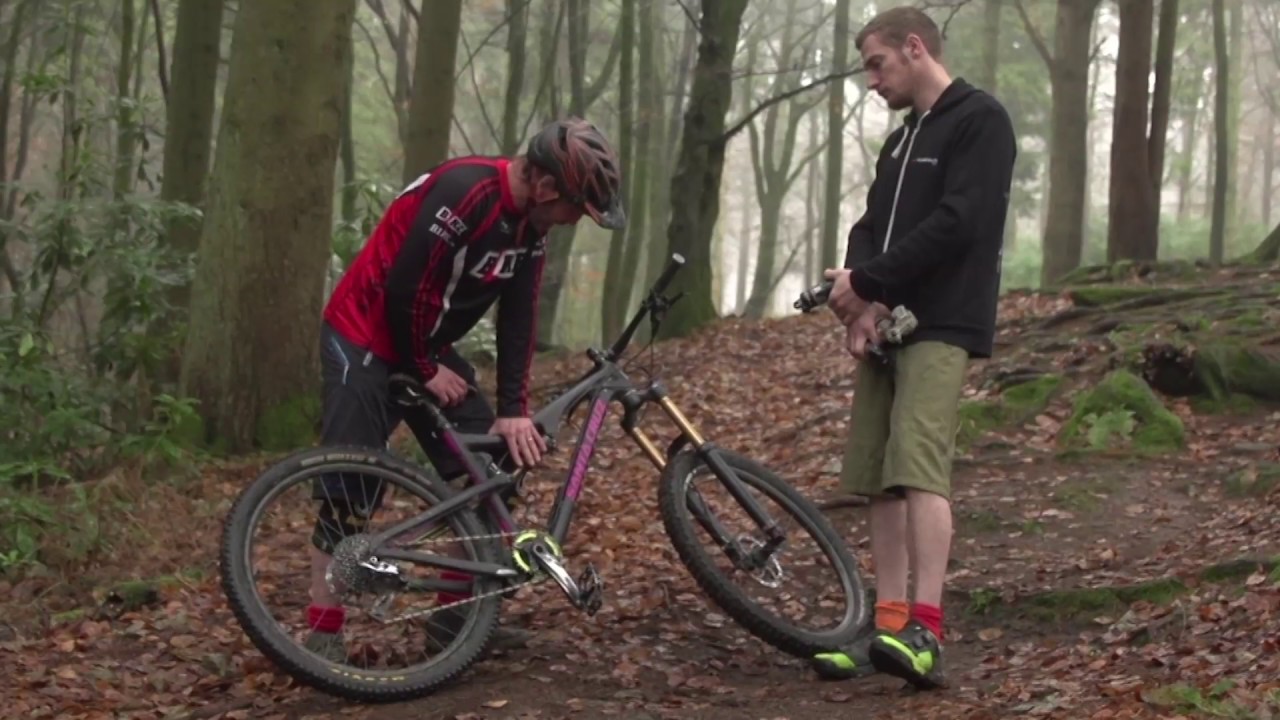
As eluded too - I can hand on heart say that I am for from an expert. Luckily the video Q & A ’s are with a guy that is. A man who lives and breathes mountain bike suspension and part of a team that helps riders from Joe Average to World Champions get the results that they should expect from their set up.
As we have a true expert kindly offering up the detail in the videos and a relative Luddite writing these words, the latter shall look more at some core considerations that will, although not fill the technological information void, should set you on a smoother path without the need for a BSc Hons Degree in mechanical engineering.
What then are the keys to getting the most from your suspension?
Know The Basics
Understanding a little of how a fork or shock operates will help you get more form the on-trail adjustments you can make, or understand better the workshop adjustments that a suspension service provider can do for you. As mentioned there are a wide range of both forks and rear shocks the following advice will not apply uniformly to all but should help at a general level. Apparently, we have collectively “had enough of experts” which is good news for me. However, if you are one of those that hasn’t, the videos have one for you.
Forks: Most are now an air based system - that doesn't mean there isn't a spring in them or that air pressure controls everything, the flow of oil in the internals plays a big part in how the fork feels (Compression Damping). The easy adjustments you can make are to do with the air, basically (how much air there is in it), and the flow of the oil that is within the internal damping system.
Combined, these two elements will affect how much pressure is required to squash it and the rate at which it compresses. As a general rule, the heavier you are and the harder you ride the more air you will need as a starting point. That’s the easy bit. Added to the volume of air you put in it, by dismantling it and making internal changes you can reduce or increase the amount of air it holds, that is a workshop job and if you don't have all the tools and understanding something to let the specialists do for you.
The ‘Air’ aspect will directly affect how easily the fork is squashed - ‘The compression’. The flow of oil inside the fork controls the compression ‘damping’, the speed at which it can be compressed. Anything above the very basic forks will allow you to adjust the compression ‘damping’, i.e., adjust how much the compression is ‘damped’ down. This may well be controlled by a dial on the right-hand fork leg. Settings allow the rider to quickly change the rate at which the fork can be compressed (or whether it can be compressed at all (Lock Out).
The idea being you can quickly increase the rate at which the fork compresses for Downhill and bumpier terrain while stiffening up the front and when you are climbing so your energy you put into climbing is not lost in the front end bobbing around. By adjusting the dial, you are either restricting the oil flow or increasing it, slowing or speeding up the process. The more easily the oil inside flows, the more quickly your fork will pass through the travel.

The second aspect to get your head around at a very basic level is ‘Rebound’. This is how the fork returns from being compressed. Again this can be adjusted by the rider on the trail. A fork that does not rebound quickly enough will pack down hitting repeated bumps in quick succession. Too fast, and the rebound can start to buck the rider around with the fork taking on a ‘pogo stick’ like quality.
The most common confusion when it comes to the rebound and adjustments made is the understanding of what the adjustment affects. If you have rebound adjustment (usually under at the bottom of the fork leg), it will either show a ‘+’ or ‘-‘ option or a ‘Hare’ & ‘Tortoise’ depending on the brand of fork you are running. It can be a bit counter-intuitive if your brand uses the plus/minus approach as turning towards the ‘+’ doesn't make it rebound faster but increases the ‘Damping,’ in layman’s terms it slows the rebound rate. Whereas the Rabbit or to give it its correct name “Jackalope” does what you would expect - it speeds up the rebound. The most common mistake is confusing Compression with Compression Damping, remember the ‘+’ and the Tortoise do the same thing.
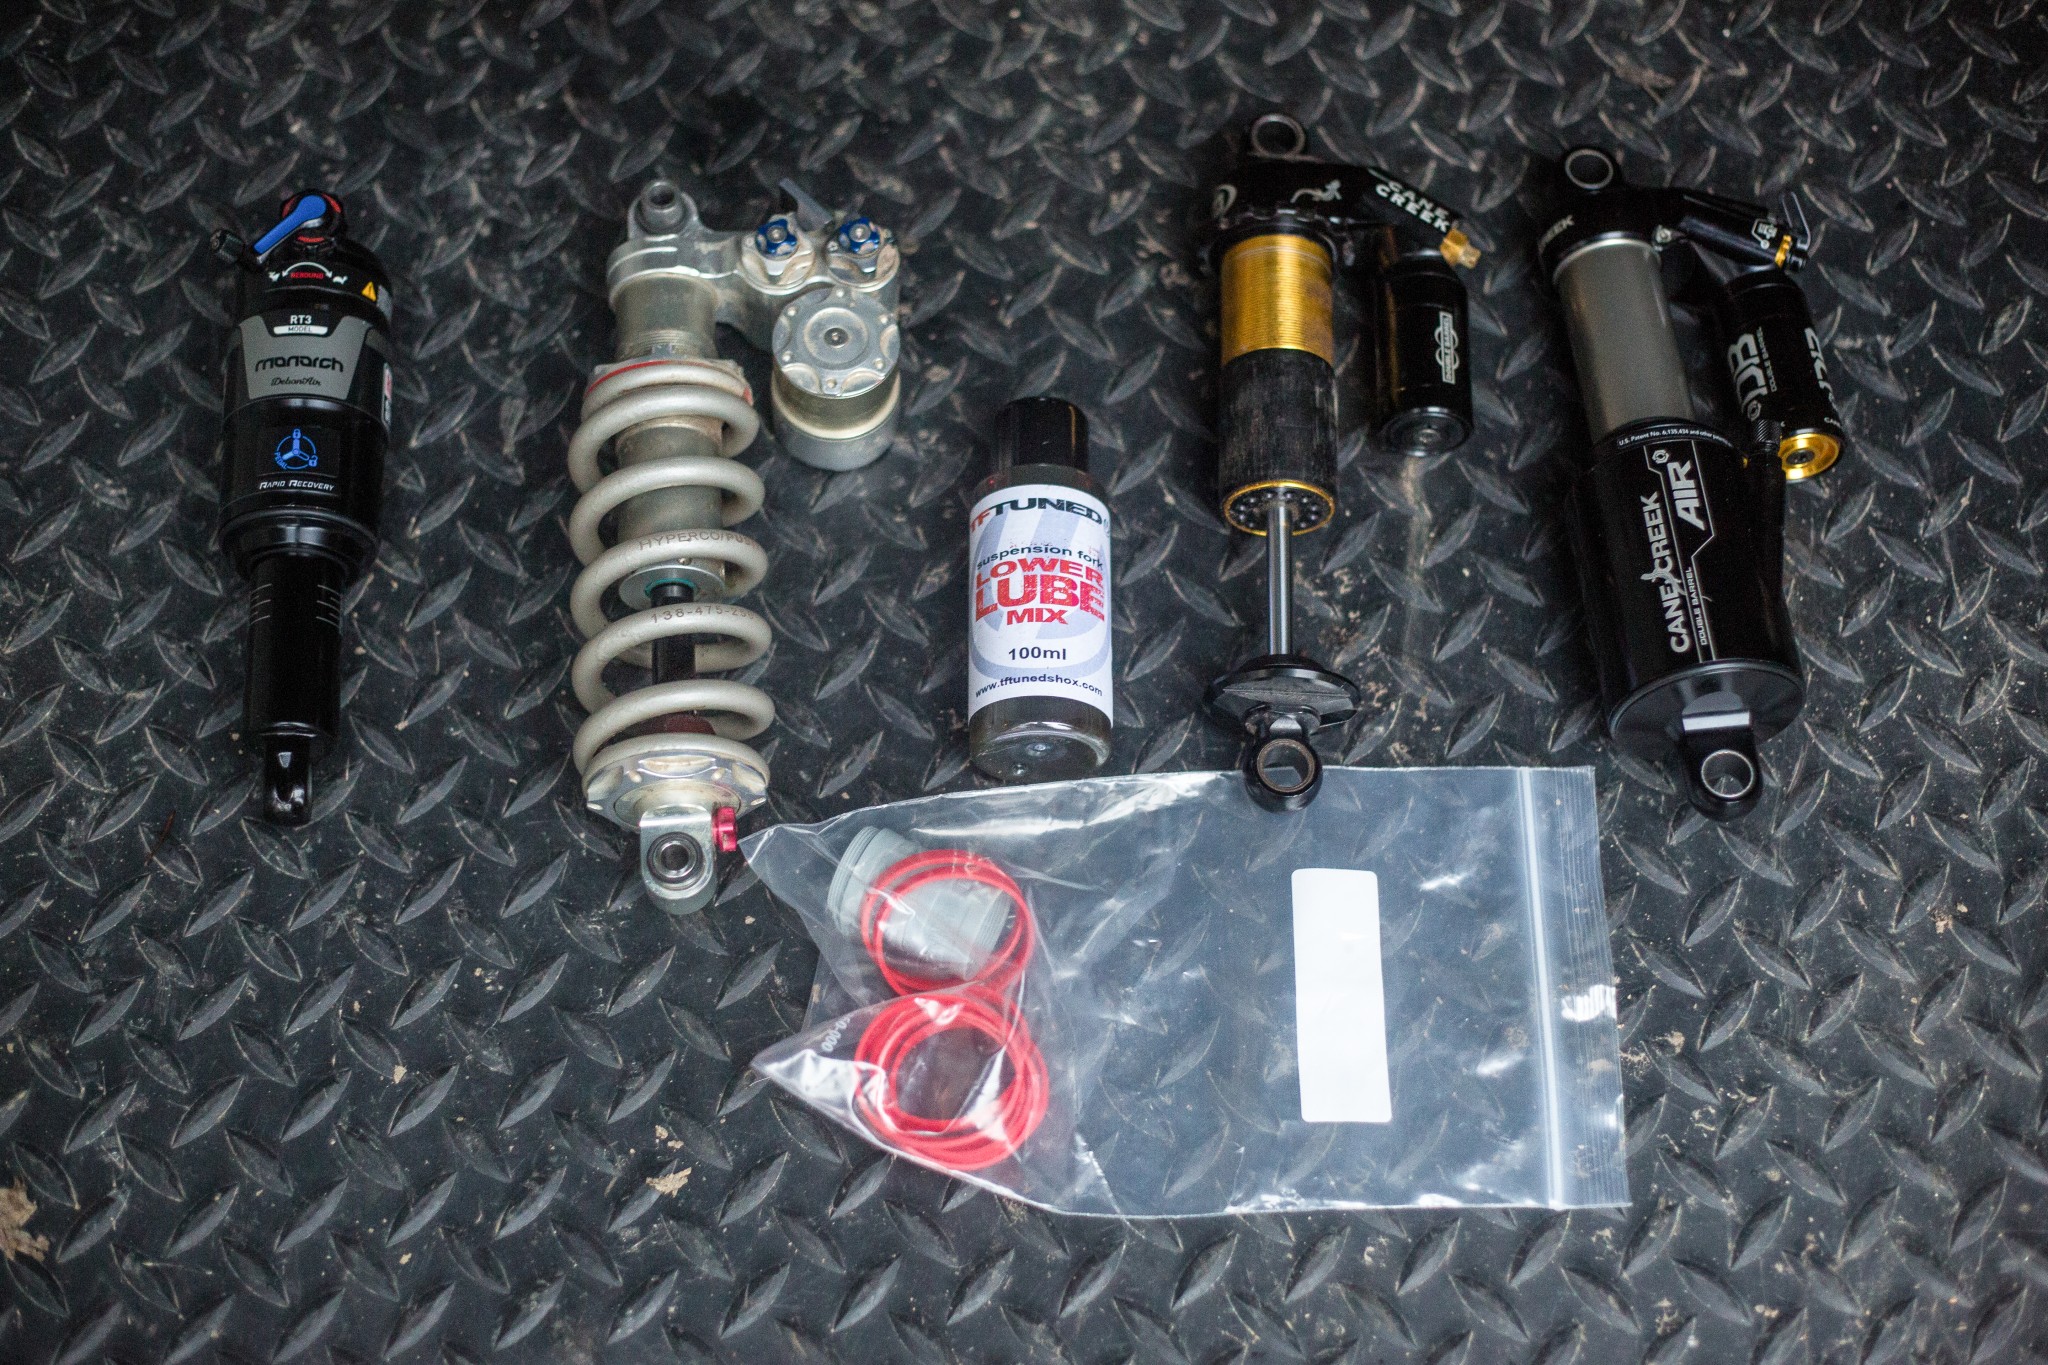
Rear Shocks: If you have one, it will be either an Air based or Spring based shock. The big difference in the two is how they compress. A spring will act uniformly through the range of travel giving very linear feel. With an air shock, the compression is rate is not uniform and stiffens progressively as it passes through the travel.
Compressions and rebound damping will be adjustable and typically the more you spend, the more adjustment you can make. At the top end of the market, you’ll be able to adjust both hi-speed and low-speed rates of compression and damping, at the basic end of the market, your adjustments will be more limited. Whatever your budget the general principles remain the same.

Just because you have the very latest high-end shock, it will only offer you the full benefits if you set it up incorrectly. You need to adjust it to match your riding style, the terrain and to an extent your personal taste. Some prefer a more rigid platform, some look for a ‘magic carpet’ ride - opting for the latter we may lose seconds when against the clock and get less from pumping transitions, less pop when we hit jumps, etc. but in return a smoother feel.
If you are looking for optimal settings for speed, you may have to compromise comfort. Think Land Rover vs. Ferrari. Don't forget control comes from your wheels tracking the trail not skipping from one high point to the next so even though wallowing won't give you the fastest times nor will permanently being bucked around losing traction as your bike pings back at you too quickly or fails to respond to the smaller bumps and forces.
Set your Sag: Essentially this is getting your starting point right. Sitting on the bike gently the suspensions should start to squash down under the load weight (you and your kit). By having some sag, your suspension becomes ‘active’, and it can react in both directions. However, you don't ride (hopefully) sat heavily, upright in the saddle, and your weight distribution when setting sag needs to be as it is when you ride.
To correctly set your sag, first set compression dampening to fully open (the Downhill setting rather than climb or locked out), now stand up on your pedals and place your hands on the bars as you would when you ride. Remember your body position should encourage more weight through your feet than leaning heavily on the bars - effectively toppling forward. As a rule of thumb somewhere between 20% & 30% sag is a good place to start in terms of the rear shock. Fork sag will probably want to be set slightly lower, 15-20% is a good starting point.
Don’t forget that having more sag doesn't mean you will blast through your available travel with every bump because the rate at which you go through your travel is controlled by the damping element. As the force, you put through increases, so too does the resistance. When you think you have just about got things within the recommended ‘Sag’, have a roll around and check that the travel or both fork and shock felt balanced and tuned for the way you ride rather than a pre-prescribed magic manufacturers formula. Once you have set your sag, decide on the compression damping setting that will suit your ride (which you can change easily through the course of your ride) and hit some familiar trail and see how it feels.
Don’t be afraid to make adjustments in fact revel in fettling. As you are probably aware from just looking at your shock and from what we have covered so far, there are a range of settings and adjustments we can make. It is all very well setting things up in the car park…but this is not necessarily going to the reflect well just how the bike feels when we hit the trails. There is no absolute right or wrong in terms of settings, and there is a massive amount of ‘how it feels to you’ in the equation. If you have set your sag up to a happy medium and have found the midpoint in terms of the compression damping you have found a good start point but don't let your experimentation end there.
Ride a familiar trail get the feel of the bike and how it responds to different terrain. Is it packing down too much and not returning quickly enough? Did you feel it bouncing back at you harshly? If it is too harsh and too rapid in the way, it responds then adjust your rebound damping and repeat the section. Continue this process until you find the right balance for you. There is, of course, a huge amount of personal preference but don't decide what you like without exploring the range of options. It is easy to get used to your suspension as it is and ‘like what you know’ rather than embrace some idea of change. Outside of the ‘you’ factor, there are some other considerations.
The geometry of the bike and its intended purpose plays a big role too. A steep head angle and limited travel XC bike probably won’t benefit from being run with an overly soft set up. A plush 180mm travel DH bike with a slack head angle is not designed to cope with the same terrain as an XC race machine and in order to get the most from it wants to be a little more supple.
Along with what bike you are riding (and what it is designed for) think about the type of trails you are riding. The more aggressive the terrain, the more you want your suspension to move but if it races through the travel and ‘bottoms out’ too frequently it isn’t going to contribute to optimum performance either. Bigger hits and bigger forces are eased through having more travel at your disposal, but you want to maintain a full range of travel and not sit deep into it all the time.
Finally, think about what you want to achieve. Are you going for ultimate comfort or ultimate speed?
As will all things in life it is about finding a balance that works for you. In order to know what perfection is, you need to have experienced what it is not.
Included within the concept of not being afraid of making adjustments is not shying away from servicing. Workshop adjustments and maintenance will be a massive factor in how your suspension works and feels. Because the degradation in performance is often a slow burner, it is easy to forget what your suspension should feel like when it is in the best of conditions. The basics, regular stripping down of the lowers, cleaning and re-greasing are something we can all carry out with the right knowledge, a little skill and some specialist tools.
Doing the basics more regularly will keep your shock and fork working better for longer and mean a less frequent need for total overhaul. Beyond the basics get them serviced before they fail. A full strip down by a professional may be a cost you shy away from but let’s face it, it's a great deal cheaper than replacement, and you have already made a considerable investment, so a little additional spend to get the most from your initial investment is a good idea.
Understand the Other Factors
Setting up and understanding how your shock and forks work, how they can be tuned and how to they should feel is all very well but there are two other major contributing factors to how your bike feels as it blasts through any section. The simple one - your tyres, tread, compound and pressure will all play a part in feeling, and indeed being, in control. With your suspension set to the optimal for you and the conditions, your tyres still provide the key contact with the trail. Traction and control can be seriously compromised if you get this wrong. Don't let this basic element undermine all the good work your suspension is doing. Set correctly, your tyres will help you get the most from your highly tuned suspension.
And finally, getting the most from your suspension is like a dysfunctional and ultimately doomed relationship…its all about you! If you stand up on your toes, lean heavily on the bars and balance on top of your bike it will push you about. Suspension or no suspension you are not riding as the designer of that bike intended. No amount of design can change the physics of this. It may mask the problem, limit the negative impacts but it will not, cannot, and ultimately should not completely negate poor riding. Suspension is there to help you get more from your bike, deal better with the inputs and smooth things out a little… but not devolve the rider completely from the experience. If it did what would be the point of you being there? If this were the case, you may as well put on a helmet and poke your head out of the sunroof of a car to get the same level of excitement.
To get the most from your suspension, ride the bike as the designer intended. Sit into it; don't simply balance on it. Your arms and legs offer more travel that any shock and fork ever will but sitting too much on top of, rather than thinking of sitting into the bike won't give you the control you are looking for. Heel drop and wrist drop will make a massive difference to your ride. These biomechanical levers need to be open. Articulating the heel and wrist allow you to drive energy through the bike and when the hits come, assist your suspension.
As shock absorbers, your arms and legs are as good as it gets. All the design and research that has gone on is to assist us…not replace us. So often riders bemoan ‘not enough travel’ while all the while tensing, stiffening and ultimately having all the grace of drunk, sack of spuds balanced on a two-legged bar stool. Understand energy management better, set yourself up correctly, and your suspension will help you reach and exceed your riding goals. You should provide as much of the suspension as possible and rely on the technology as a backup. Not the other way round.
Understand your suspension, understand your role both in terms of set up and how you ride, the trail might not be smooth and fluid…but the ride will be.
This technique article was in Issue 46 of IMB.
Related
By Richard Kelly
Richard Kelly has been riding bikes since forever, and teaching people to become better mountain bikers for over a decade. He’s always out in the Surrey Hills training riders, building trails and riding for himself whenever he gets the chance. His unique perspective on mountain bike technique has earned him fans the world over, with some speculating he is actually Jamiroquai or perhaps Jack Sparrow…