The Workman’s Tools
Technique / Equipment

All too often what you are riding is seen as the biggest limiting factor to the trails you can tame and the speed you can carry. Magazines and videos are filled with highly skilled riders on super pimped steeds riding super technical terrain, descending at speeds only previously considered achievable with the aid of a zip wire.
Technology clearly plays a part in the evolution of our sport, but it is easy as a rider to become more reliant on technology than technique and blame equipment for failings that in fact are rooted in their own shortcomings rather than the extent of their budget. The technicality of the trail, the speed, the confidence and general level of steeze with which one rides will of course be magnified by a machine that is the result of 20 years of development in engineering.


A modern trail-slaying masterpiece, bedecked with the latest, most advanced components, involving a level of technology exceeding that which got man to the moon will of course help smooth out the trail ahead and mask rider error. It is important to remember (and easy to forget) that no matter what you ride, the way you ride is the overriding factor in the pursuit of perfect performance.
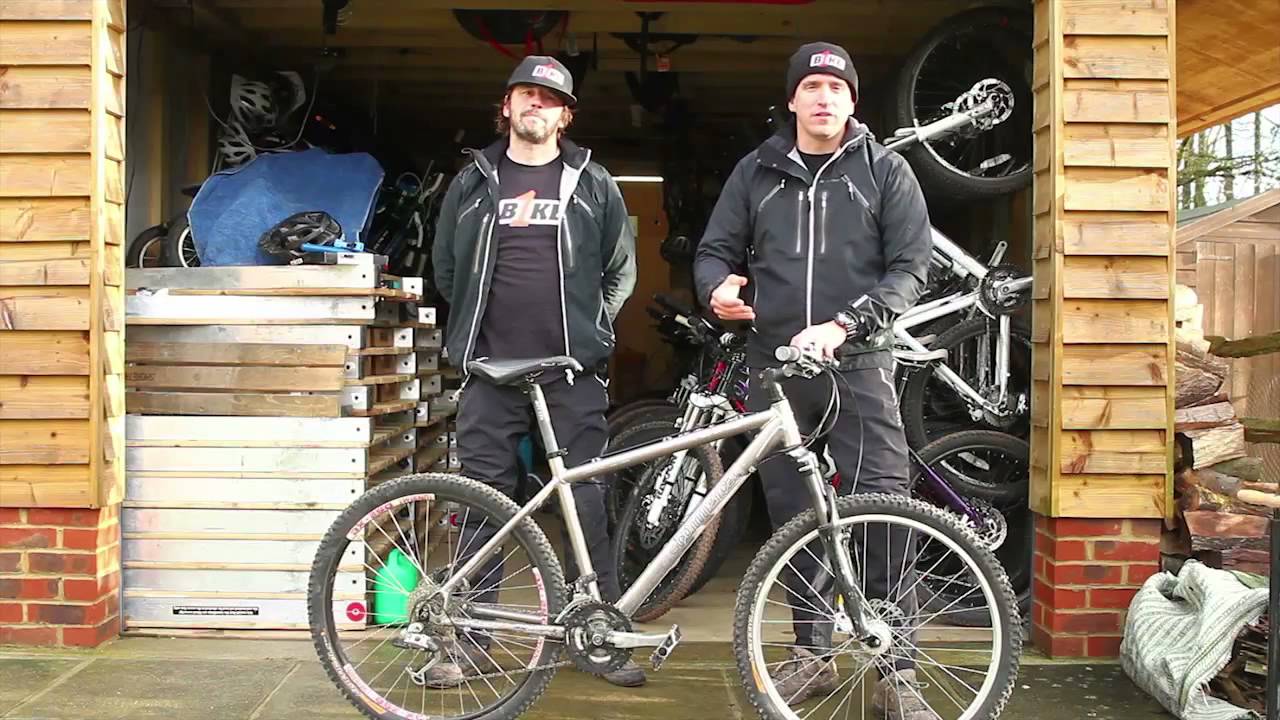
'Talent compensation' through endlessly replacing your bike with the next best thing is an expensive and ineffective solution to progressing your riding in the longer term. For sure, if you have the money, taking advantage of technology is a nice option to have. By no means are we advocates of riding rigid, single speeds just to prove how purist and 'real' we are. However, this issue, in the spirit of austerity and recognising that not everyone is lucky enough to have a limitless bike budget or the backing of a big name manufacturer, we will take a look at getting more from a more basic bike.
This could be a lower cost current bike or a high end bike of it's time, that dates from an era when 'celebrity' was not considered a career option, footballers only fell over when drunk and Formula 1 was exciting (sorry to the petrol heads who still think it is, no offence...)
We'll look in more detail at the key 'physical' and 'psychological' skills to improve in the videos, but in looking to get more out of a budget bike or relative museum piece, let's first consider some set-up options often overlooked, budget upgrades that wont break the bank, and the most common areas where lower tech and lower budget have the biggest implications on skills you'll need to develop.
There are plenty of points for consideration for the rider that is lucky enough to swing their leg over a proverbial, carbon, cock rocket, so even if you do ride a super bike, a better understanding of the advantages it is giving you and thus the areas of your skill set that maybe becoming lazy as a result, might well reap dividends.
I am one of the luckier ones when it comes to riding a pimped up, push bike and yes given the choice I will ride it as option one. That said, every few months for one reason or another I am riding a far more basic machine and have no doubt that these periods of back-to-basics in terms of tech, remind me exactly where my skills need polishing.
It is worth experiencing this is if you have a back catalogue of bikes in your garage, maybe not on race day, but at least a few times a year. It will keep you grounded and help you identify where any skills training focus is required. The work you do to overcome the lack of tech support the bike affords will encourage 'best practise' and mean that when you return to your first choice bike your riding will be closer to 'optimal '. The extra pounds you invest in tech will start to give you a greater return than that of simply masking your mistakes.

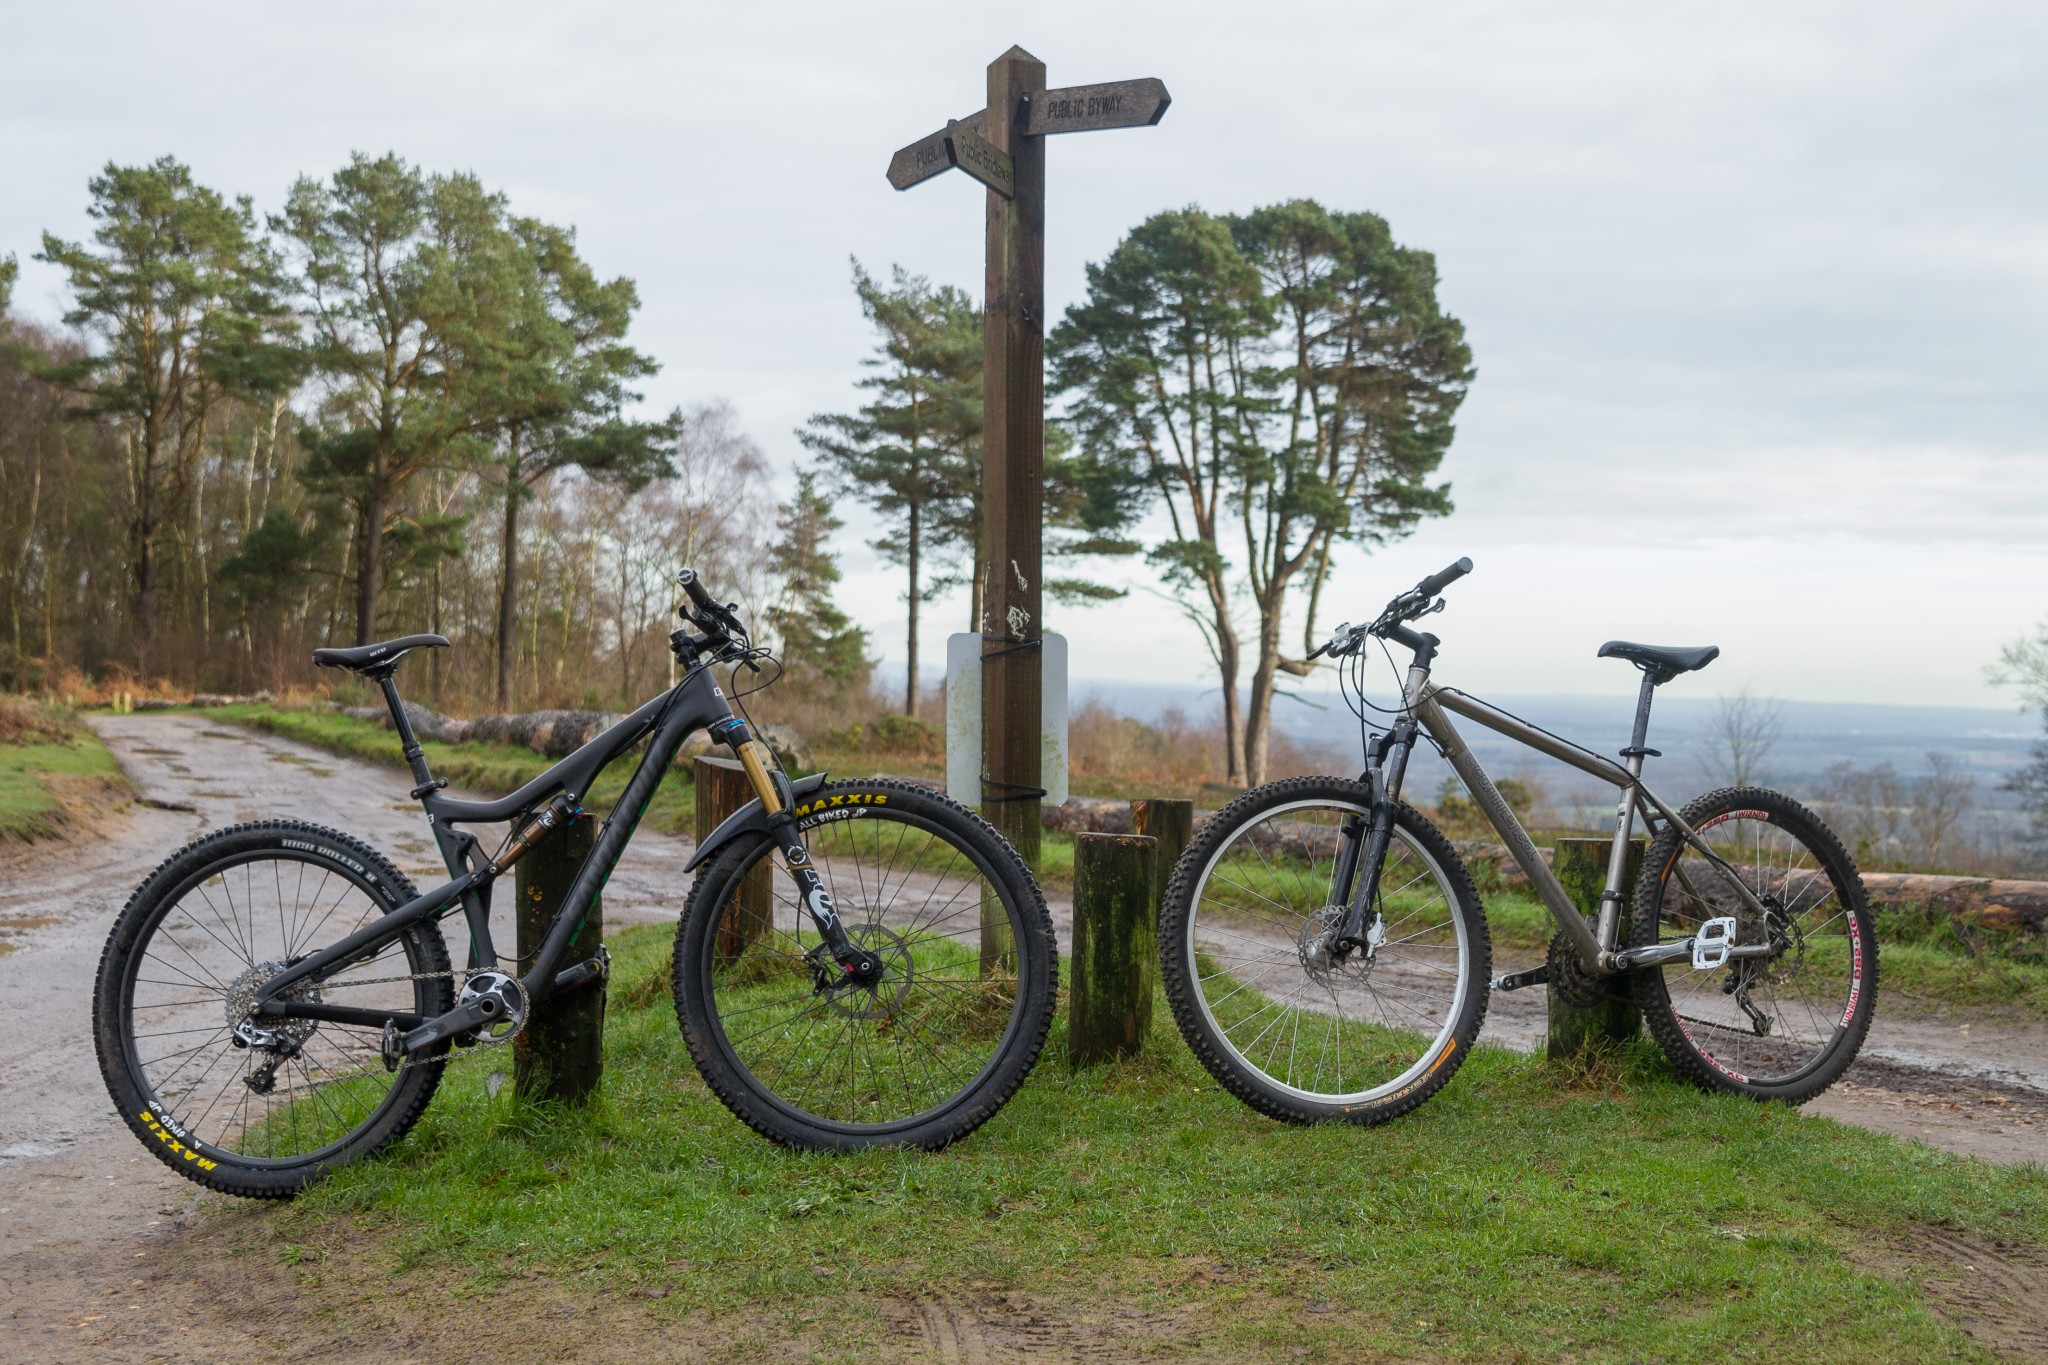
Essentially here we are looking at the top two elements in “The System”; 'you' and 'your equipment'. Whether you are riding on a more limited budget, have a hand-me-down hard tail or just don't like getting your best bike out all the time, we'll give you some pointers that will help you get more from what is on offer and ensure that 'you' play a bigger part in your own destiny than your credit rating.
Before you head out it's important to take some time to set your bike up in order to maximise its potential. Low-end shouldn't mean badly set up. Although there might be fewer dials to tweak and considerations in terms of hi-tech, here we are looking at the low-tech common to all bikes whether a clunker or a carbon clad KOM-buster.
We always start with tyre choice and tyre pressure. As the tyres are your first contact point with the trail you want the tyres to give you the best chance of finding grip and staying in control. The tyres on entry-level bikes are always going to be a compromise. The bike could be ridden anywhere from road to off-road and the last thing the manufacturer wants to do is fit a tyre that feels sluggish. You’ll usually end up with a tyre that’s good at everything, yet great at nothing, and the chances are they’ll really struggle in the mud. If this is the case you can have a positive effect on traction and control by getting the right pressure in the tyre.

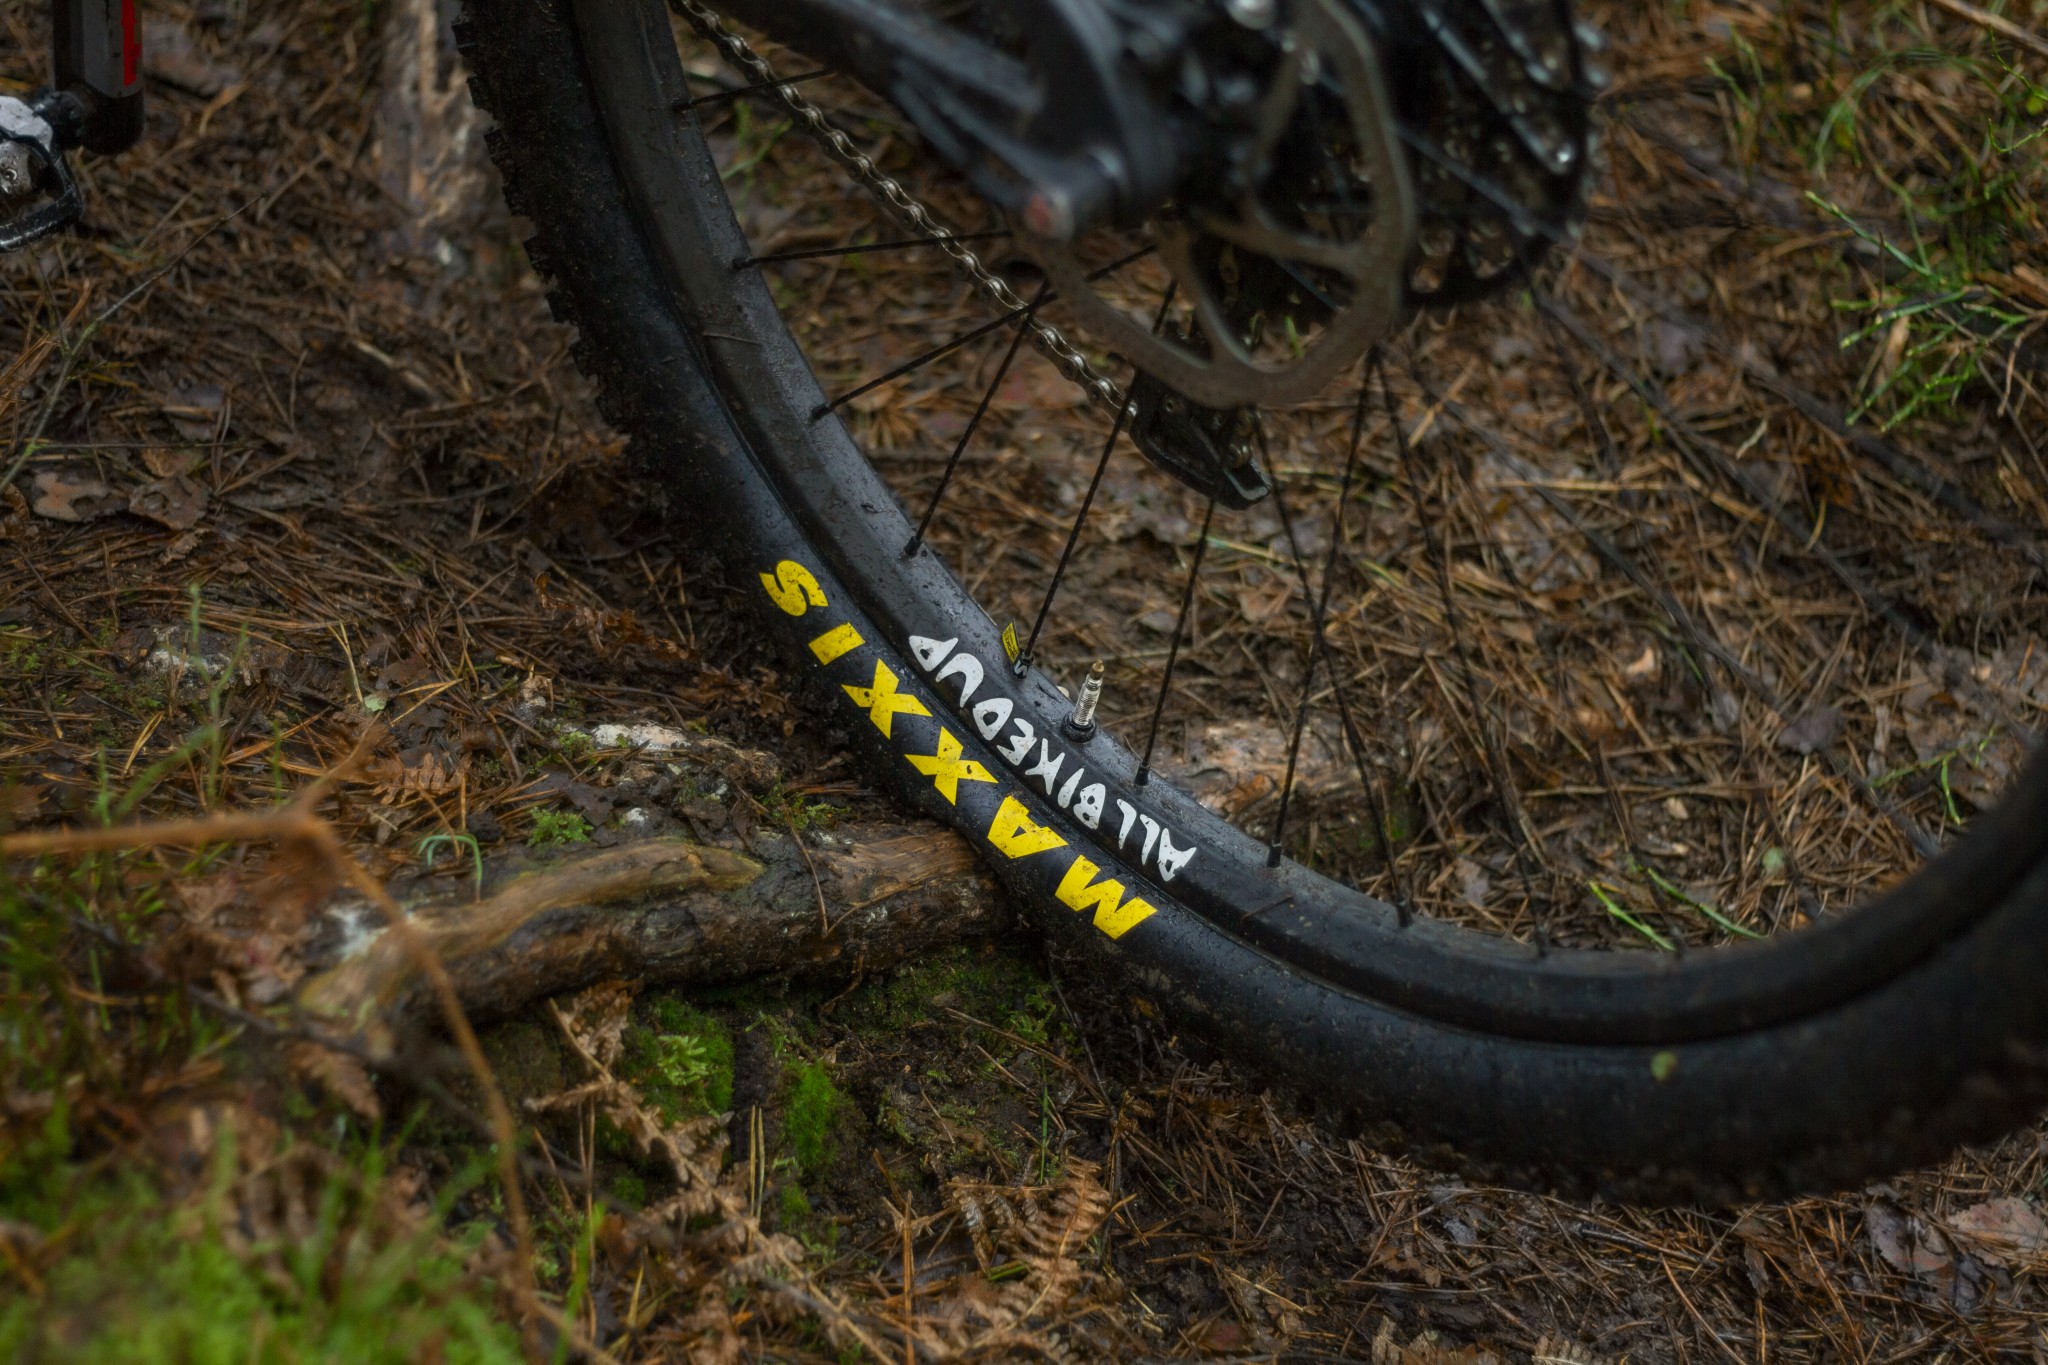
From a tyre pressure perspective you want your tyre to feel more like an orange than an apple when you press your thumbs into it. Then it will be soft enough to roll over the terrain, but not so soft that it will suffer an impact puncture if you’re a little heavy through a section. Inflated correctly, when you drive force down into it the tyre should widen and offer better grip. The softer you go, the softer you must ride to avoid pinch flats. Pinch flats themselves are a good performance indicator. If you regularly suffer from them the chances are your energy management skills are lacking and you are not playing a big enough part in the suspension process.
Mechanical suspension is the next consideration. Suspension forks that are fitted as standard to bikes these days would have been top of the range as little as 3 or 4 years ago, such is the trickle down of suspension technology. The more you spend on your suspension the more settings you have to play with. The key is to get the essentials right. Setting the air pressure or spring rate is the first step. Every suspension unit has a recommended air pressure setting based on the rider’s weight. This can be found in the user manual or on the manufacturer’s website, use this for guidance rather than simply squashing them a few times whilst standing next to the bike.
With the air pressure and spring rate you can fine-tune the ‘sag’ on your suspension. This is the amount of travel that the suspension uses (sags down into) when you sit on the bike. The range of options may be limited by the age and expense of your bike, but experiment with what you do have...'marginal gains' are very important.
With that all sorted you can now set up your compression damping. This is the rate that the suspension moves down through the travel under compression. If your fork has compression damping (many low-end models just have lock-out), you can control the rate of compression, effectively making the fork travel faster or slower. Here you can find an effective balance. Too fast and the fork will dive through the travel pushing you forward. Too slow and the fork will hardly move through the travel. Just right and you should feel the fork move evenly down through the travel.
Setting the rebound is next. This is the rate the fork returns to the top of the travel. Lower end forks might not come with compression damping, but they will have rebound damping. It’s usually a dial that will have a plus/minus or tortoise and hare indication. In the case of the plus or minus, the plus winds on more damping, and the minus winds off the damping. When it comes to setting the rebound it’s an easy setting to overlook, getting it right can make the difference between the suspension doing its job or you just bouncing down the trail .The key is to find the balance. If it’s too slow the fork will get bogged down and sit at the bottom of the travel, too fast and it will bounce back up with no effective damping. Just right and the fork should return evenly back up through the travel.
The more you spend on a bike the better the suspension gets, offering fast and slow speed compression and rebound. If you get used to tuning your more budget bike forks and feeling the performance enhancements you will be much better placed to tune more advanced suspension if you upgrade at any stage. And of course, a well-tuned budget fork can function much better and more effectively than a badly tuned expensive one.
The challenge for riders new to suspension is getting a feel for what works. Without experience on the bike it’s very hard to tell if the settings are right. If you have time, experiment with settings and don’t forget making small changes can make a big difference as to how well your suspension works on the trail. Setting it up for the trail you are riding will become a habit and you’ll also be well practiced to get the most out of any future upgrades you might add or any future bikes with better equipment fitted.
The final area of bike set up to consider is the saddle height, cockpit length, and controls.
Although dropper posts are increasingly common you are unlikely to find one on an older bike that hasn't been upgraded so finding the optimum saddle height is important. Stopping and changing the height as trails become steeper or more technical is an option, but is a bit of a pain and breaks up a ride.
With a fixed saddle height there is always a compromise. Many riders coming over from the road will be used to running a higher saddle height. If the trails you’re riding are flat (like a road) then you’ll be fine. However, as the trail gets more technical being able to let the bike move around more below you becomes more important.
Think of your own 'undercarriage' like the chassis of a car. The saddle height will determine whether that is set up more like a Lamborghini or a Land Rover. The Lamborghini has very little clearance and can go as fast as it likes on the road, but would run aground just going off road. You'll feel every bump and get bounced around when things get even faintly gnarly.
The Land Rover on the other hand is slower on the road, yet can transition to the off-road without running aground as it has no clearance issues. Cleary with your saddle by your knees, peddling becomes an issue. With your saddle jacked right up you can get pushed about more easily. 'Running aground’ is painful for a male, or even a female, rider. As a bloke there is a very definite time and a place where cracking nuts repeatedly gives me any pleasure...watching the Great Escape, in front of an open fire with the family at Christmas is one, riding the bike is not.

If you are looking to find a reasonable optimum that doesn't involve stopping to adjust things with every change in the trail, how you pedal can make a big difference to your options. We want as near to a full leg extension as possible for maximum power. If you pedal to the bottom of the down stroke keeping your heel down, your leg is effectively shorter than riding toe down - you can get full leg extension with a lower saddle height. The bigger your feet, the bigger the difference (and as everyone knows...the bigger your shoes).
When standing up on the pedals you'll have more clearance, when you sit back down to pedal you can still include a wide range of muscle groups rather than simply smashing your quads.
The next consideration is cockpit length and frame geometry.

The distance between the saddle and the handlebars. This determines the centreline between the front and back of the bike, in turn determining where you’ll be sat on the bike. With a long handlebar stem, and therefore a longer cockpit, you’ll naturally sit further forward on the bike. With a shorter stem and therefore a shorter cockpit you’ll naturally sit towards the back of the bike. Over the past few years the length of handlebar stems has been reduced, that combined with developments in the bike geometry has moved you further back into the bike. If you are riding an old workhorse and want to make it feel “modern” sticking a short stem on the bars is a very quick and easy upgrade that won’t break the bank.
The last thing to consider is the set up of the controls themselves, the brake levers, shifters and the vital point of contact, the grips.
For the brake levers the first setting is reach, ensuring you can reach the brake levers without having to stretch. The second (often overlooked) setting is the angle. Bringing the brake lever up to just below parallel will enable you to drop your wrist into the bar. This pushes your weight under the bars and through the bike rather than sitting on top of the bike and your arms being straight into the bars. This small tweak makes a big difference in terms of comfort and control.
Likewise when positioning your gear shifters and other handle bar mounted controls, making sure they are easy to reach is obvious, but essential. Reaching further than you need to in order to brake or change gear can have a big effect on your comfort and confidence on the bike. Remember any element of added anxiety leads to a diminishing level of emotional control and can easily lead to breath holding and a general level of 'tightening' on the bike which quickly adds fuel to the fire.
As well as the position of your controls, the state and compound of your grips is a consideration on any bike. Worn, slippery or poorly attached grips will inevitably lead to the desire to grip on tighter. The more you strangle the bars the more the bike will try and throw you off and squirm below you.
The biggest difference between your entry level bike and the top-of-the-range dream machines is the position you’re sat in. This is particularly relevant if you're riding an older entry to mid-range cross-country/trail bike, but also a consideration if you are riding a modern cross-country focussed machine. On many current entry-level bikes head angles have slackened as a larger number of riders are riding steeper terrain right from their first riding experiences.
With more consistent surfaces at trail centres and bike parks, less rock gardens, shoots and off-camber roots, gradient is easier to cope with. Lesser skilled riders can experience steeper gradients sooner, but if you’re riding an old school bike, your bikes geometry might make it harder to stay in the right place at the right time.
Using the centre lines we looked at in the set-up and now introducing a horizontal centre line too, you can see where you are sat in relation to the centre lines on the bike
You want to aim to be sat, or if riding out of the saddle stood, with your weight just behind the front to back, vertical centre line and just below the top to bottom horizontal centre line. This sits you into the ‘pocket’ setting you up as the 'under rotating mass' on the bike and in turn making the bike the accelerating mass. Getting into the ‘pocket’ from the start will ensure that you build your confidence as you don’t feel like you’re continually falling forwards or are about to be pushed forwards over the bars. We'll look at this in the videos and see how important this is no matter what you are riding, but especially when the bike does less for you.
We are of course huge advocates of investing in your skills at the earliest opportunity on your journey into MTB (if you are reading this you are already on the right track). This 'you' element upgrade, can be fitted to any bike of any budget, and will make the single biggest difference to your time on the trail. Importantly, it will help you get more from any future equipment upgrades you make to your existing bike, or your next bike that has more in the way of bells and whistles. It's never too late to get some, sits well on any price bike and will help whatever your discipline. That said, new kit can of course play a big part too!
As you might not find a reputable skills provider in your stocking on Christmas day (although vouchers are available), here are our top five contenders for Christmas List entries, which no matter how naughty you have been this year, might be options for you.
Bars: A wider bar gives more control and leverage. It will reduce the effect of rider twitches on the wheel direction. Narrow bars make the steering twitchy and light, they also make you close in your upper body limiting your ability to react quickly to changes in gradient or direction. Shortening the stem will help.
Stem: A shorter handlebar stem will move your position back on the bike sitting you further into the pocket and ensuring that you’re the under-rotating mass and that the bike is the accelerating mass.
Bar Grips: These can make a big difference. Grips that are too fat or too thin can make holding the bars uncomfortable. Worn grips or those that are too solid may encourage a death grip. Lock-ons will stop the hugely debilitating problem of them slipping on (or completely off) the bar. And never forget bar plugs, if you have metal showing you may as well be holding onto an apple corer, which when you inevitably have a tumble, may stick in your body.
Pedals & Shoes: These combine to form the most critical contact point with the bike. Pedals are a great place for manufactures to save money. Cheap plastic pedals do the job from the shop to your house, but upgrading to a set of quality flat pedals or even making the move to clipless pedals will make a world of difference on the trail. Upgrading your pedals and shoes has to be up there as one of the easiest upgrades to make, but one that’s also easy to miss. Get the contact right between your feet and the bike and you’ll instantly find more power and more confidence.
Cables and Outers: Certainly having a smooth drive train will make a massive difference to performance, but shifters, chainrings cranks and derailleur replacement will cost you a pretty penny. It is easy to blame the shifting performance on the more expensive elements of the drive train when actually the problem is the cheapest link in the process. Cable outer is another area where manufacturers commonly compromise to hit a price point. Out the box they might shift well, yet within as little as a few rides your shifting performance can be massively compromised. Replace your cable and outers with a high-end set and you will be blown away by the difference... and could save yourself a fortune!
By combining a few low cost upgrades with a few high value changes to the way you ride you can start to feel closer to a million dollars on a bike without the financial burden, re-mortgaging your house or the physical impediments associated with selling body parts.
Whatever you swing your leg over this year, remember that satisfaction should be measured only in smiles.
This technique article was in Issue 33 of IMB.
Related

By Richard Kelly
Richard Kelly has been riding bikes since forever, and teaching people to become better mountain bikers for over a decade. He’s always out in the Surrey Hills training riders, building trails and riding for himself whenever he gets the chance. His unique perspective on mountain bike technique has earned him fans the world over, with some speculating he is actually Jamiroquai or perhaps Jack Sparrow…