Trail Fix
Technique / Maintenance
Introduction
We have looked, over the last 12 issues, at many aspects of skills development and how to get more from your riding. These articles have focused heavily on elements that make up the physical and psychological tier of a skills development model that we have identified. Each element of each tier plays a part in reaching your full riding potential. The eight physical elements and four physical elements are complemented by the two elements of the personal tier - you and your equipment.
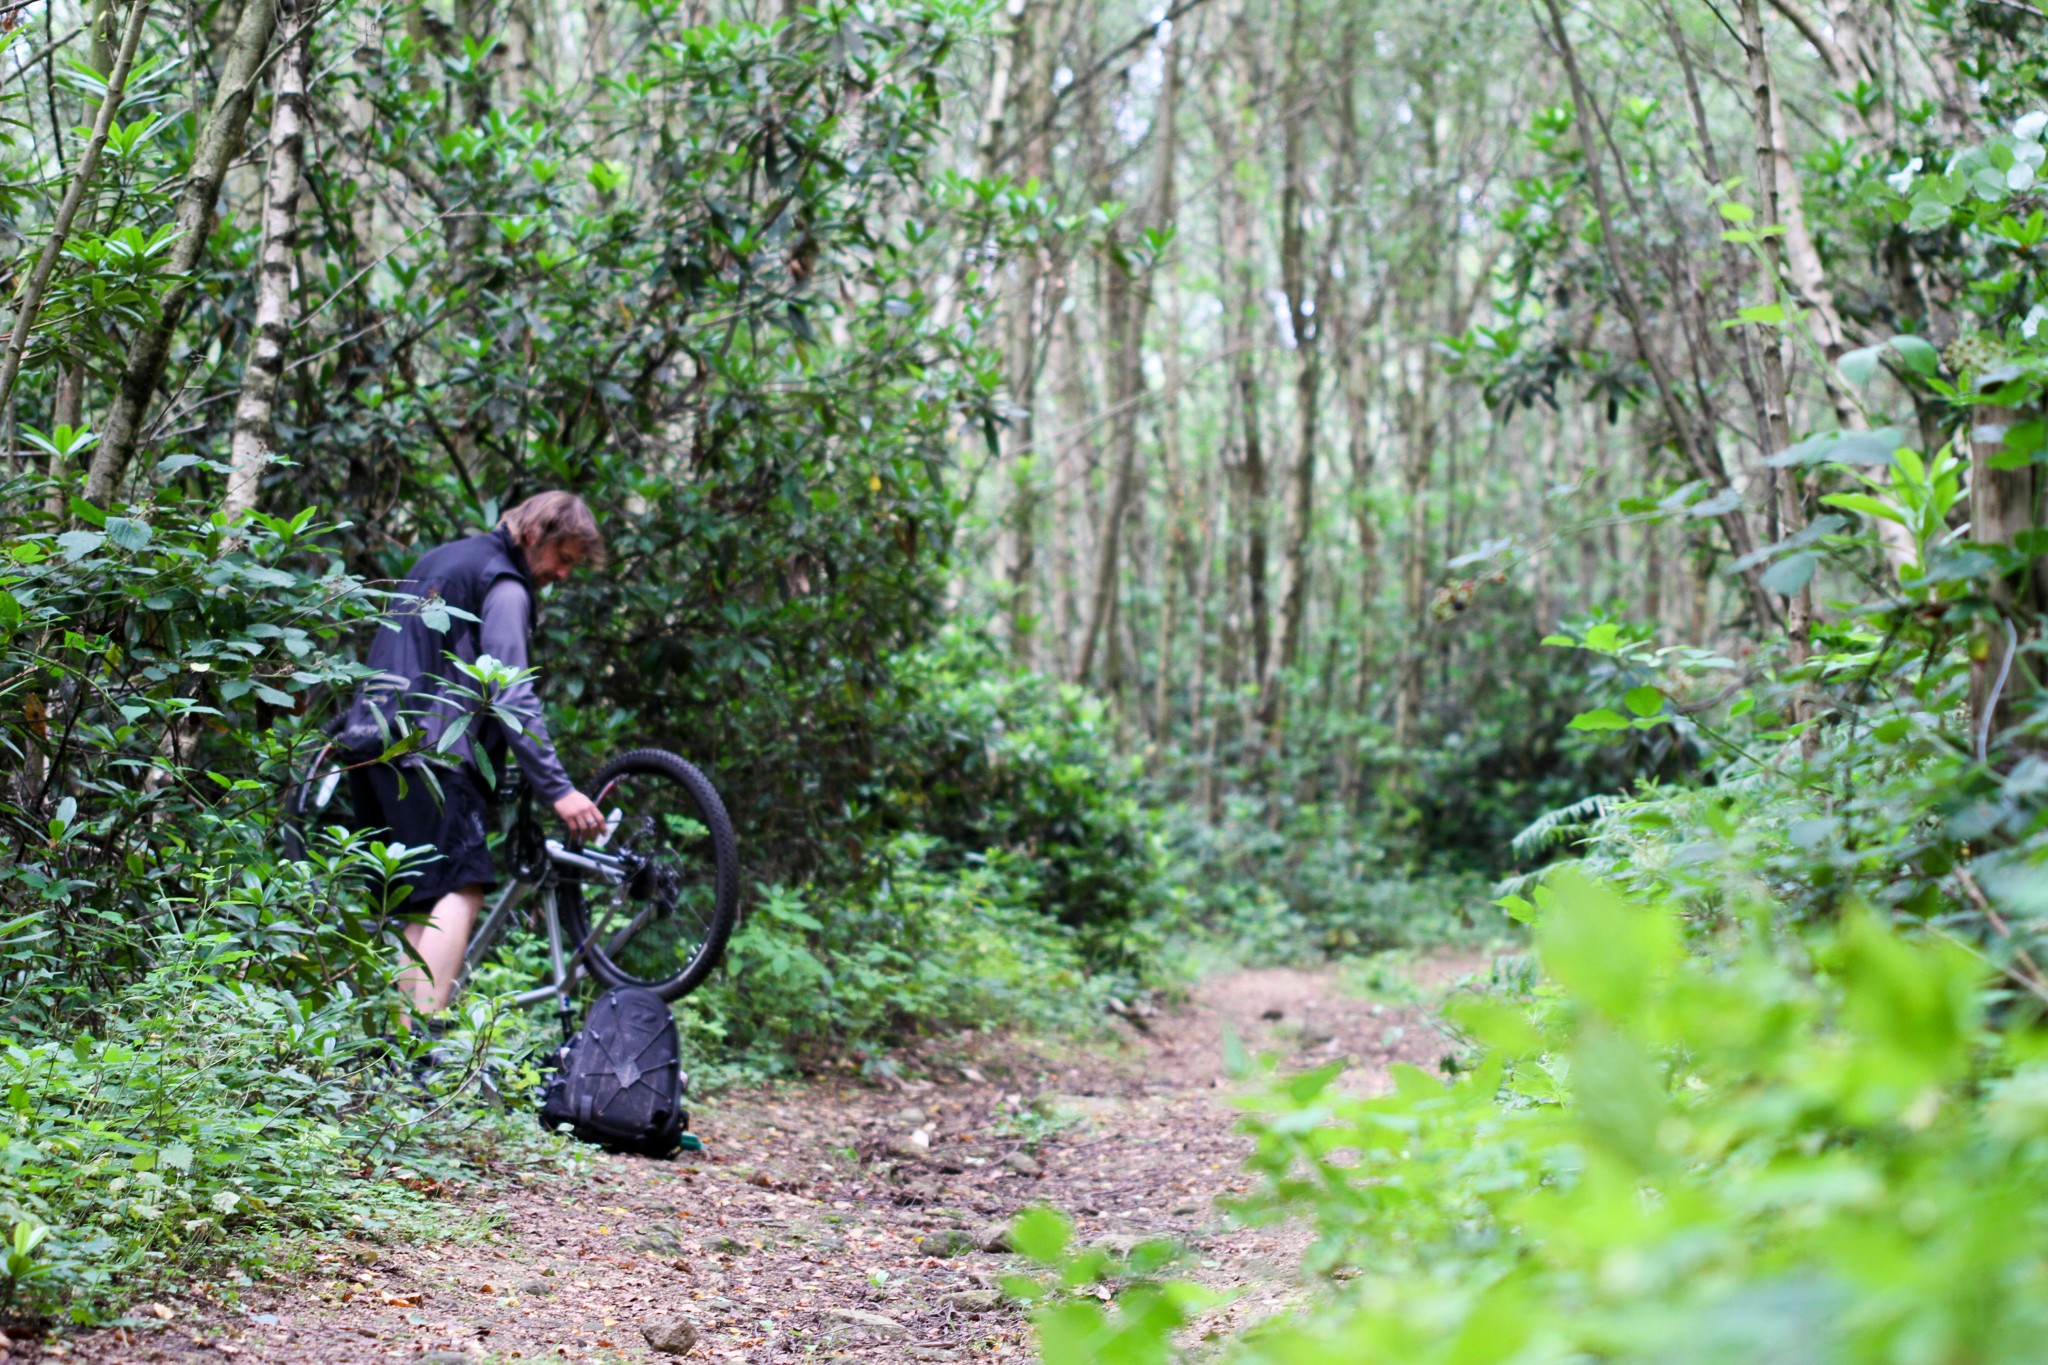
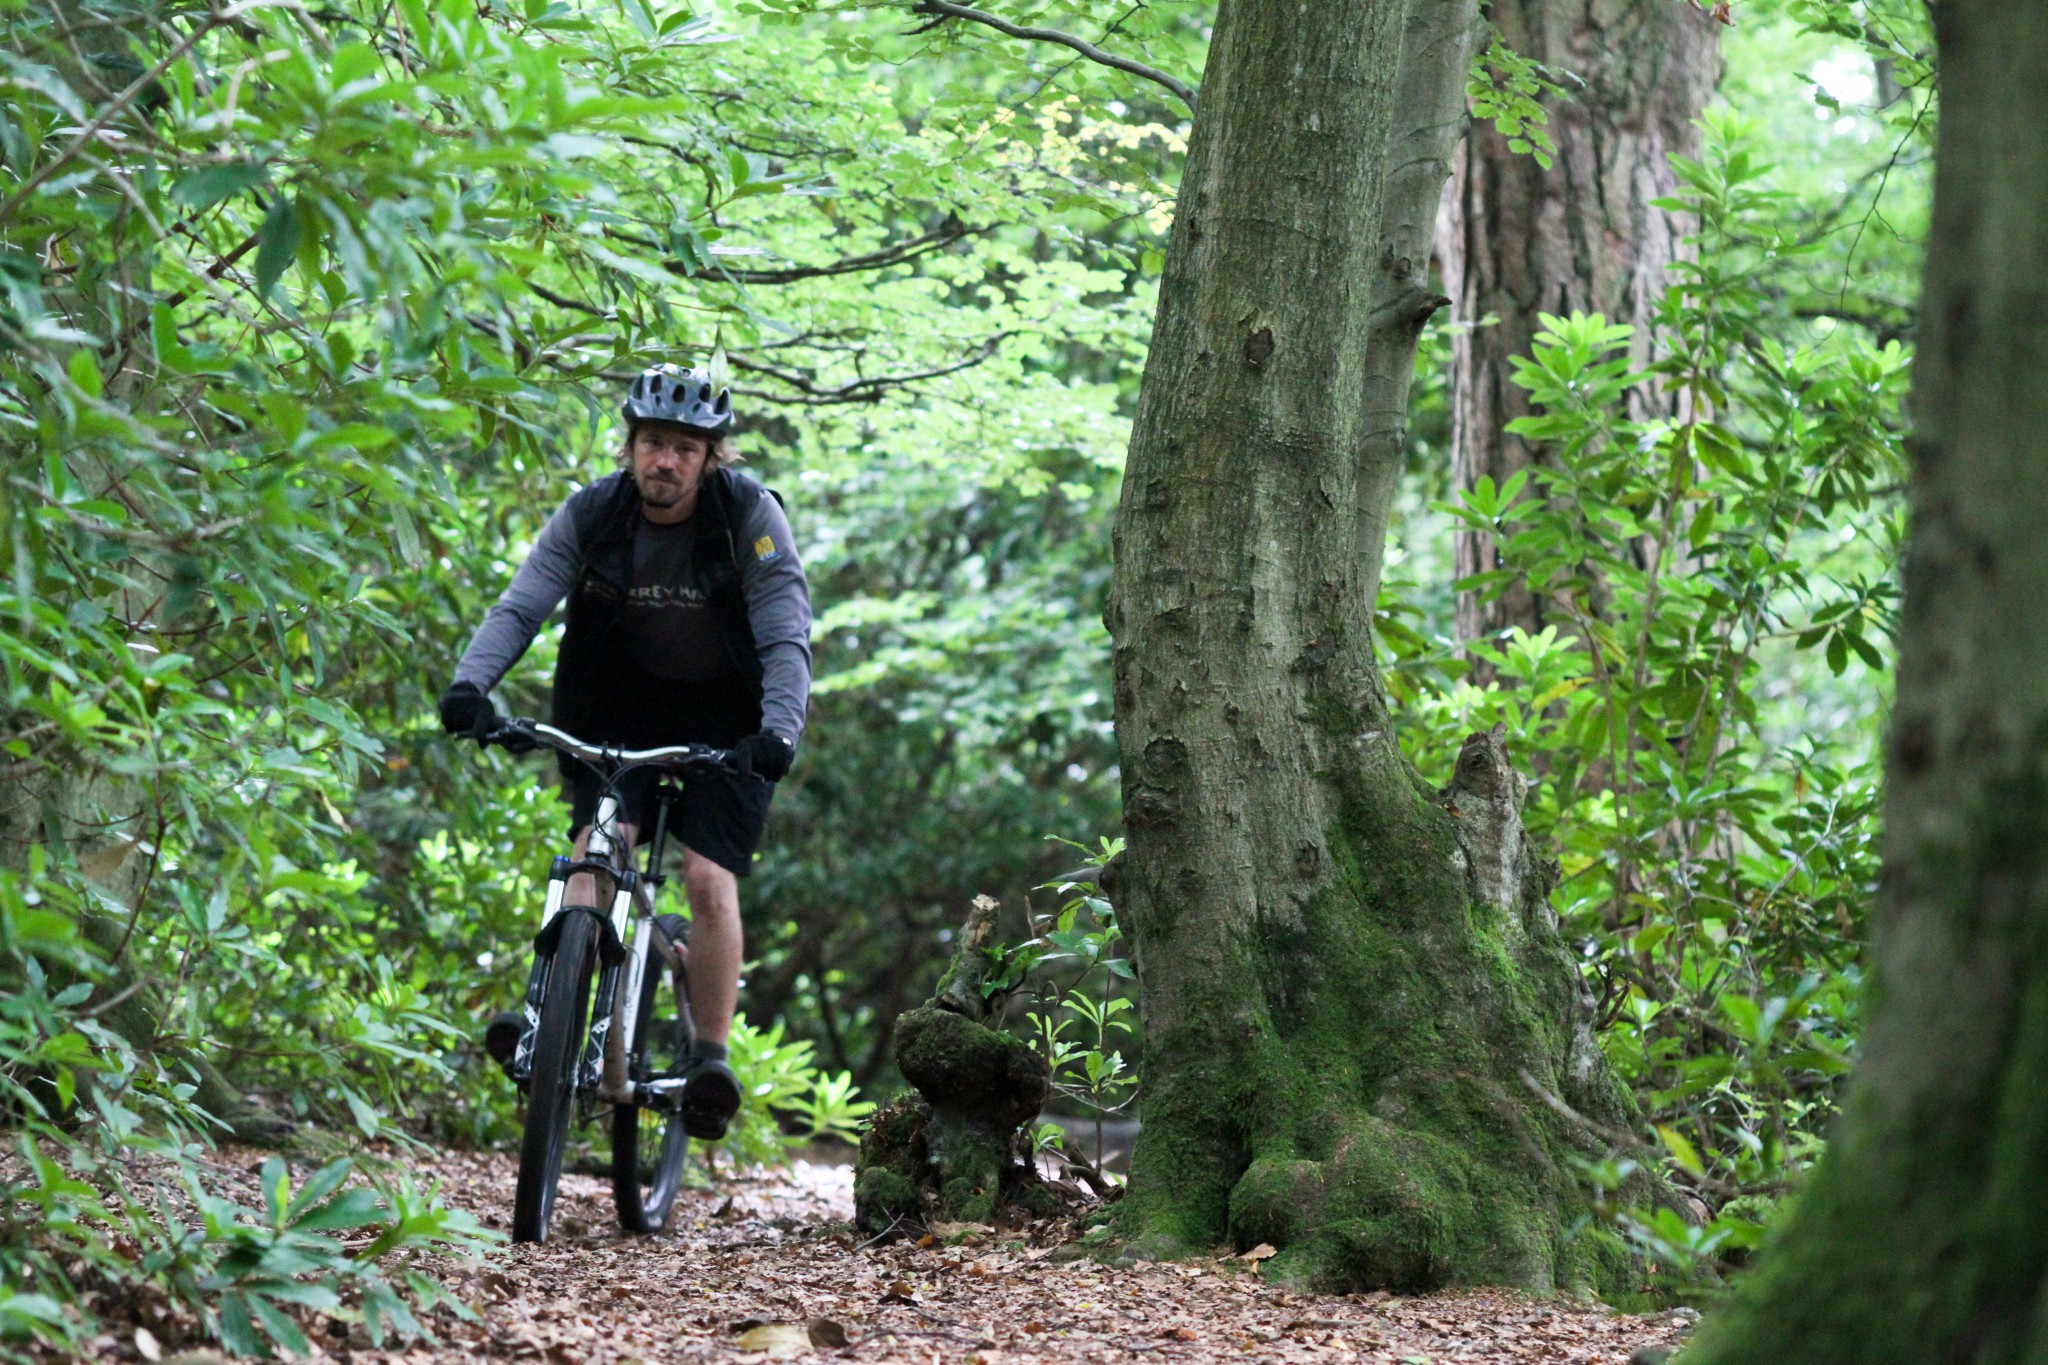
It is to the latter element that this issue turns its attention, your equipment, and in particular your bike. If any of the elements that contribute to your riding as a whole are found wanting, you will feel an effect. When it is the bike itself the results can be far more immediately debilitating to your onward progression and far more frustrating than those of the other tiers particularly if you have no idea how to correct them. If you are venturing out any distance further than you are prepared to walk, pushing or carrying a bike, then some core bike maintenance skills and on trail 'quick fix' knowledge is certainly a requirement.


As with all catastrophic failings in riding, one thing is for sure and that is that 'prevention is better than cure'. So as well as looking at some on trail solutions to potential failings, we'll start by a guide to making sure your bike is fit for purpose.
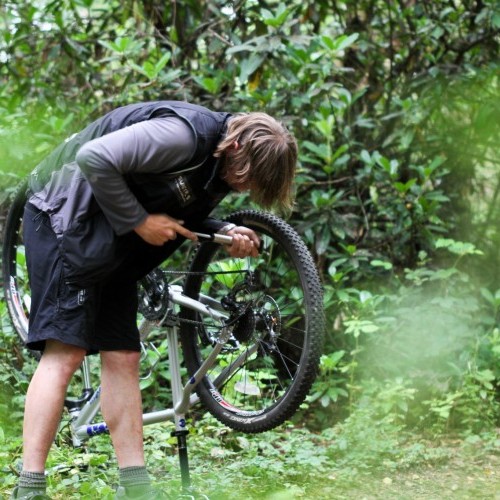
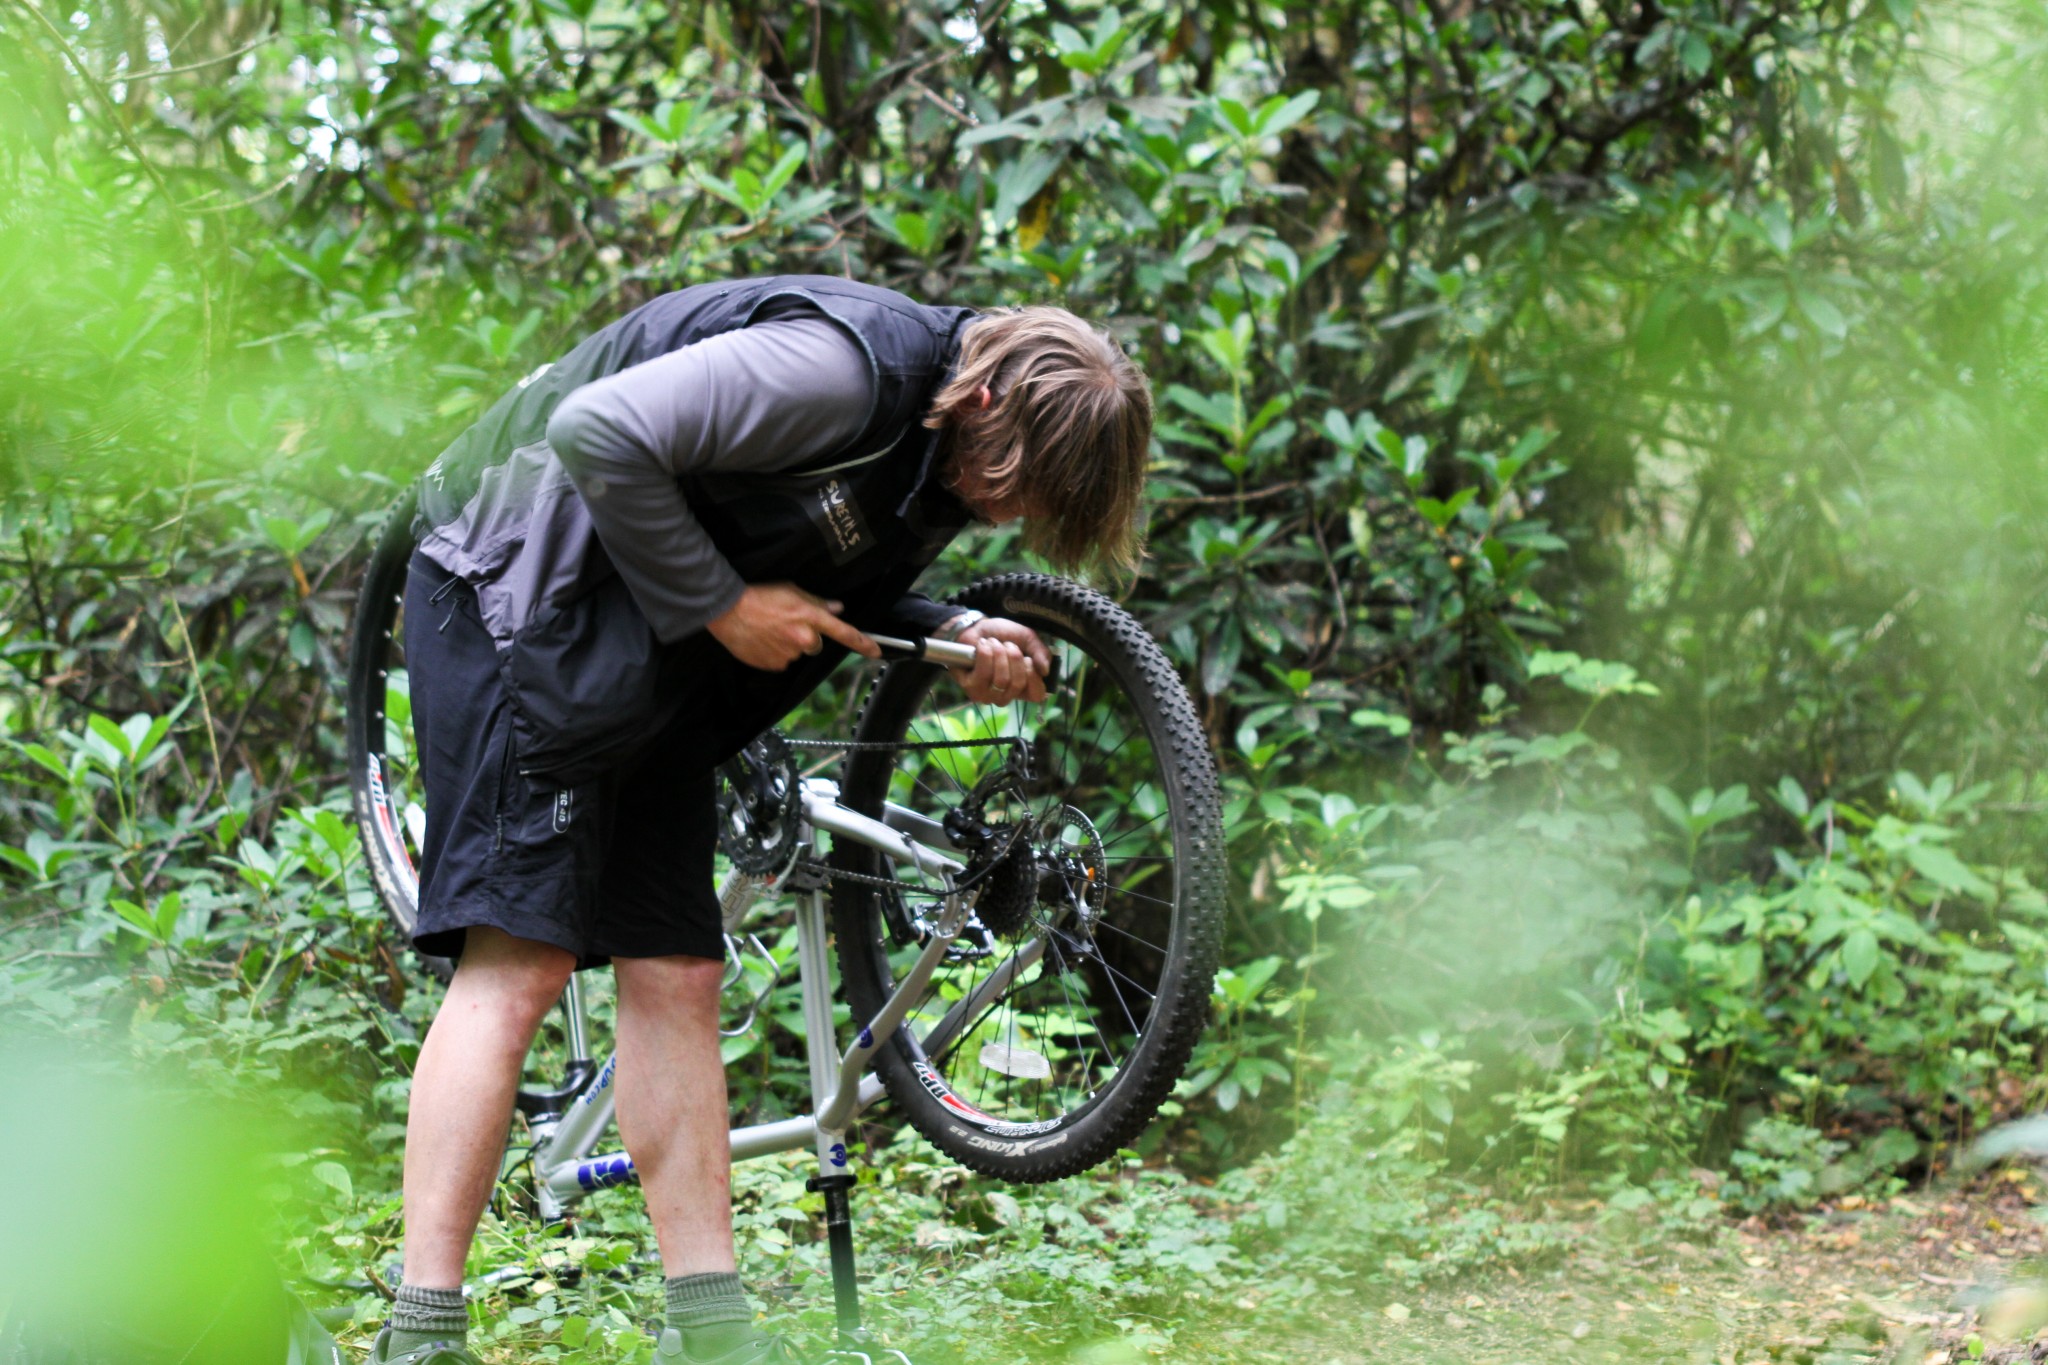
Prior preparation prevents particularly poor performance - at least I think that is how the saying goes. So it is with our ride preparation that we should start. Realistically this should not start in the car park before a ride, but at the end of your last one. Given the opportunity it is not just the rider but the bike as well that should be cleaned and well lubricated after any ride, hard or otherwise.
Waiting until your ride buddies are getting prepped in the car park before seeing to a known mechanical issue is a frustrating habit harboured by many. Catching things early and dealing with them is a more ideal approach than waiting till something has dropped off, snapped, been threaded or generally given up the ghost.
Although realising only just before you get on it that your bike has issues is not ideal it does at least give you a chance to address the problem before you hit the trails. Miles per hour can turn frustrating, mechanical issues into painful, medical ones. Before throwing speed and mass into the equation follow this simple routine and take a very avoidable element of risk out of your riding.
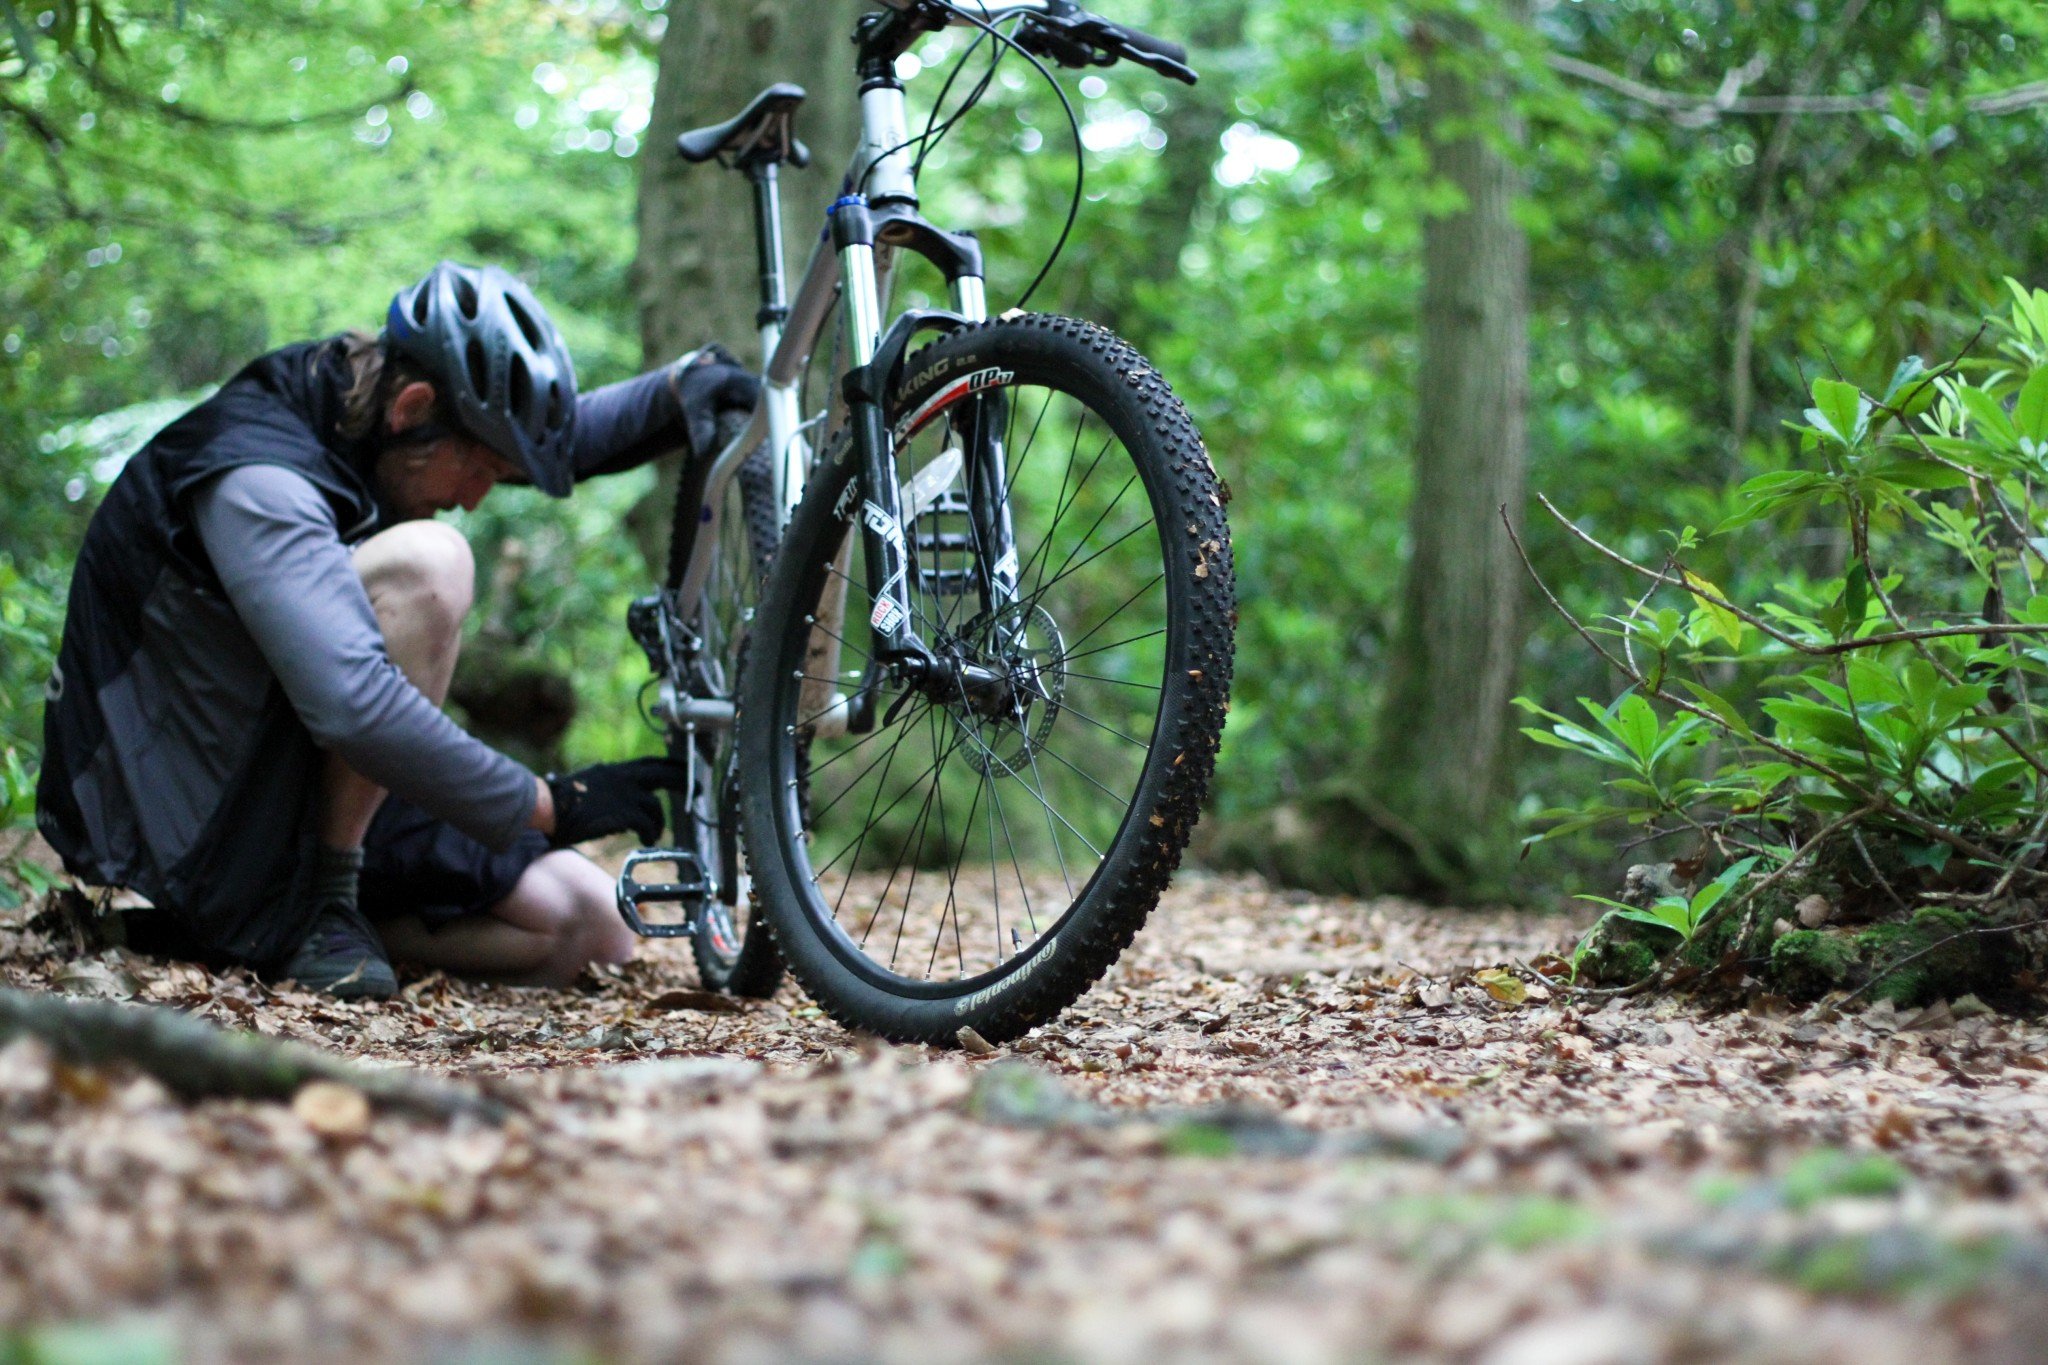
The M Check
Working your way from the front to back of the bike in the shape of an M will help to ensure that all the core elements to your bikes functionality and performance are covered. You may not be able to resolve every single issue but certainly you'll find and address those that represent something more than just a bit of an annoyance and those that could directly contribute to a far more intense level of upset.

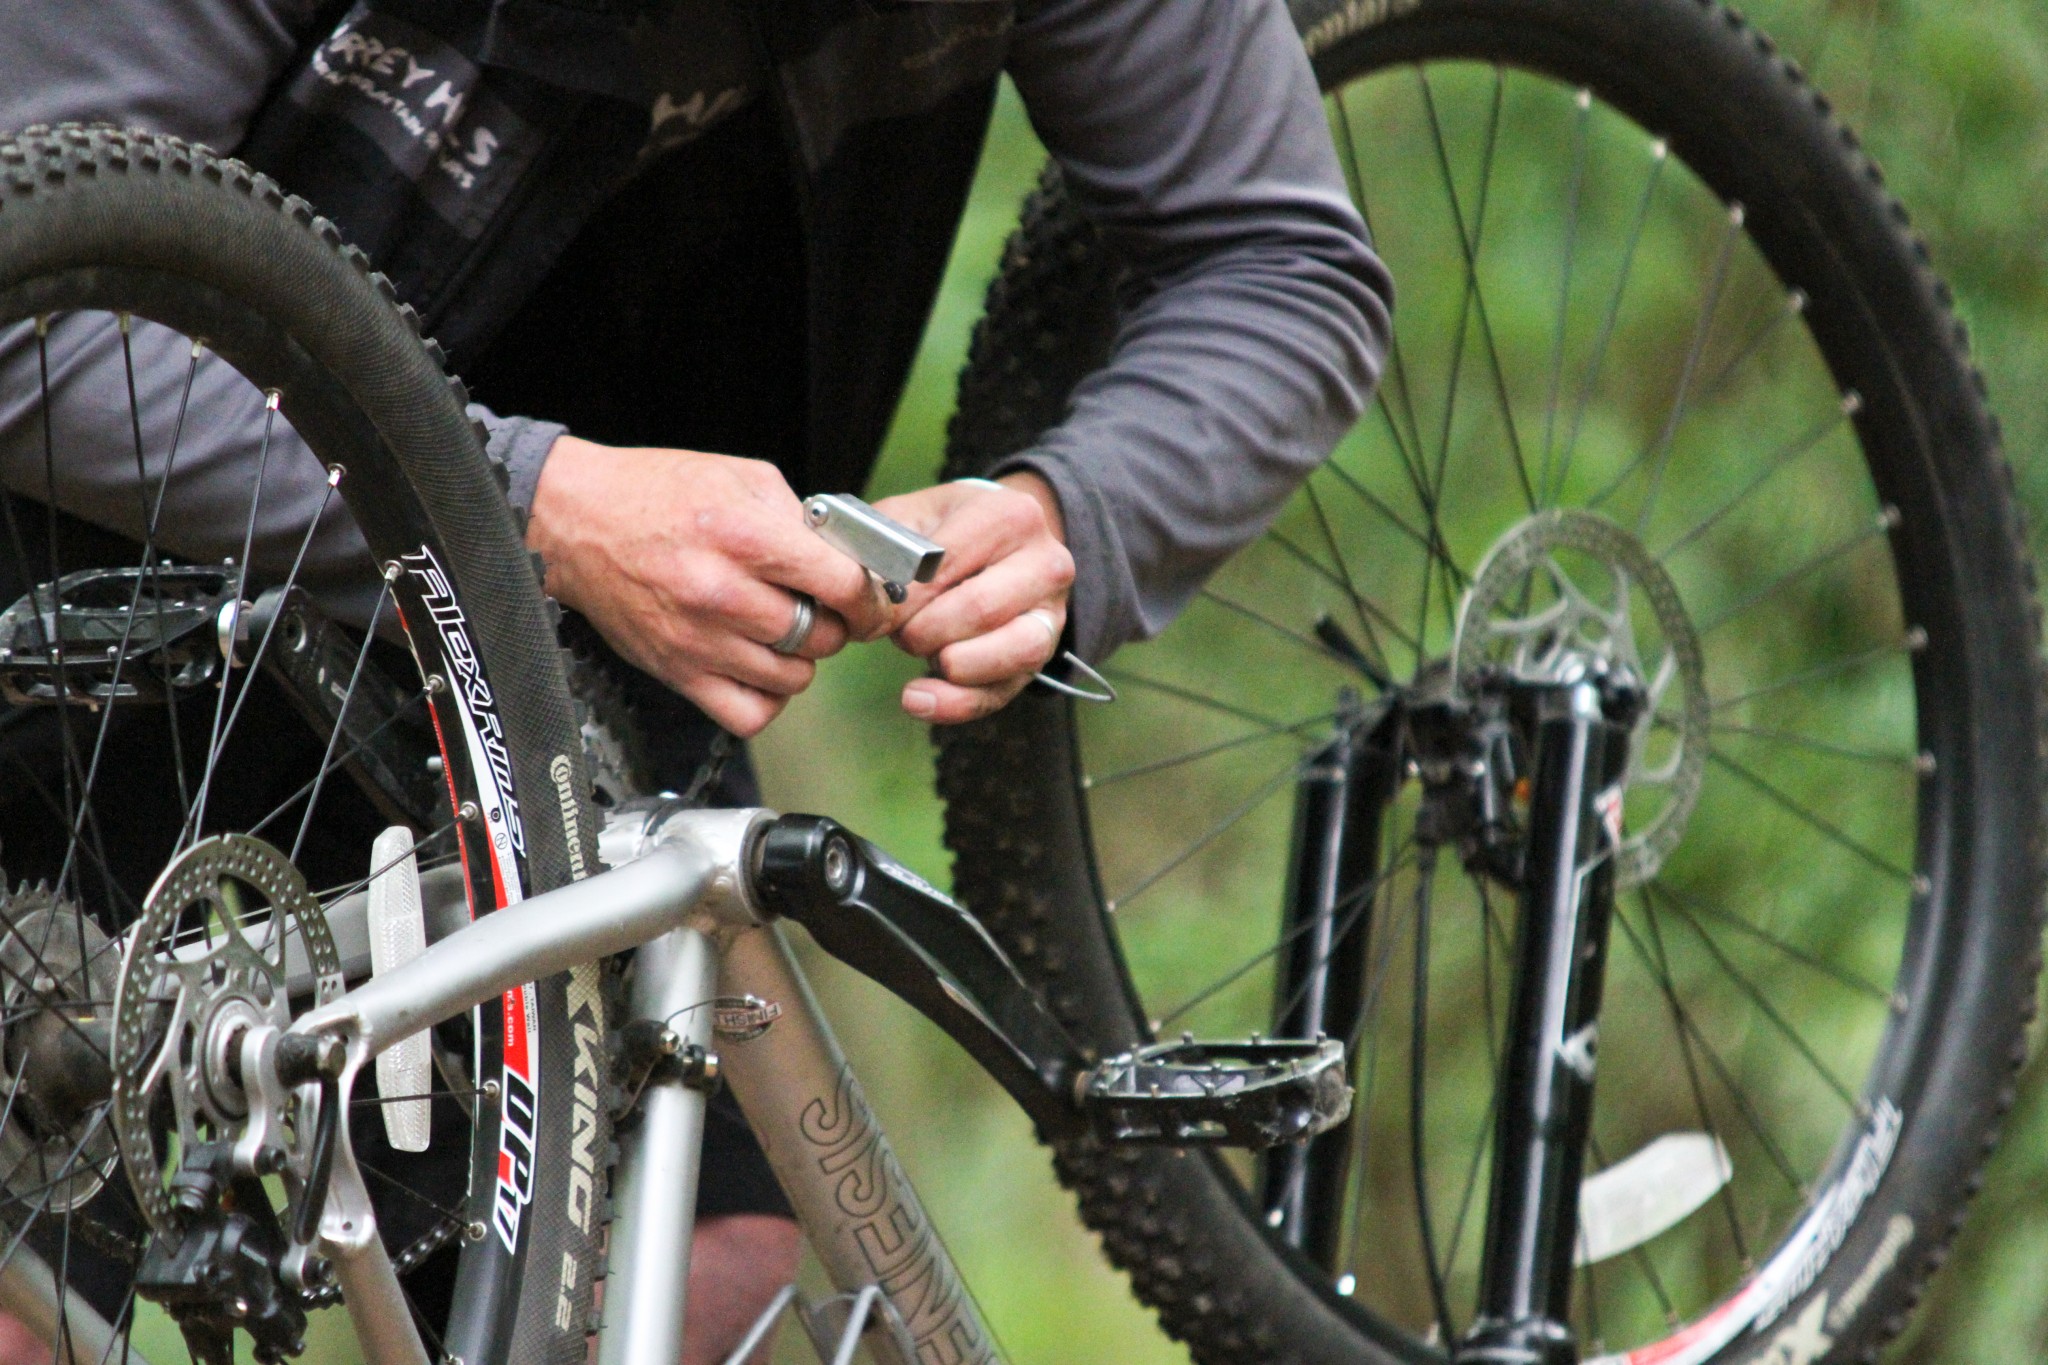
1. Whether relying on Quick release skewers, a bolt through axle or good old-fashioned nuts there is a very obvious need for your wheels to be securely attached. Quick release levers should not flip open when pulled with a single digit. A good sign that it is tight enough is an imprint left in your palm when you close it. Remember firm but not completely closed is not is going to stay that way. Tucking the lever of the skewer away from possible snagging is never a bad idea. Having the skewers levers point rearwards at the front end and tucked into the frame at the back (where possible) is advisable. Checking at this point that wheels are seated correctly in the forks by giving it a spin will also lead you onto the next point of attention.
2. Discs rubbing might be a sign that the wheel is not seated correctly but is more likely to be a result of poorly spaced brake pads, a badly aligned calliper or a bent rotor. All are easy to adjust as shown in the video content. Badly aligned or rubbing slightly the calliper is going to cause excessive wear to pads and discs and make progress harder going. A little rubbing you can live with. More important is to make sure that both calliper bolts and disc bolts are tight and holding both elements securely in place with no movement. While you are down there, check the amount of life left in your pads. Again awareness that peak performance is not achievable won’t stop you riding but might lead you to adapt your riding, route or both. Metal on metal you may still have some very limited control over your speed but will shred your discs and when pads are finally replaced they will be torn into by the damaged rotor and last no time at all.
3. Run you fingers round your spokes checking for a relatively even tone from each. You will easily feel any that are even close to dangerously loose and a couple of turns with a spoke key will sort that out. Plucking the spoke as you tighten the nipple the spoke is attached to at the rim you will here when its' tension is nearer to the other spokes. Don't go crazy though or you'll start to pull the wheel out of shape before you know it tweaking randomly at spokes all over the wheel. By this time you could well be in need of some things that won't find in the average MTBer's backpack - namely a wheel jig, some experience and a truckload of patience.
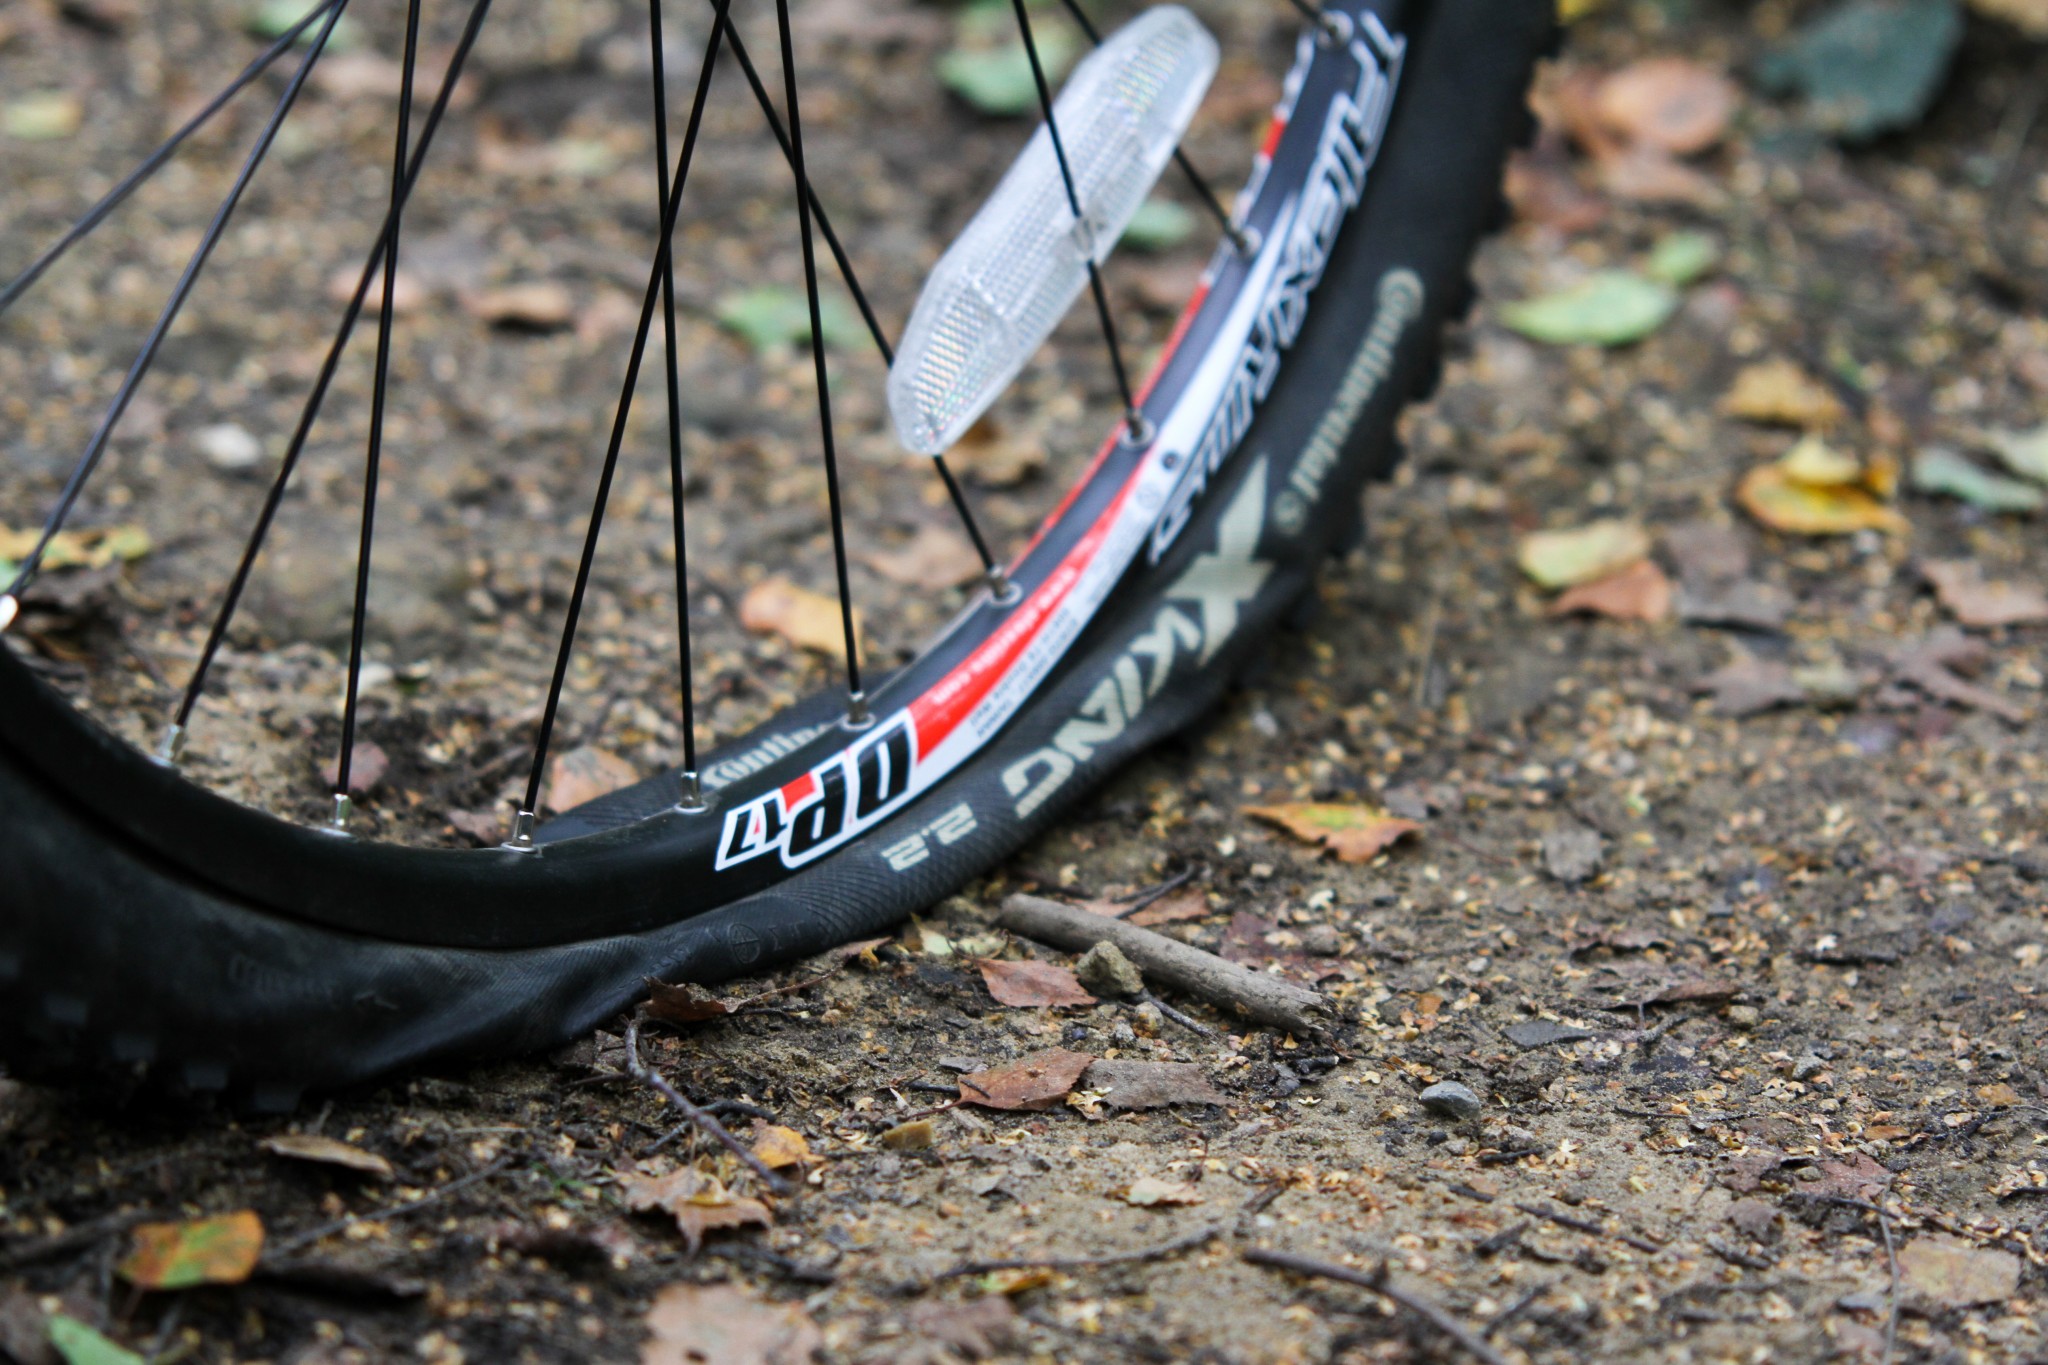
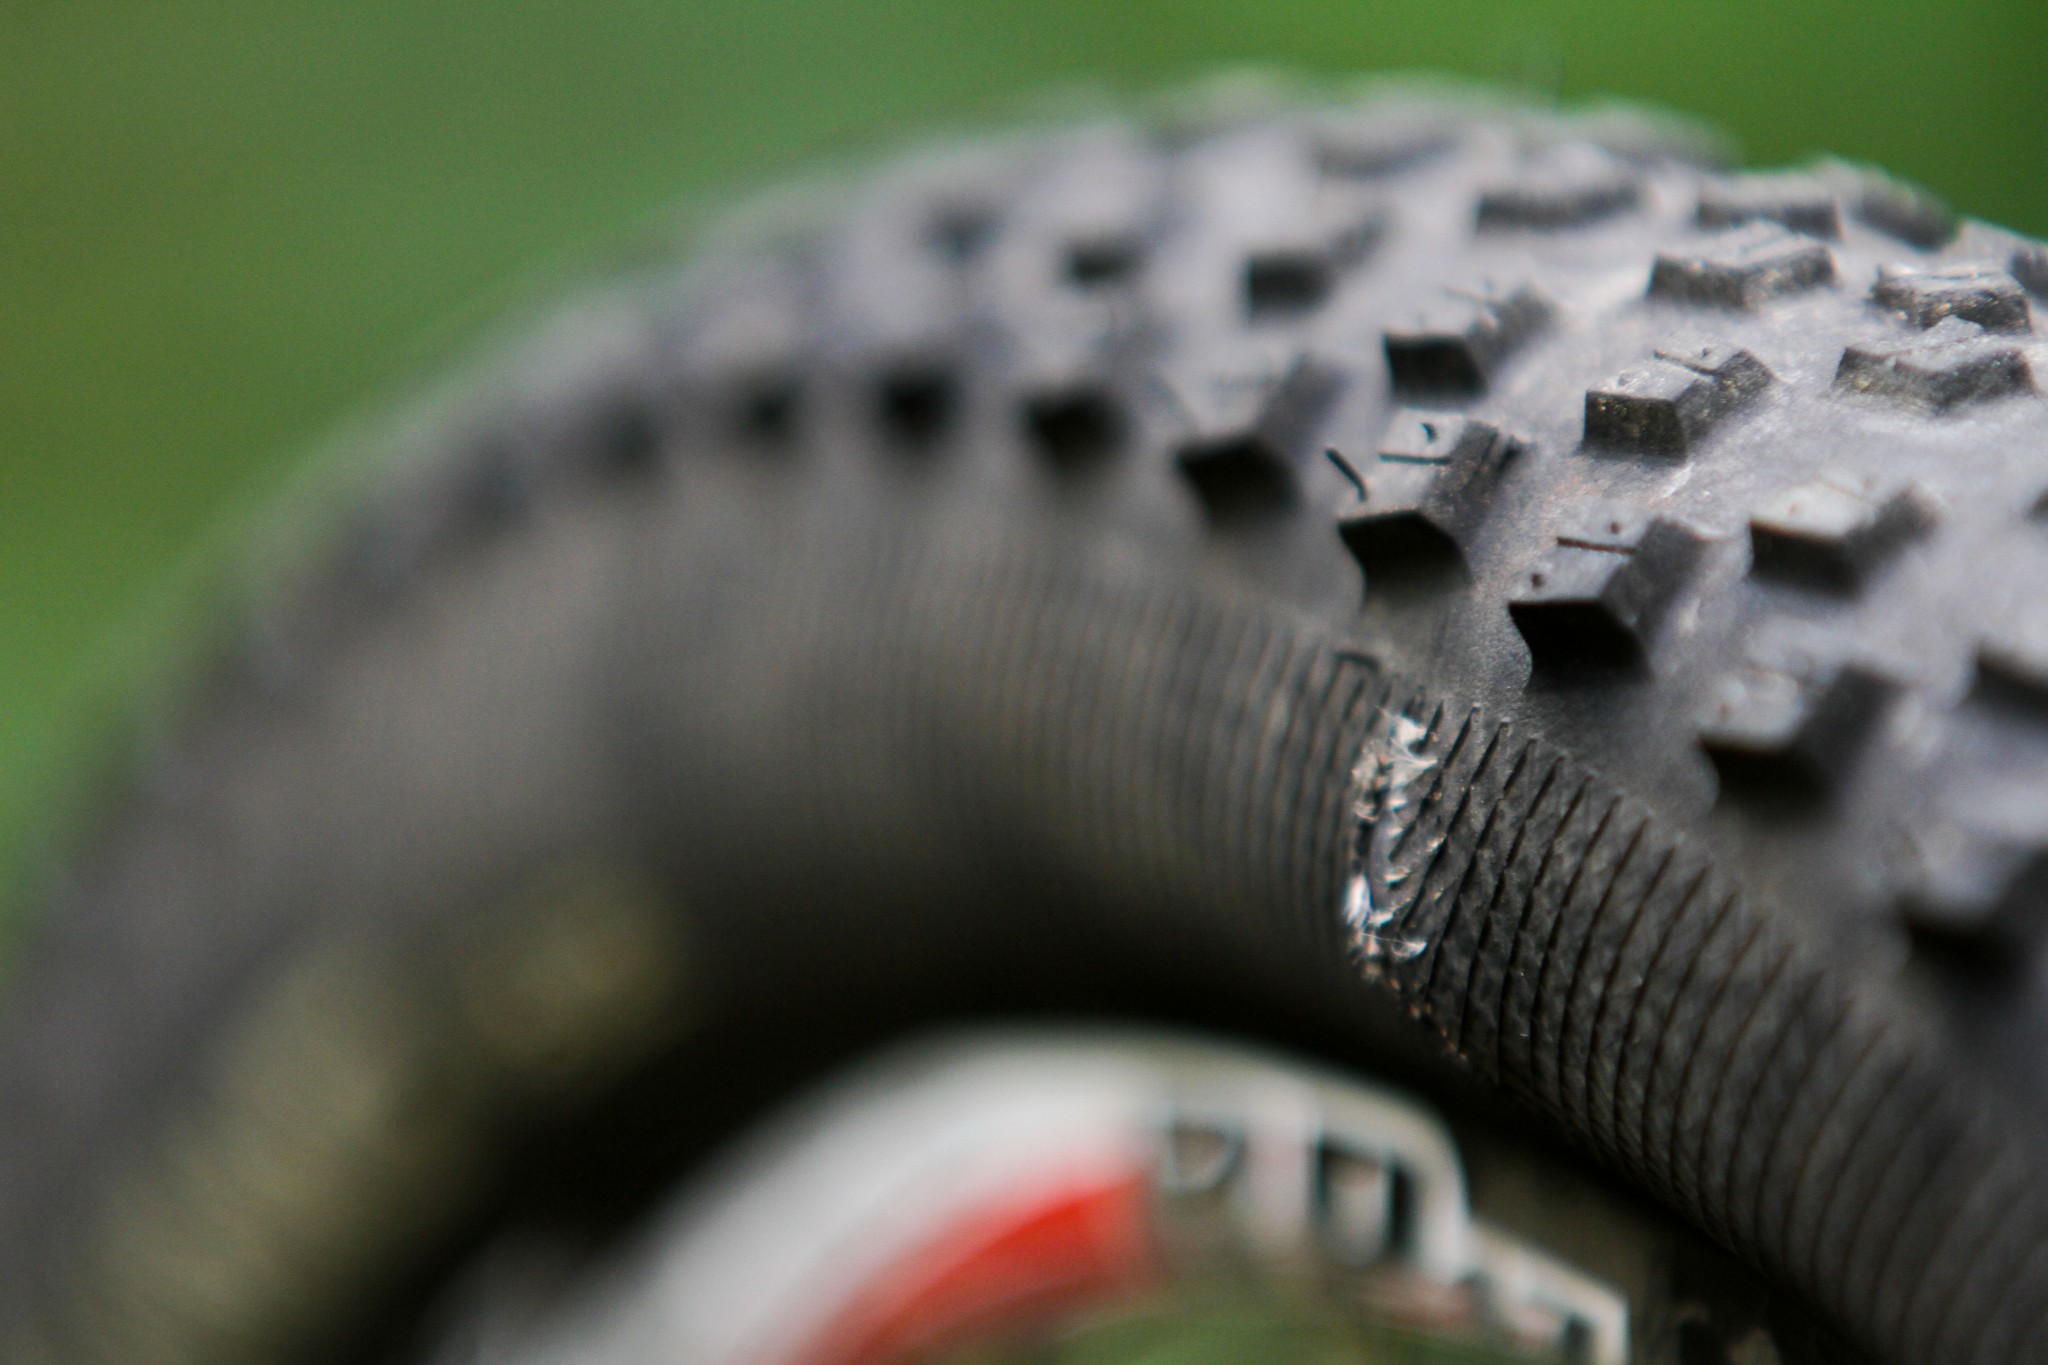
4. Run your finger round your rim of the wheel and look and feel for dents cracks or distortions that may need a closer investigation. It's rare these days that there will be damage but a tear or crack in the rim can have serious consequences and should not be ignored.
5. Check the sidewall of your tyre for slits and exposed tube (that may well end up outside of the tyre if it is not already). Don't panic this is not a “ride over” situation; there is a quick and easy fix for it as you will see on the videos. A bank note is required in the absence of anything else but that could well be enough to get you back on track and you will get it back later! (see video).

6. Tyre pressure should be checked and adjusted to the conditions and terrain, as a rule of thumb it should have some give so that it morphs slightly as it absorbs some of the trails bumps caused by ruts roots and rocks. Too soft and you risk a pinch flat with every bump to high and you are going to pinball your way downtime trail with the bike twitching wildly below you.
7. As you work your way up the front end its worth eyeballing your forks and checking for oil seepage or excessive wear, you'll pick up play in them when you check the headset - for most things fork related a car park fix is not the solution but as with maintenance issues it is about degrees of wear and a little play wont stop you heading out to the trails.
8. The headset houses bearings that sit between the fork and frame. Essentially the bolt that runs down to a nut in the steerer tube holds the front end of the bike together. If it is not tightened enough you will feel varying degrees of movement. Any play there will be amplified by speed and rough terrain. Over tighten the bolt and you'll struggle to turn the bars. Checking the headset is correctly tightened is a simple procedure, (see the video). Golden rules hear are, 1. Before tightening the headset bolt loosen your stem bolts so that the bars move fairly freely, independently of the wheel turning. 2. Tighten a quarter turn at a time and stop as soon as the play is eradicated. 3. Immediately tighten your stem bolts… If you forget this you’ll soon find out in a terrifying manner!
9. If you did forget, don’t panic. The next stage is to check the stem bolts are secure… Place the front wheel between your legs and try and twist the bars to check they are not going to move (even under considerable force) independently of the front wheel. Tightening the stem bolts will sort this issue out.
10. While you are by the bars check that controls are securely attached and well placed for access by fingers and thumbs, and don't move when pulled or pressed. By far the biggest single threat at this part of our 'M' comes from an uncapped bar end. Check the bar ends are covered or plugged and reduce the likelihood that they will act like and apple corer if you land on them.
11. Dropping down from the bars towards the cranks, cast an eye over the frame looking out for dents or cracks. Take note of any scratches especially those that grow over time - these are more likely a hairline crack in your frame and ignoring that will end in tears. (The boohoo variety not the ripped shorts type).
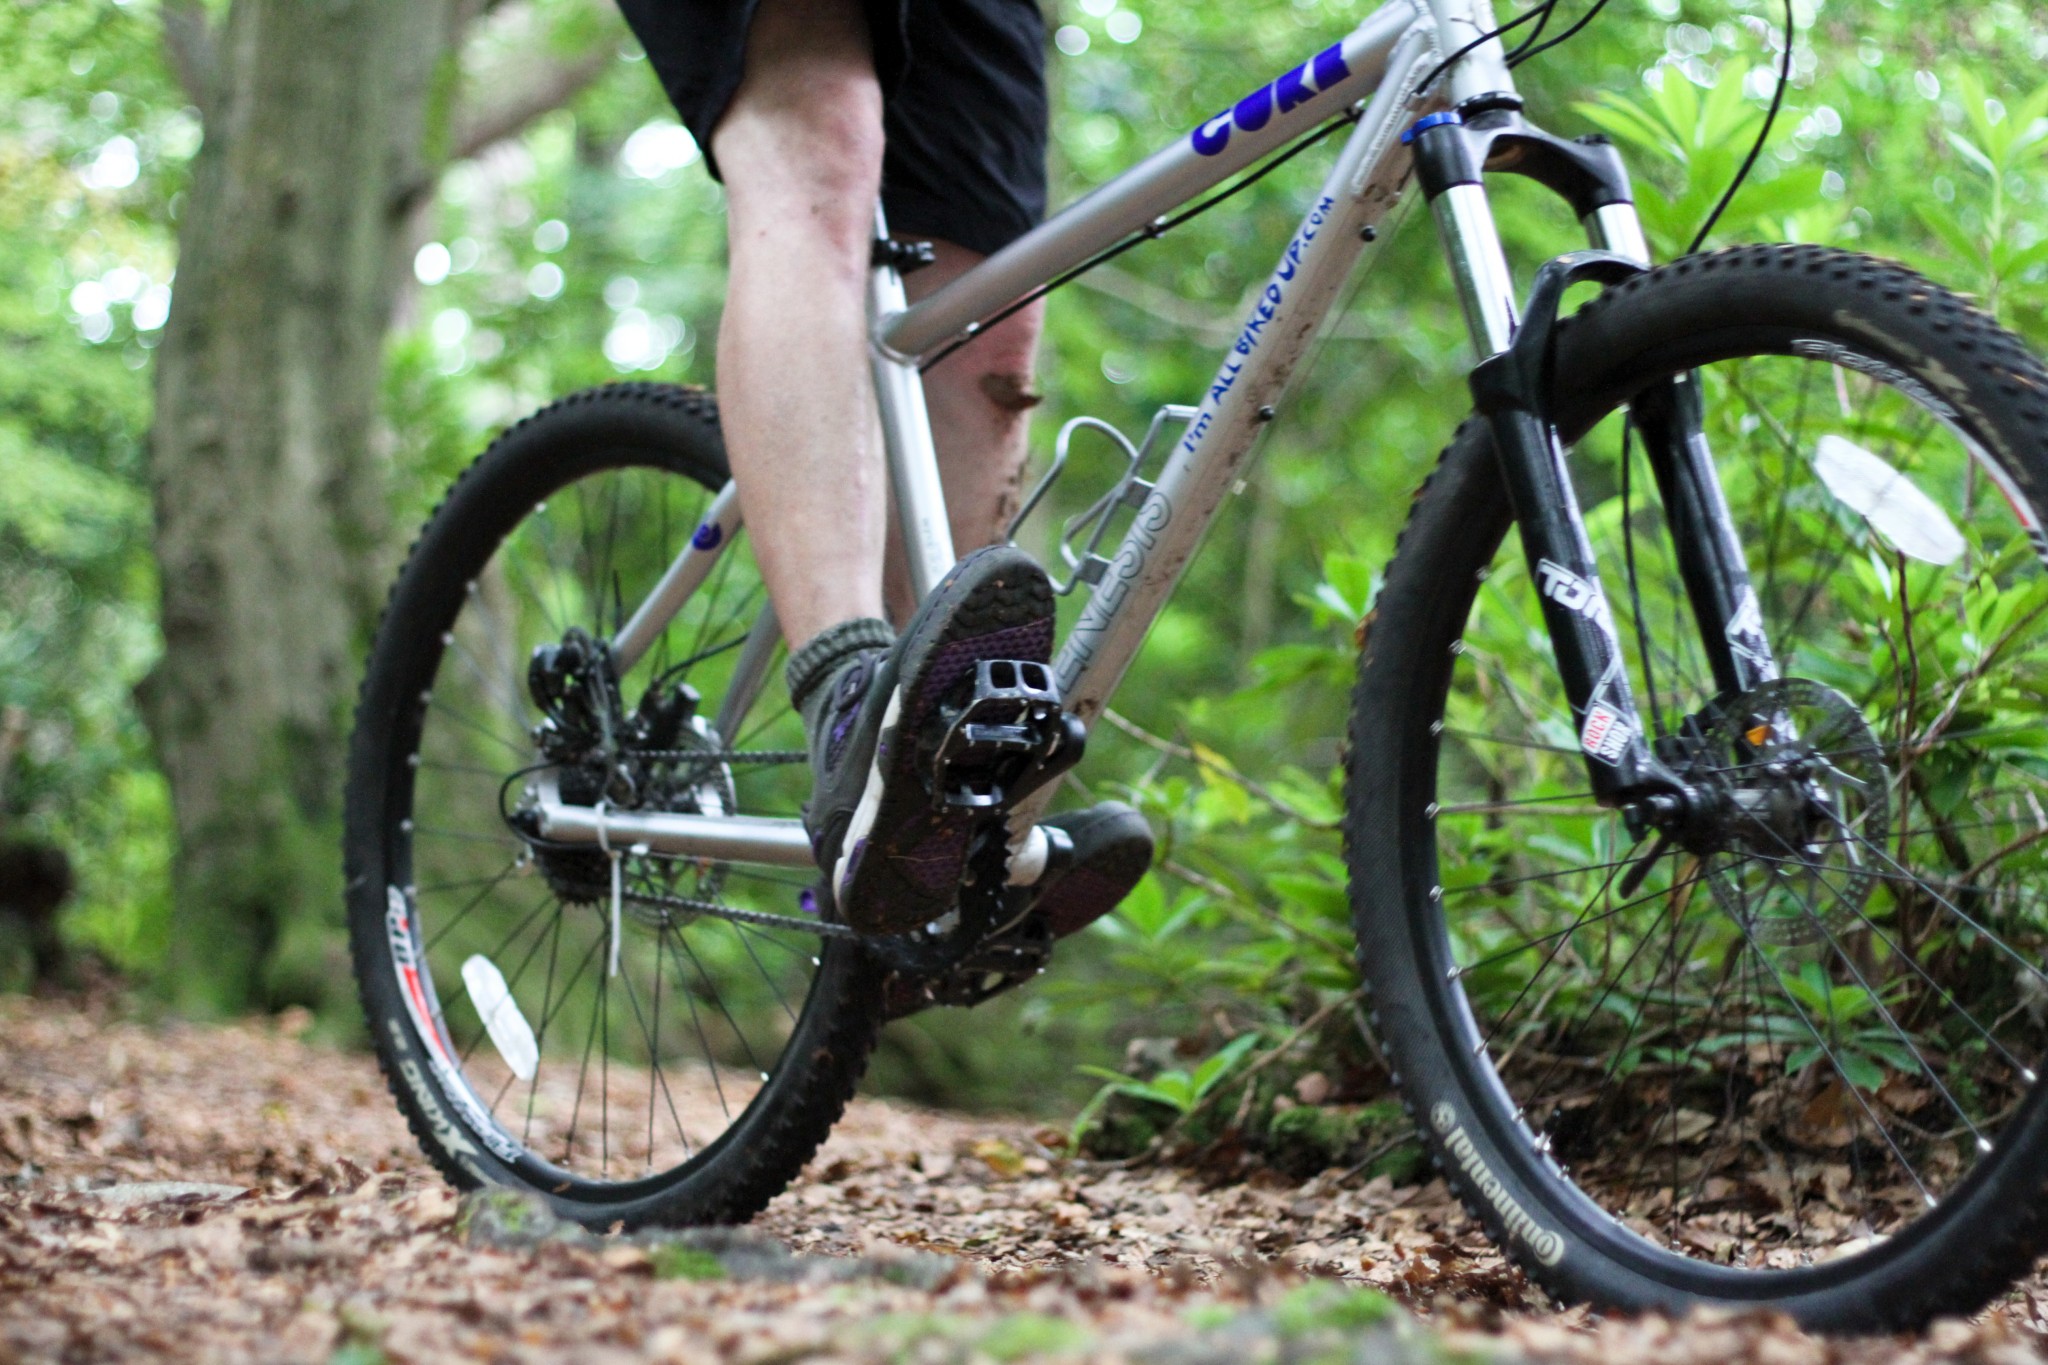
12. Once you reach the cranks you are looking to check the bottom bracket. The crank arms should move round and round of course but not move side to side. Grab a crank arm and push it in and pull it out toward and away from the bike. Any movement is a sure sign of wear to your bottom bracket. Again this is a workshop fix and a limited amount of play is tolerable but get is sorted soon. While you are down there check that pedals are wound in tightly - slightly loose and they can unwind over the course of a ride eventually you’ll rip the pedal out and destroy the thread in the crank arm making reattaching the pedal impossible.
13. Up to the saddle and you are checking your seat clamp does not allow for any movement and the saddle bolts are tight enough that the saddle does not move at all. The saddle is a point of control whether you are standing up or sitting down and any sudden movement can have seriously upsetting qualities.
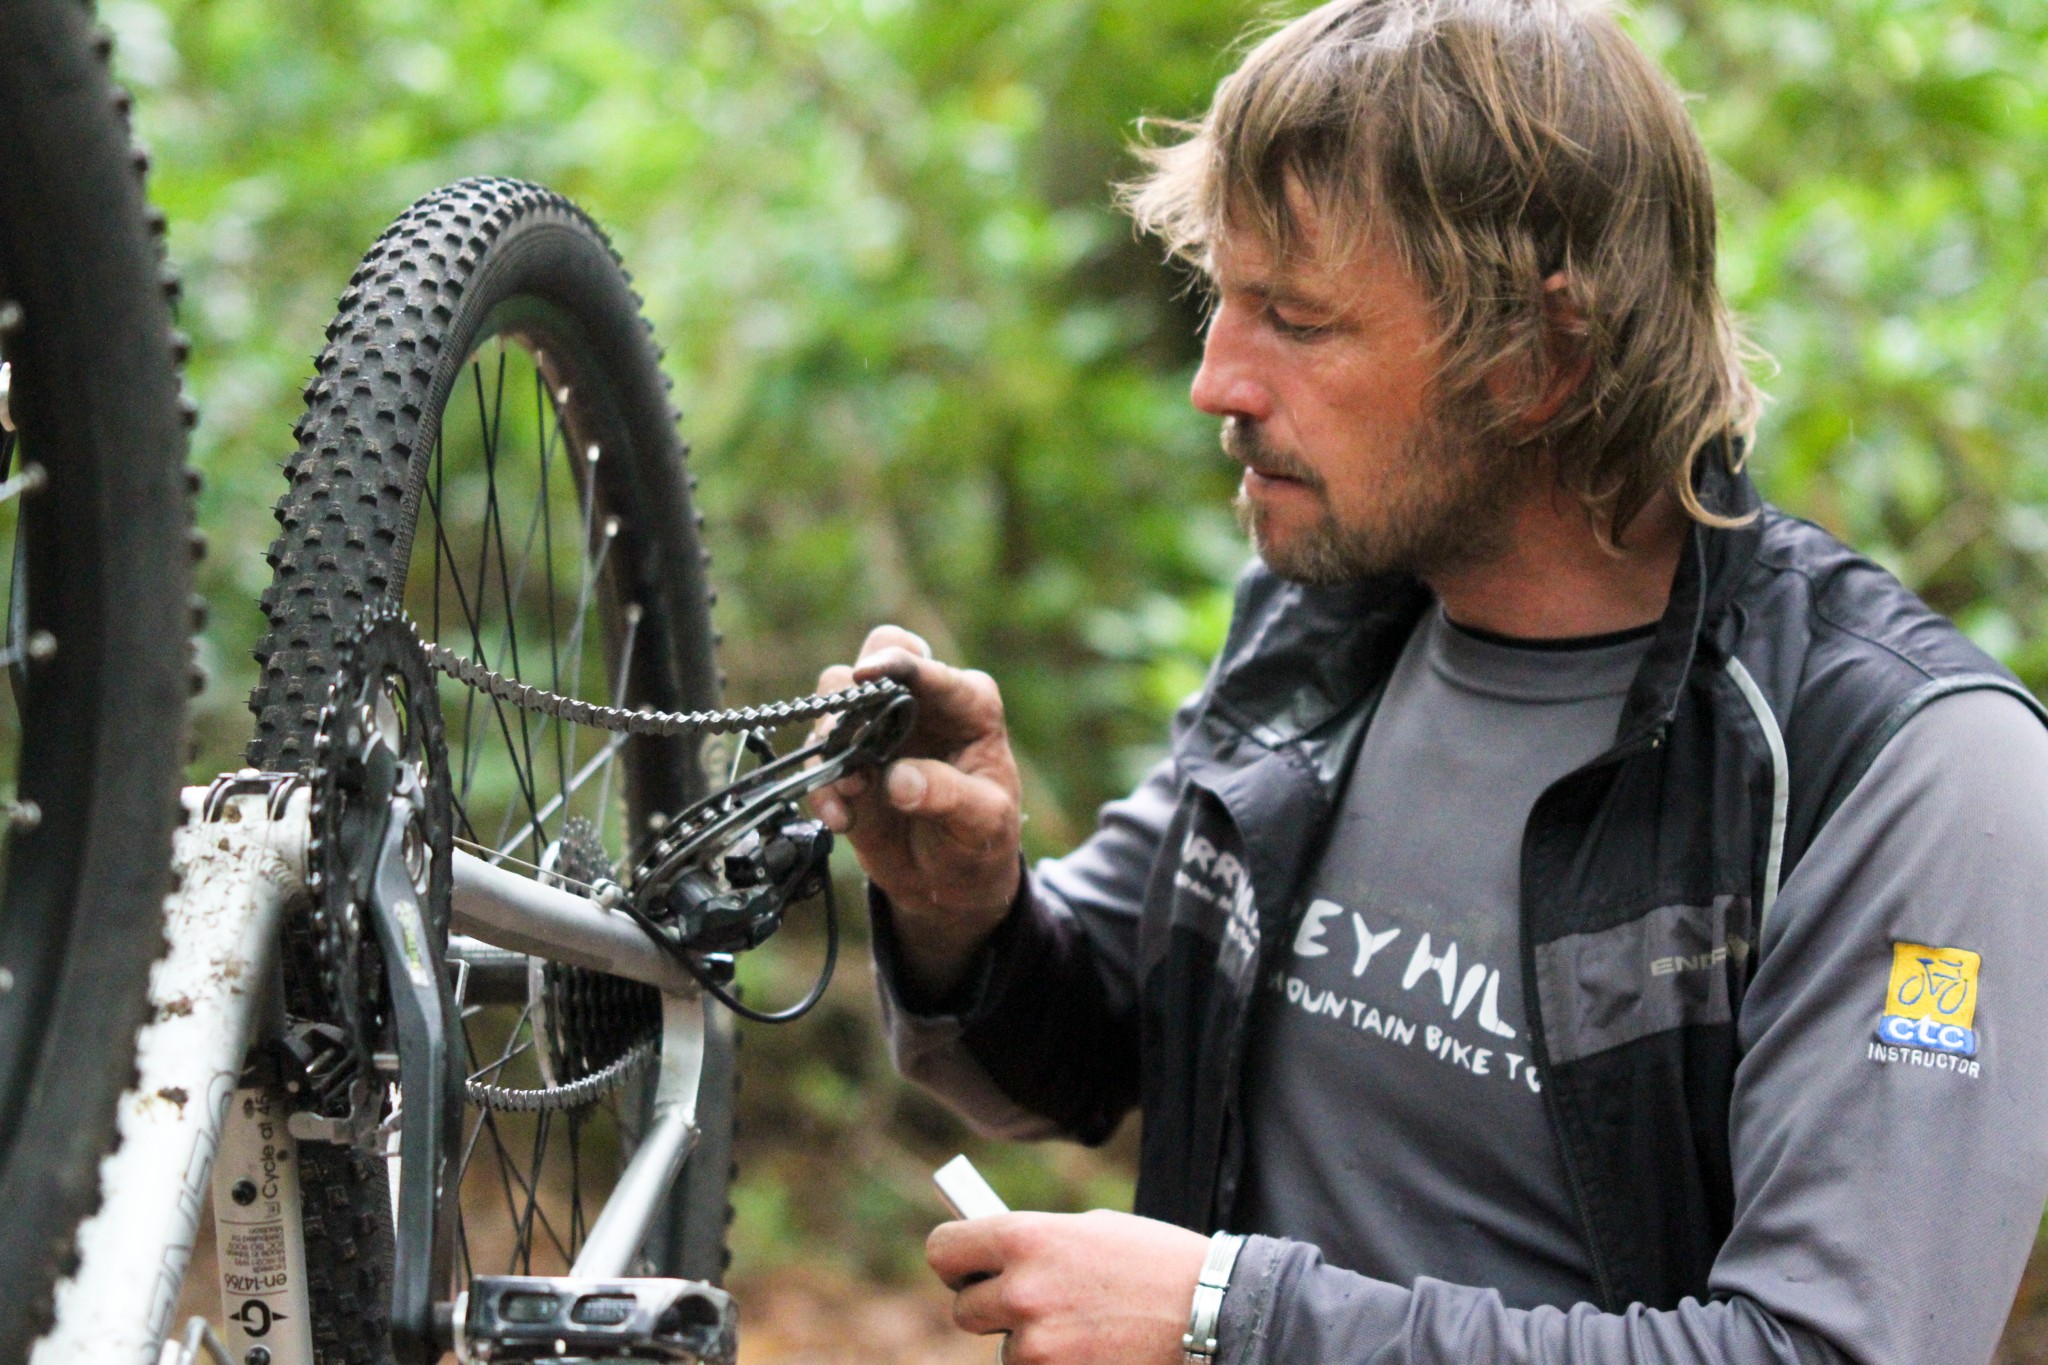
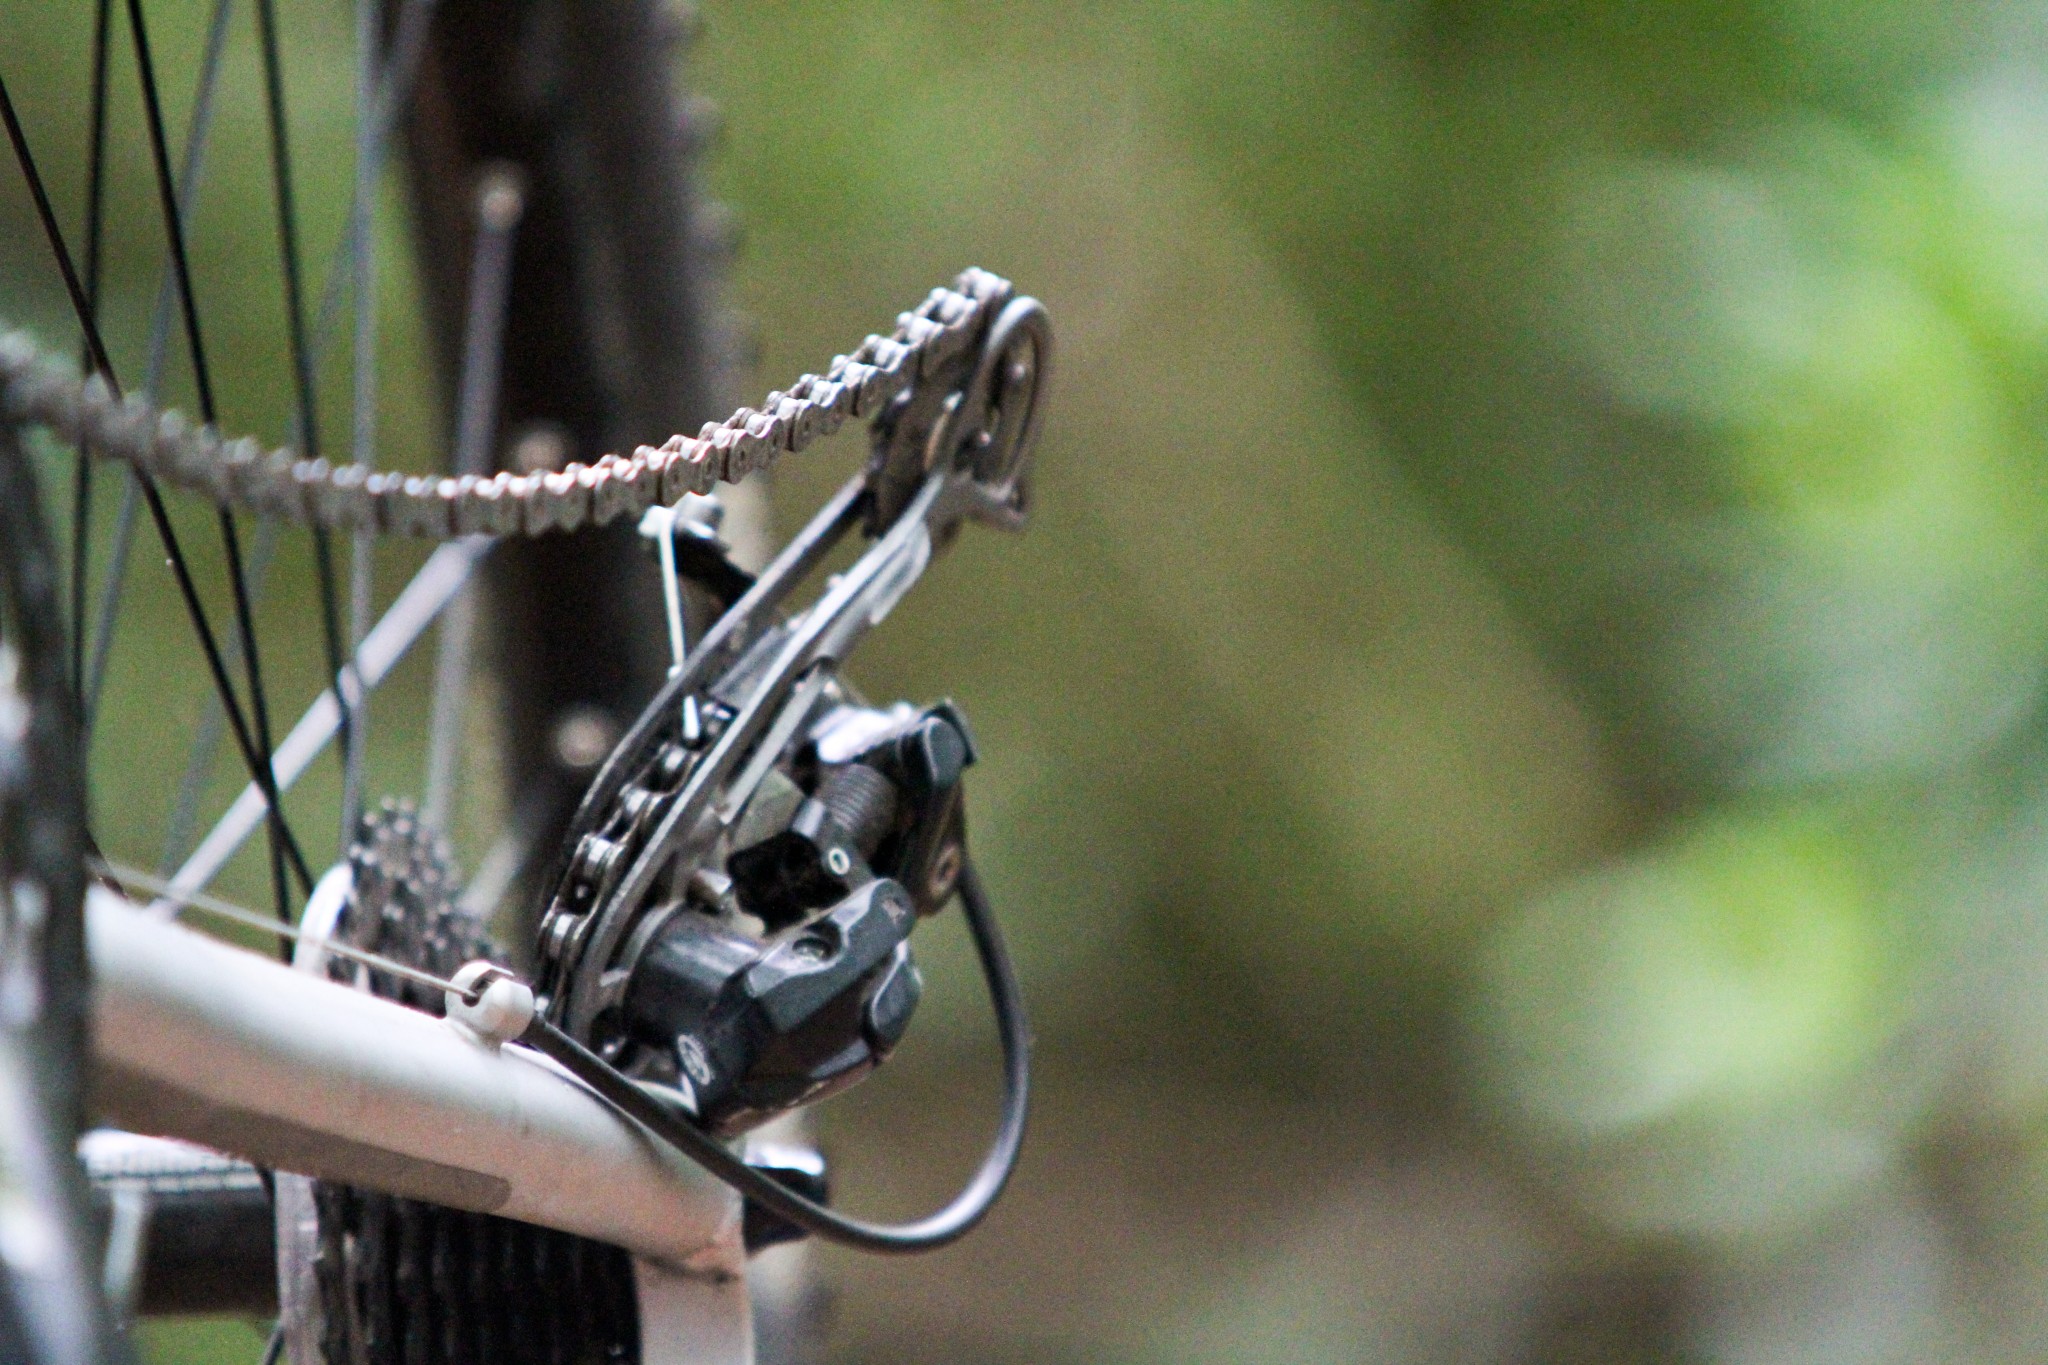
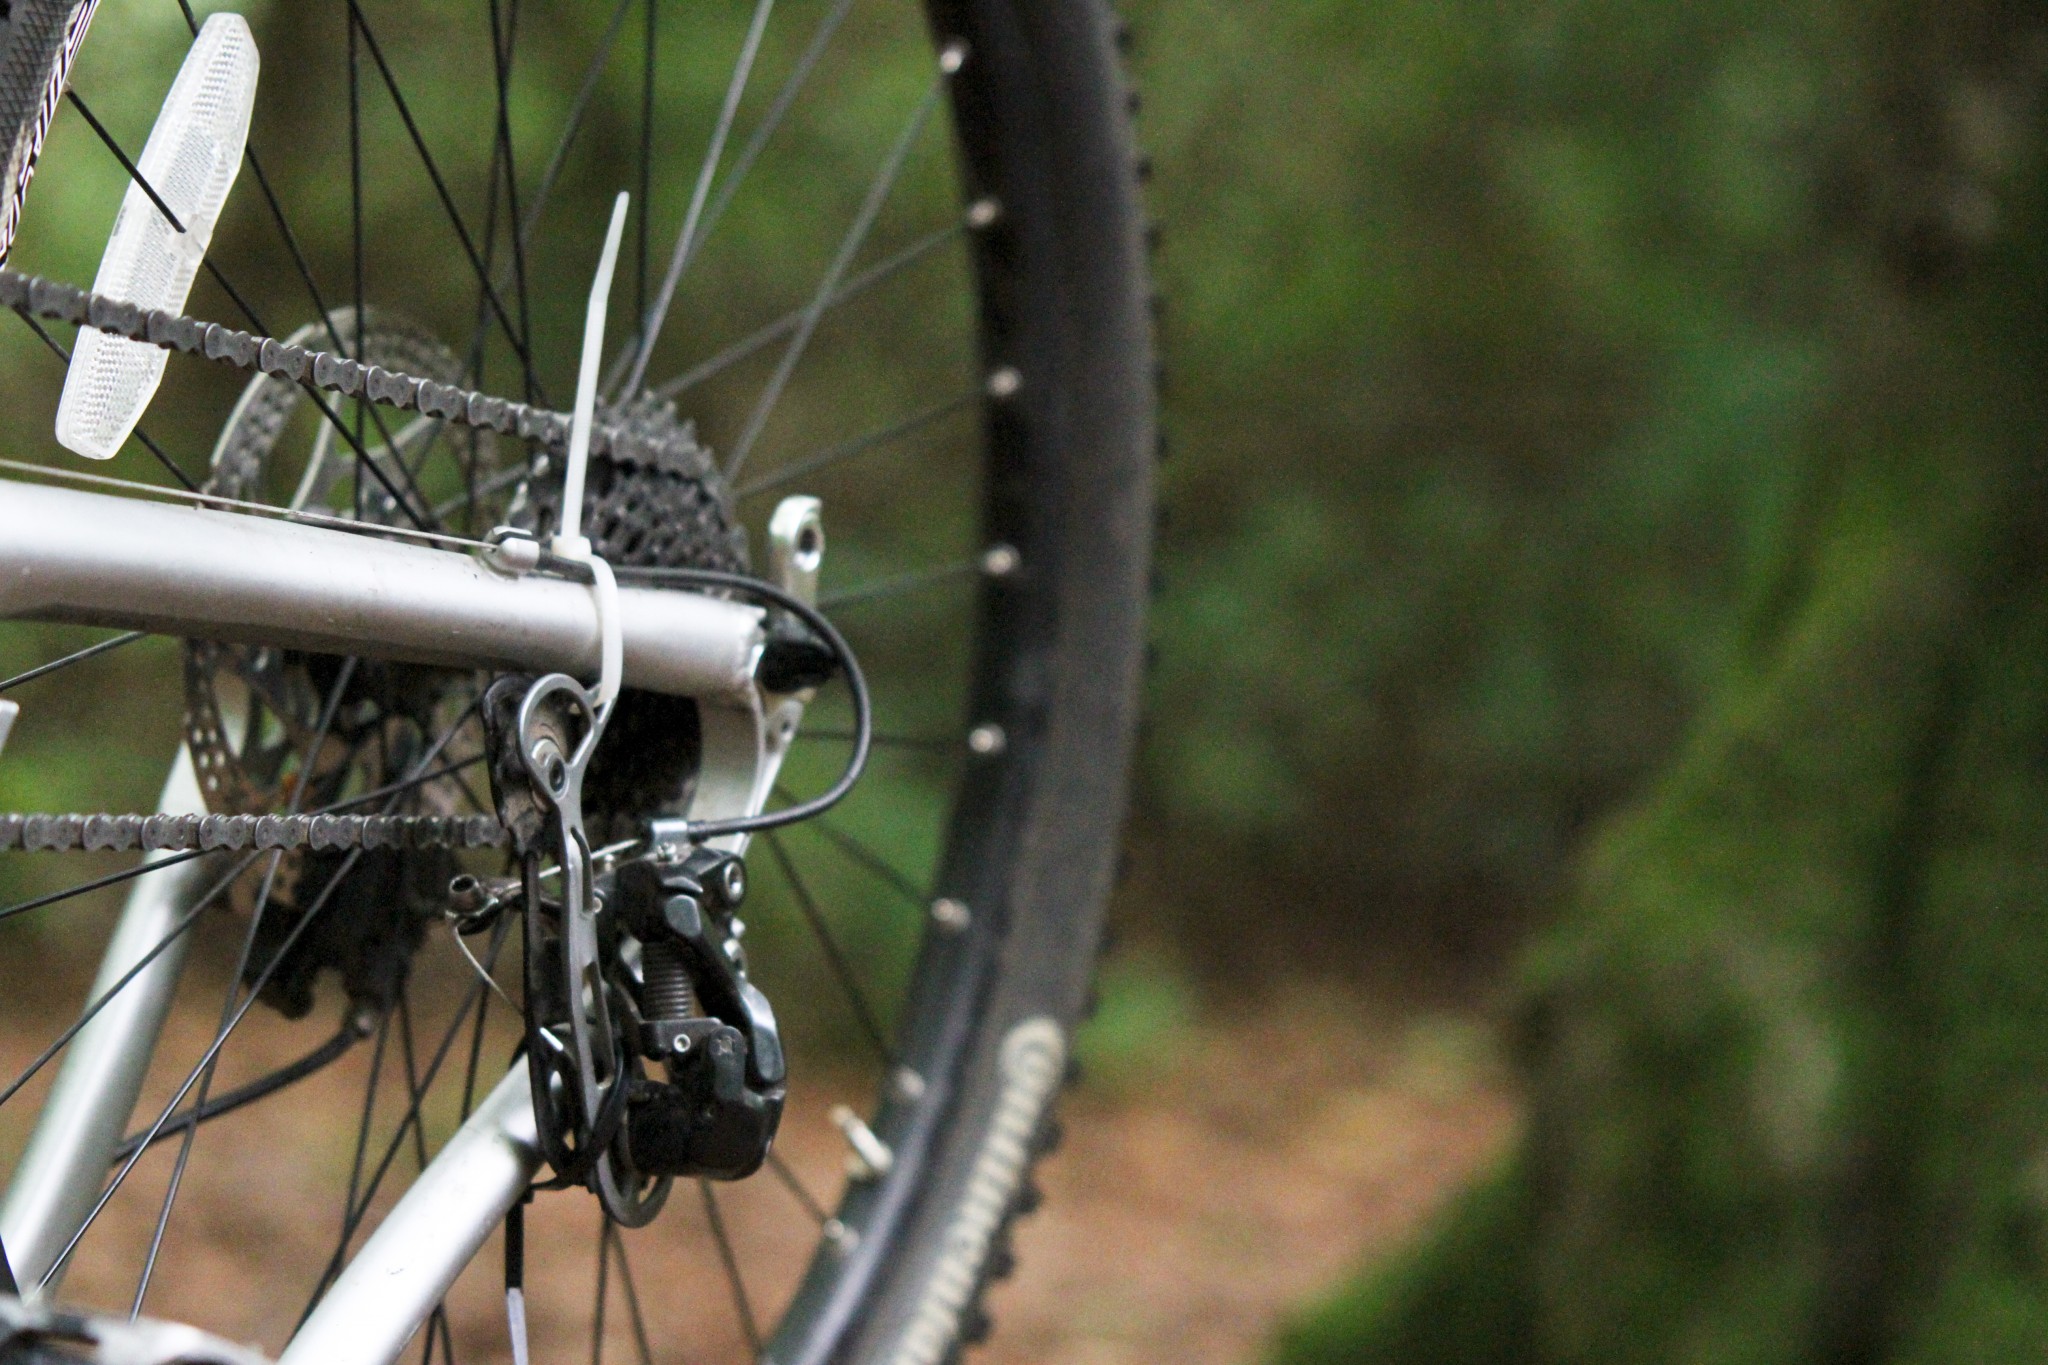
14. Finally down to the back of the bike and you are looking at the same elements as the front wheel and brakes. Check also that the mech hanger has not bent in transit. Unnoticed this can result in loosing your mech into the spokes as you go up through the gears on the first climb. Having a look at the limiter bolts on the mech (usually marked L and H) is a good idea. At the maximum extent of travel up and down the gears, these bolts ensure that he chain cannot drop off the bottom of the cassette or ride up over the top. Also at this point cast you eye over your chain. Turn the cranks backwards and see that the chain links pass smoothly through the mech. Stiff links can cause the chain to jump or worse and a split link can contribute to rapid unplanned removal of a derailleur.
Now all that has taken you a while to read or less time to skim over, (less time still if you re just looking for the next video), but in reality it takes no more than a minute or two to run through on the bike. Most of the smaller resolvable issues will take seconds to fix. Time well spent. Don't be complacent; you will be surprised just how often something that requires immediate attention is found. It will also give you advance warning of maintenance that requires more in the way of specialist tools and time than you will have at hand on a cold wet Sunday morning as your mates look on impatiently, mentally forwarding you to the top of the 'who is getting the first beer in after the ride' list.
If all this done you are less likely to suffer mechanical issues as you ride but there is no guarantee that you wont have something to deal with on the trail.
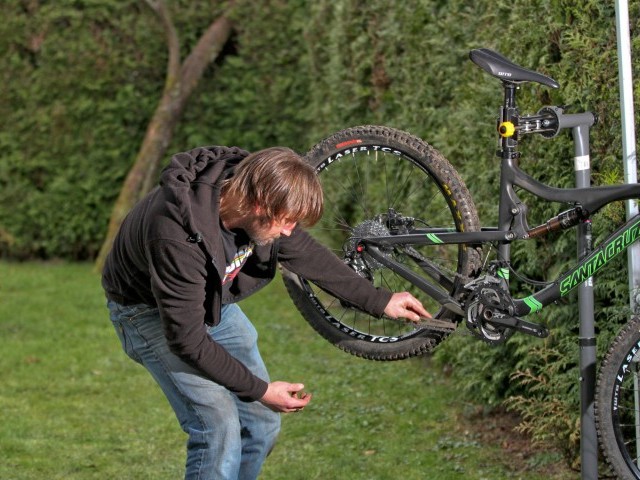
As with improving performance in any area of your riding, identifying the issues that need attention is the first stage. Without a correct diagnosis you are unlikely to cure an issue or be armed with the necessary tools to finish the job. Identifying the issue is only the start point. Having both the knowledge of how to put it right and the tools to do so are a vital part of the equation.
So with your bike prepared and meeting at least minimum standards where safety is concerned you might be ready to go but not yet ready to deal with what might lie ahead.
Clearly you do not want to be trawling round the trails with a 25KG pack strapped to your back but equally you do not want to be stuck up a mountain armed only with a pair of budgie smugglers and a positive (if not somewhat naive) attitude towards not breaking down. The terrain, distance, and remoteness of your route will all be factors that will affect what you take and what stays at home.
There are common areas to consider when it comes to keeping the wheels turning and they will make up the vast majority of breakdowns. How you put the power in (pedals and cranks), how it is converted (chain and mech) and how the bike engages with the ground (Tyres and Tubes) are perhaps the most obvious, and likely, showstoppers. Jumping gears, sagging suspension, limited brake pad life will have an effect but not end your ride.
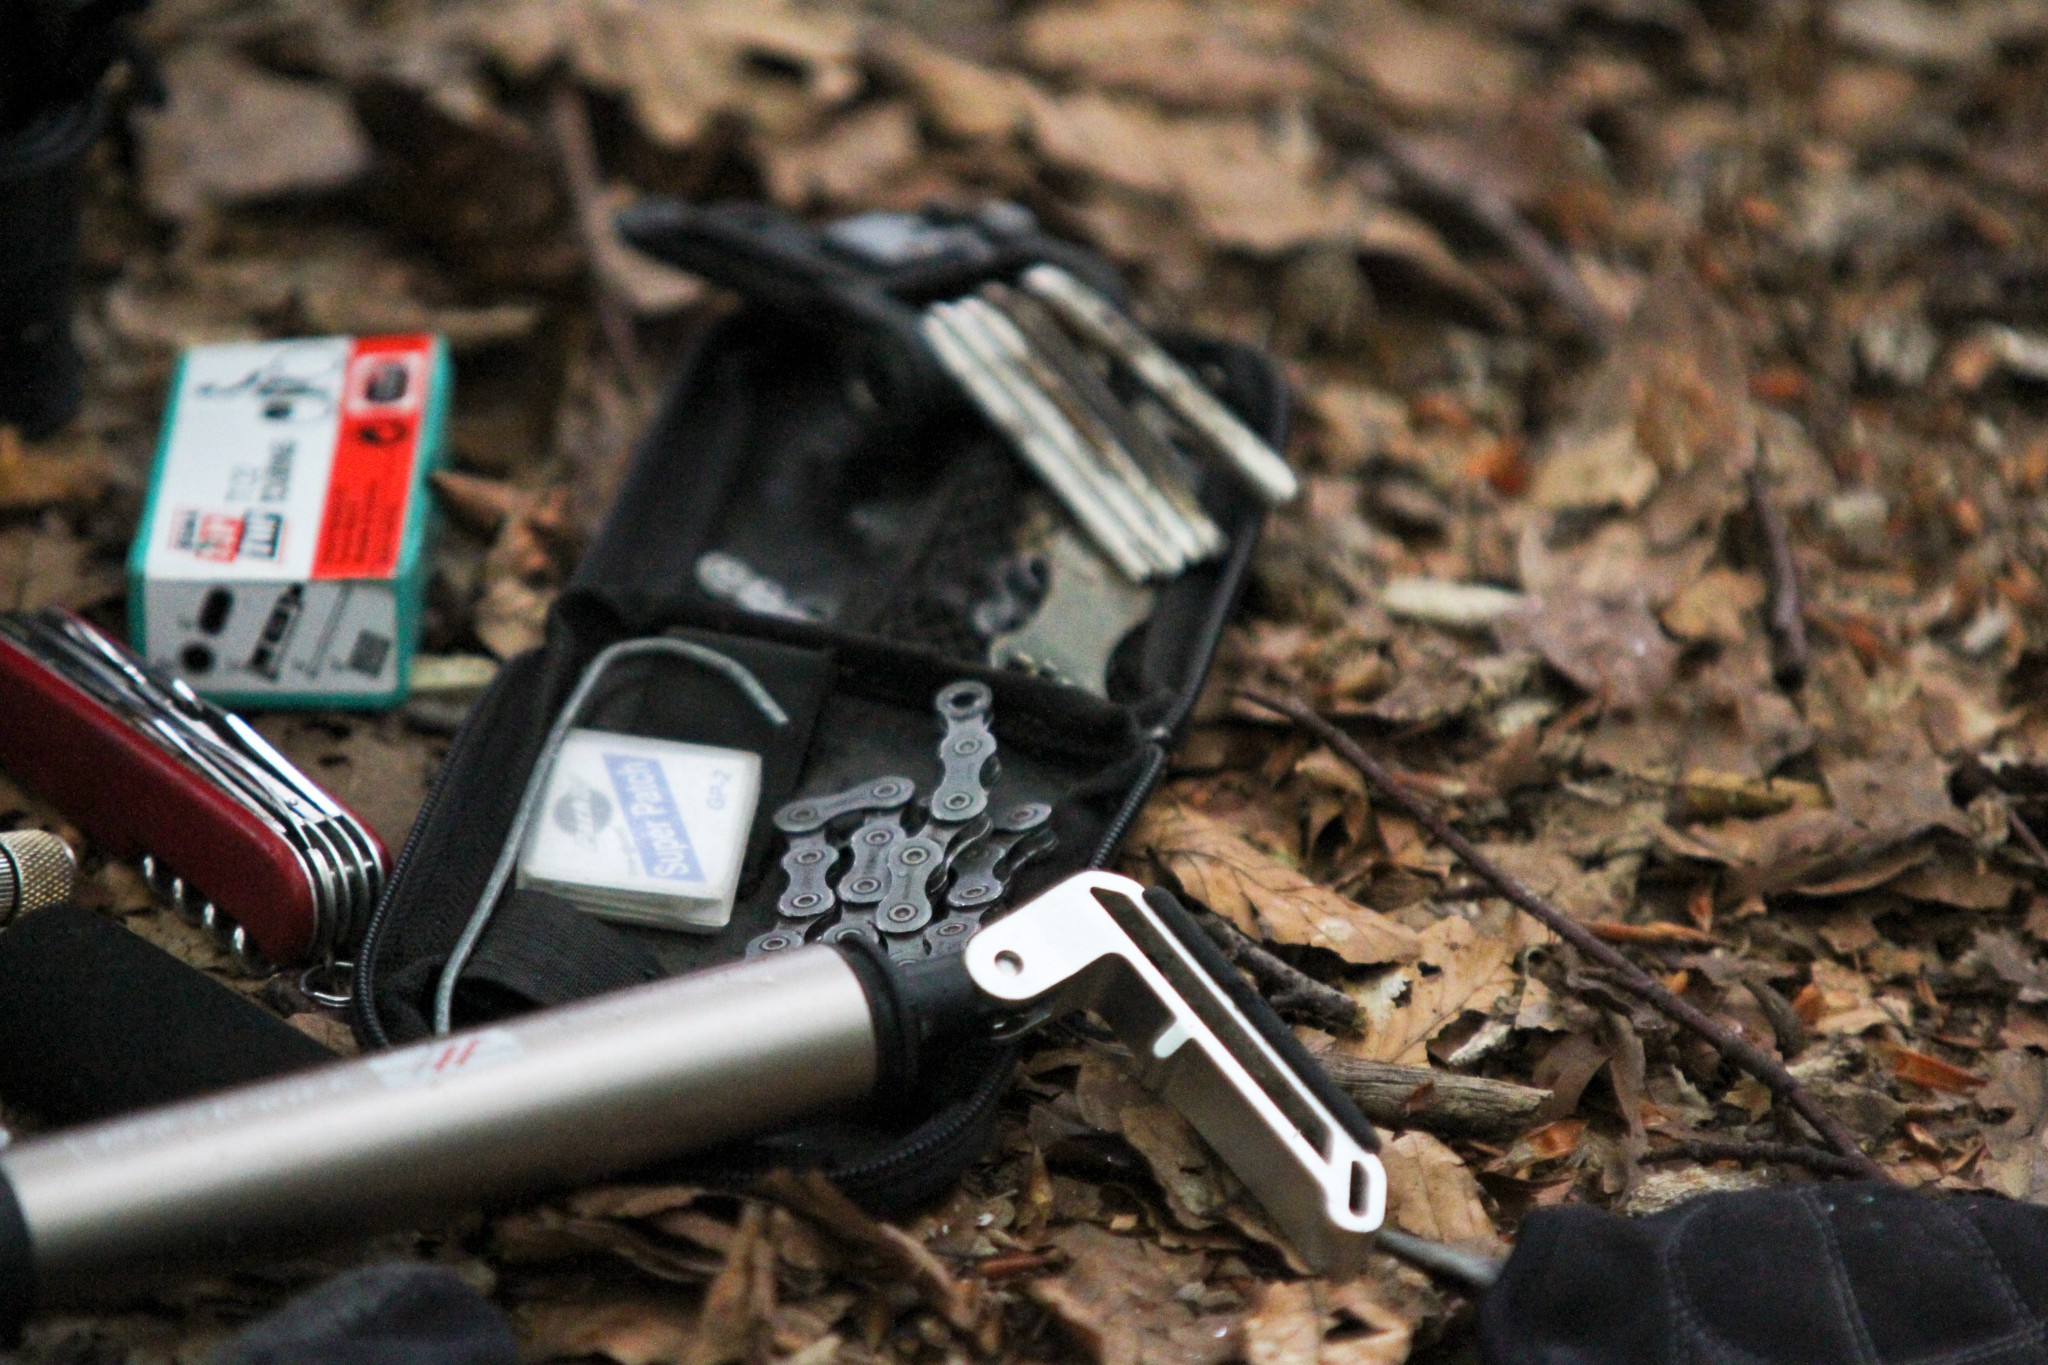
Tools and spares required to provide a quick fix to these areas need not weigh you down too excessively or require a trailer being towed behind you. Some of these are fairly obvious but there are a few not so standard items that can be surprisingly useful. Most of the spares and tools that will make a difference, (and are often overlooked), weigh less than a chocolate bar (and will prove infinitely more useful).
There are many things your riding kit should include aside from tools and spare parts but let us concern ourselves here with care, well being and repair of the bike rather than the rider.
What then are the tools and spares that you should include?
Standard Tools and Spares for the Trails
- A set of Allen Keys. A 5mm is the most common requirement but most multi tools will include a range 3mm, 4mm, 5mm, 6mm and an 8mm adapter. Bolts can work loose and finger tight is not going to cut it (even if you can get fingers too the offending item)
- A chain-breaking tool. Sometimes these are included on a multi tool but they are often a compromise. A separate chain tool can prove a lot less faff when fingers are cold, you are fatigued and in the words of Mike Skinner 'your rage is blowing gauges'.
- Tyre levers - although with strong thumbs and good technique you may be able to remove and then reseat a tyre in the rim tyre levers make the job a whole heap easier.
- A puncture repair kit and a spare tube. One spare tube will be less hassle perhaps than finding and fixing a puncture on a trail but as a back up and in the event of more than one puncture a repair kit will provide you a safety net. Modern self-adhesive patches require no separate glue, can be fitted in seconds, weigh significantly less than a tube and will serve you well.
- A pump / CO2 canister and refills. As with spare tubes, CO2 canisters are a one hit wonder so a pump will serve you better in the long run.
The not so Standard
- A spare gear cable - trimmed slightly so that it wont leave 10 inches trailing in the breeze ready to foul your drive train.
- Spare mech hanger specific to your bike is best but won’t help others in your group. Universal ones are available as a last resort but are far from perfect.
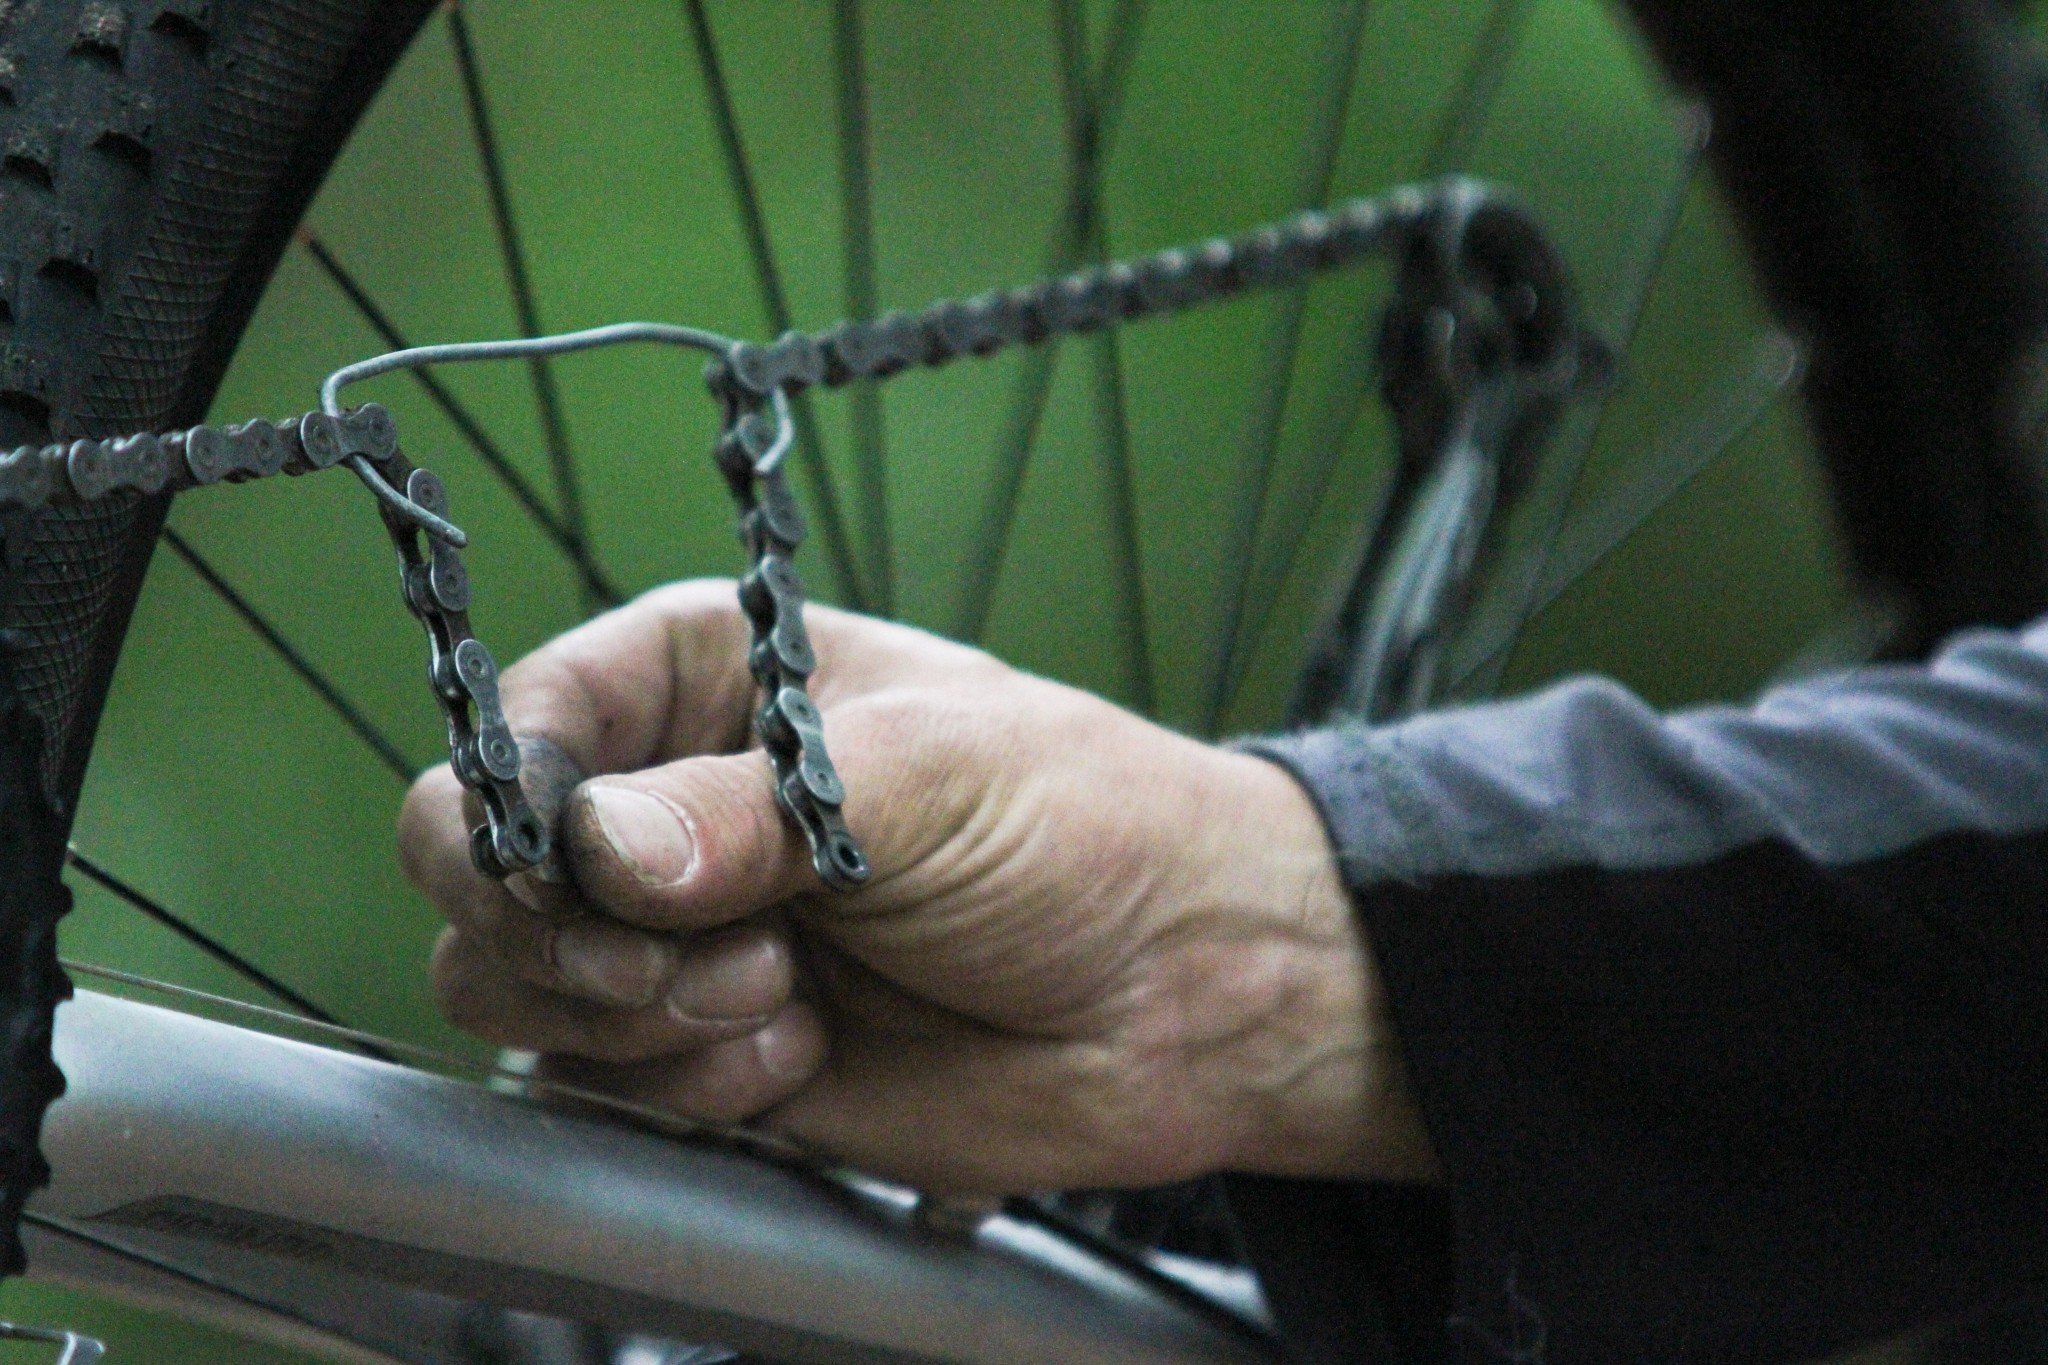
- Homemade chain hook. Mending a chain is a task made easier with an additional pare of hands. A length of spoke cut to 6 inches and bent at either end will allow you to take the tension out of a chain while you mend it. Hook both ends through the chain 5 or six links back from either side of the break leaving you some slack to work with. In the absence of a ride buddy to assist you this can prove very useful and dramatically increase the chances of success when it comes to getting a perfect repair - you wont end up bickering with it either!
- A 'quick' link. The fastest and easiest way to mend a chain.
- Cable ties - many uses and low in weight.
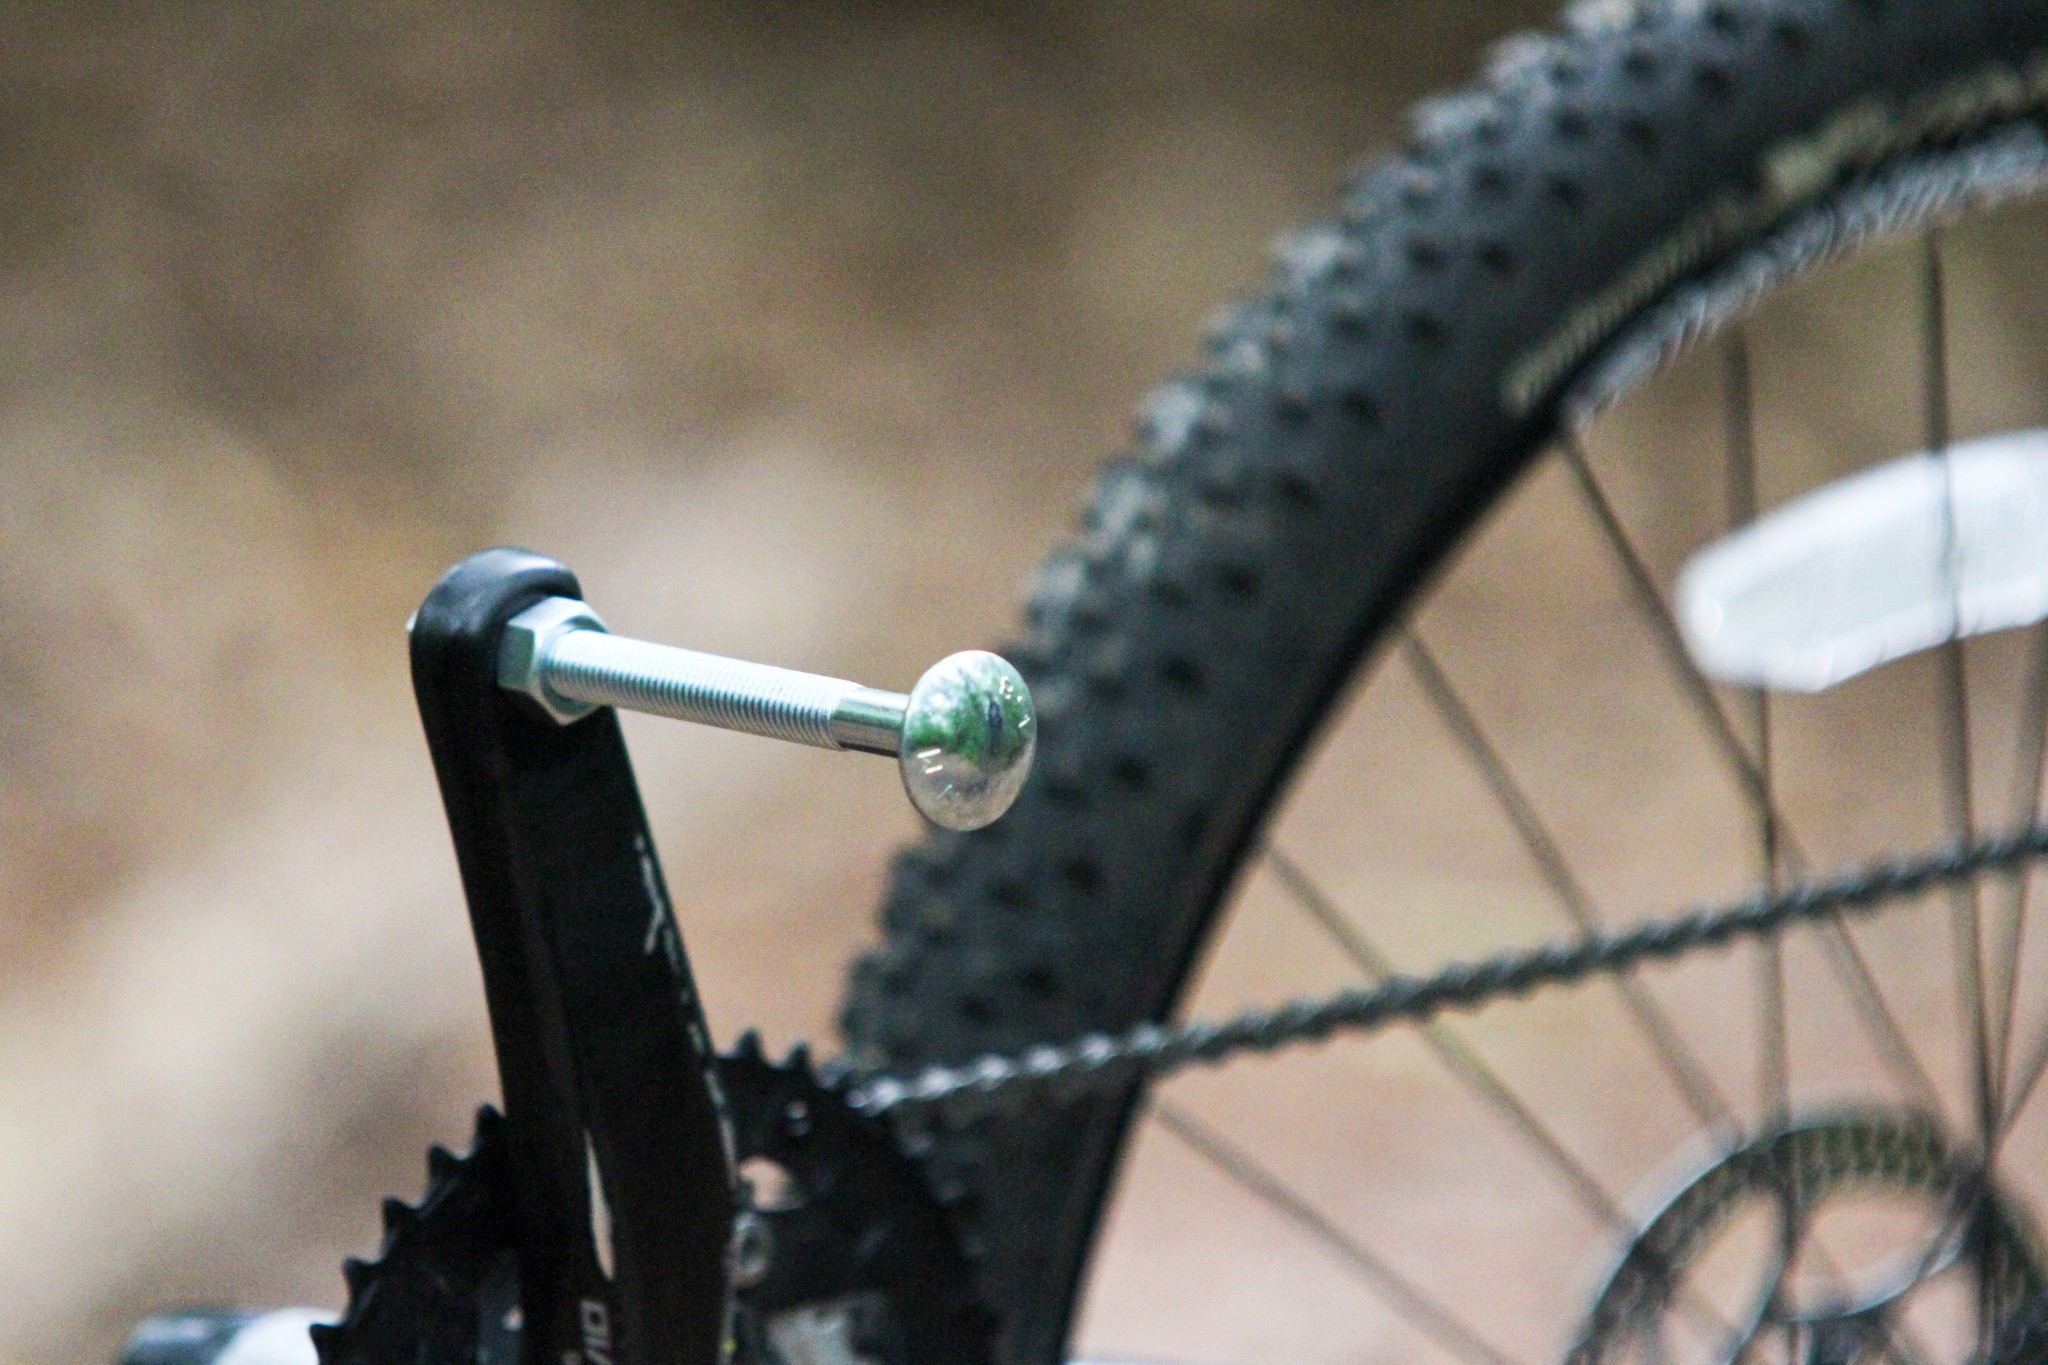
- An 8mm, 6 inch (M12) coach bolt and two nuts - this can easily be fashioned into an emergency pedal even when your crank thread is shredded. It does not provide the most stable of platforms but will help you get home.
- A few spare chain links.
- A piece of flexible plastic cut from a margarine tub lid or a 'Pringles' tube top (careful though as once you pop you know what happens!). Cut to about the size of business card, this can be seated inside the tyre, between it and the tube. Aligned to cover and overlap the split in the sidewall this patch will stop the tube poking through the tyre. Simples.
For Longer Trips
- Spare break pads (specific to your rig). Several sets for multi day trips especially if you have a penchant for comfort breaking.
- A spare rear mech - a little bulky but less effort than being stuck in one gear for a long trip.
- Another spare mech hanger - they pack light but bend easily!
Packed up and ready to roll (or pedal) you can head off with the knowledge that you can deal with much of what Mother Nature might throw at you. The attached videos will look at the 'how to' in terms of dealing with specific all to common breakdowns. Aside from having the right kit and the knowledge of how to use it, the final consideration to minimising the negative effects a mechanical break down lies in how and where you go about tackling repairs.
Consider the following points and you wont be in danger of making a bad situation worse.
- Where it breaks is not always the best place to repair it. Inverting your bike on a steep descent or settling down to begin repairs around a blind corner could put you and other riders at risk. Get off the trail, find a sheltered spot close by, and if you cannot get off the trail make sure at least that lines of sight are good. If there is a group of you sending someone a little way back to warn on coming riders is not a bad idea.
- Wrap up. You'll get cold quickly in the wrong conditions and although you may have been warm riding that heat will be lost rapidly once you stand still.
- Calmly assess the situation - don't rush in all guns blazing only to make things worse.
- Make sure that you have the parts and tools you are going to need close at hand and preferably lay them out on top of something. Small parts have a habitat of disappearing into the undergrowth and can have a chameleon like effect when they are dropped onto the trail.
- If the repair required is the result of a crash check over all the usual suspects before you head back off, especially the mech hanger. It may be that you have overlooked some damage in focussing on the most obvious.
- Don't discard the broken parts, punctured tubes etc - your mum wont be along to clear up after you and if you are unable to or cannot be bothered repairing something don't think you are doing someone else a favour by leaving it hanging from a tree!
- Practise makes perfect. Although a little fiddly most of these tasks are relatively simple to perform. When you get a chain tool practice using it on some spare chain or an old one. There is a slight knack to getting it right which is hard to perfect first time particularly if you standing in a force ten on the side of mountain!
It may seem a bit OTT carrying a range of spares and practising trail repairs but longer term the benefits far outweigh the negatives. It will position you well to do your 'good deed for the day' when you come across a stranded, hapless rider, and best of all... Karma will no doubt smile on you!
Peace out.
This technique article was in Issue 13 of IMB.
Related
By Richard Kelly
Richard Kelly has been riding bikes since forever, and teaching people to become better mountain bikers for over a decade. He’s always out in the Surrey Hills training riders, building trails and riding for himself whenever he gets the chance. His unique perspective on mountain bike technique has earned him fans the world over, with some speculating he is actually Jamiroquai or perhaps Jack Sparrow…