Jumping Fundamentals
Technique / Skills


Introduction
Of all the techniques that make up the rich tapestry of riding, jumping is perhaps the technique that riders most often identify as an area where they could do with some help.
Mountain biking continually evolves and where back in the day your average trail ride might include the odd small jump here and there which, with little effort, could be circumnavigated altogether, jumps are more than ever becoming a feature of trail riding. With the rise of the Trail Centre and Bike Park more riders encounter bigger jumps at an earlier stage in their riding. Developments in bike technology have meant that most bikes can cope more reliably with bigger terrain and with more stresses than the average rider is likely to face. Our bodies have not. The pushing of boundaries by pro riders filters down through to the enthusiast level and where big air was once the preserve of pro's, more riders can be seen in woodlands the world over hitting bigger and bigger jumps which no more than a few years ago would have attracted media attention, sponsorship and notoriety in the MTB community. Despite our knowledge of what is achievable and our faith in the advances in bike technology, for many there is a mental and physical block when it comes to getting air (or more importantly landing it) confidently and correctly.


What constitutes a big jump is a purely personal evaluation. How you define success is perhaps a more important consideration. Many riders will tell me that they are happy with smaller jumps but not bigger ones. Psychology definitely plays a part in this and riders themselves will often tell me it is only a ‘confidence’ issue. Unfortunately that lack of confidence might well be well founded and attributed to a genuine lack of technique that only becomes apparent to the rider when they are airborne for long enough. A small jump will allow for greater margins of error. Forces generated are lessened; airtime is shorter and there is less time for things to go wrong. These facts act as a comfort blanket for the rider and the result is that even though there is a skills gap, that gap won't swallow you up. Easily masked we can brush them aside as a little ‘sketchy’ moment and fail to address them. Overlook these shortcomings and as jumps get bigger there will come a point at which they are made painfully and very definitely apparent.
Essentially, as with all techniques, the key to success lies in your understanding and application of the fundamentals. Those fundamentals won't change as the jumps get bigger but they will become more important.
Whether you are unsure of taking flight at all, repeatedly land like you jumped a mountain not a molehill or are just having too many sketchy moments when things get bigger, revisiting the skills that are at heart of matter will ensure more rapid progression. It is time to look at the fundamentals of jumping.
Mastering jumps where the penalty of failure is reduced is the place to start. Trying to learn new skills or develop your understanding and ability on terrain that pushes you to a point of emotional or cognitive shut down is as fruitless as it is potentially painful. Just landing wheels first and staying on does not mean you did it right and are therefore ready for 'that big one'. Not ending up in A&E is the most rudimentary and least reliable indicator of success. Lucking out 100 times does not ease the pain of crashing hard. Understanding the 'why to' and the 'how to', recognising what went well and what needs work, is the key to pain free progression. You body and bike have limitations. Yes, both can take a varying degree of punishment, but as in life, if you don't break the rules you won't (in the main) get punished. You might get away with the odd misdemeanour but serial rule breakers will get caught out.
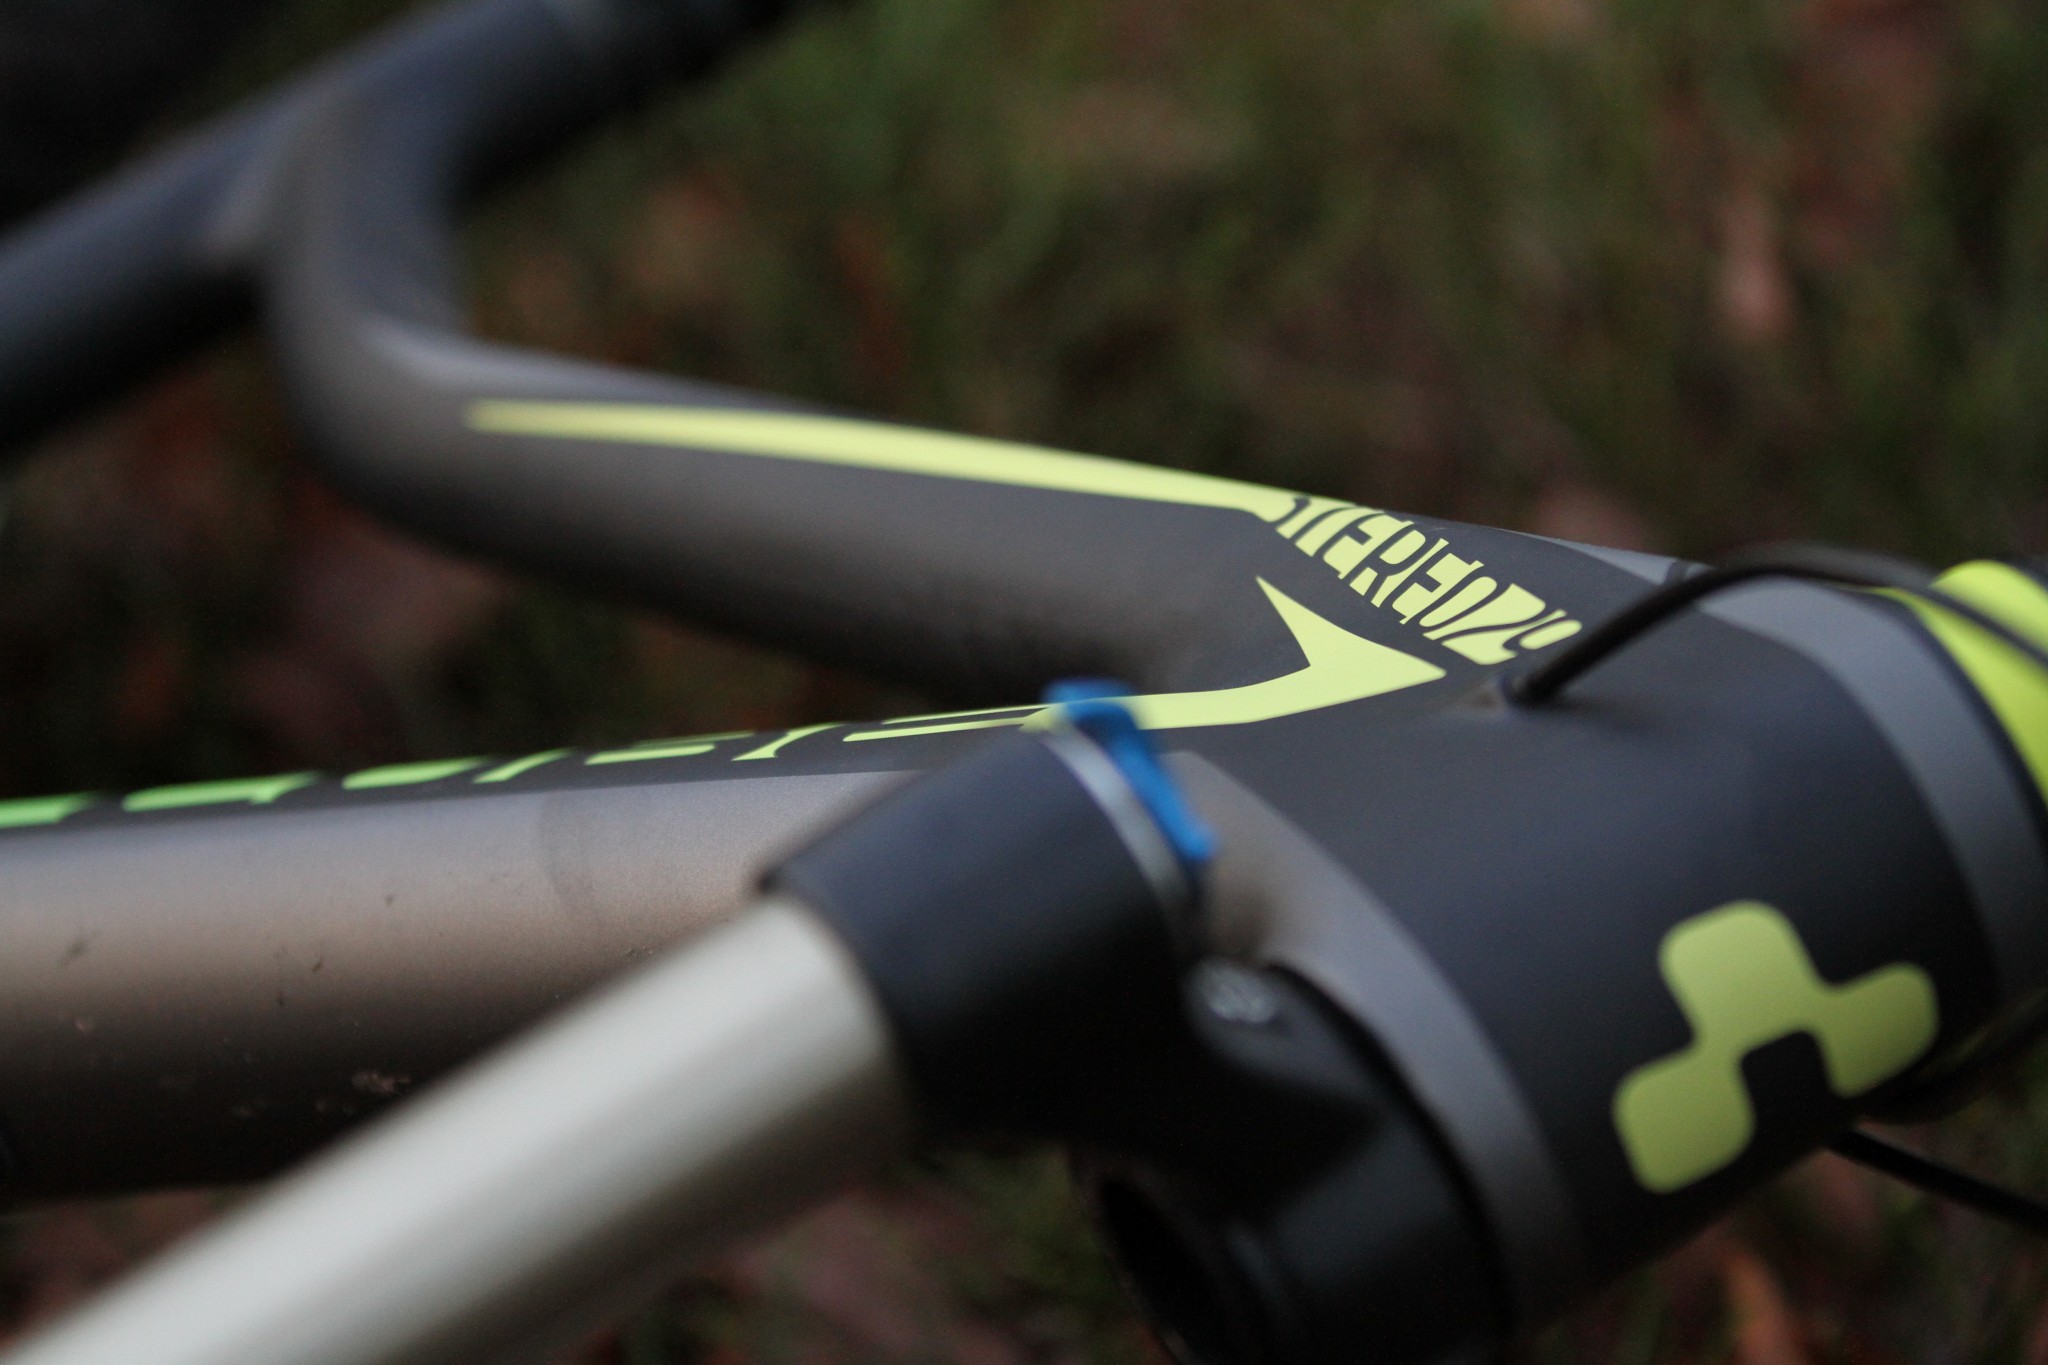
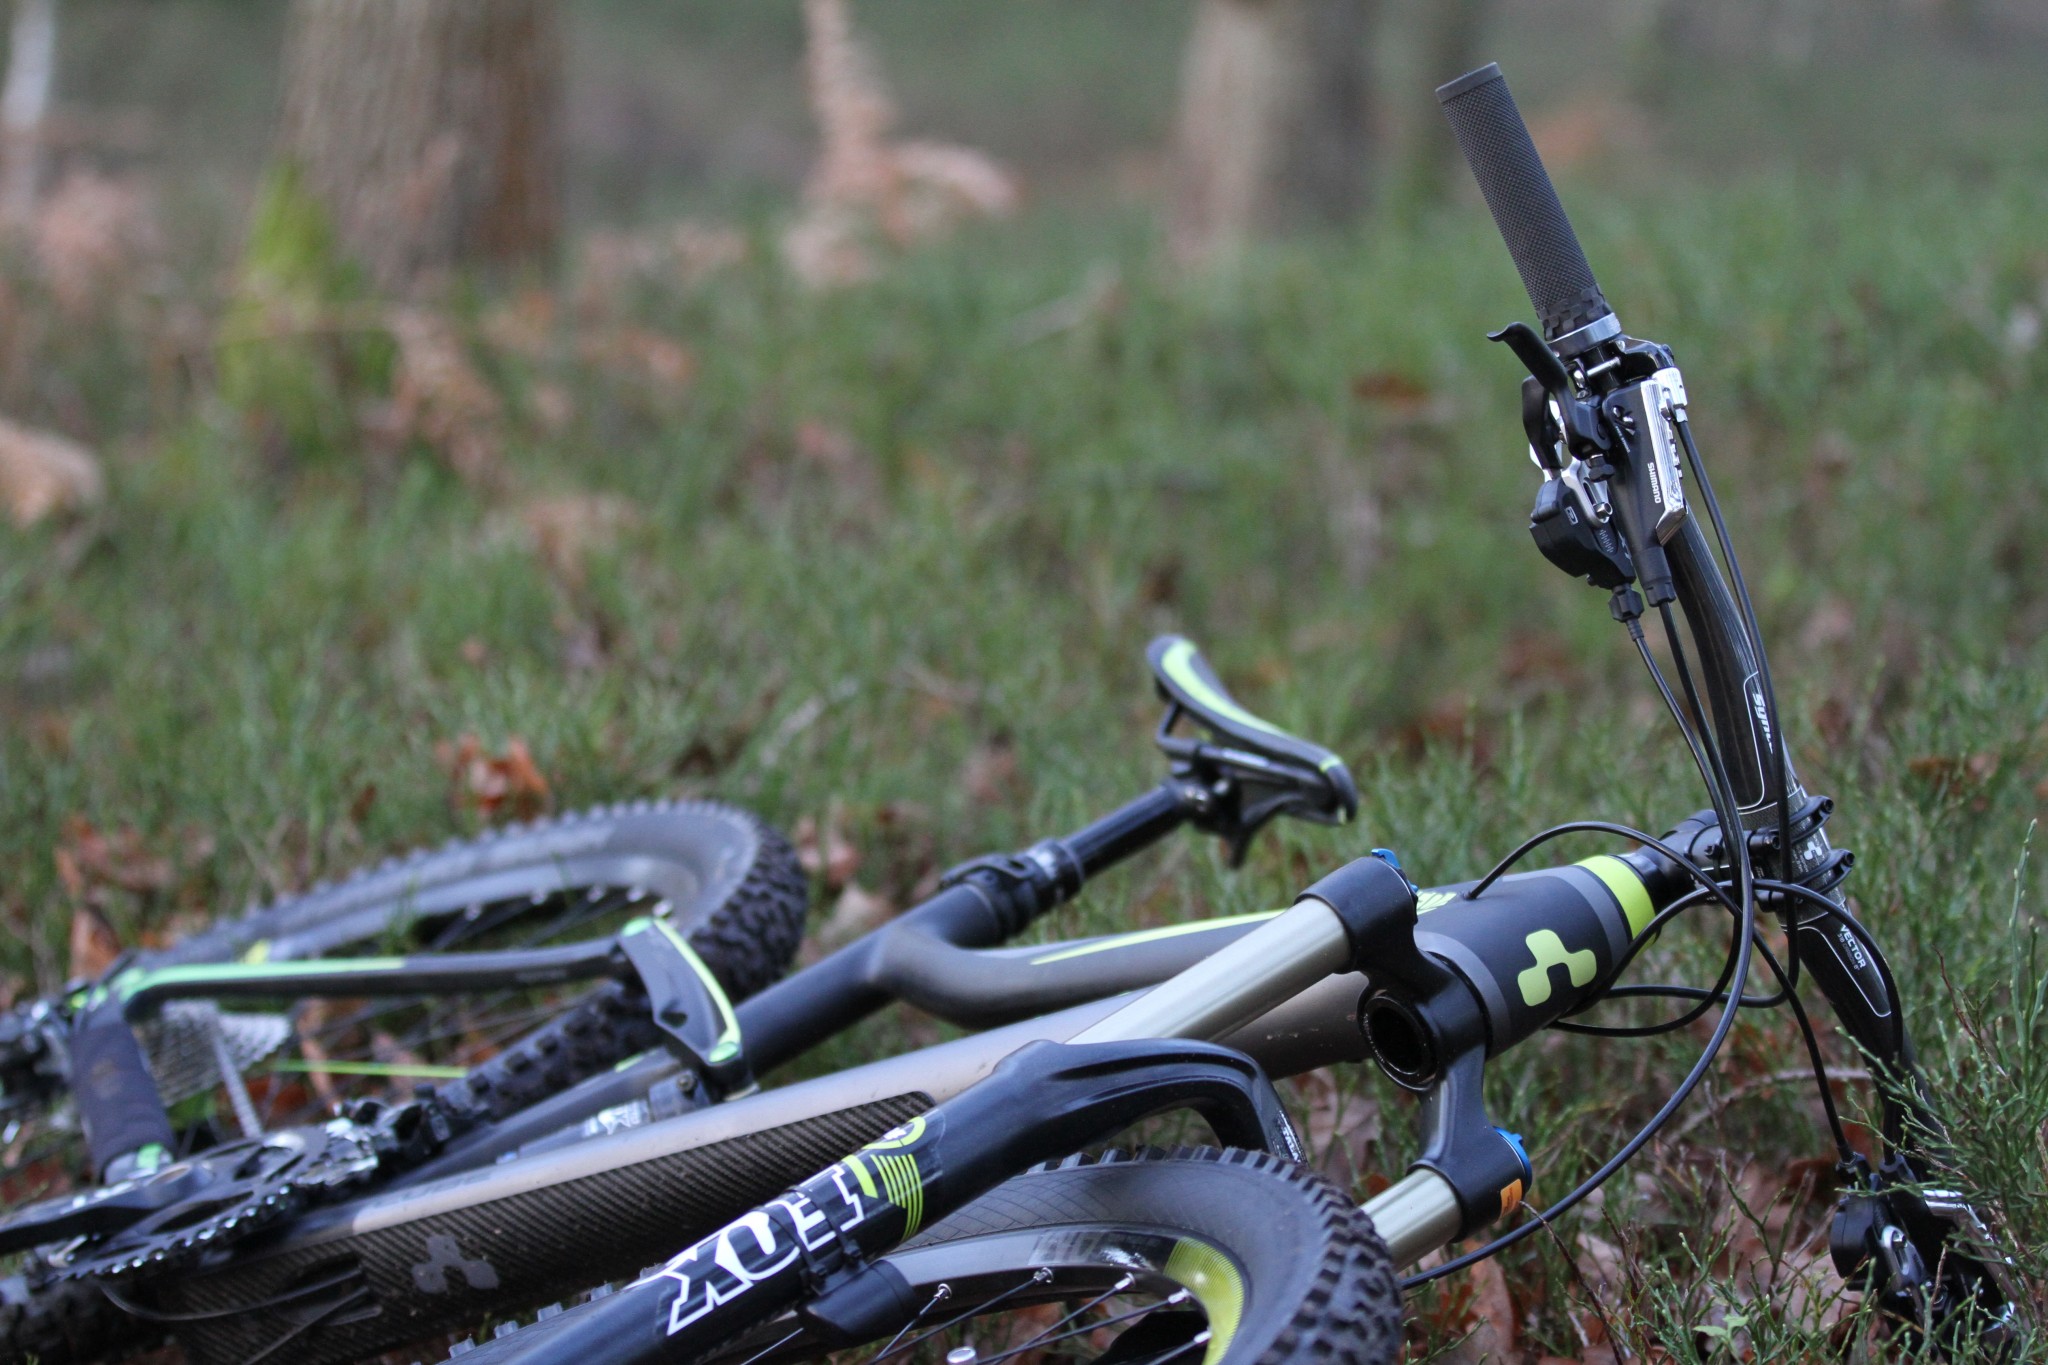
You and your Equipment
In an ideal world you'll be landing softly and not slamming back to earth putting you and your bike through undue stresses and strains. That said there are certain considerations that are worth thinking about when it comes to your bike set up and personal attire. A more vigorous and attentive bike safety check before you start sessioning jumps of any size is a good idea. Extra attention to your wheels (rim condition, spoke tension, and its correct attachment to the frame/fork) is never a bad idea. Checking the frame over for cracks and damage, the crank arms and pedals for play etc are all obvious considerations. As well as your bikes general health and well being some changes to your standard trail settings might be worthwhile.


Suspension
There is no doubt that advances in this field will assist you and reduce the feedback that you feel when jumping. Although there is a certain level of talent compensation afforded by modern technology it will be more of a hindrance than help if it is not correctly set up. Super fast rebound speeds can fire you back off the bike when you land, so slow it down a bit. Softening the set up a bit will give you a greater cushioning effect but it will take some power from your pump and if its too soft you will crash through available travel and bottom out.
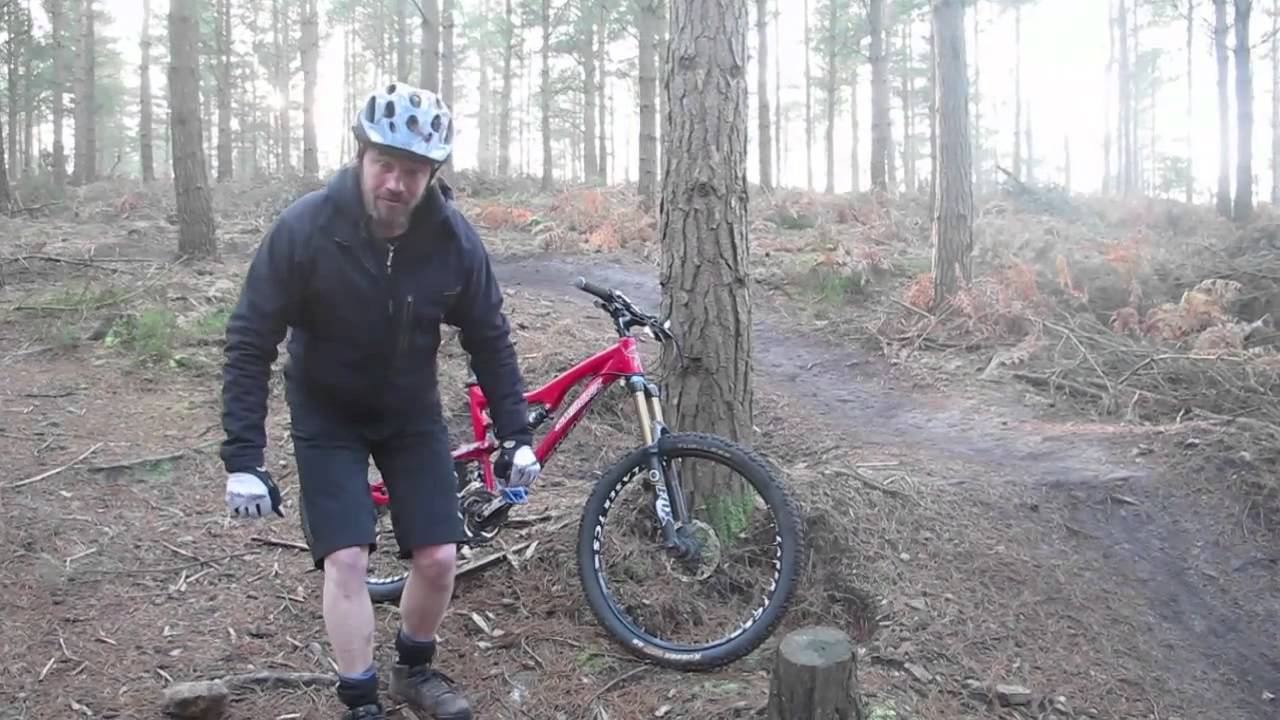
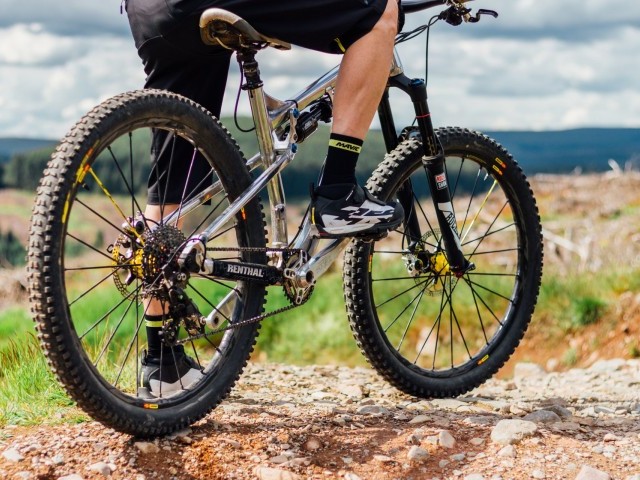
Saddle Height
If you are sessioning jumps and not riding any great distance then dropping the saddle a fair few inches will allow the necessary freedom of movement that is required to master your jumps and allow the bike to rotate below you more freely. Snagging your shorts on the nose of the saddle as you take to the air can have disastrous consequences. The more bad ass and baggy your clothing the more you need to consider this. Dropping it all the way down, although allowing a more free range of movement, might start to feel alien to you. The saddle is both a point of control and point of reference as to where you are on the bike so moderation in changes from your usual set up is advisable.
Pedals
Flats should have plenty of grip, slipping off your pedals at any stage of the jump might be more than amusing for onlookers but not so much for you. Your groin is not a desirable alternative in terms of engagement with the bike but is the next stop if you loose your footing. If you clip in making sure the engagement is good and firm but more importantly make sure you resist the temptation to haul up on your cleats to generate lift.
Pads and Protection
Helmet use. If you are stupid enough to go without a lid the chances are that reading is well beyond you and you will only be looking at the pictures so no need to preach to you here. Make sure your chinstrap is tight and the helmet is correctly fitted.
Knee, shin and elbow pads. These are definitely a consideration as you start to push your boundaries but if just putting them on changes your mindset too much consider starting smaller but without the pads, after all they will only do so much in terms of pain prevention. If wearing them makes you feel restricted, this may outweigh their potential benefit. Also remember that strapping pads on doesn't suddenly mean all will be OK if you slam into the deck, pads don’t make you invincible.
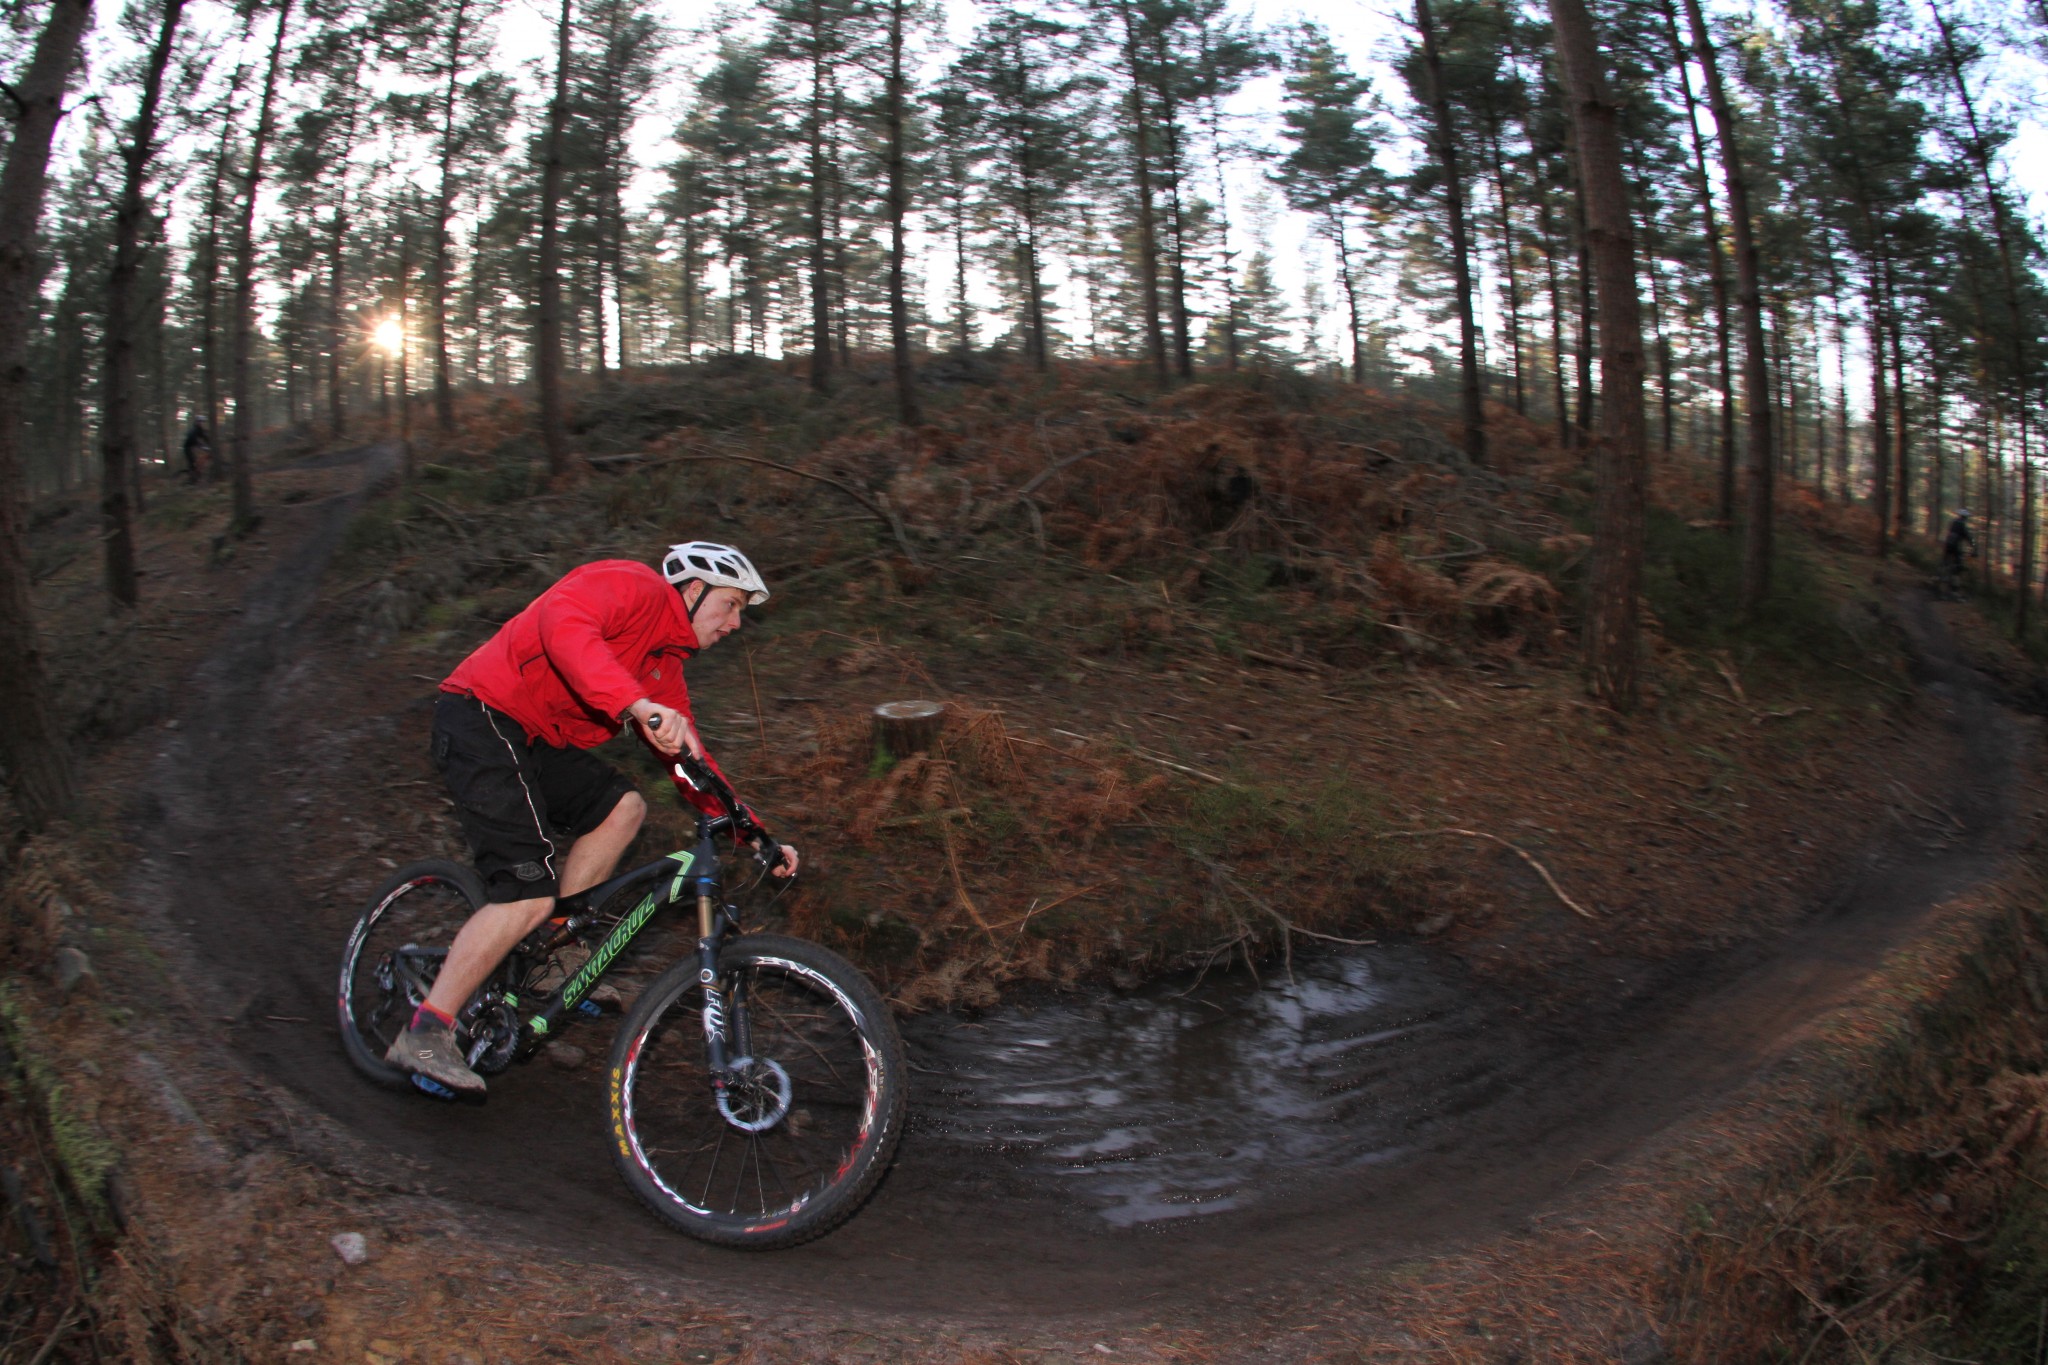
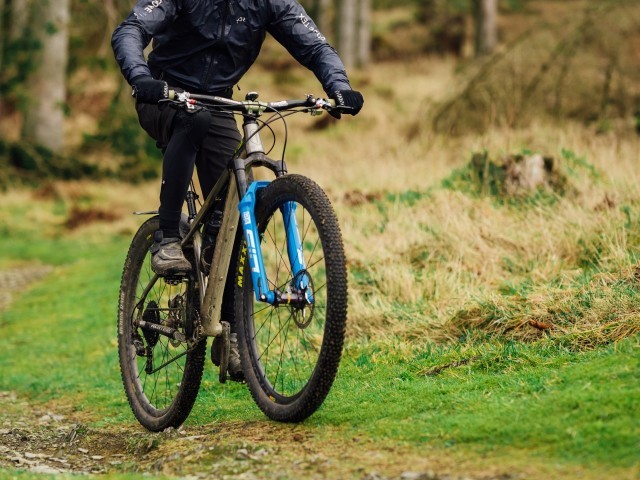
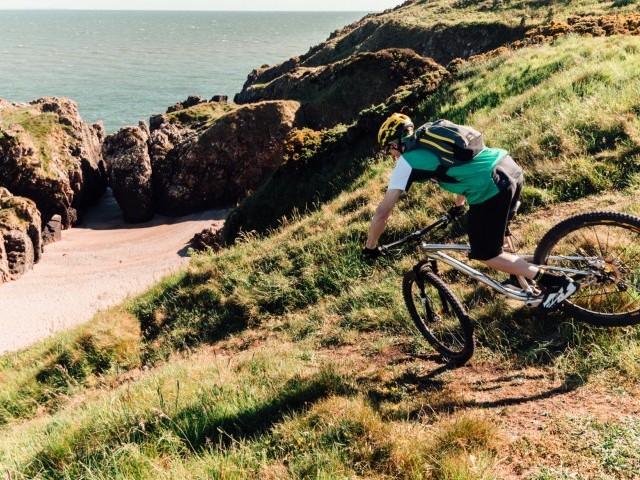
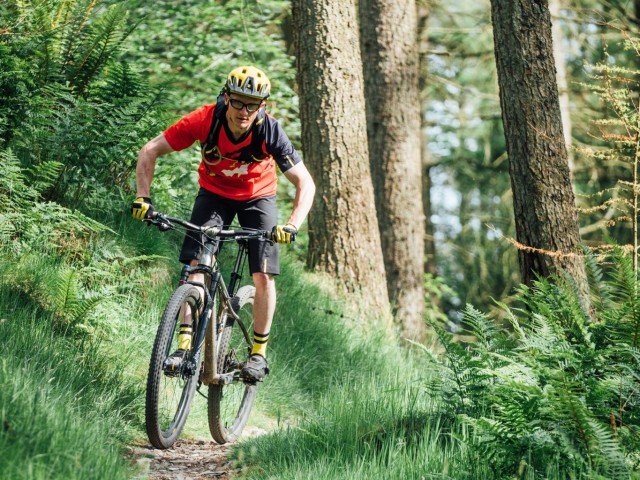
Entry Section Exit
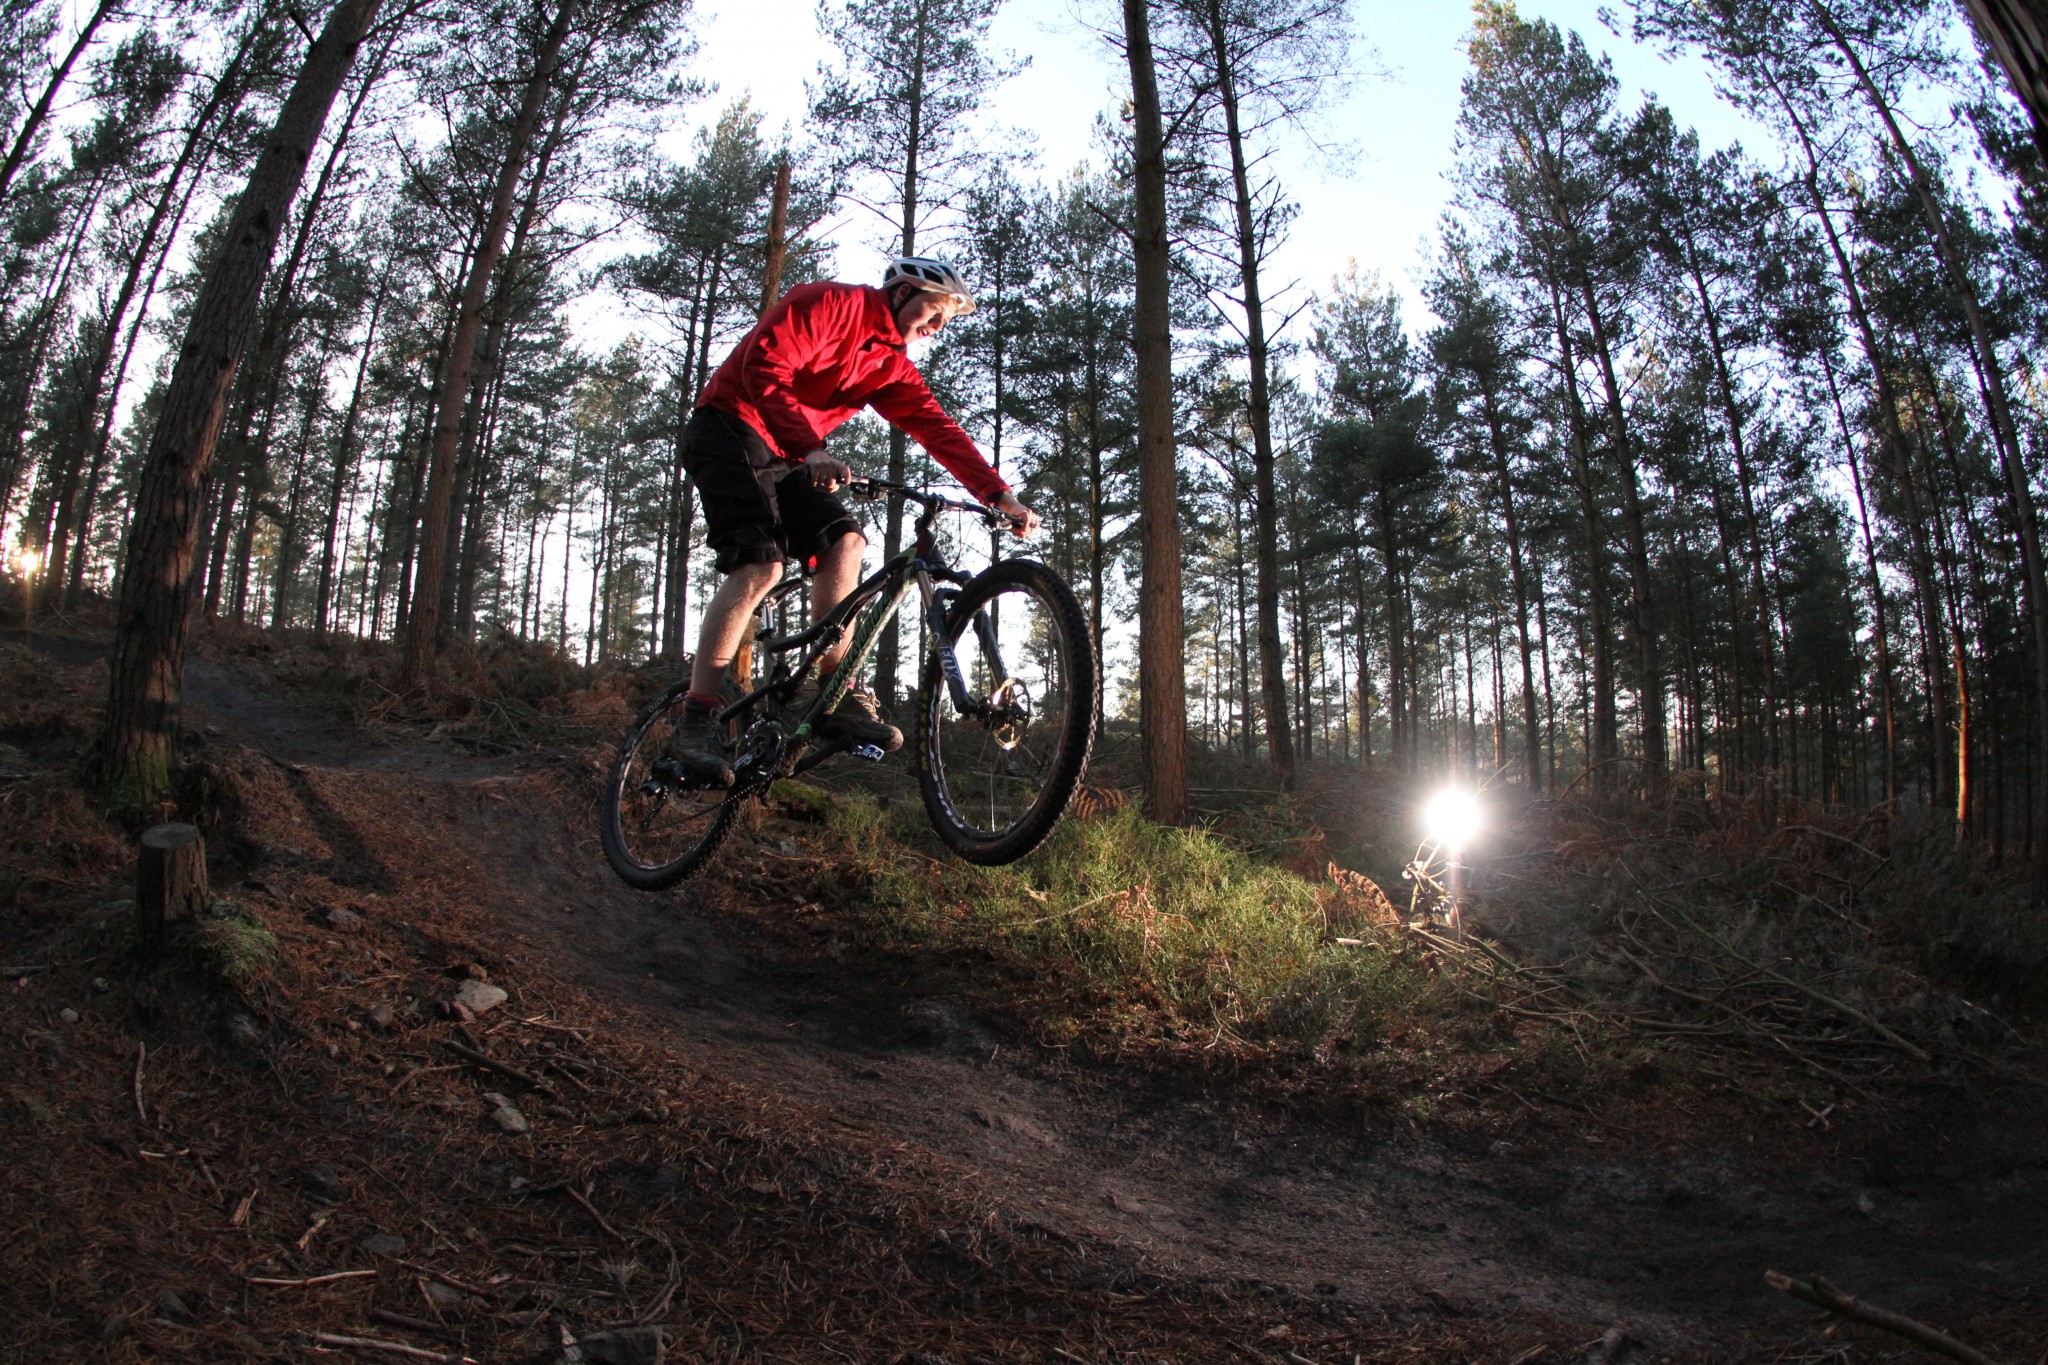
As with all sectors of trail you can break things down into a series of entry points, sections and exits. Before looking at the phases of the jump itself, which occur in the ‘section’, we will consider the entry and the exit. To a certain extent it's business as usual but with a couple of key reminders. It is easy to see the lip of a jump as the entry point to the section - it is not. That has been passed already. You should have done your thinking and be thinking beyond the lip. You should be ready to make only ‘minor modifications and changes’ to what is already planned. Your landing is not the exit point to the section. An often quoted tip is ‘spot your landing‘ but don’t misinterpret this as ‘spot it, stare at it and keep looking at it until your wheels connect with it‘. As with all sections, look through them. Definitely we should know where we want to be next and that process can’t stop just because your wheels are not yet back on the ground. By the entry point you should be close to the speed you need. Any final acceleration will be down to the power of your pump rather than pedalling and certainly there should be no deceleration in the section itself. You should be dealing with small bumps as you approach, allowing the bike to track the trail smoothly and staying fluid. If small bumps, rocks and roots as you ride into the section are bouncing you around it is sure indicator of what will happen when you hit the bigger bump of the jump itself. Sure you want to leave the ground but on your terms not through being bounced up and thrown there.
The 3 Phases of the Jump
Within the section then are the three phases of the jump. Knowing what to do and expect in advance will ensure that you can focus on any minor corrections and alterations that could not be prepared for sooner.
The more aspects of the jump you can consign to the unconscious the less you will have to do in the section thus enabling you to keep things simple.
Your wheels tracking smoothly and upper body relaxed but steady, enter the section looking through the jump. By all means spot a landing point (if it is in view) but keep the eyes tracking on through to the exit point of the section and beyond.
You are now cleared for take off
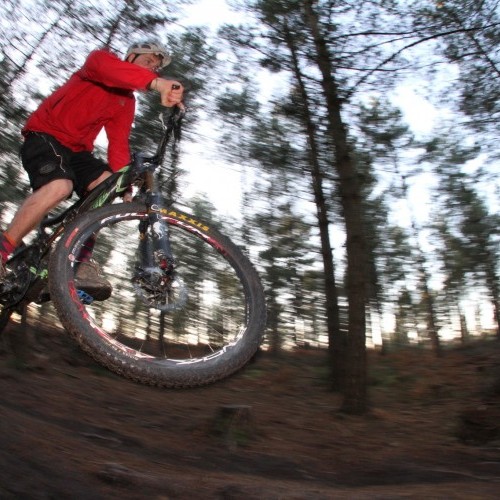
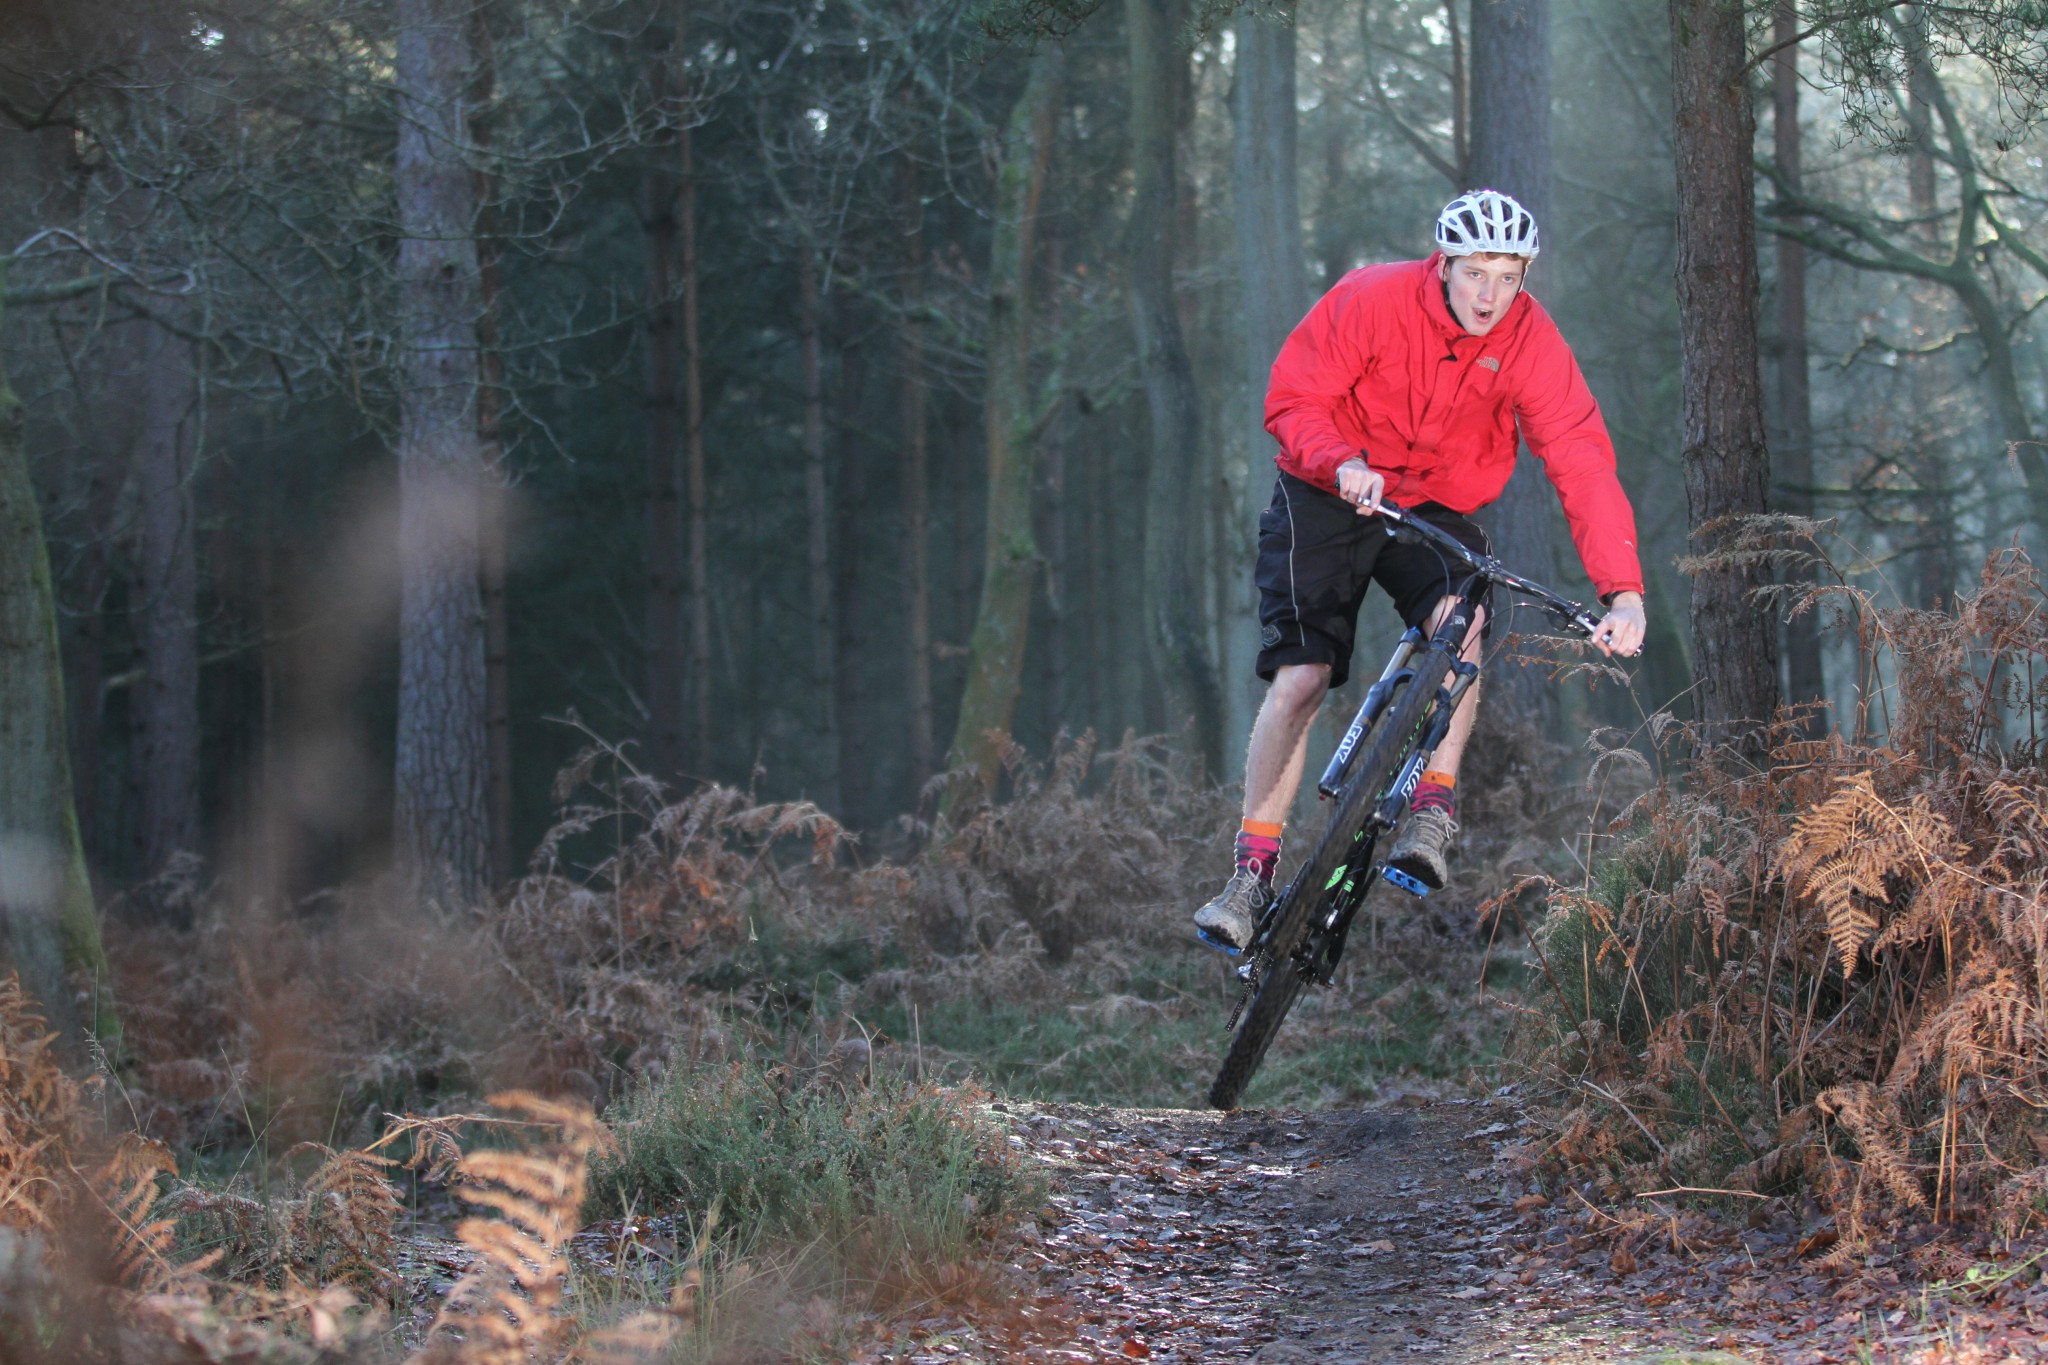
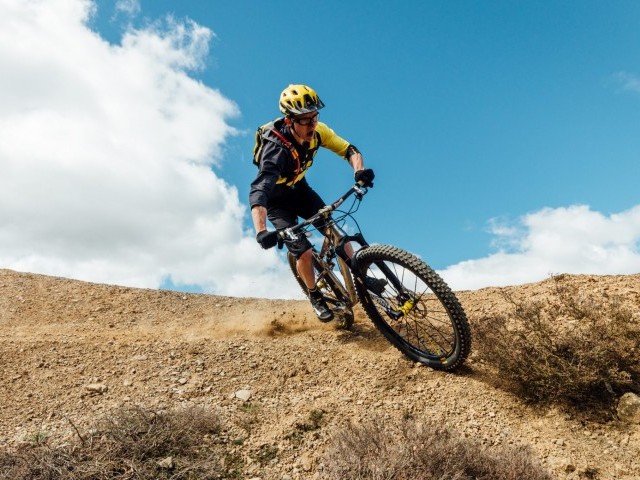
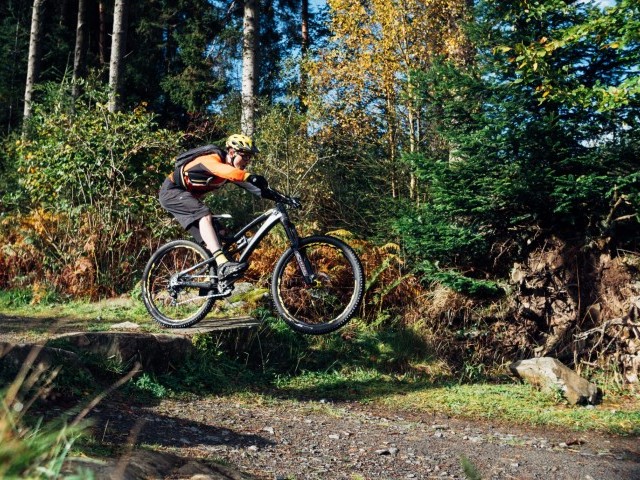
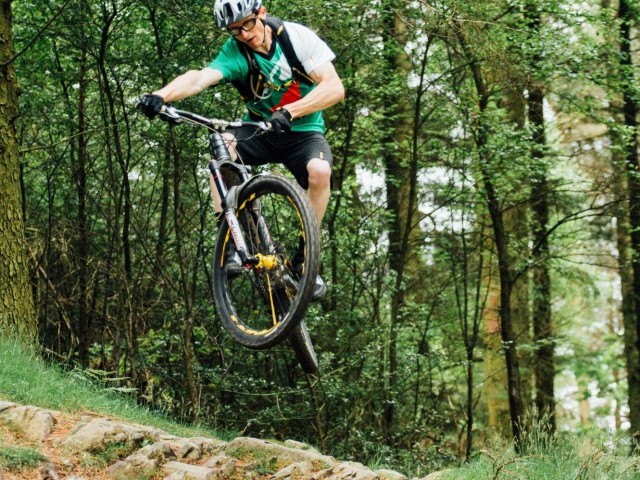
Take off
If you want to take control of your jump as a whole, understanding and applying good energy management is crucial, in particular pumping. For sure if you hit a certain angle of jump beyond a certain speed you will get air. If you just hit it with speed and do nothing else you will not be in much control over what happens next. This doesn’t mean all will definitely go wrong, but when you leave it all to entry speed and angle of trajectory the chances are you will do nothing in the air but hold your breath and ‘dead sailor’, rotating ever more the more time you spend aloft. If your entry speed is a little slow pumping harder is the only means of acceleration you have in the transition...its too late to try and pedal. Essentially if you and the bike hit the lip at the same speed and you do nothing you will accelerate faster than the bike. When you become the accelerating mass (over and above that of the bike) problems begin. ‘Pull up hard’ is possibly the single worst piece of advice you will hear when it comes to jumping. Pulling up hard with your arms is a definite no no.
The solution is to push into the jump and through the lip. As you approach in your ‘ready’ position prepare to compress down into the bike as you pass through the transition. Pump through it dropping your body weight into the bike. Bend your legs then extend in the manner of a slowish standing high jump. You can increase the power of this as your confidence (or need to do so) rises. With heels dropped, as you stand up through the lip you are continuing to push through the bike while your mass is rising. The bike becomes the accelerating mass and your body position shifts just behind the centre line. The harder and faster you pump and the better your timing the more acceleration and lift you will generate.
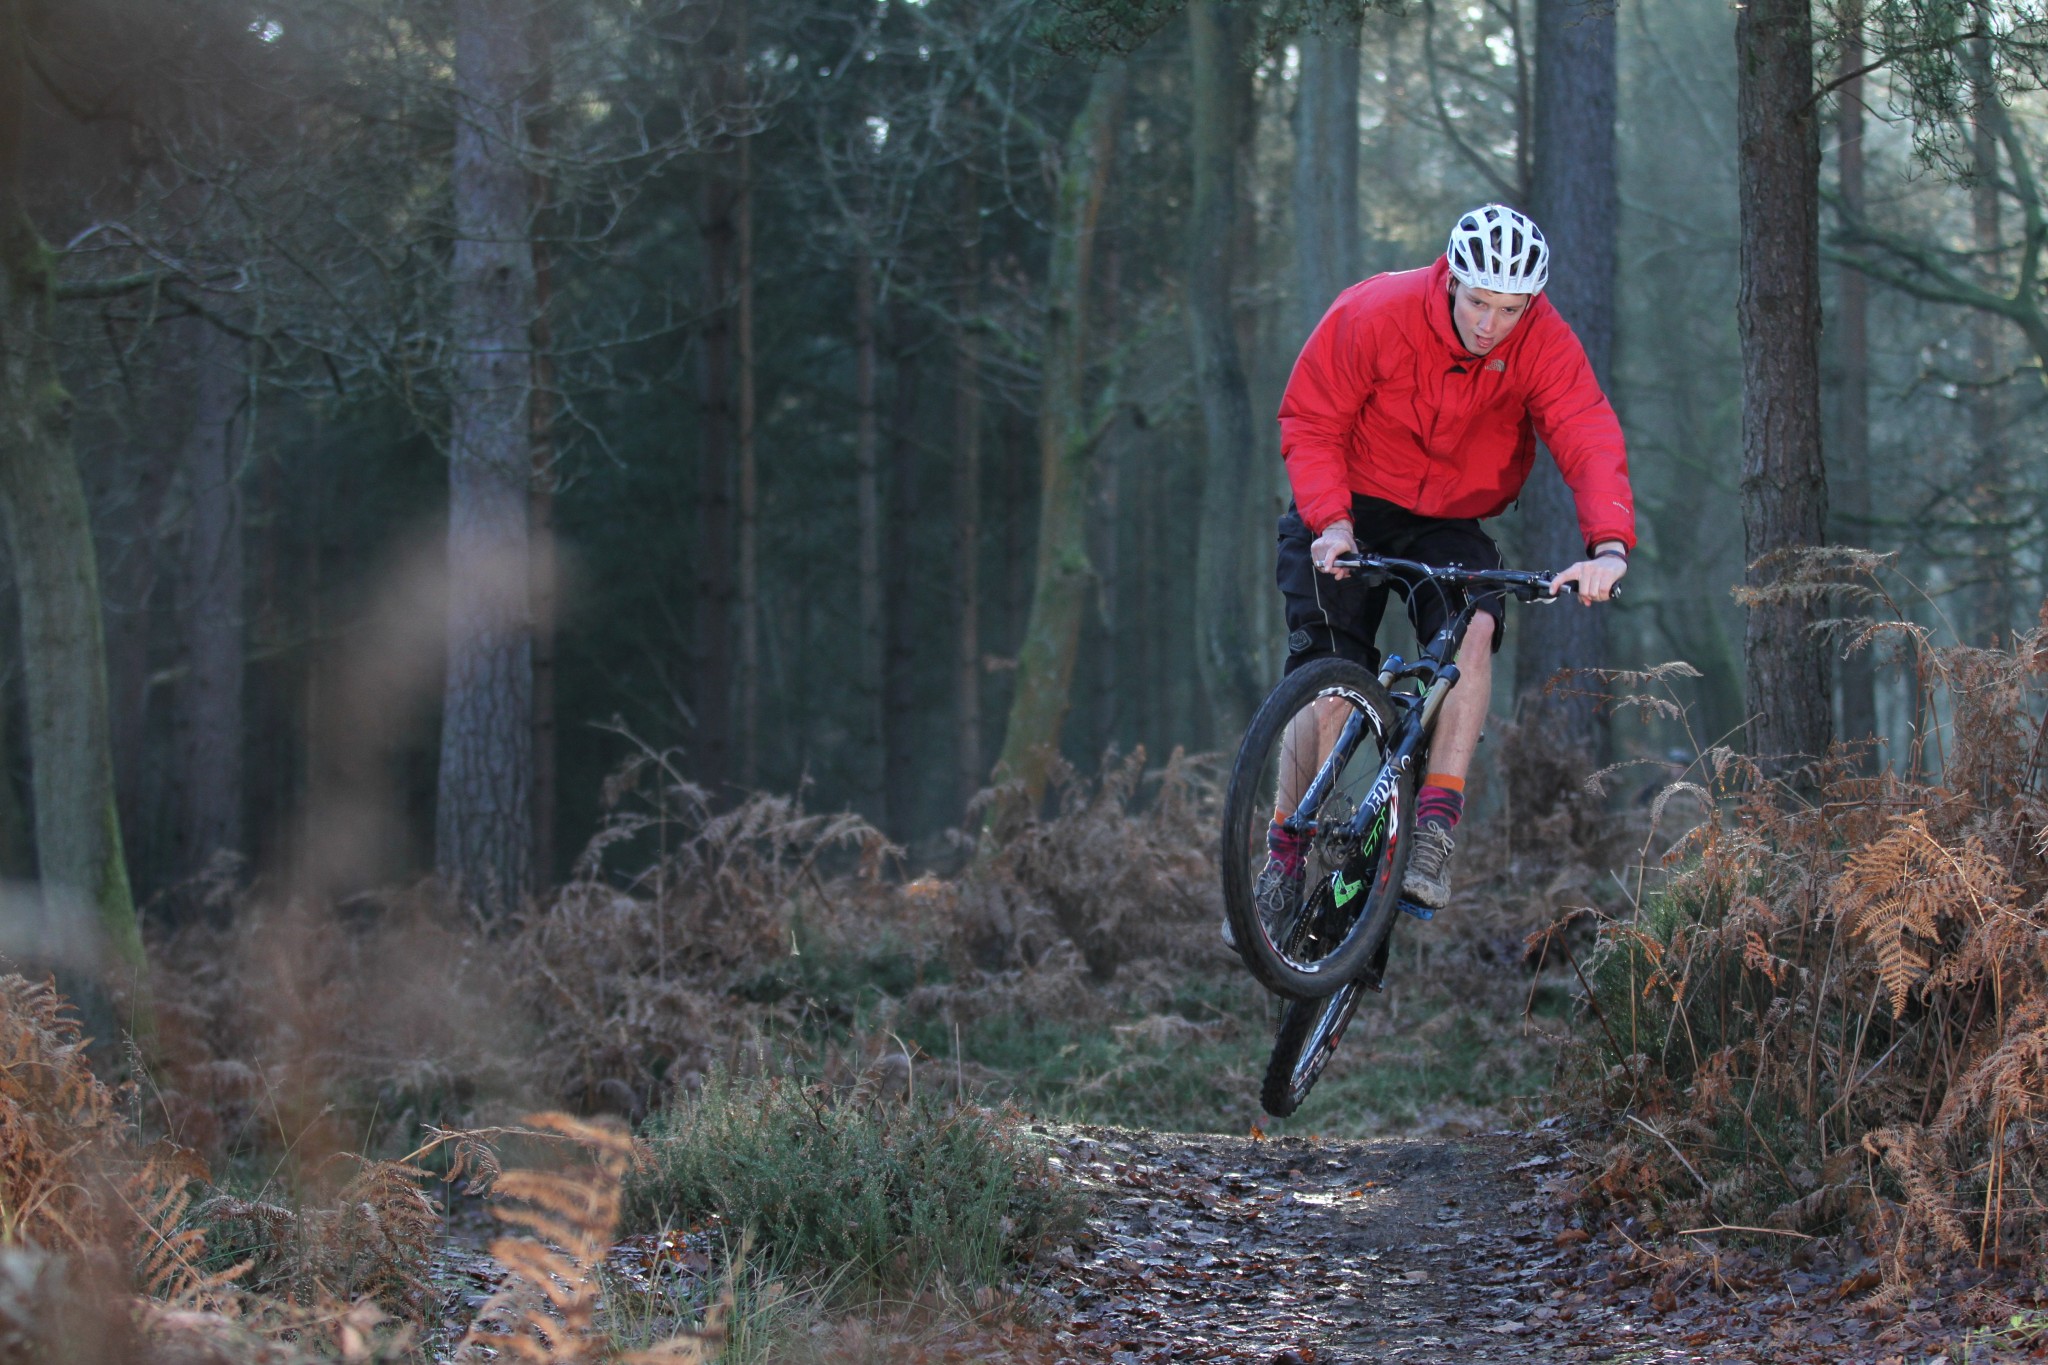
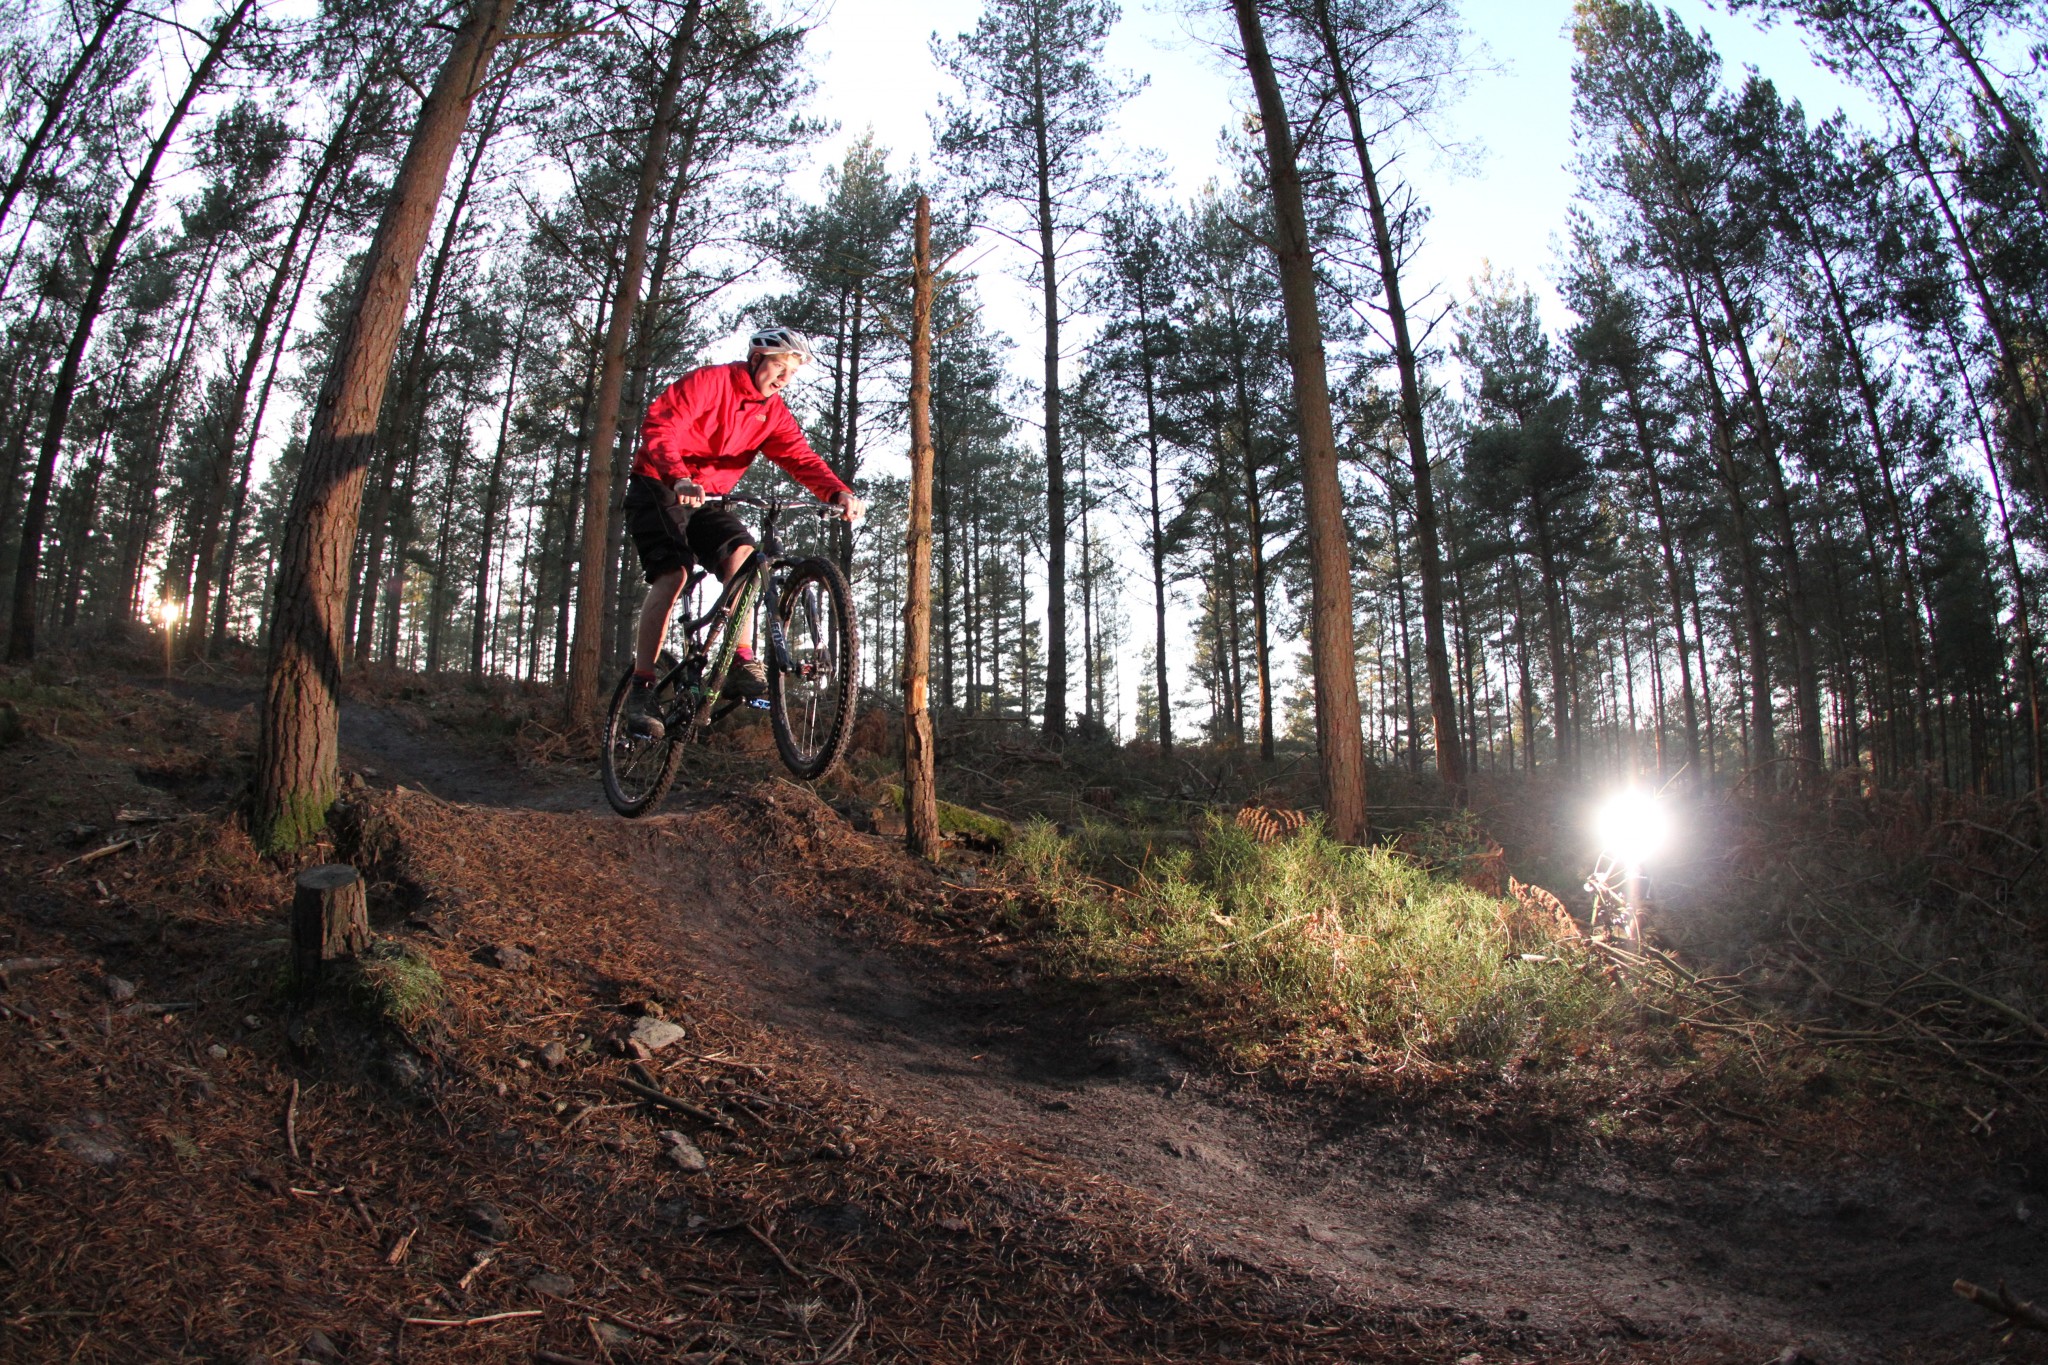
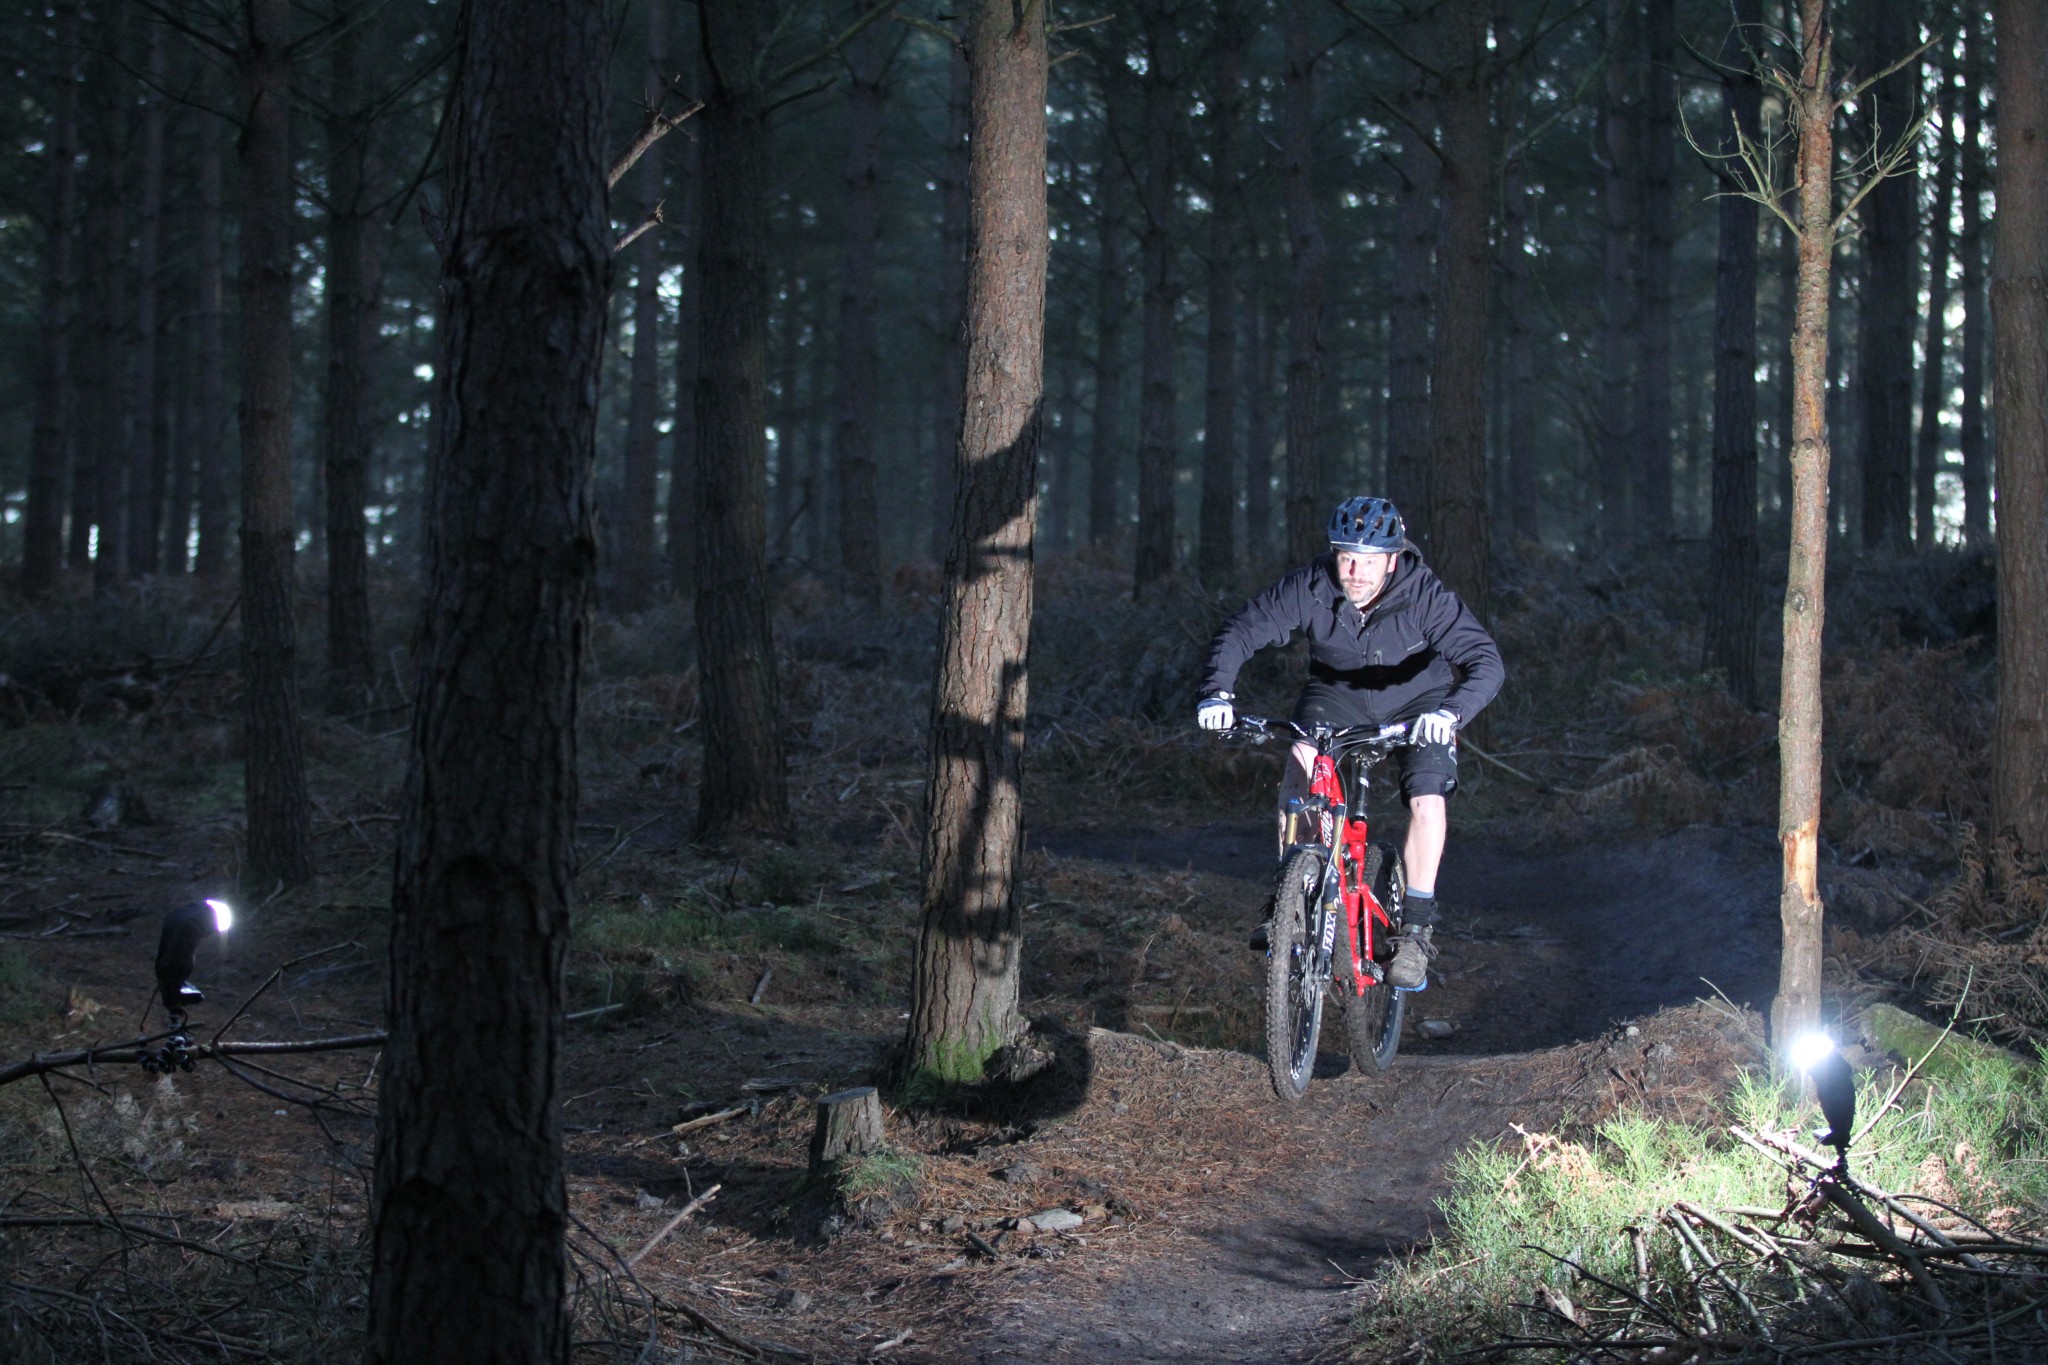
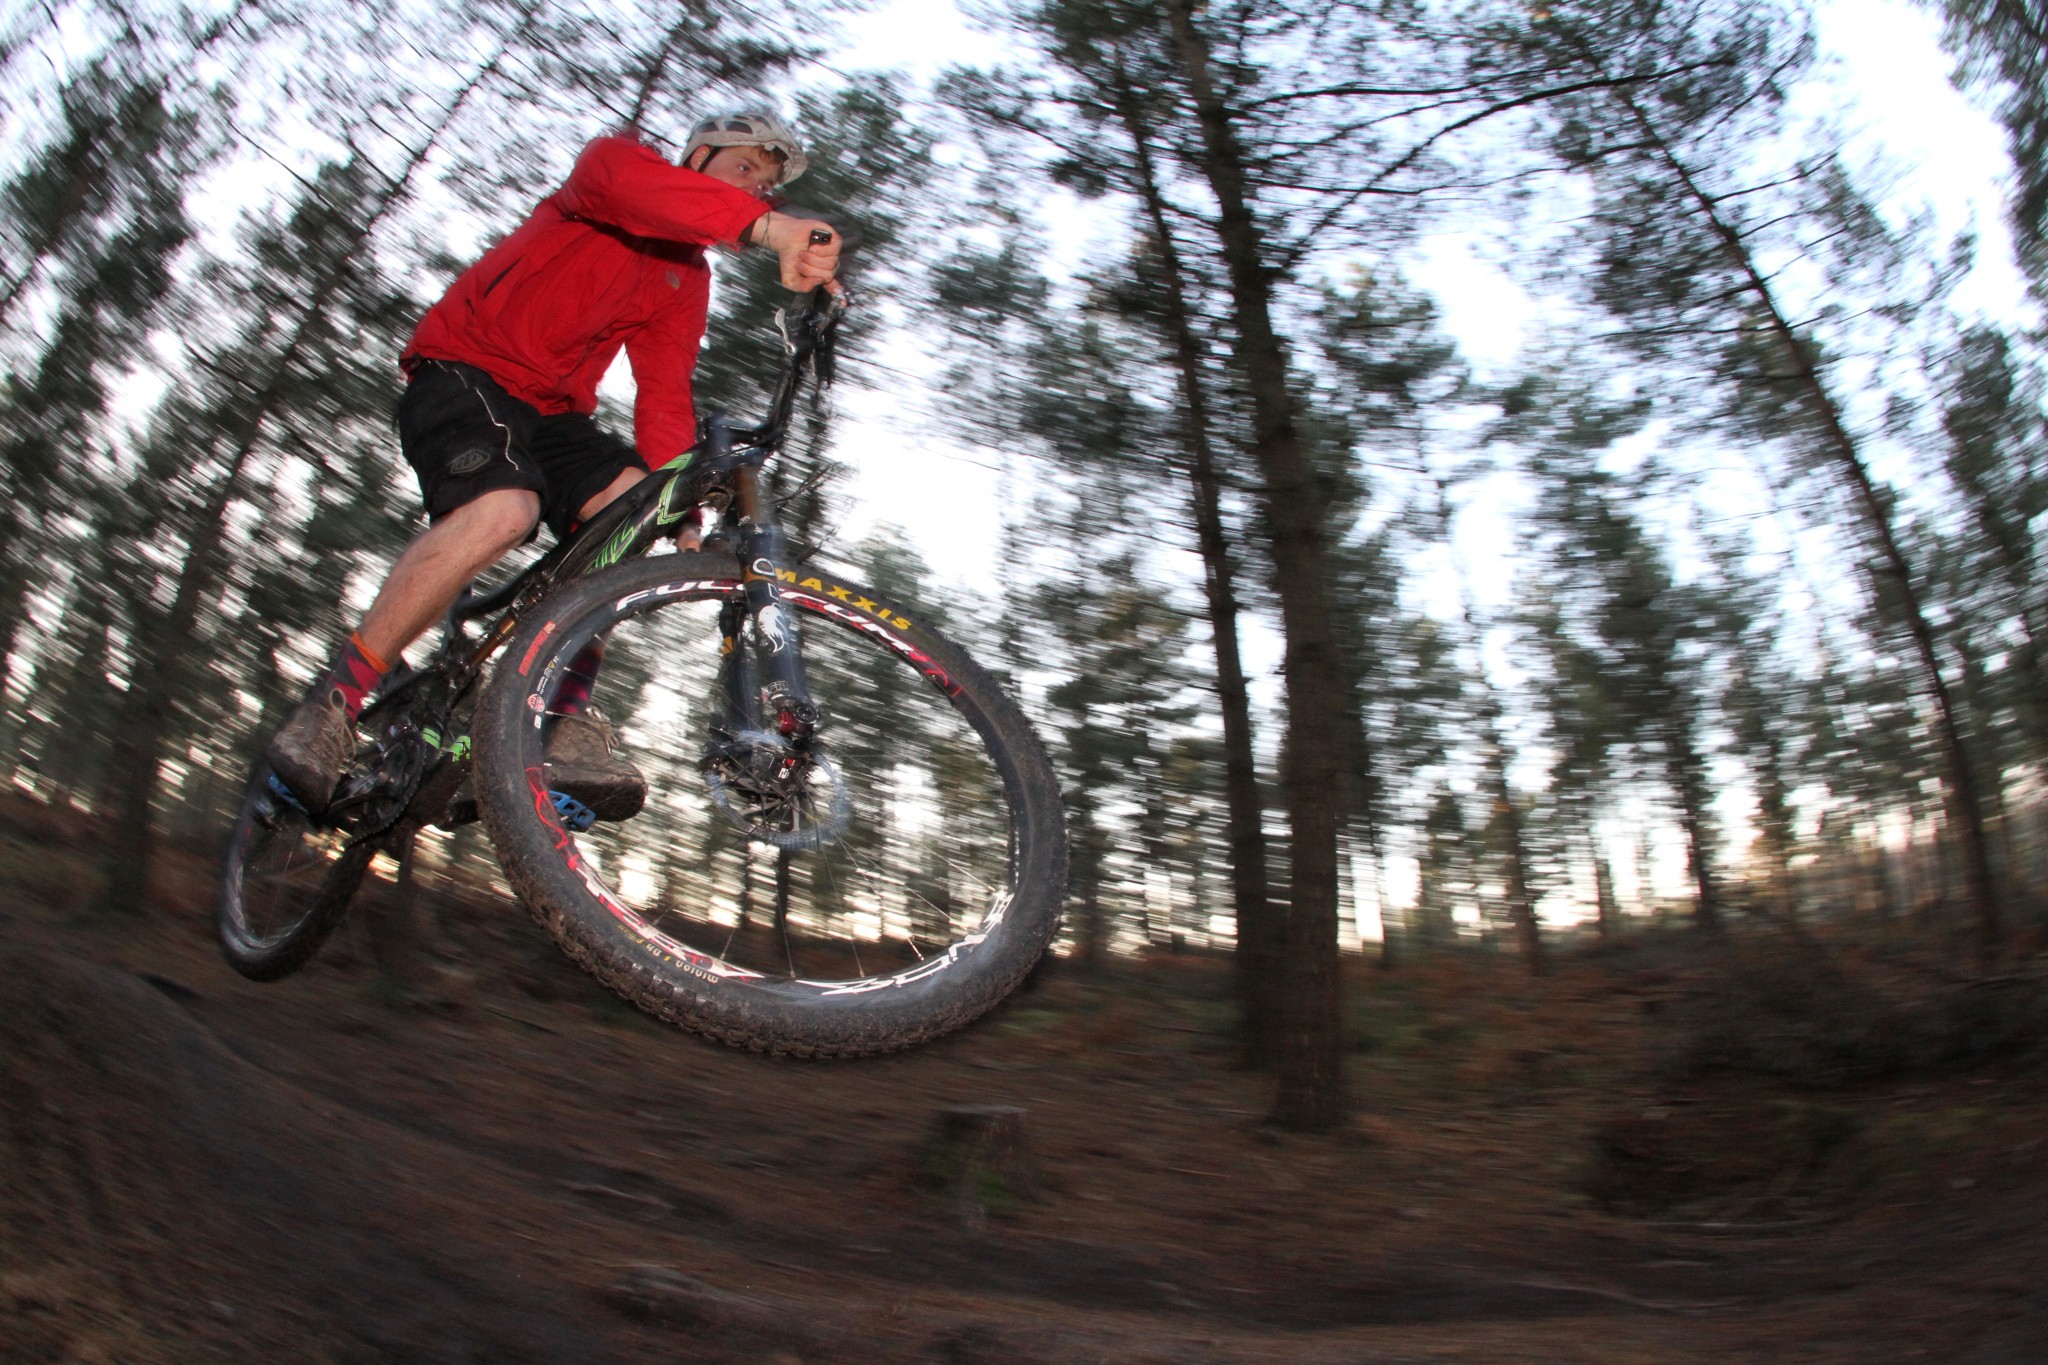
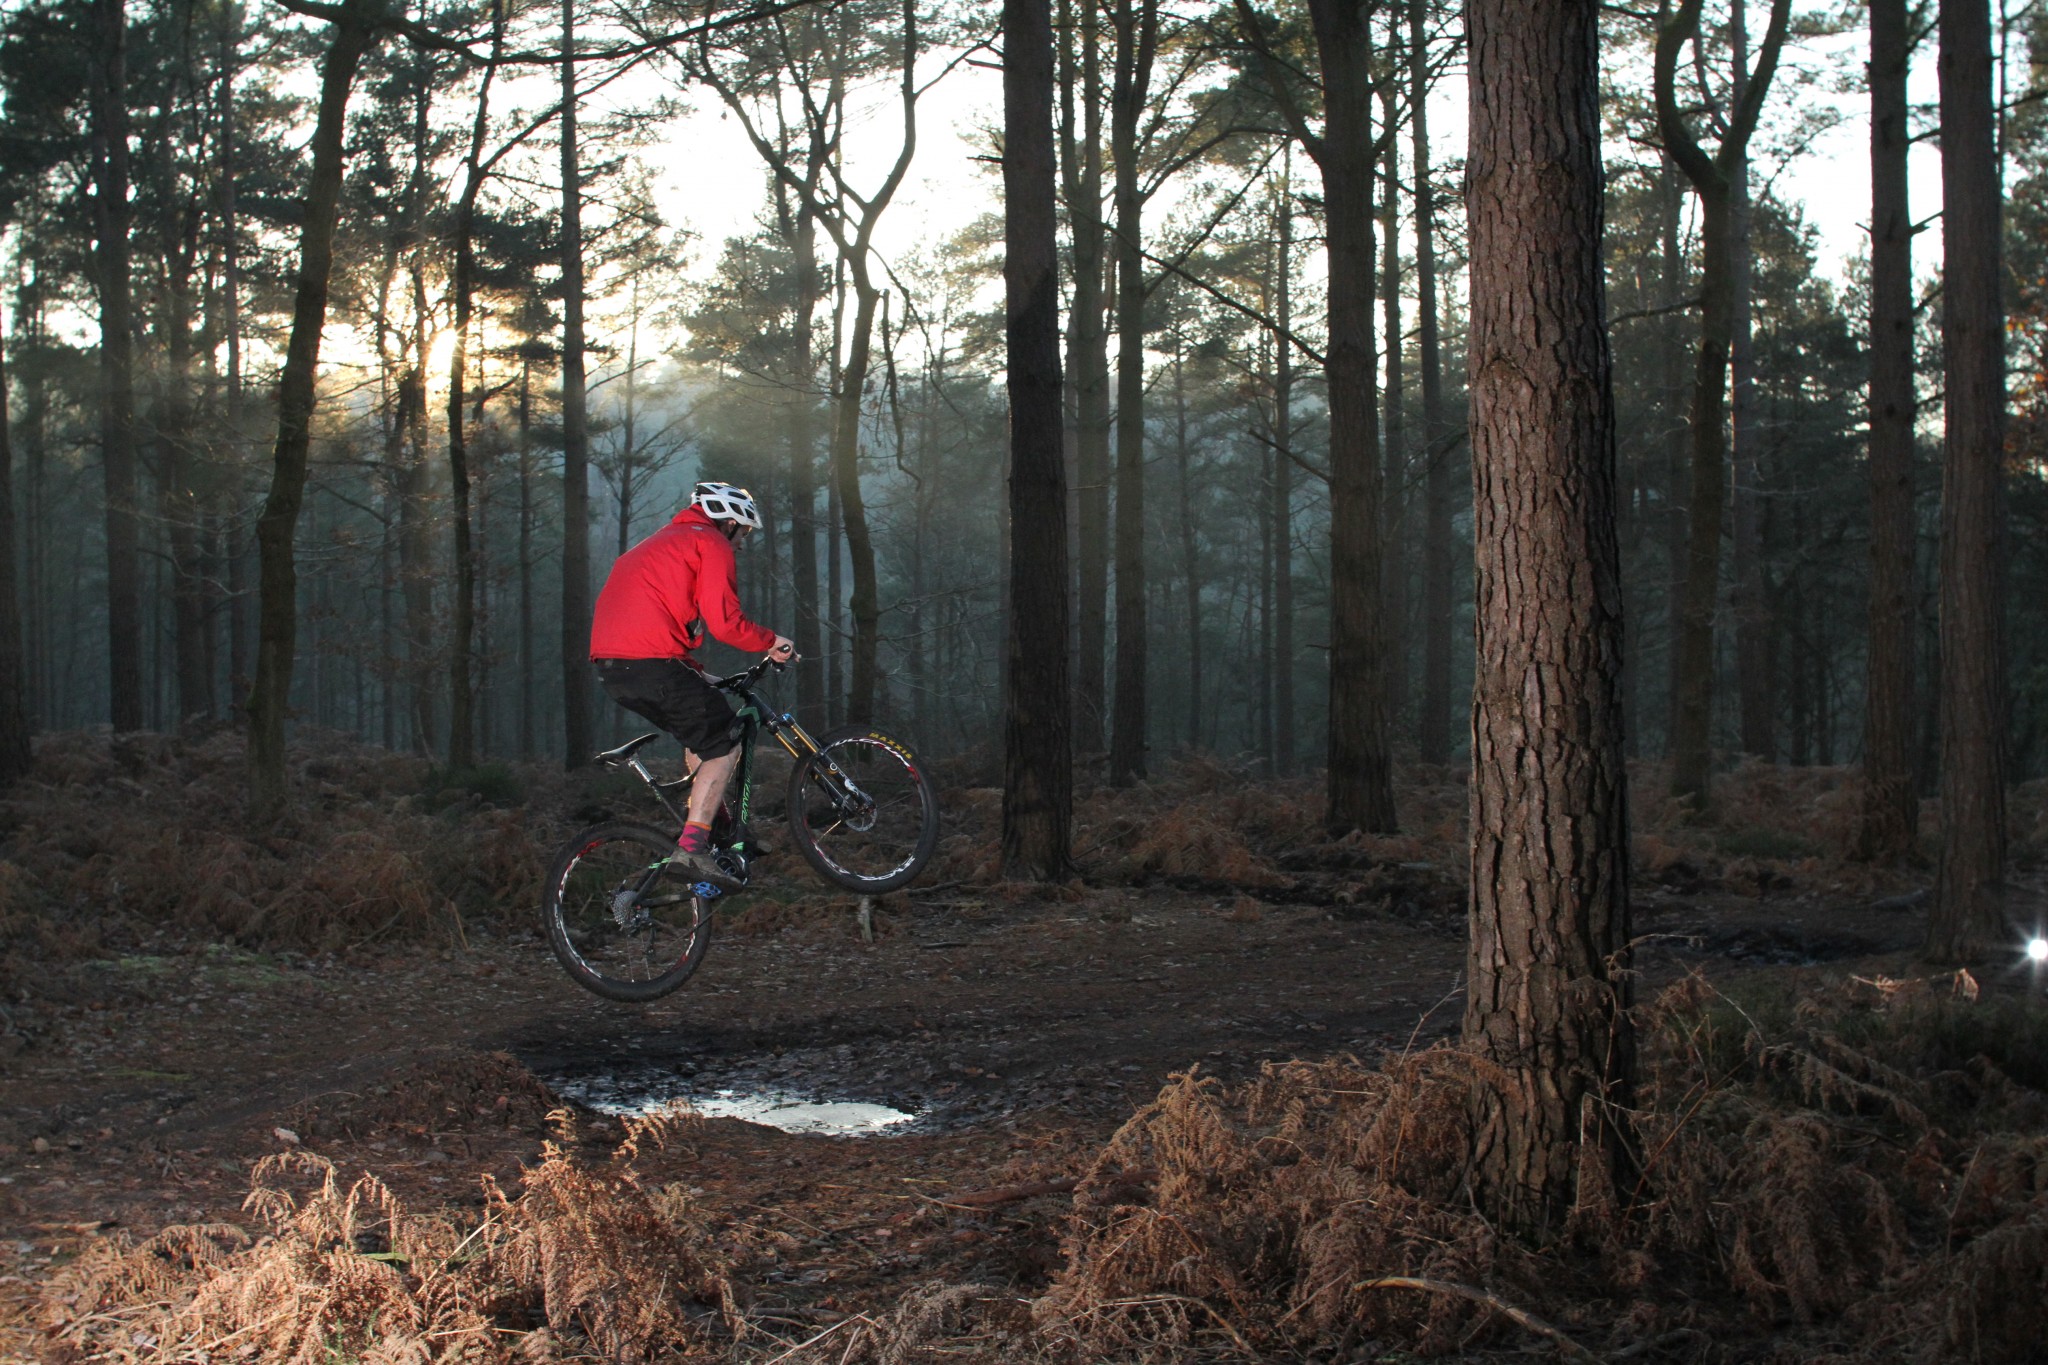
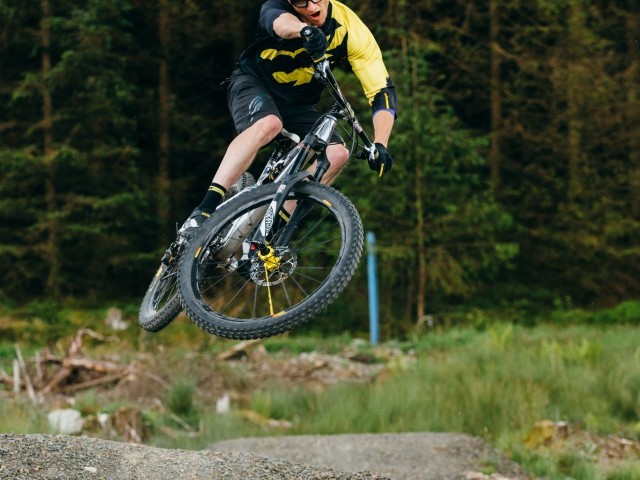
In-Flight
Having accelerated the bike through the lip and left the ground you can’t just shut down and do nothing. Locking out here, heels down will leave you in no position to control the bike in the air or ready it for the landing phase. Once airborne allowing your heels to rise will begin to return your mass towards the centre of the bike and the nose of the bike levels or even dips slightly. You want to rotate the bike to match the gradient of the landing (ideally landing the bike slightly front wheel first). The more you raise your heels and dip your toes the more the bike will rotate below you. Raising your heels and softening the arms and legs you will start to decelerate the bike. Your mass catches up with the bike centring you over it. It is during this period that riders can manipulate the bike, tweaking it slightly, laying it over or crossing the bars to a varying degree. With nothing below your wheels small inputs in the air can have surprisingly large affects so go easy. Unless this is preplanned you are probably not going to have enough time to think it, complete it and ready your self for landing. If you are not planning it, don’t freeze if the bike leans over or twists a little in the air. Your actions in the landing phase will straighten things out. As your legs and arms soften through the flight phase and your body centres, you are in a position ready to push again into the landing.
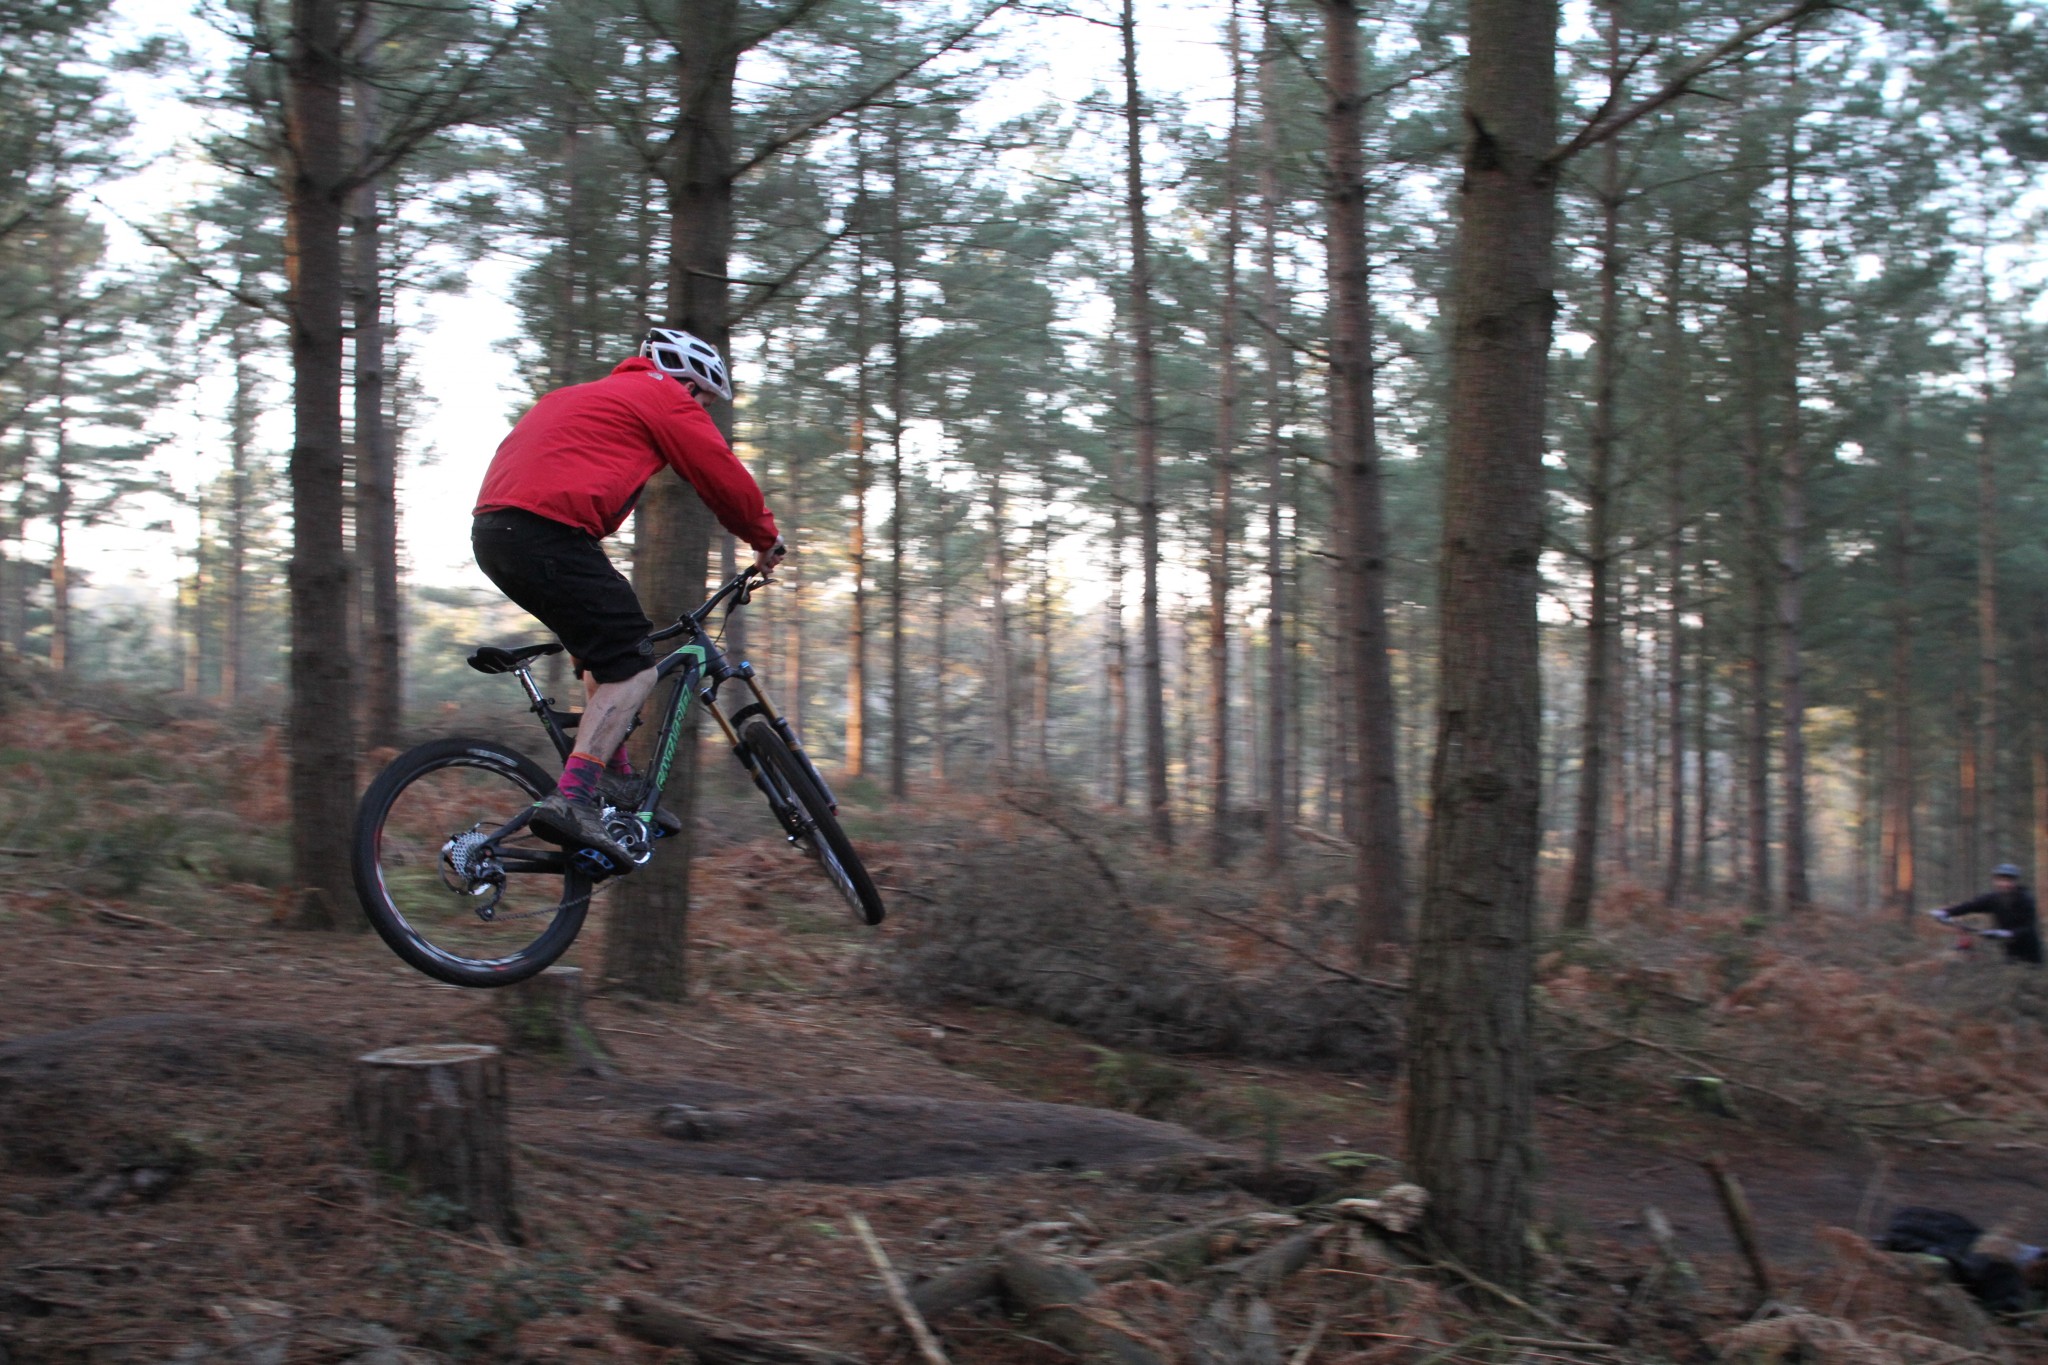
Landing
To create a soft fluid landing, you don’t want to land as one homogenous mass with the bike. By pushing into the landing, extending the arms and legs, the bike becomes the accelerating mass once more. You are now able to control the compression of landing and turn this into drive. If head, shoulders and hips are facing to the exit as you push, the bike will be follow suit, straightening any lean to one side or slight left / right rotation. Pushing into the landing phase will also help straighten any bar twist that may have occured. With heels and wrists ready to drop as your mass progressively (although rapidly) drops into the bike, the resulting compression will not only drive down but also through the bike. This will leave you just clear and rear of the saddle enabling you to soak up the landing, sinking down rather than back any further. Compression dealt with, you should already be aware of what is ahead and already be beginning to make any necessary adjustments to your position and speed.
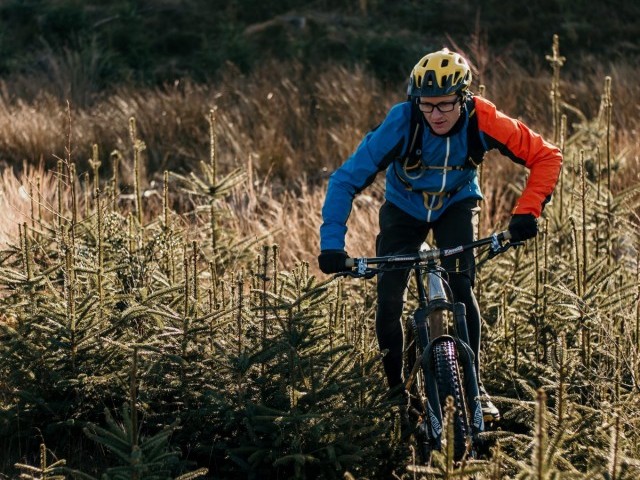
The Psychology of Jumping
The mind is a powerful tool at your disposal but can easily be a disruptive influence if ‘flight or fight’ responses are triggered. We will look in greater detail at this aspect of jumping in a later issue that deals with bigger jumps, which are more likely to send you towards your emotional limits. For now we will just consider a few key points and solutions. These you can apply to help keep emotions in check and ensure you respond through learned instinct rather than gut instinct as you develop your skills.
Jumping can release the inner child but that child will remain incarcerated if you allow your inner demons to prevail.
It has been written that ‘the moment you doubt at you can fly you cease ever to be able to do it.‘ (J.M Barrie, Peter Pan).
When it comes to jumping rather than flying, a lack of confidence is not quite so damming or finite - but it will need addressing. Any internal dialogue, thoughts of should I shouldn’t I, can I can’t I, should have ceased before the point of entry.
Choosing a jump where the approach and run out are freer of potential performance cues will help you remain more positive and mentally deal with the jump itself in good time.
Brain freeze in a moment of panic can have serious knock on effects. As a wiser man than I has concluded, ‘To utilise our intelligence a calm mind is very important’ - Dalai Lama (@DalaiLama). As anticipation rises think through the section.
Visually a jump can transfix you as you approach - look through it. Staring at the ground as it rapidly approaches will add to the sensation of ground rush and can have you tightening up just as good energy management is most needed.
The crucial skill of energy management can be undermined massively at any stage of the jump if anticipation rises beyond a certain point. Stay loose, DO NOT HOLD YOUR BREATH.
Visualisation can be an important tool and used to positive affect. If you can picture what you should look like through the various phases of the jump you will least have a mental blueprint that you can aim towards replicating. As with any aspect of MTB there are risks and rewards but more than in all other area of riding it is easy to focus on the negative and only visualise landing in a heap rather than the more likely positive outcome. Remember there is a great deal of middle ground between perfection and pain. The more elements you apply correctly the closer to perfection you’ll get. Master the fundamentals before you increase the penalty for failure.
Quell your fears through better understanding and application of core skills, release your inner child and add jumping to the list of things that make you smile. There is no need to be a fish... waiting till the summertime before you start jumping. This Christmas make like the ten Lords, and get leaping!

This technique article was in Issue 21 of IMB.
Related

By Richard Kelly
Richard Kelly has been riding bikes since forever, and teaching people to become better mountain bikers for over a decade. He’s always out in the Surrey Hills training riders, building trails and riding for himself whenever he gets the chance. His unique perspective on mountain bike technique has earned him fans the world over, with some speculating he is actually Jamiroquai or perhaps Jack Sparrow…