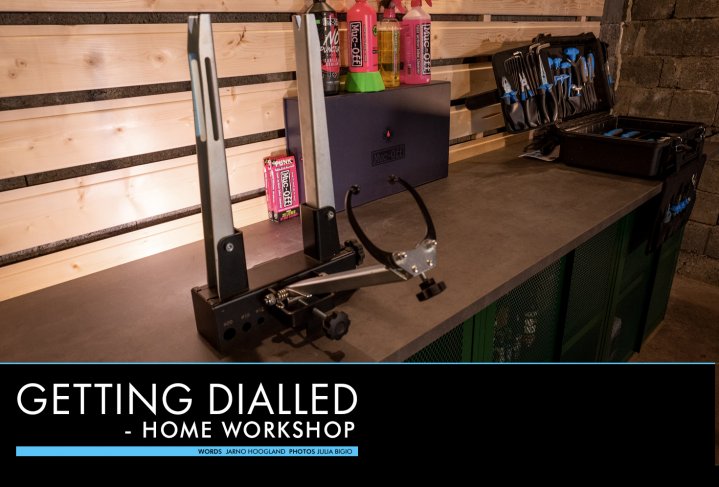
Getting Dialled - Home Workshop
Issue 69 / Tue 29th Mar, 2022
Time to set up a home workshop. We give the lowdown on what you need to make bike mechanics at home a joy.
Anything that moves has friction and when there is friction there is the need for lubing, cleaning and maintenance. Not to mention the parts that you break crashing and hitting stuff. Even though most of us prefer to just ride our bike all day every day, it is inevitable that at some point you need to do some maintenance. Now you can of course go to your local bike shop and get them to service your bike, but where is the fun in that?
It’s a lot more satisfying to get the work done yourself, but as you are quick to find out it’s a lot easier if you have the right space and tools for the job. So in this Getting Dialled we’re going to take a long hard look at the bike riders ideal home workshop setup.


It depends
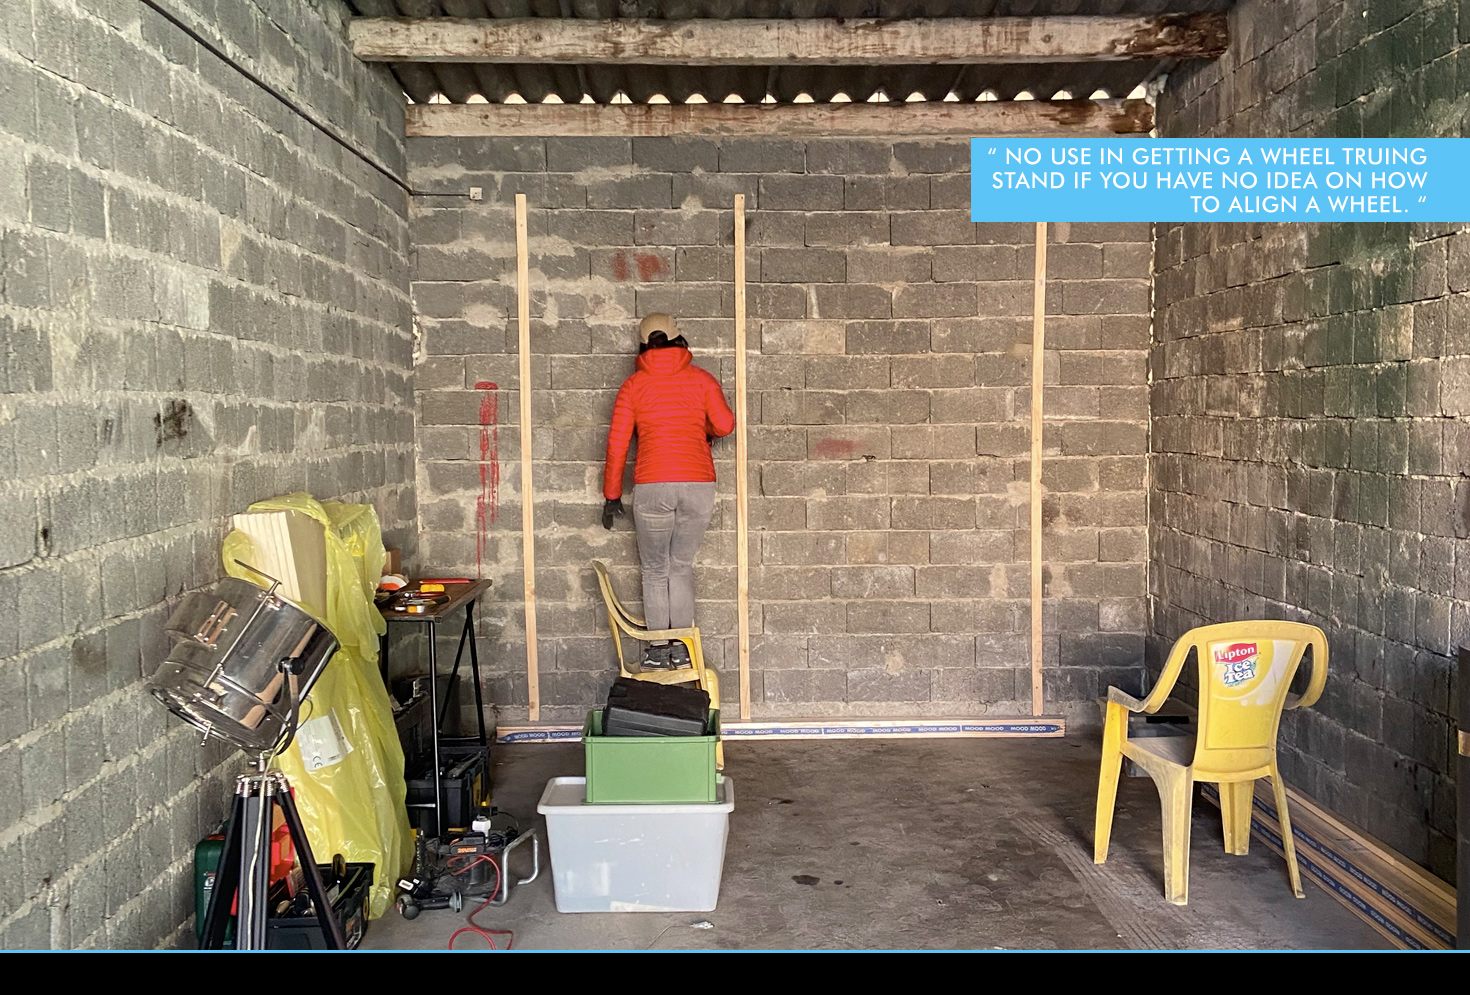
Of course your workshop setup all depends on the space you have available, the bike(s) you own and your mechanics skills. No use in getting a wheel truing stand if you have no idea on how to align a wheel.
When it comes to a workshop, of course the most ideal is a garage or spare room that can be used for maintaining your bike, but while we all dream of such a space, most of us are forced to make do with a corner in the shed or a mobile setup that is easily packed and stored in a corner.
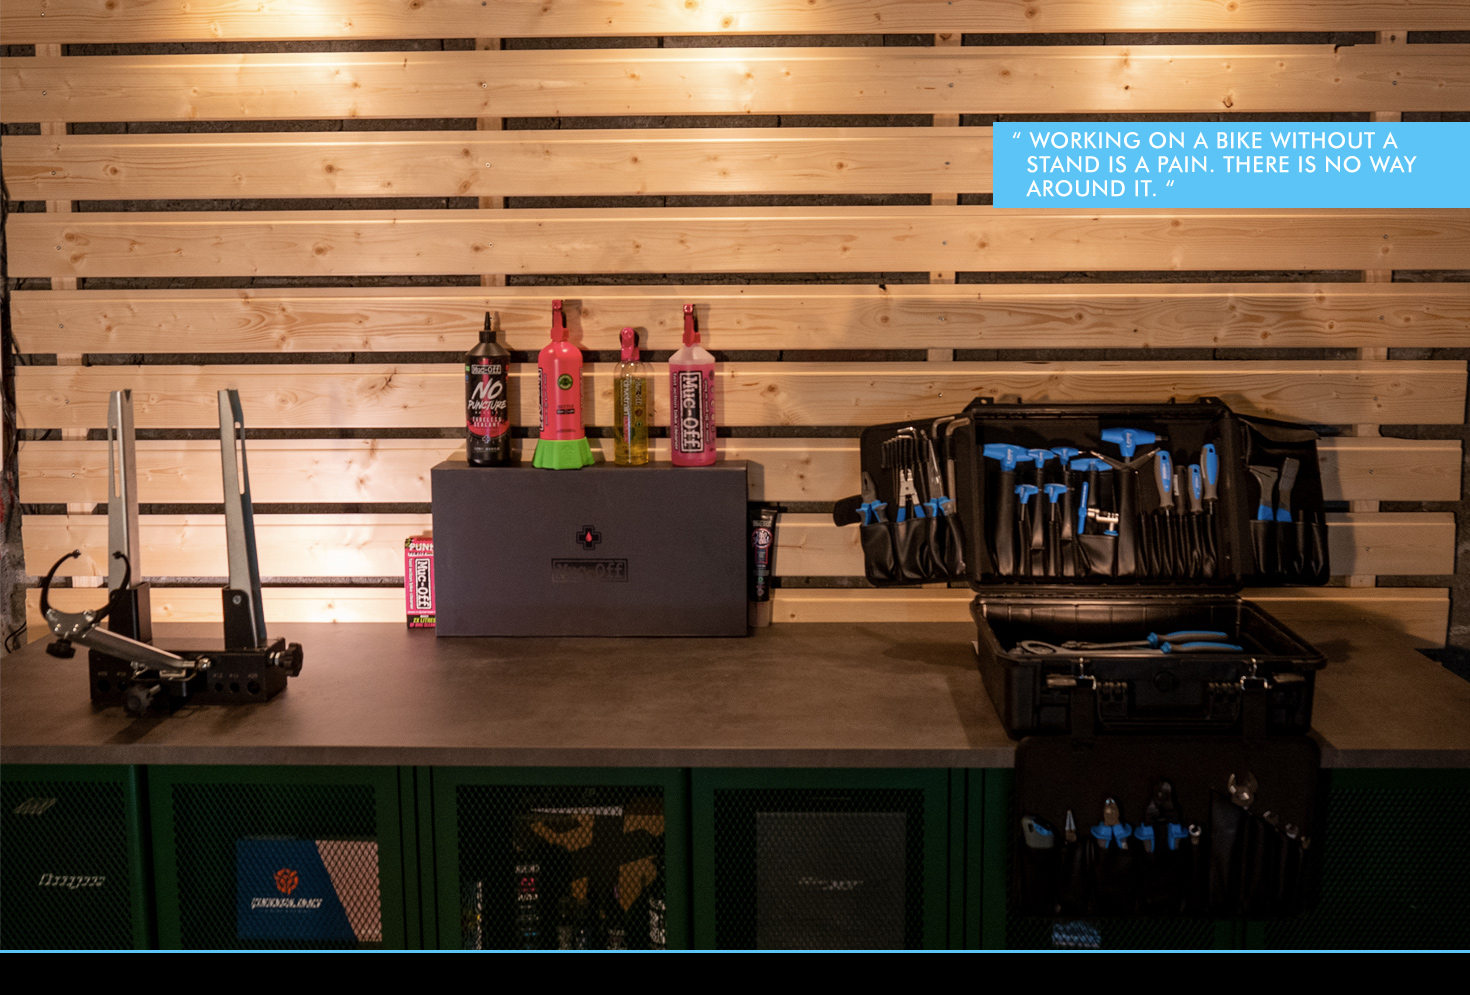
Most important elements are a well stocked toolbox, a bike stand, a workbench or table and light. It seems silly to mention but with most of us having a day job, it’s likely you’ll be doing the majority of your spanner spinning in the evening hours. To further lighten the mood some music and a beverage of choice are advised.
A place to wash and clean your precious is of course also a must, but that's best not done in the same spot as you’re working on the bike. We’ll cover the cleaning side of things in a future article.

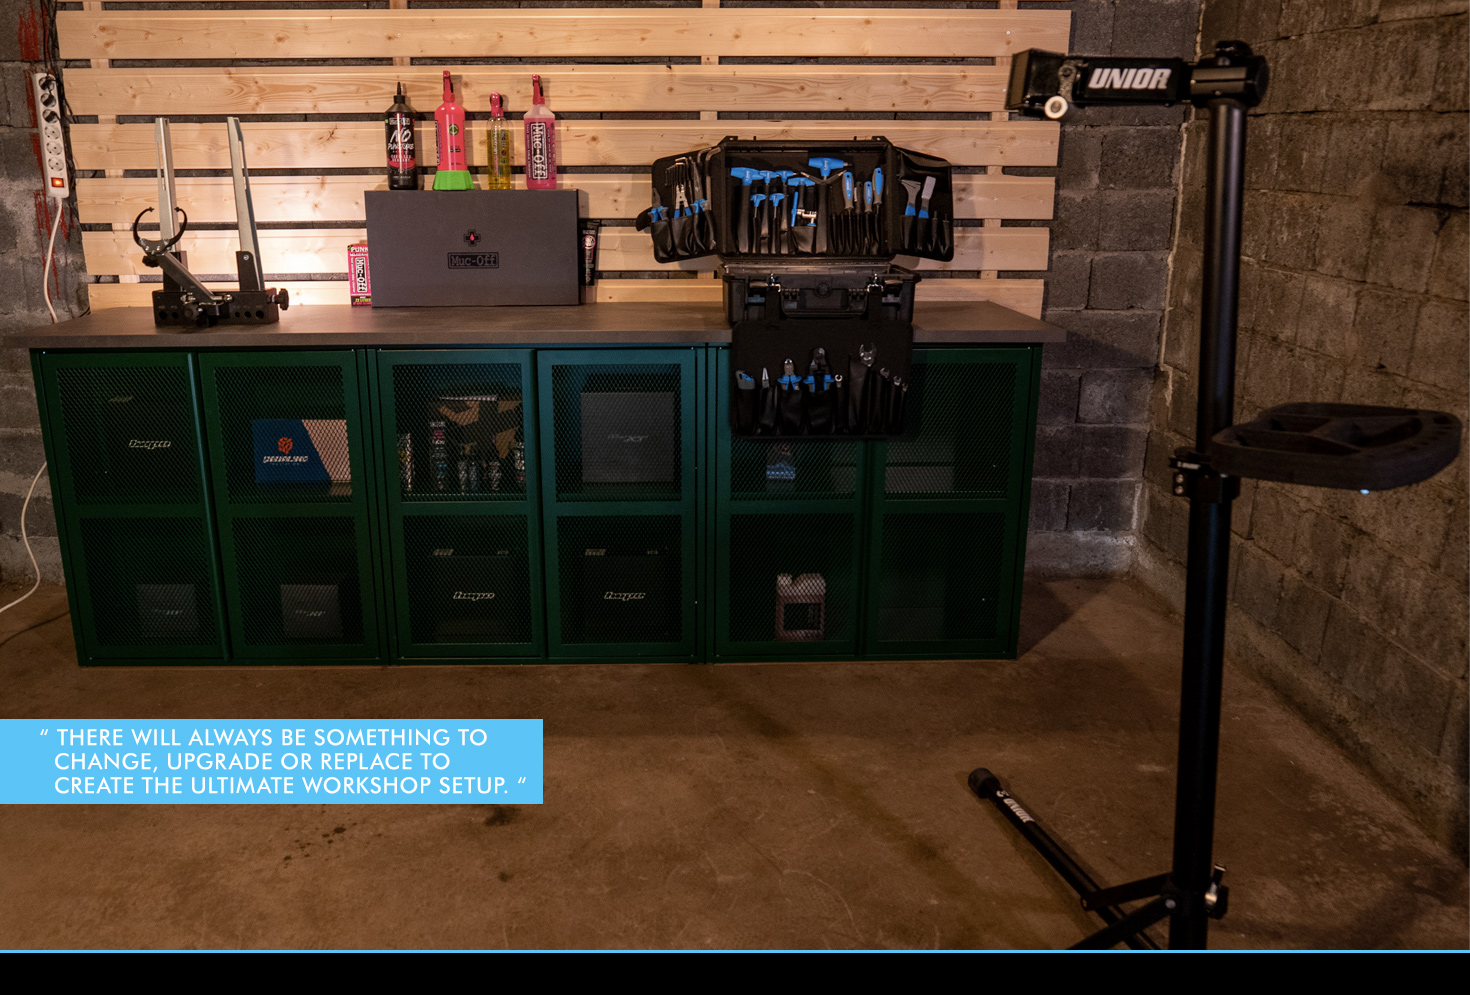
For our workshop, we have a dedicated shed space available, but wanted to keep things as mobile as possible. Besides the bare minimum, we wanted to make sure that it looks decent too, as we will use this space for taking pictures for IMB too.

We put in a wooden back wall and headed off to Ikea for a work surface, some storage and lighting. We opted for the Ivar metal cabinets as they’re sturdy, affordable and look good. Three spotlights on top to shed some light on the workbench et voila a basic workshop is done.
The pro’s
We can’t have a Getting Dialled article without looking at what the pro race teams are using. At the pinnacle of the sport, these spanner slingers work at the highest level under a lot of pressure. Besides that, their setup also needs to be easily transportable as they’re in a new race venue every weekend.
When wandering around the pits, the first thing you notice is a lot of teams using a Peli Case as their main toolbox. It’s shock proof, waterproof and available in a bunch of different sizes. The bigger ones even come with trolly style wheels and handles for easy transport. They don’t come cheap, but hey better expensive than not for sale.
To organise the internals, most mechanics use foam inserts with specific cutouts for the tools. This way everything has its place and you immediately know if something is missing or if that friend of yours nicked a tool. You do want to make these layers as thin as possible though, as otherwise valuable storage space gets lost.
The contents
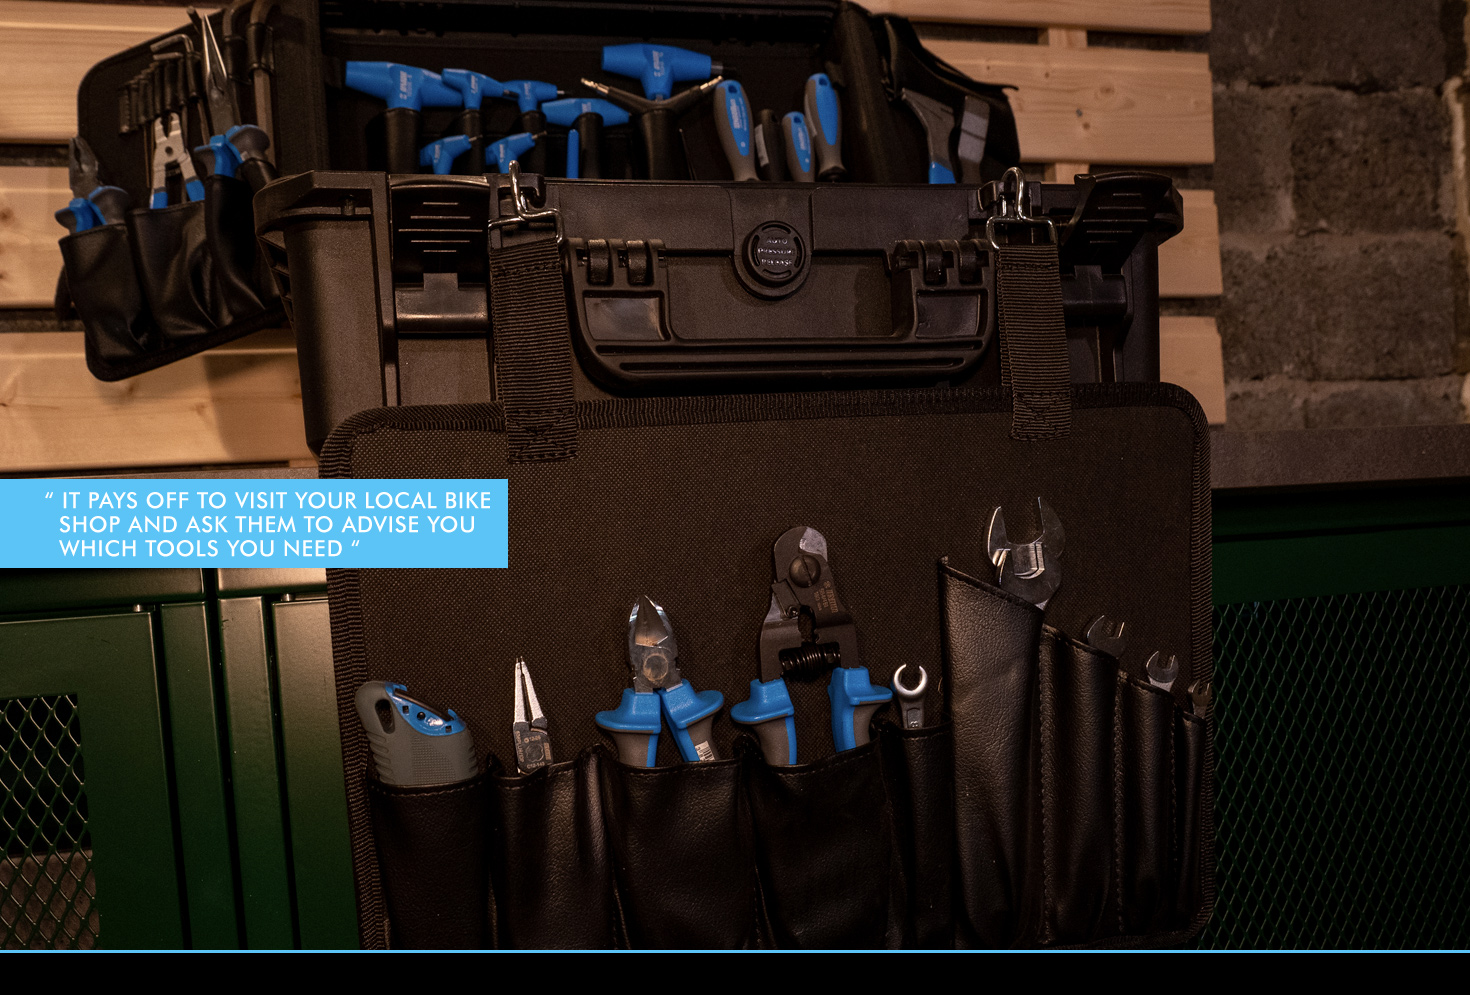
Regardless of which bike you have, there is a basic list of tools that anyone can use. You can set out to the tool shop yourself with a huge ol’ list, but it’s a lot easier to purchase a kit that has the most important tools in it already. From there you can start adding, upgrading and modifying along the way to create your ultimate tool kit for your bike and wrenching skills.

From all that is available on the market, the Unior Tools Pro Tool Kit is by far the most complete kit you can lay your hands on. It contains 47 tools most used in bicycle mechanics, all in a pro mechanic style Peli Case. Of course there is space left for some additional tools in the case, as they know everyone wants to customise their tool kit.
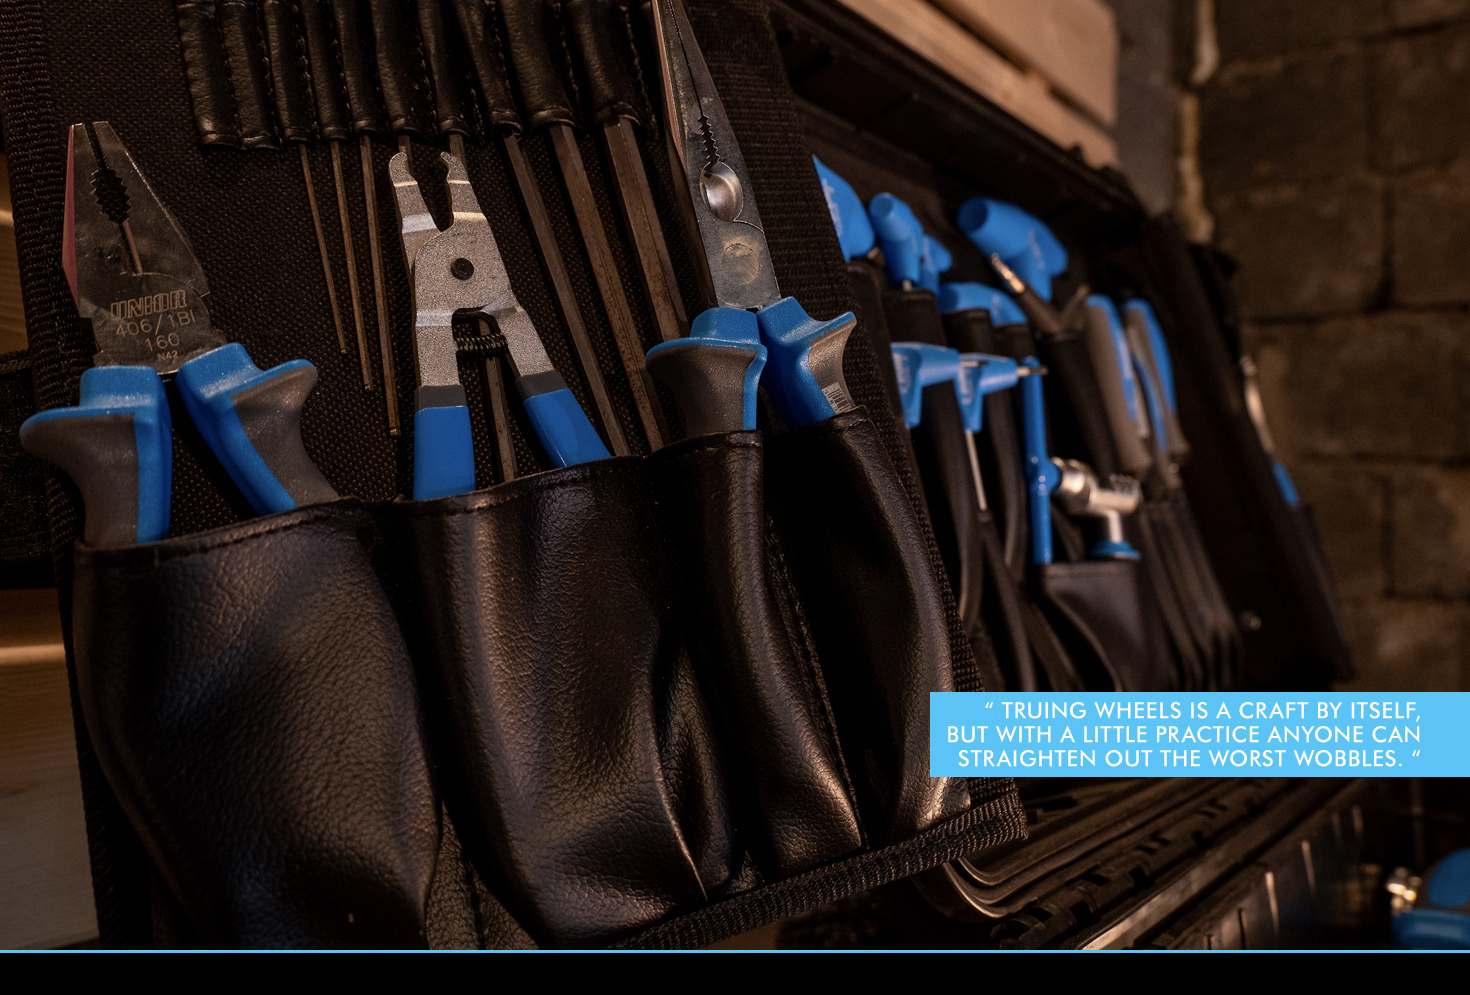
Besides the standard Allen T handles, open-end wrenches, screwdrivers and pliers there are some tools that really come in handy and speed up your workflow a lot. Simple stuff like a tape measure, vernier scale, scissors, knife and rubber hammer can’t go missing from the tool box no matter what you’re working on.
If you ever had to reroute your dropper post cable you know the longer the better when it comes to pliers. A proper pick and tweezers (preferably made from plastic in order not to scratch your parts) is one of those tools you will use a lot more than you think.
Bike specialty tools
There are a lot of different standards in the bike industry, so sadly also a lot of different specialty tools. If you don’t know exactly what system your bike has, it pays off to visit your local bike shop and ask them to advise you which tools you need to remove your cassette, bottom bracket, cranks and chain.
Although you can eyeball if your chain is worn out, a chain checker will tell you with certainty if you need to replace it and it doesn't cost the world either. While we are at the measuring side of things, a tire gauge will make sure you’re running the right pressure (and not dent those rims).
Most people leave suspension service to the professionals, but if you ride a lot, you’ll notice that the shock bushings are the first part to wear out on your rear shocks. They are fairly inexpensive, but installing them can be tricky especially if you don’t have a vice. This DU Bushing tool is small, inexpensive and makes this job a breeze. Even if you leave the bushing replacement to the professional, a quality shock pump should not be failing from the ultimate tool box.
There are also great bearing removal / install tools available enabling you to swap out the frame and wheel bearings of your bike. Be careful with these types of jobs though because if you do have the risk of damaging your frame or hubs in the process.
Truing wheels is a craft by itself, but with a little practice anyone can straighten out the worst wobbles. Most importantly you need a spoke wrench that fits perfectly onto the spoke nipple. Tolerances are small and it’s very easy to mess up if you use too much force. In the ideal world you get yourself a proper truing stand, but this portable one by Unior fits in the toolbox and gets the job done 99% of the time.
Brake tools are almost an article on itself, with basically each system requiring its own proprietary bleed kit and hydraulic fluid. Most brands have a good Pro Bleed Kit available, but usually the syringes are of a pretty crappy quality. A veterinary syringe used for horses or cows is a great alternative of a higher quality that will last a lifetime. I do advise to keep these tools in a separate tool box / case / tupperware. You don’t want hydraulic fluid all over your tools now do you?
Smart toolbox additions
Last but not least there are a few tools out there that can speed up your routine or are just handy to carry around. For example I always have some old spokes in the box, which come in handy when guiding cables or keeping the tension of the chain while you attach the quick link.
A steady supply of inner cables, end caps and hardware like screws, nuts, bolts and washers are always handy to have too. Good old black electrical tape can be used to solve a bunch of problems, and sometimes the only answer to the problem is superglue.
A proper grease gun is a good solution to keep it tidy, and a supply of threadlocker / loctite, carbon paste and isopropanol/brake cleaner are the sign of a good workshop. Just like zip ties and some iron wire for those makeshift repairs.
You can either go and recycle old t-shirts as cleaning cloths, go for the paper towel approach or if you really love your bike invest in some Muc-Off Microfibre cloths. Whichever you choose, you’ll be needing a bin bag to keep your workspace tidy though.
Depending on if you want to keep time or not, having a little digital clock in the toolbox will make sure you won’t go past your bedtime or be late for the ride. Taking things a step further you can also start adding stuff like a powerbank to charge your phone, a head torch/flashlight to peek into those dark corners of your frame and magnets to find that washer / bolt you just dropped on the floor.
Bike stand & work surface
Working on a bike without a stand is a pain. There is no way around it. There are a ton of stands out there at varying price points. General takeaway with these is the same as with many other things: buy cheap, buy twice. Some of the most budget friendly ones tend to be not very stable, and use a lot of plastics that degrade and snap over time. Small chance of finding a spare part for that too.
Uniors Bikegator stand is a popular choice, and with a retail price around 360 Euros still quite affordable too. It’s foldable, has a worktray and most importantly spare parts are available to keep it in working condition. If that is above your budget, you can always have a look at making a simple DIY stand with some wood where you can hang your bike from the saddle. Not ideal, but as long as you are able to spin the rear wheel you can adjust the gears, and take out the wheels for a good cleaning.
If you are unable to claim a room in the house or some proper space in the shed, a foldable work table is a great solution. Of course you can check your local DIY store what they have available, but ski servicing tools manufacturer Swix has a great portable table that is sturdy and packs down easily.
Never finished
Assembling a good toolbox is like building your own house, it is never really finished. As new parts enter the market and your mechanic skills evolve, there will always be something to change, upgrade or replace to create the ultimate workshop setup. The best way is just to get started, and slowly improve from there. For those who are willing to take things to the next level, there is always the hashtag #toolboxwars to follow on instagram!
By Jarno Hoogland
Jarno's life has revolved around two wheels ever since he swung a leg over his first BMX at age 4. After a BMX and DH racing career, he moved on to work for bike shops, distributors and brands before ending up in the editors seat at IMB. Based in the ultimate testing ground in the Swiss mountains, he runs his guiding operation and makes sure every IMB issue is filled with top notch content.