Getting Dialled - POV Video
Issue 71 / Mon 22nd Aug, 2022
Everything is content, but how do you capture it properly?
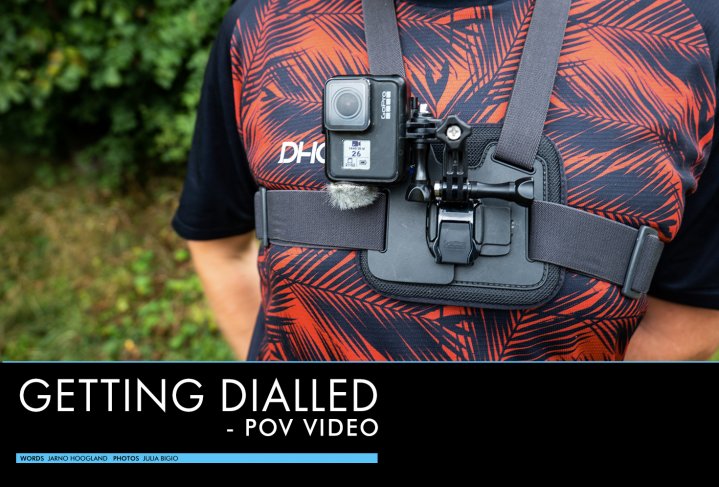
Most of us have been there. Went on a kickass trip, brought the GoPro, strapped on the chesty and looked silly all day while asking all of your riding buddies if the camera was running or not to then find out most of the action you caught was unusable.
Over time, action cams and phones have made huge leaps forward with stabilising technology, but there are a few nics to making ace footage, and that’s the subject of this issues getting dialled.


The goal
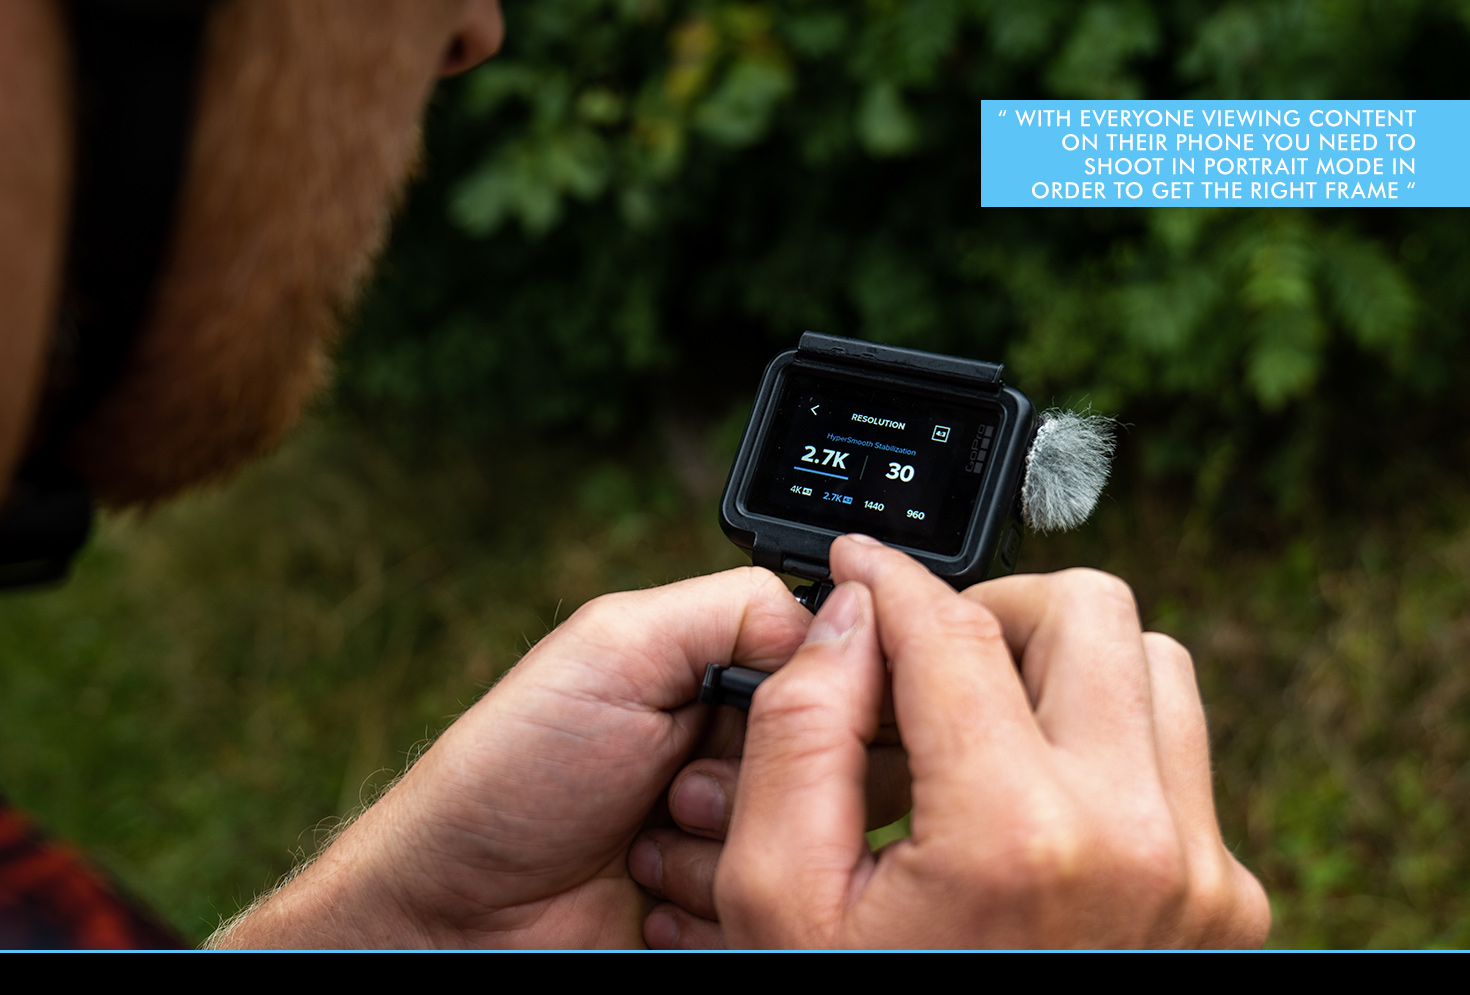
Starting off, you have to have a bit of a plan on what you are trying to create. Are you trying to get some clips for Instagram or TicToc or are you planning on shooting a full feature shredit? With everyone viewing content on their phone you need to shoot in portrait mode in order to get the right frame, whereas with a regular YouTube style video you need to keep the camera horizontal.
When you’re trying to capture most of the action, a wide field of view is best used. This does distort the image quite a bit though, so if you’re filming anything different than action, you best switch to ‘Linear’.
Resolution, Framerates and ISO’s
Once you have the orientation figured out, next up is frame rate and resolution. The resolution basically determines the amount of pixels used in the image, the higher the resolution, the more defined the image. Now more resolution is not always better. Shooting in 4K will create enormous files that fill up your SD card in no time, and not all cameras offer the stabilisation features in all the resolutions. When looking back on a phone for example, the regular 1080p is the current standard resolution and even still looks good on an HD TV set. Generally I use either 1440p or 2.7K for my footage, depending on how much I plan to shoot that day.
Next up is frame rate. This is how many images per second are taken by the camera, and has a big impact on how you view the footage. Too low of a frame rate, and the high speed action becomes choppy. Also if you are mixing the POV footage with other footage, the frame rate needs to match. My go-to frame rate for everything is 30 frames per second. This allows a sharper image with high speed action than 24fps, and therefore suits a high speed sport like mountain biking better. If you’re looking for some awesome slow motion shots, you can crank it up to 60fps or even 120fps. That way you can play the action back at either half the speed or even a quarter of the speed for that TGR look.
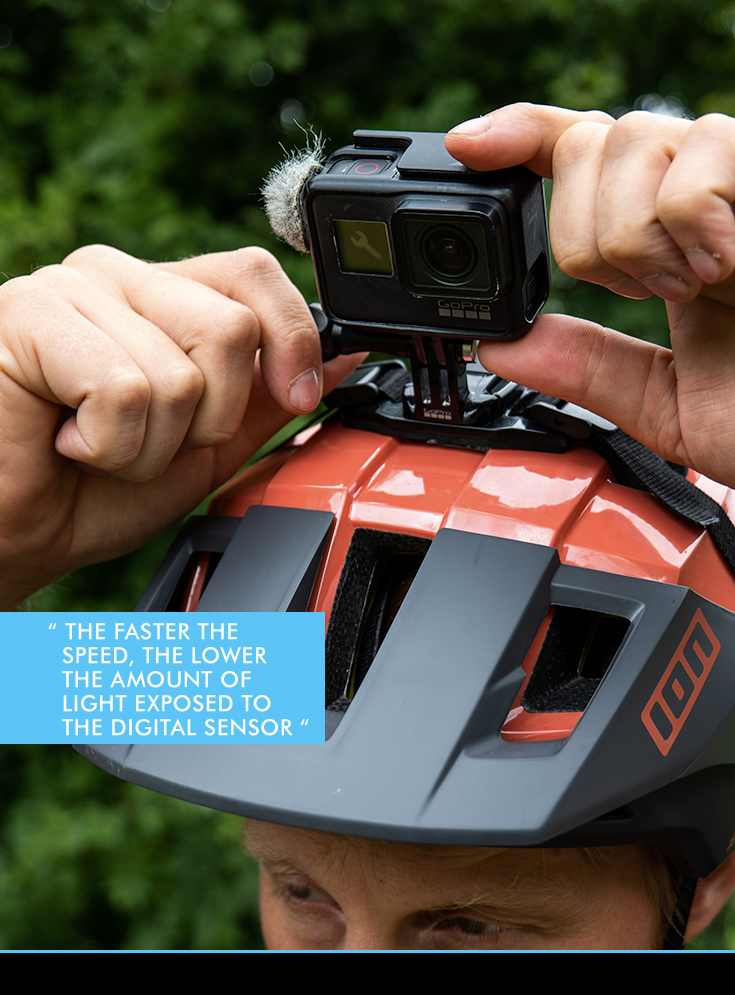
When filming with proper cameras, shutter speed is also adjustable. Shutter speed is a measurement in seconds of how long the shutter is open. The faster the speed, the lower the amount of light exposed to the digital sensor. To compensate you can work with different ISO settings, which determine how sensitive your camera is to light. Bright sunny skies require low ISO (like 100) while dark wooded sections require a higher ISO of 800 or 1000. If you set the ISO too high, your images will typically turn out grainy. For most action cams, it’s best to leave Shutter Speed and ISO on Auto mode. If you’re filming with a more advanced camera, you can best choose for a shutter speed twice the frame rate. So when filming at 60fps, you go for a shutter speed of 120 and adjust the ISO accordingly to make sure there is enough light in the image.

Last but not least there are the whitebalance and colour codec settings. The colour codec basically determines how colourful and lively your image is and the white balance determines how ‘warm’ or ‘cold’ your images are. Unless you love tinkering with all of this, I suggest leaving them on ‘auto’ to get a decent result without too much risk of messing up.
Audio
It’s easy to forget that 50% of your video is actually the audio. A great looking video can be enormously annoying to watch if the audio is off. We all know that loud wind noise makes you want to put your fingers into your ears. Best thing to solve that is by using a dead cat. No not literally of course! It’s the name for that fluffy fur that you stick over the microphone in order to block out the wind noise. They’re cheap, easy and make a world of difference!
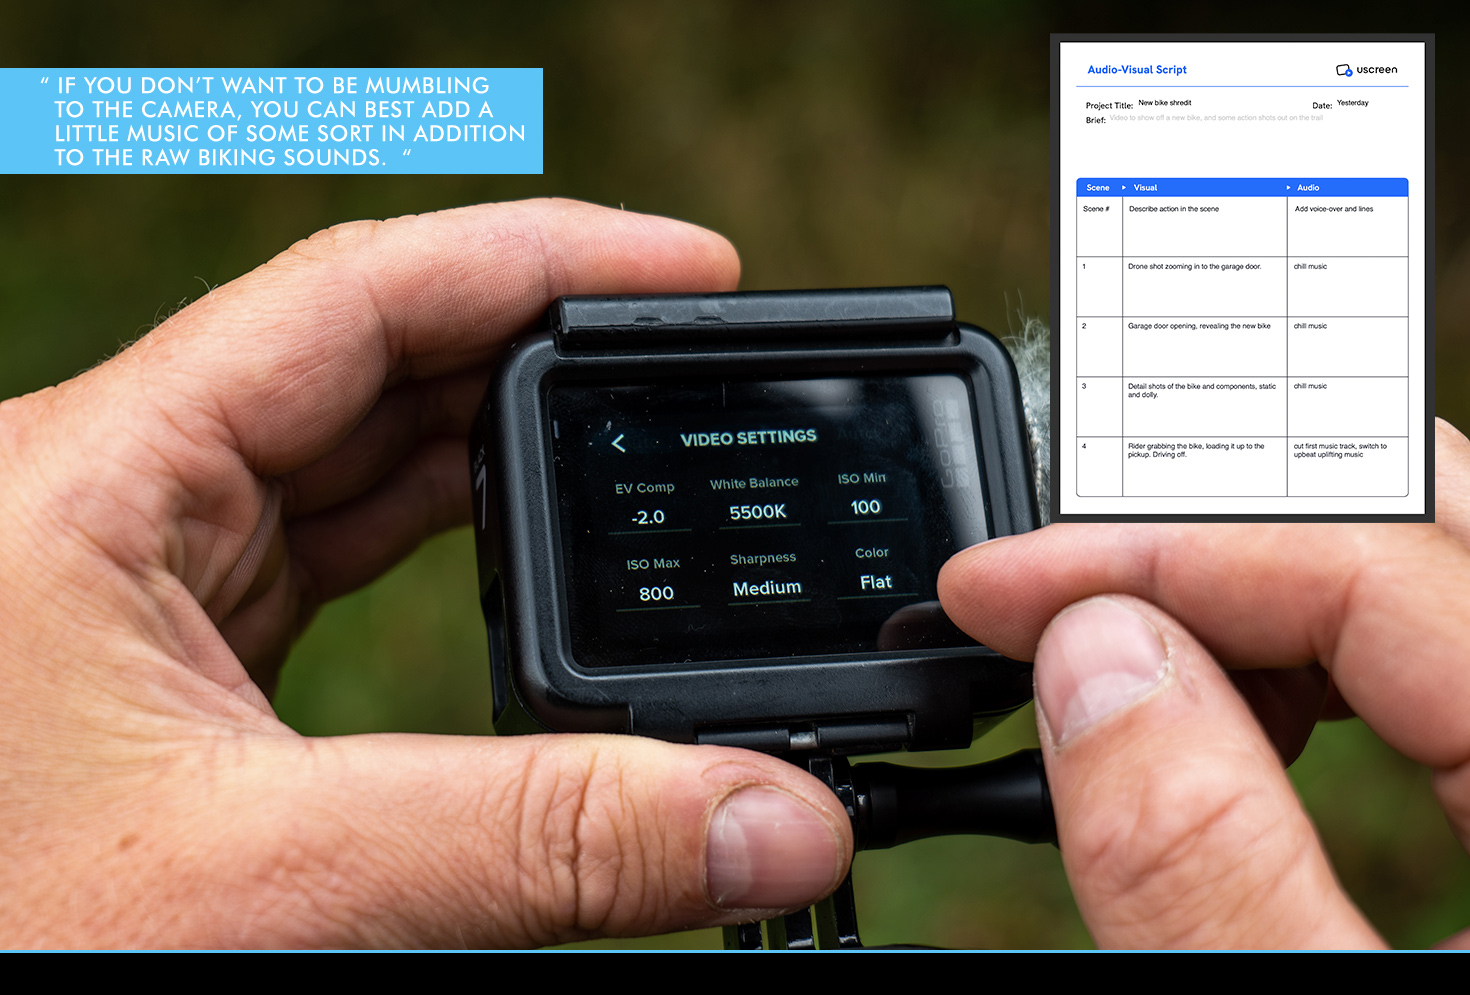
You can be like BKXC or McTrailriders and talk to the camera while out riding to share your excitement. But If you don’t want to be mumbling to the camera, you can best add a little music of some sort in addition to the raw biking sounds. Make sure the music matches the scenes too, just because a tune works at 3am in the club it doesn’t mean it's suited for your action shots of riding in the mud.
Now with music there are labels and copyright troubles. You can’t just slap any tune on your movie and upload it to YouTube. You will get flagged for breaching copyright laws and your hard work gets pulled or muted. This is why you saw the birth of all the ‘RAW’ edits as it cuts down your editing time (see why further in the article) and you don't need to pay for music.
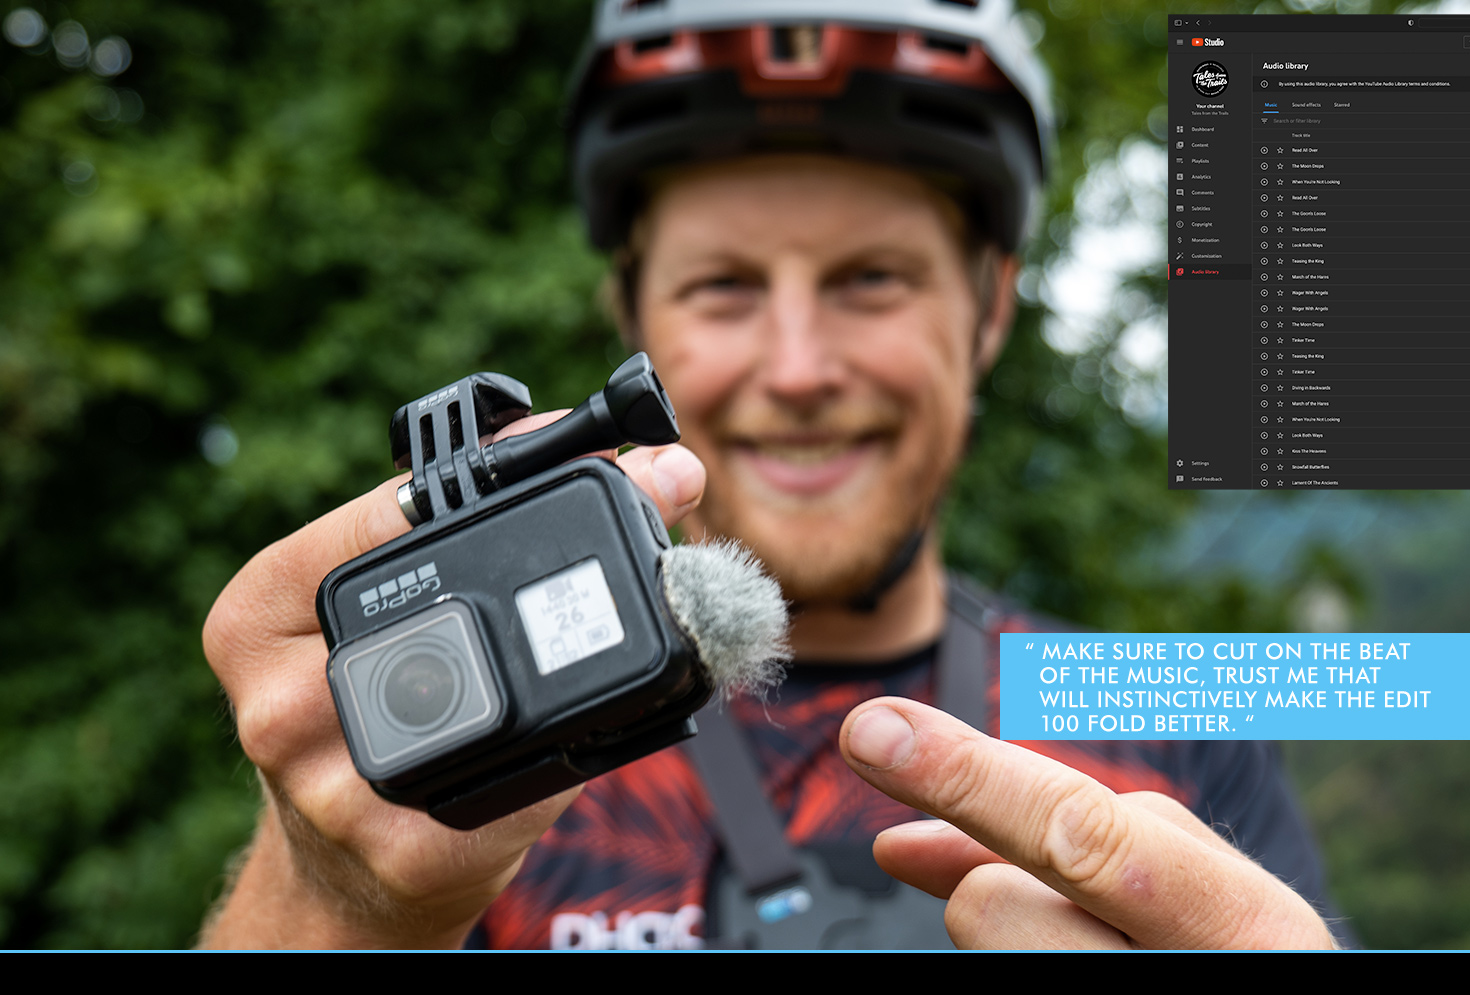
Thankfully there are a bunch of solutions out there these days. YouTube studio has a big catalogue of music that can be used for free, or if you are looking for more options you can pay for services like https://artlist.io or https://www.epidemicsound.com.
Shooting
When capturing your action, make sure you condense it to the most interesting bits of trail. No one cares about that 20 minutes climb or 5k fire road traverse. One thing to really pay attention to is that you are going to tell a story. A video speaks much more to the audience when you also include other stuff than just you bombing down a trail. Add in a few seconds of you grabbing your kit, driving down to the trailhead, meeting up with the crew, unloading the bikes, the climb, the lunch, the descent, the beers at the pub. You get my point, right?
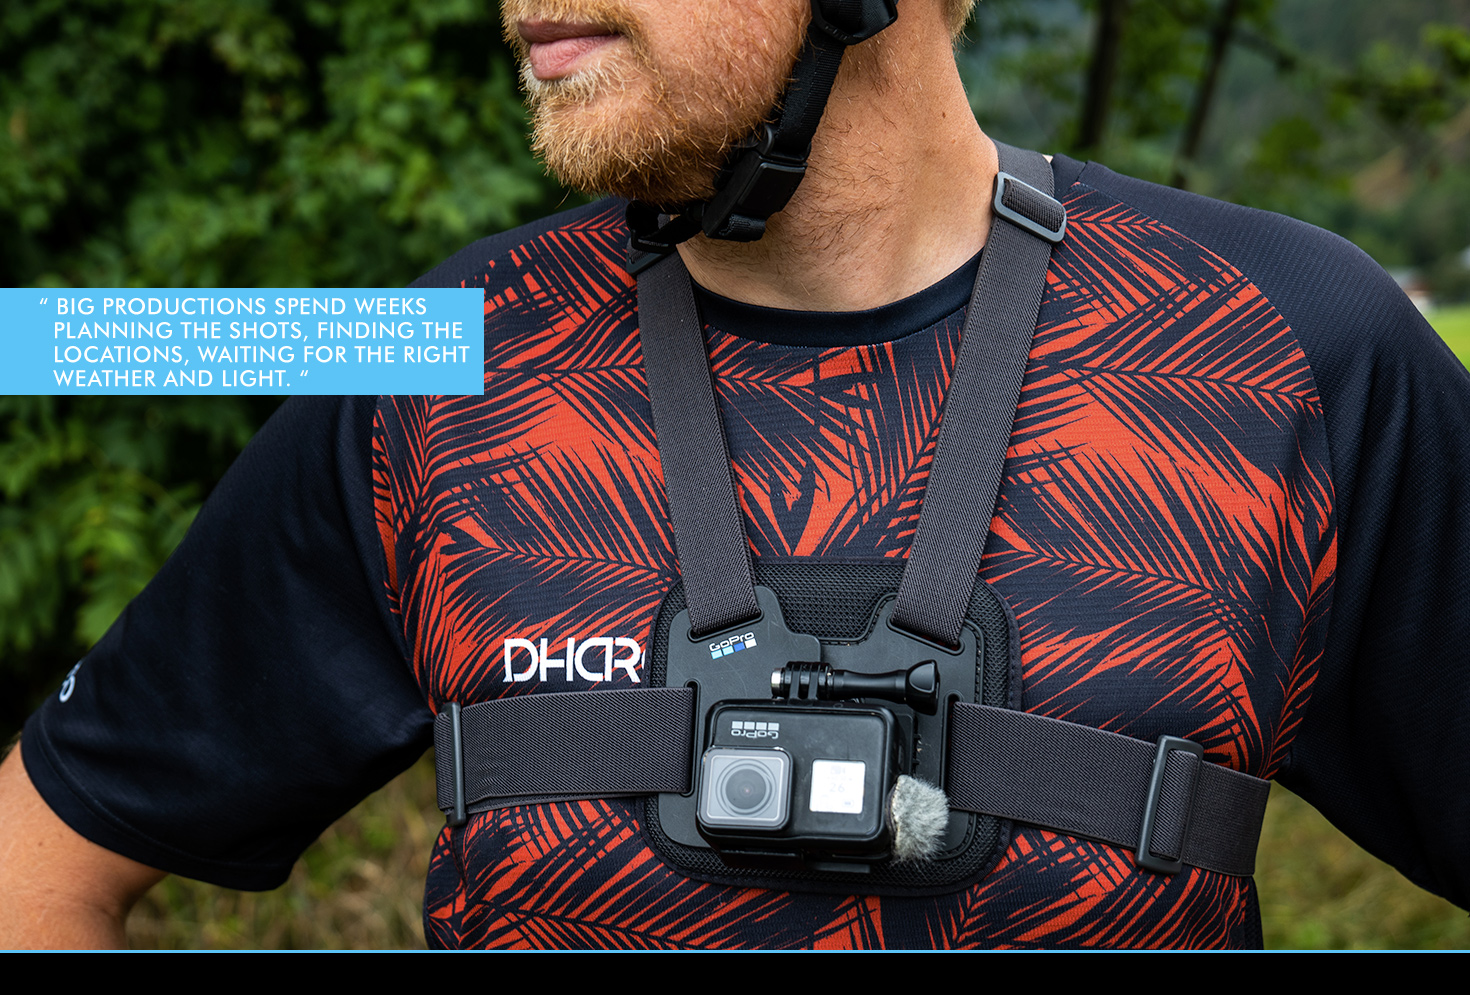
Now here comes the difference between the next big movie production and what most of us just do. We tend to just randomly document the stuff we do throughout the day or trip. Big productions spend weeks planning the shots, finding the locations, waiting for the right weather and light. If you want to up your level, the first thing I would start is with light.
Sunrise and sunset have what’s generally referred to as golden hour. The sun is low on the horizon and creates a warm glow with long shadows that give a totally different feel to your footage. Anything you create during golden hour is just going to look tons better.
The second thing is planning and having an idea of what story you want to tell. Just by having a little think about it will make you alert to capture all the action and really put together a story. If your friends are game, you can even make them act out certain scenes a few times, just so you are able to capture the action.
Camera positioning is another important part of how it will end up. Most commonly used is either the chest mount which gives a great dynamic image with the arms and bike moving in the shot, or the full face chin mount style. Not only does this give a great point of view image, but the microphone is also close to your mouth to capture decent audio. I tend to stay away from bike mounted shots, but sometimes you can capture some cool stuff from beneath the saddle pointing to the rider behind you.

Don’t be afraid to do some hand held stuff too, just pointing and shooting your friends riding past or even just aiming the camera at yourself to explain what’s going on to your audience. Variation is key to keep the viewer interested!
Editing
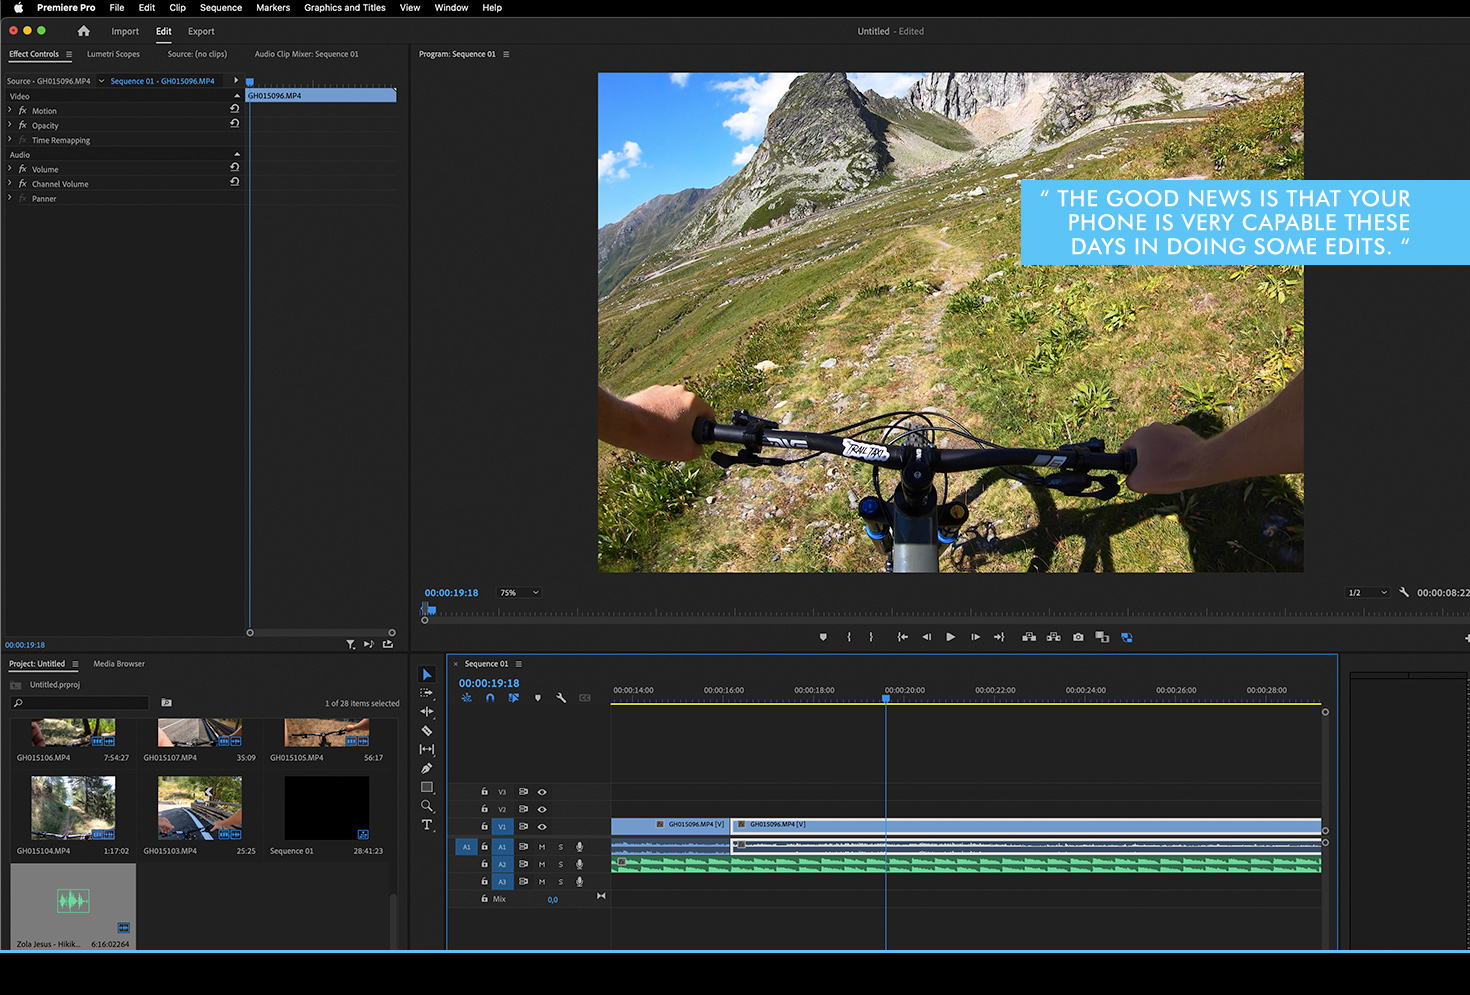
Here is the part where most of us zone out and leave all these files sitting on our hard drive. The good news is that your phone is very capable these days in doing some edits. Download Imovie or the GoPro or DJI app and you can start doing some basic editing. Want to take it to the next level? Download Davinci Resolve video editing software. It’s 100% free and has a lot of options to create professional edits.
Start by selecting the clips you want to use for your edit. The next thing I always do is find music to go with the edit. Make sure it is not just your favourite tune, but also something that appeals to a larger audience, unless you don’t care if other people can bear your punk rock techno gabber music choice of course. Now you can start cutting the clips to display the best action. Make sure to cut on the beat of the music, trust me that will instinctively make the edit 100 fold better.
Once you’re happy with the edit, you can maybe do a tweak or to with the colours, whitebalance and exposure so it looks realistic. If you really want to dive deep into this, have a google on LUTS. Those are preset filters to give a certain feel to your image.
Finished editing and happy with the result? Add an intro and outro to the video, upload and share with the world!
By IMB
