Driving Force
Technique / Maintenance
Introduction
Even with the best technique in the world, if your bike lets you down you are going to lose speed and there is a danger it will have a knock on effect on your riding ability. The power transfer between you and the bike is perhaps the most important one when looking to tackle steep climbs. Skipping gears and a worn drivetrain will see your mates pass you quicker than a fat kid running for cake. Richard Kelly looks at how you can ensure that doesn’t happen!
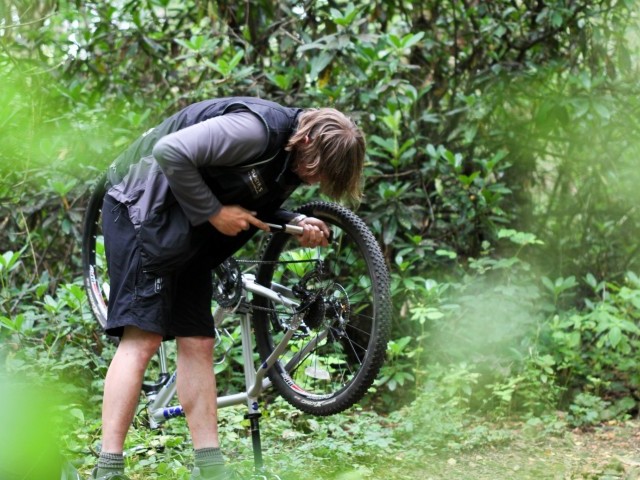
It is said that there are only two certainties in life, death and taxes. If you are a mountain biker you can definitely add maintenance to that list of certainties. Throwing money at the problem is one solution. Your local bike store will be only too happy to relieve you of your hard earned cash but with a little knowledge and a little practise even the most unpractical of rider can deal with some of the more common problems that will blight your ridding at some point. In an earlier edition we have looked at some first aid for bikes in terms of trail side fixes and repairs. These can happen any time, to any rider. Being able to deal with the unpredictable is a must when there is no mechanic at hand and is definitely a skill set that will keep you from the misery and shame of walking the trails back to base.


Outside of the emergency of a mid-ride mechanical, many riders shy away from addressing the more routine maintenance issues. Although these require a bit more than a set of allen keys or a puncture repair kit they are, with the right tools, no more complicated to resolve and rectify.
Getting to grips with core maintenance skills may be a little intimidating but remember that in essence bikes a very simple piece of engineering and part of their enduring appeal is both their simplicity and also the sense of independence they foster. Being able to make good your bike without driving it to a bike shop will only enhance the joy your bike brings you.
Your bike is subject to forces, stresses and strains. Distance, terrain and the weather can all impact on just how much and how often these stresses and strains manifest themselves Among the most common gradual failings that will eventually need addressing are those at effect the delivery of power and keep your wheels turning efficiently and effectively.
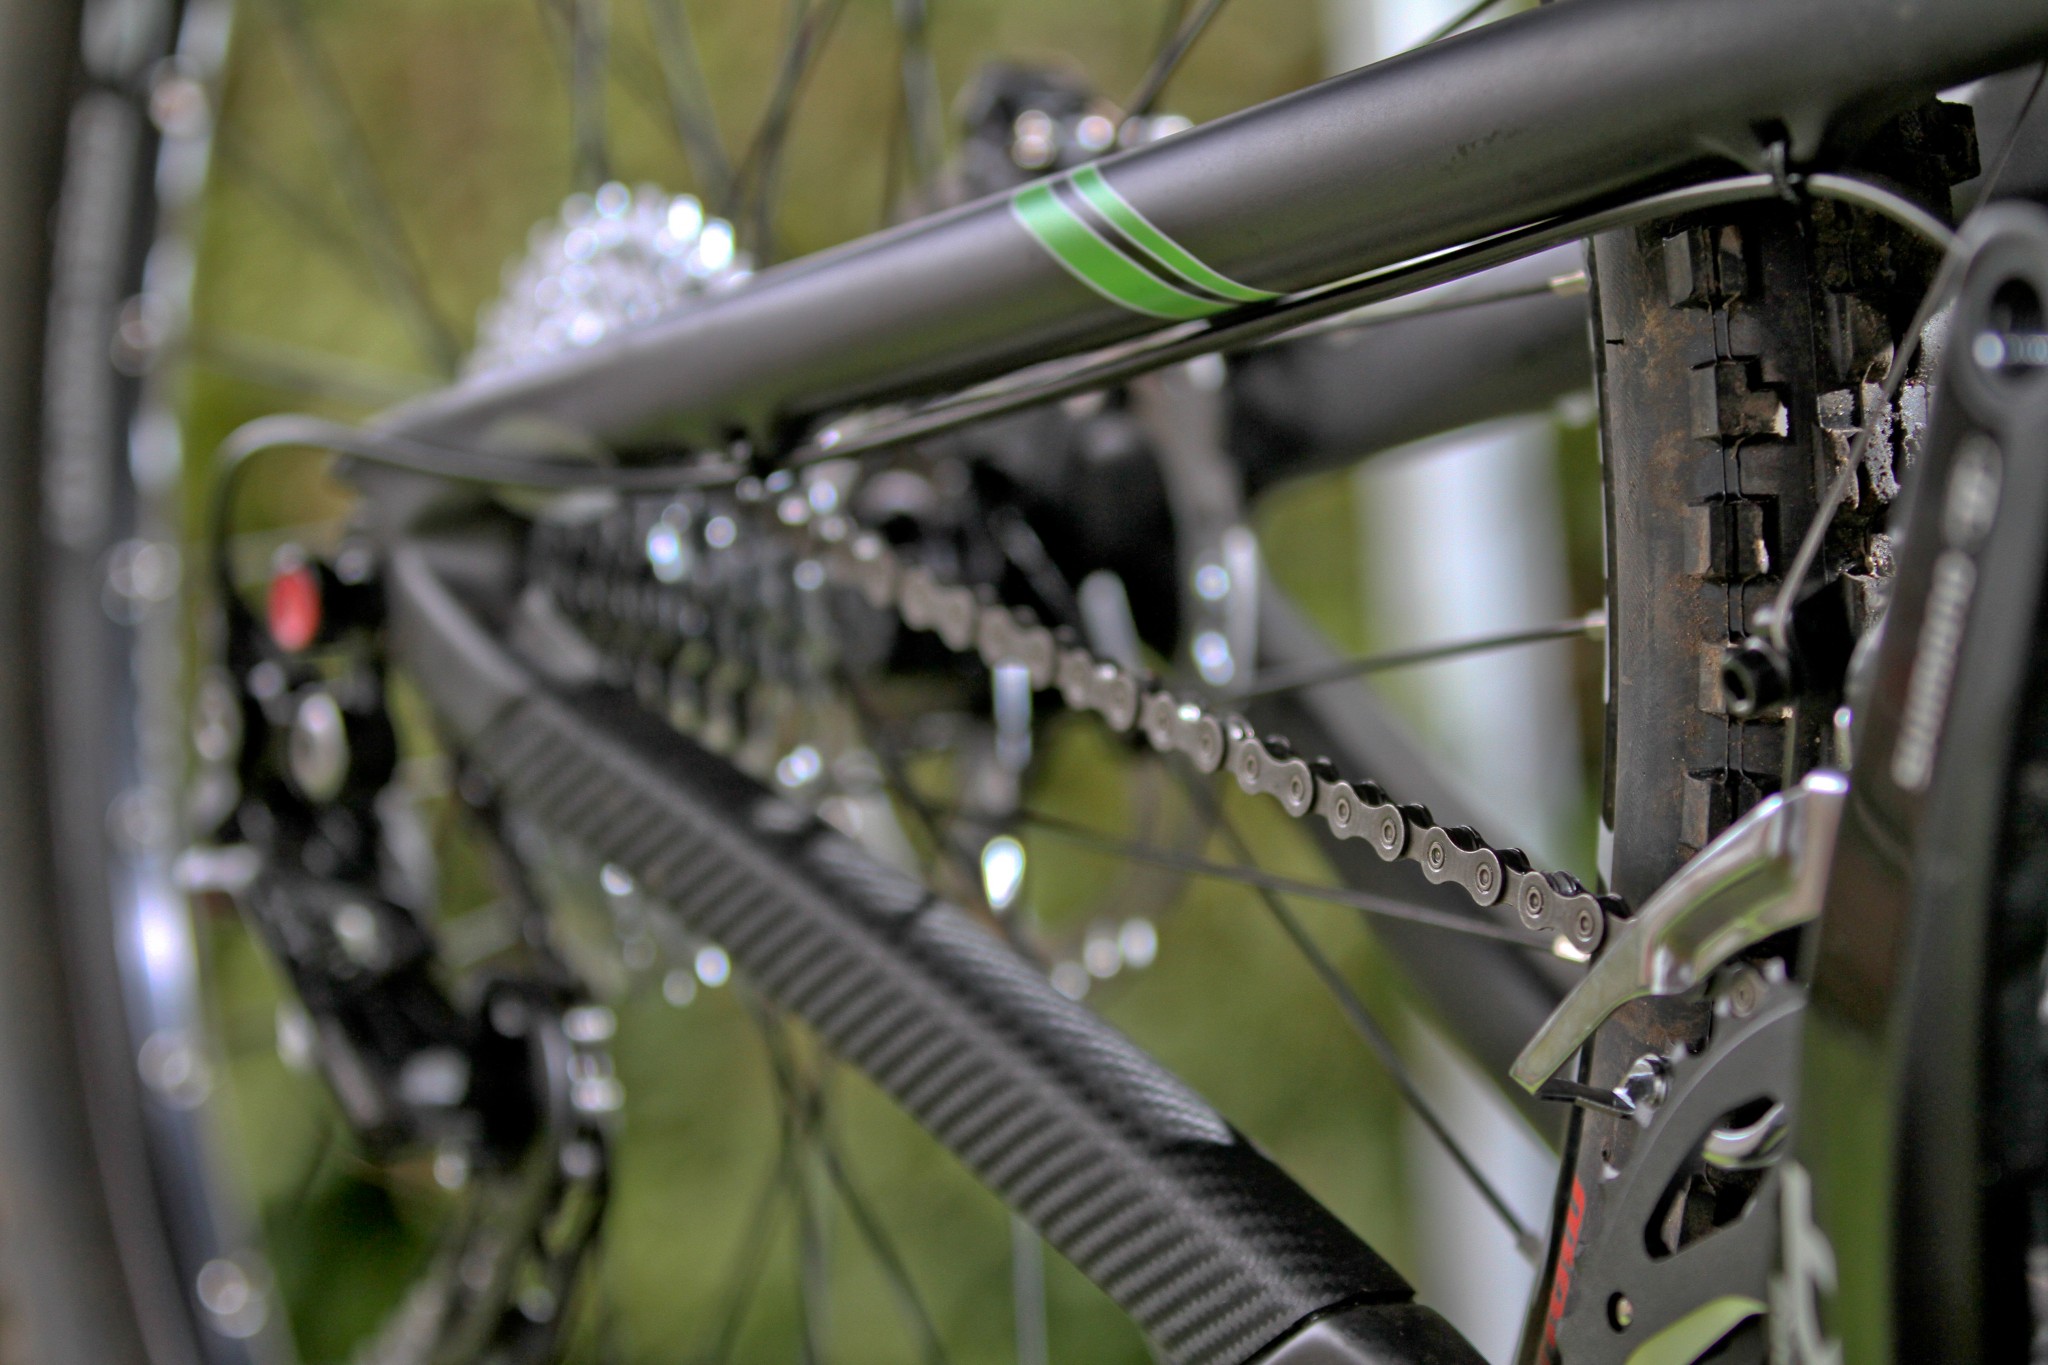
You work hard to keep your wheels turning so if your drive train becomes worn to point where your efforts are not rewarded fully, frustration is guaranteed. Even if your tyres keep perfect traction, a slipping chain can restrict your progress. Keeping your drive train in good working order will ensure that the effort you put in is matched by the progress you deserve and guarantee that the input to output ratio remains strongly in your favour.
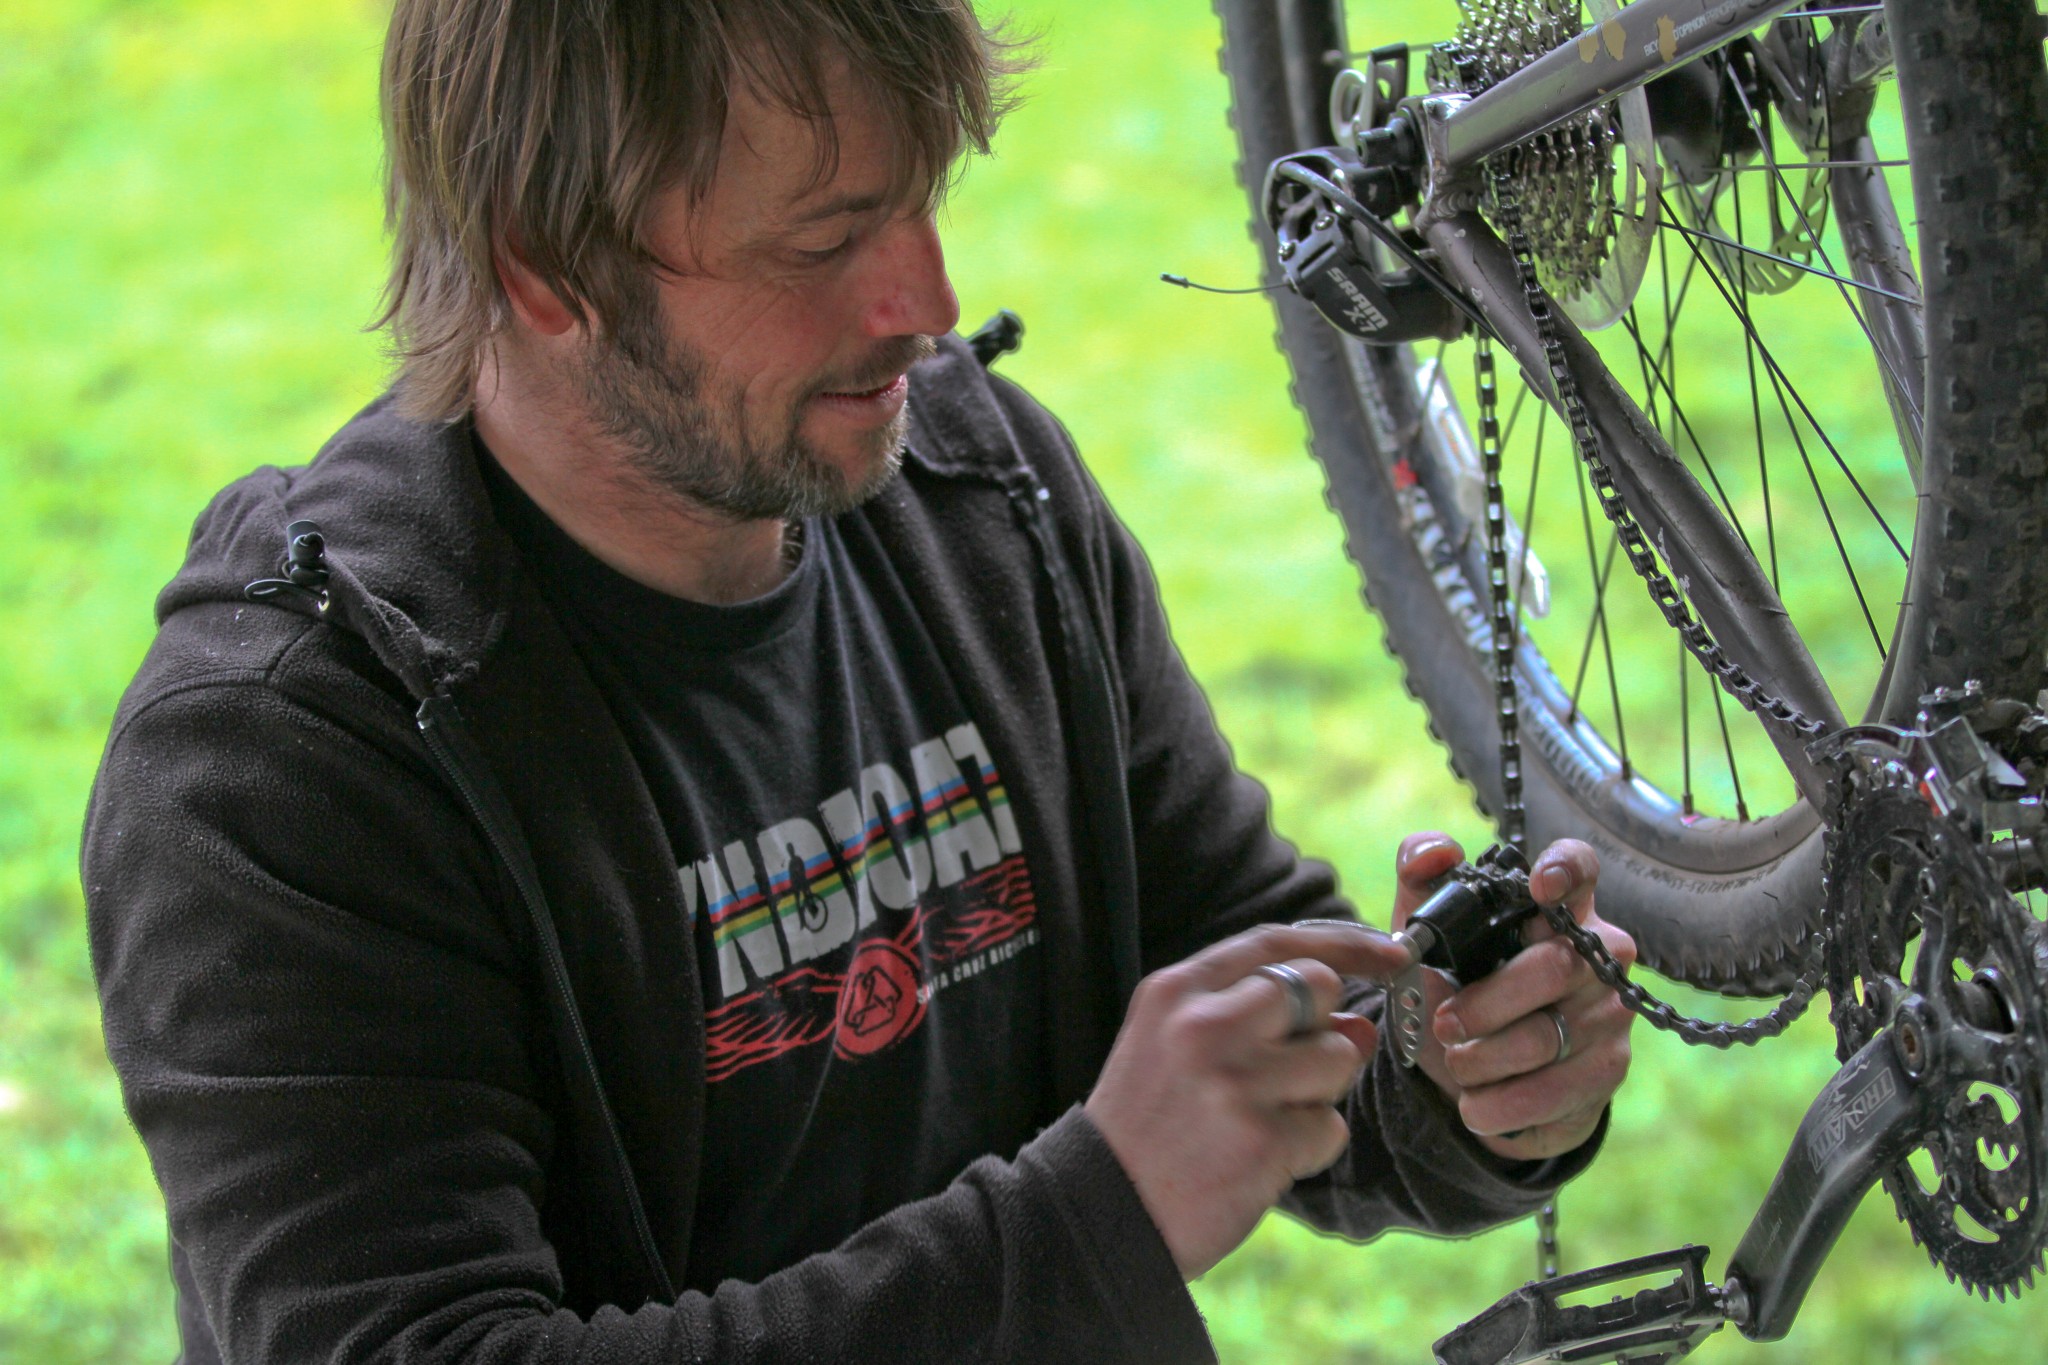
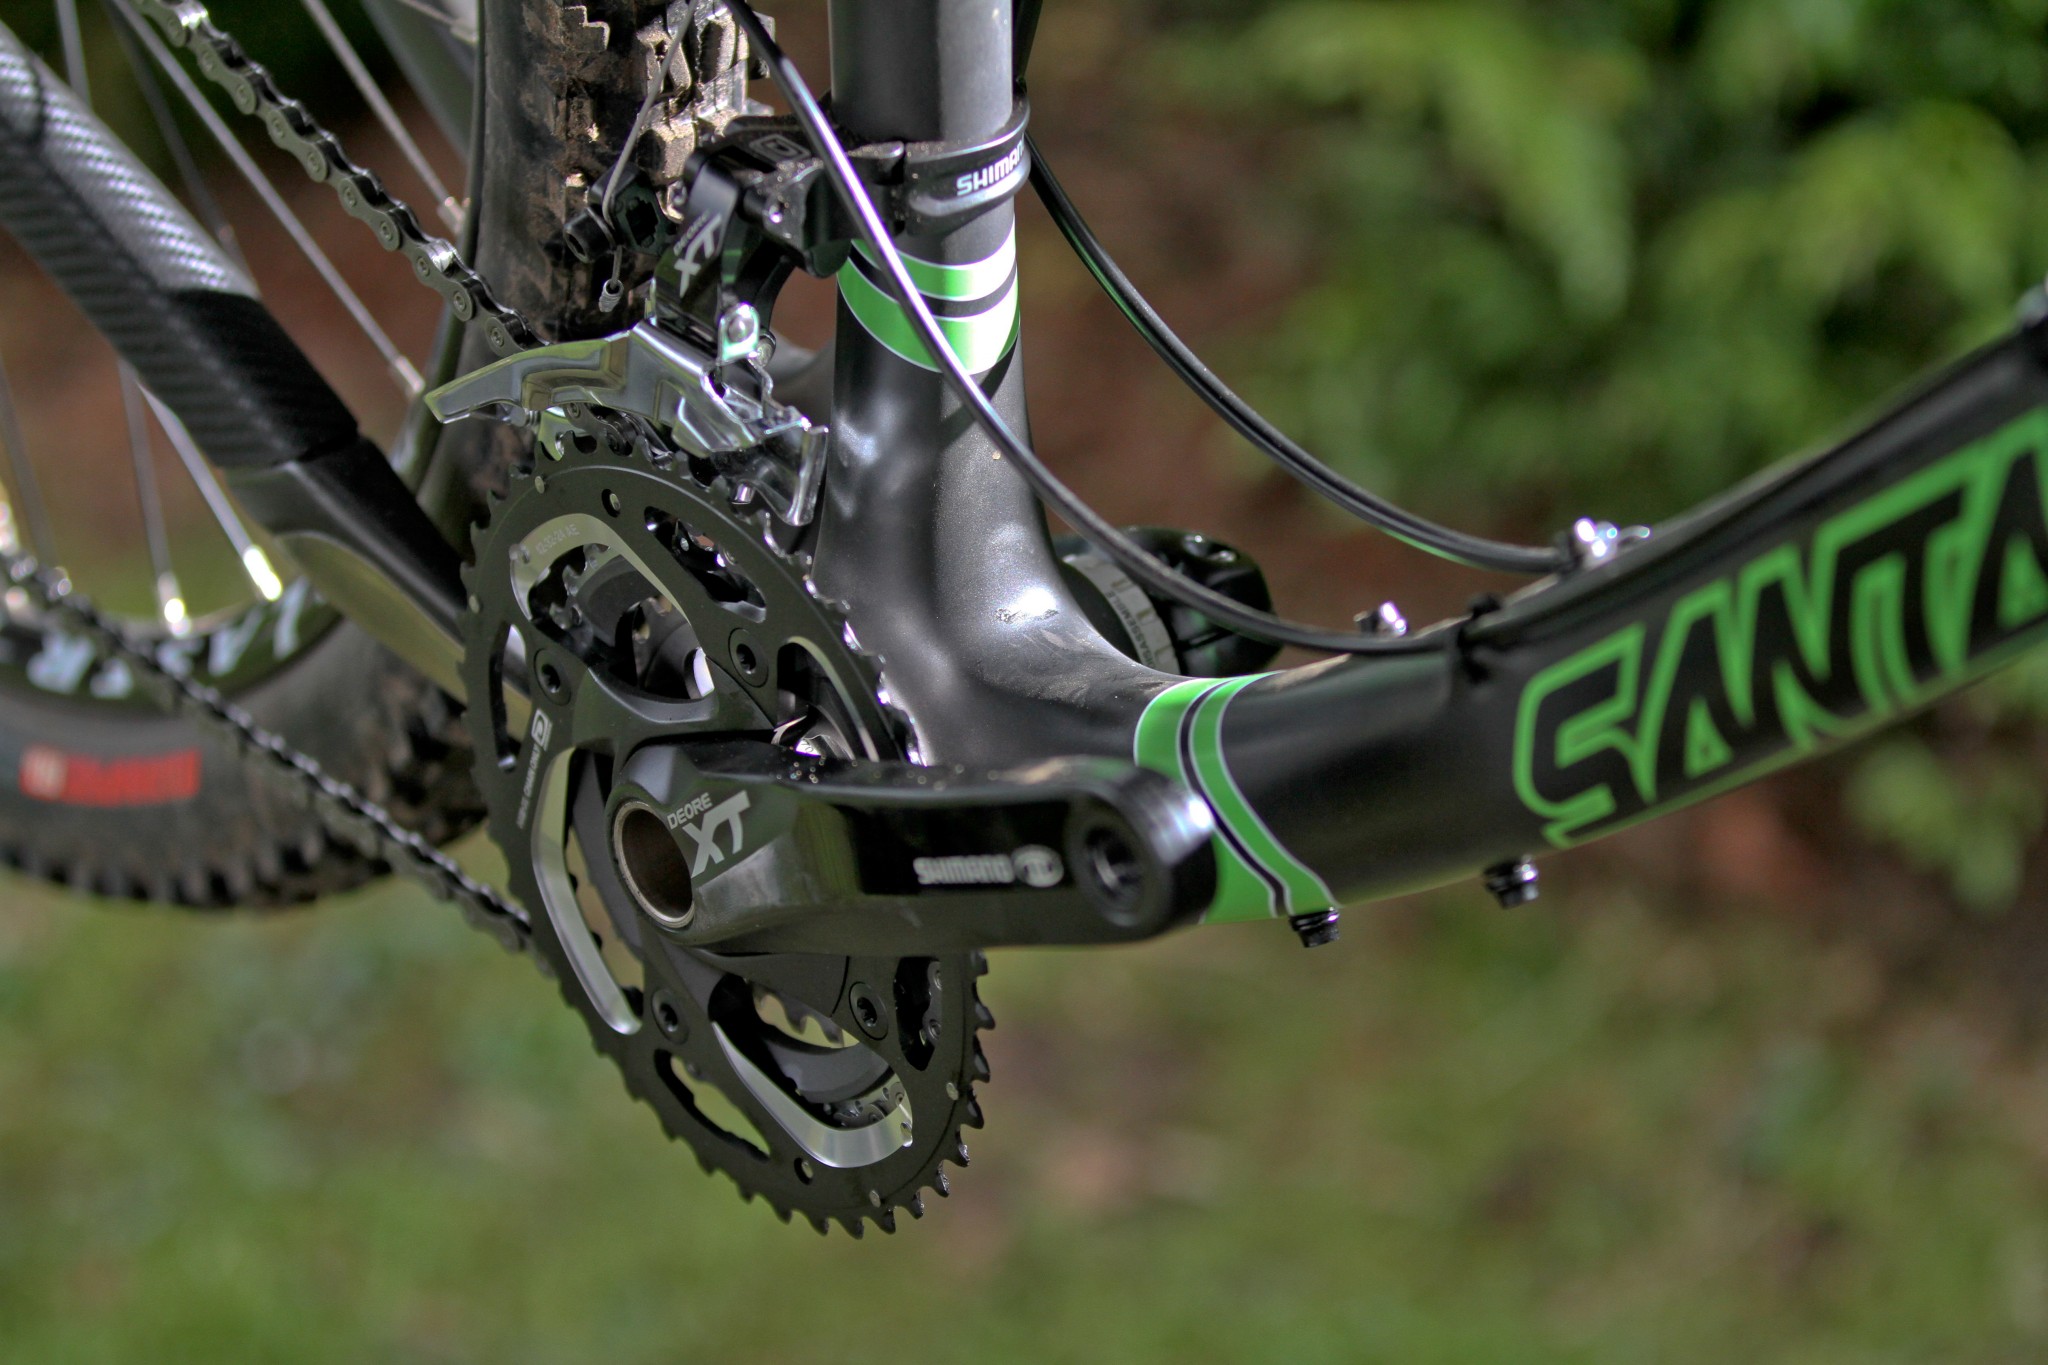
Assuming your gears are correctly indexed (which is a pretty big assumption but one I am making all the same) there are three main components that will need attention and replacement from time to time. Your chain, cassette and bottom bracket are the big three and none require a degree in engineering to resolve, just a degree of patience and a degree of time!


Fault Diagnosis
How do you know it's time for a change?
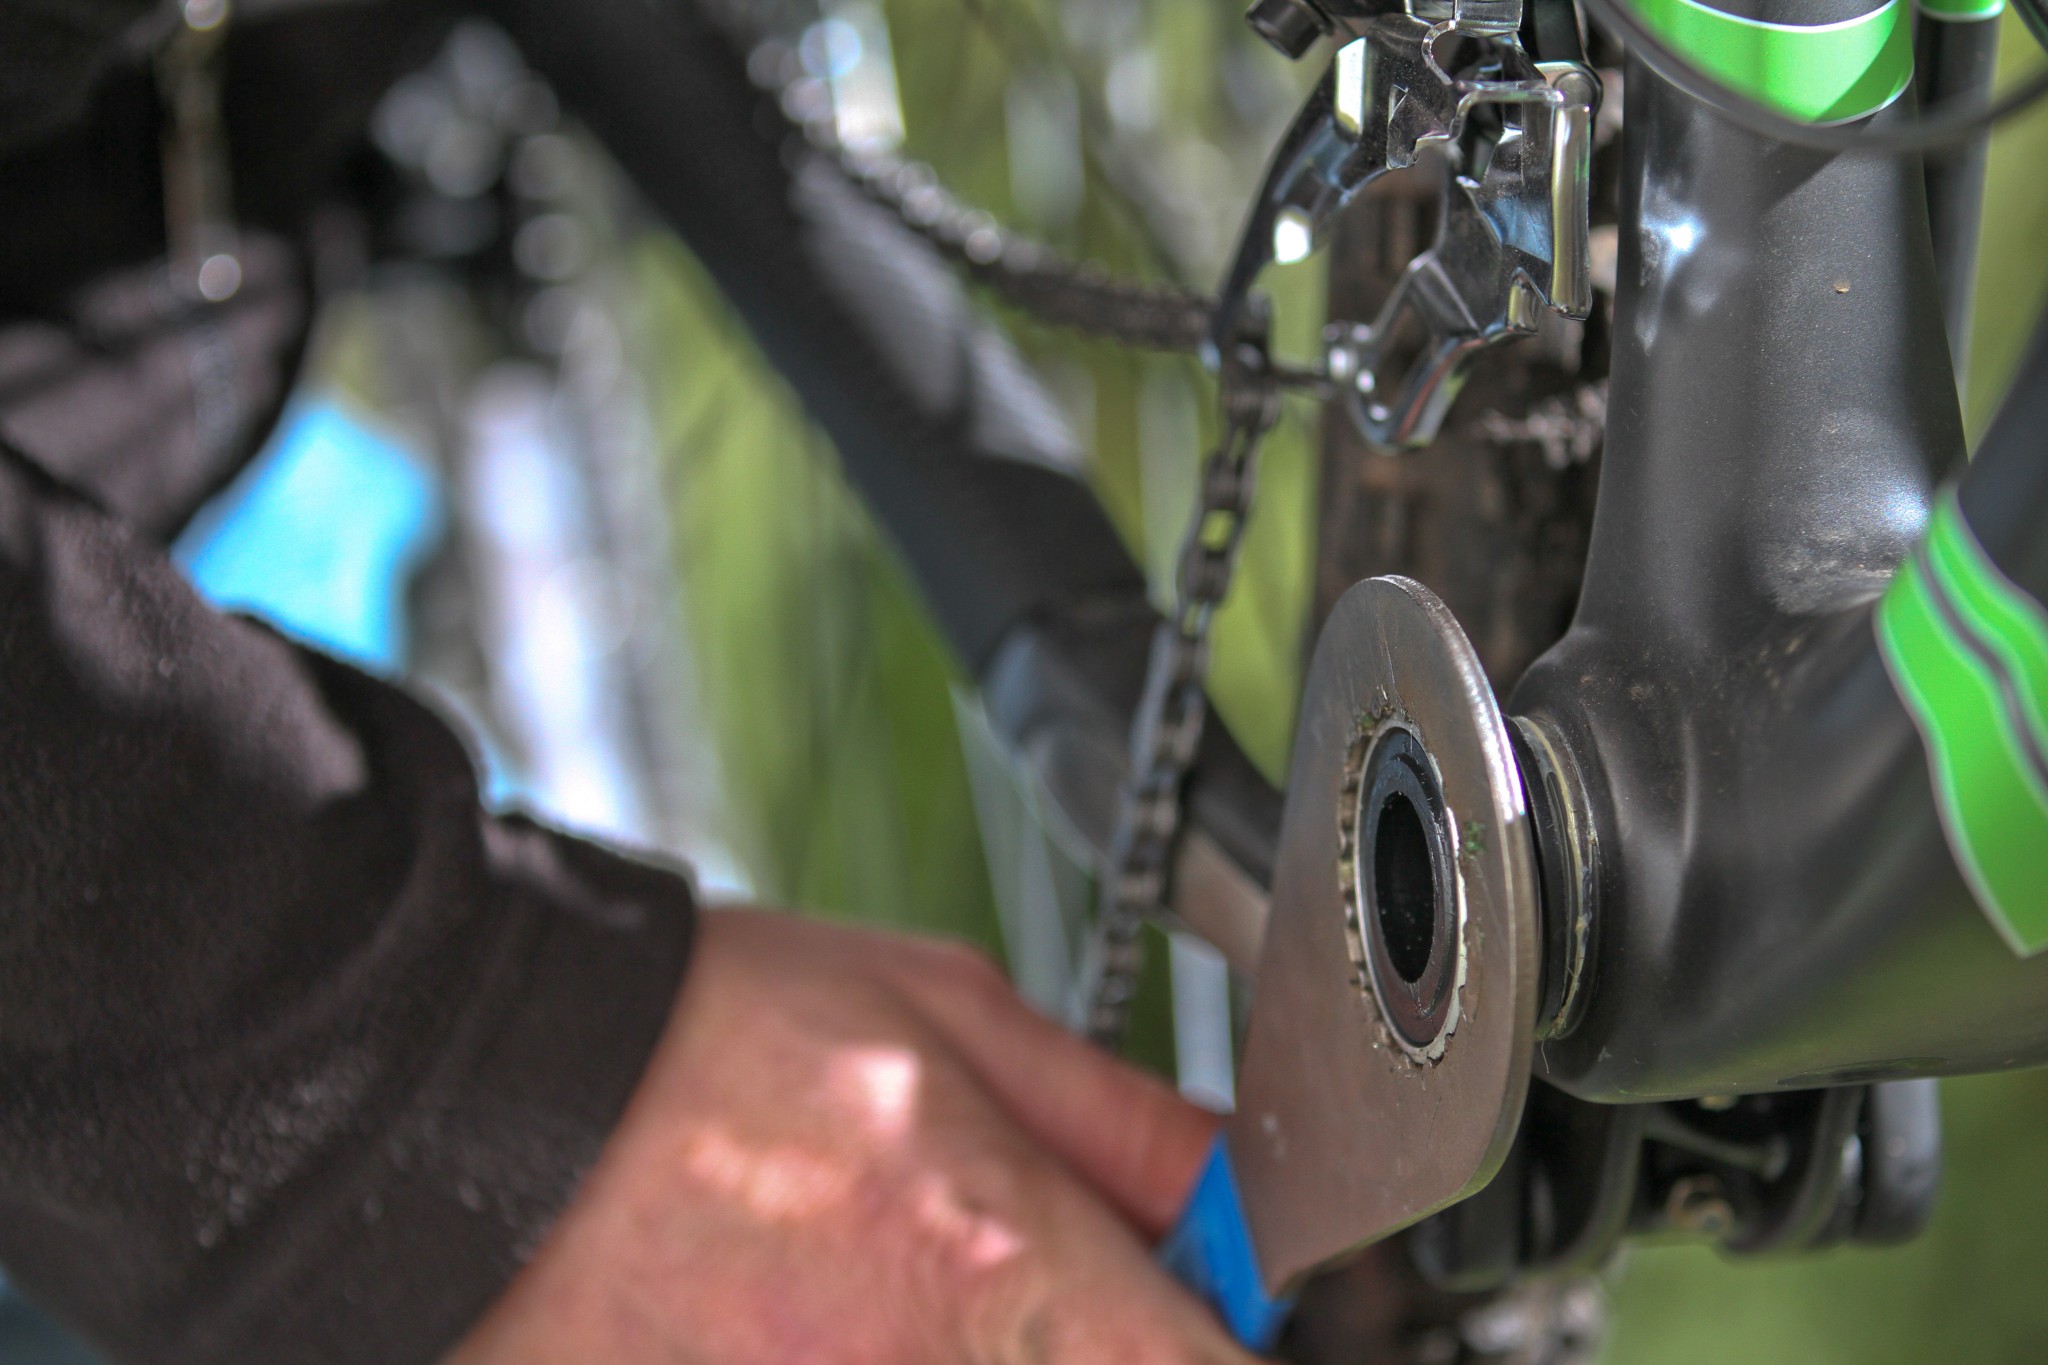
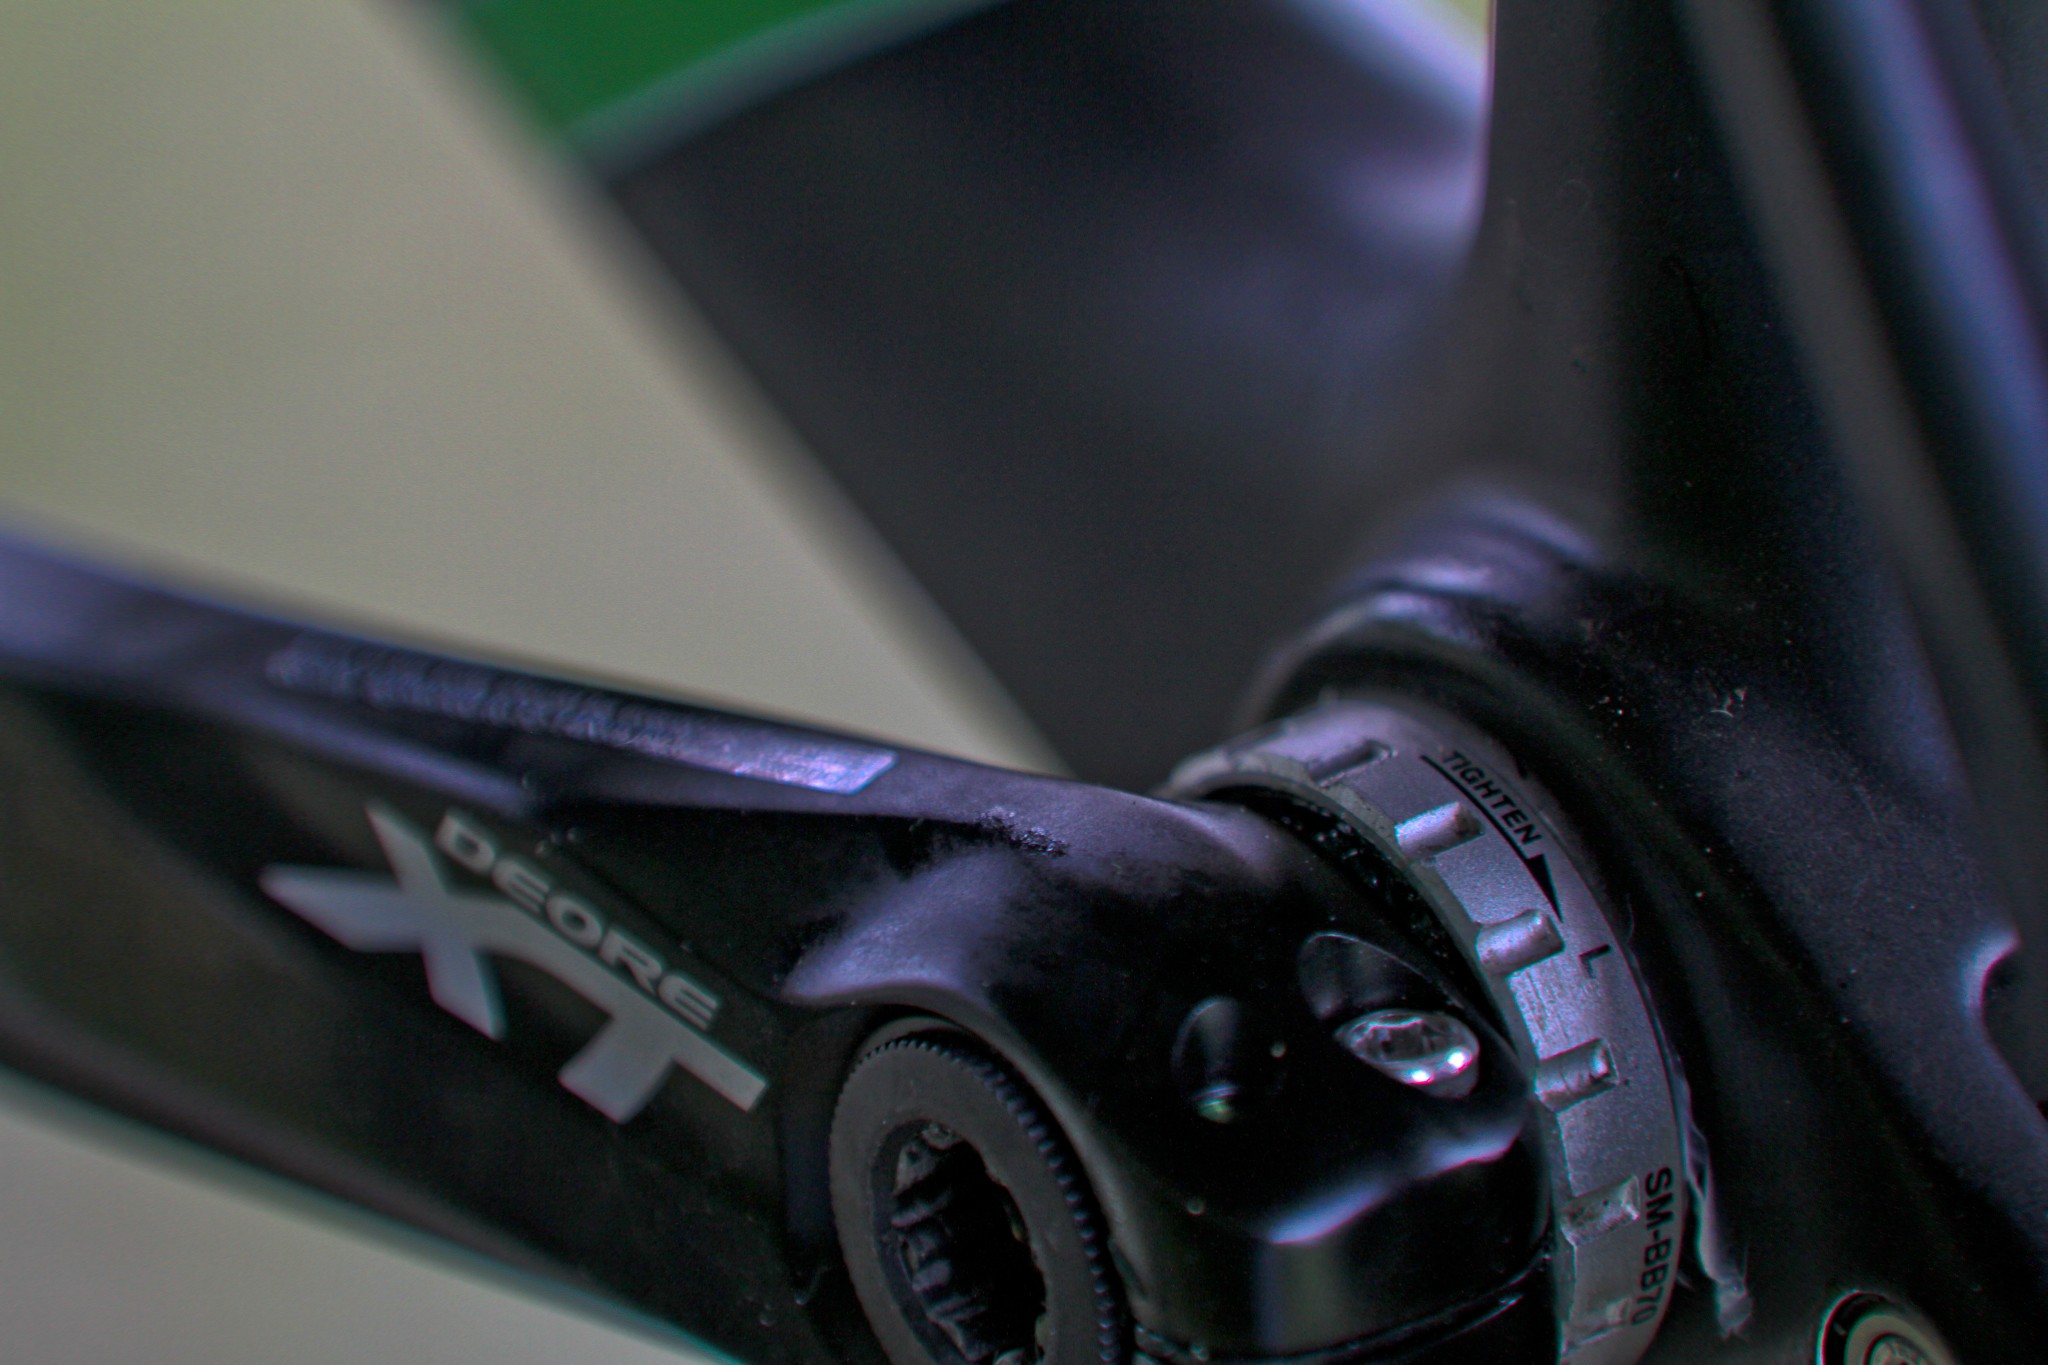
Bottom brackets will start to creak or make a cracking sound as you increase the torque and pedal harder. Bikes have an uncanny ability however of transferring noise from one part of the bike to another. Don't always believe your ears. Very slightly lose saddle bolts can create a similar sound to a BB that is on the wane. If you think it is on its way out a sure fire way of checking is to grab a crank arm try pushing it in and out towards the frame. If there is any movement you know that your bottom bracket is on its way out.
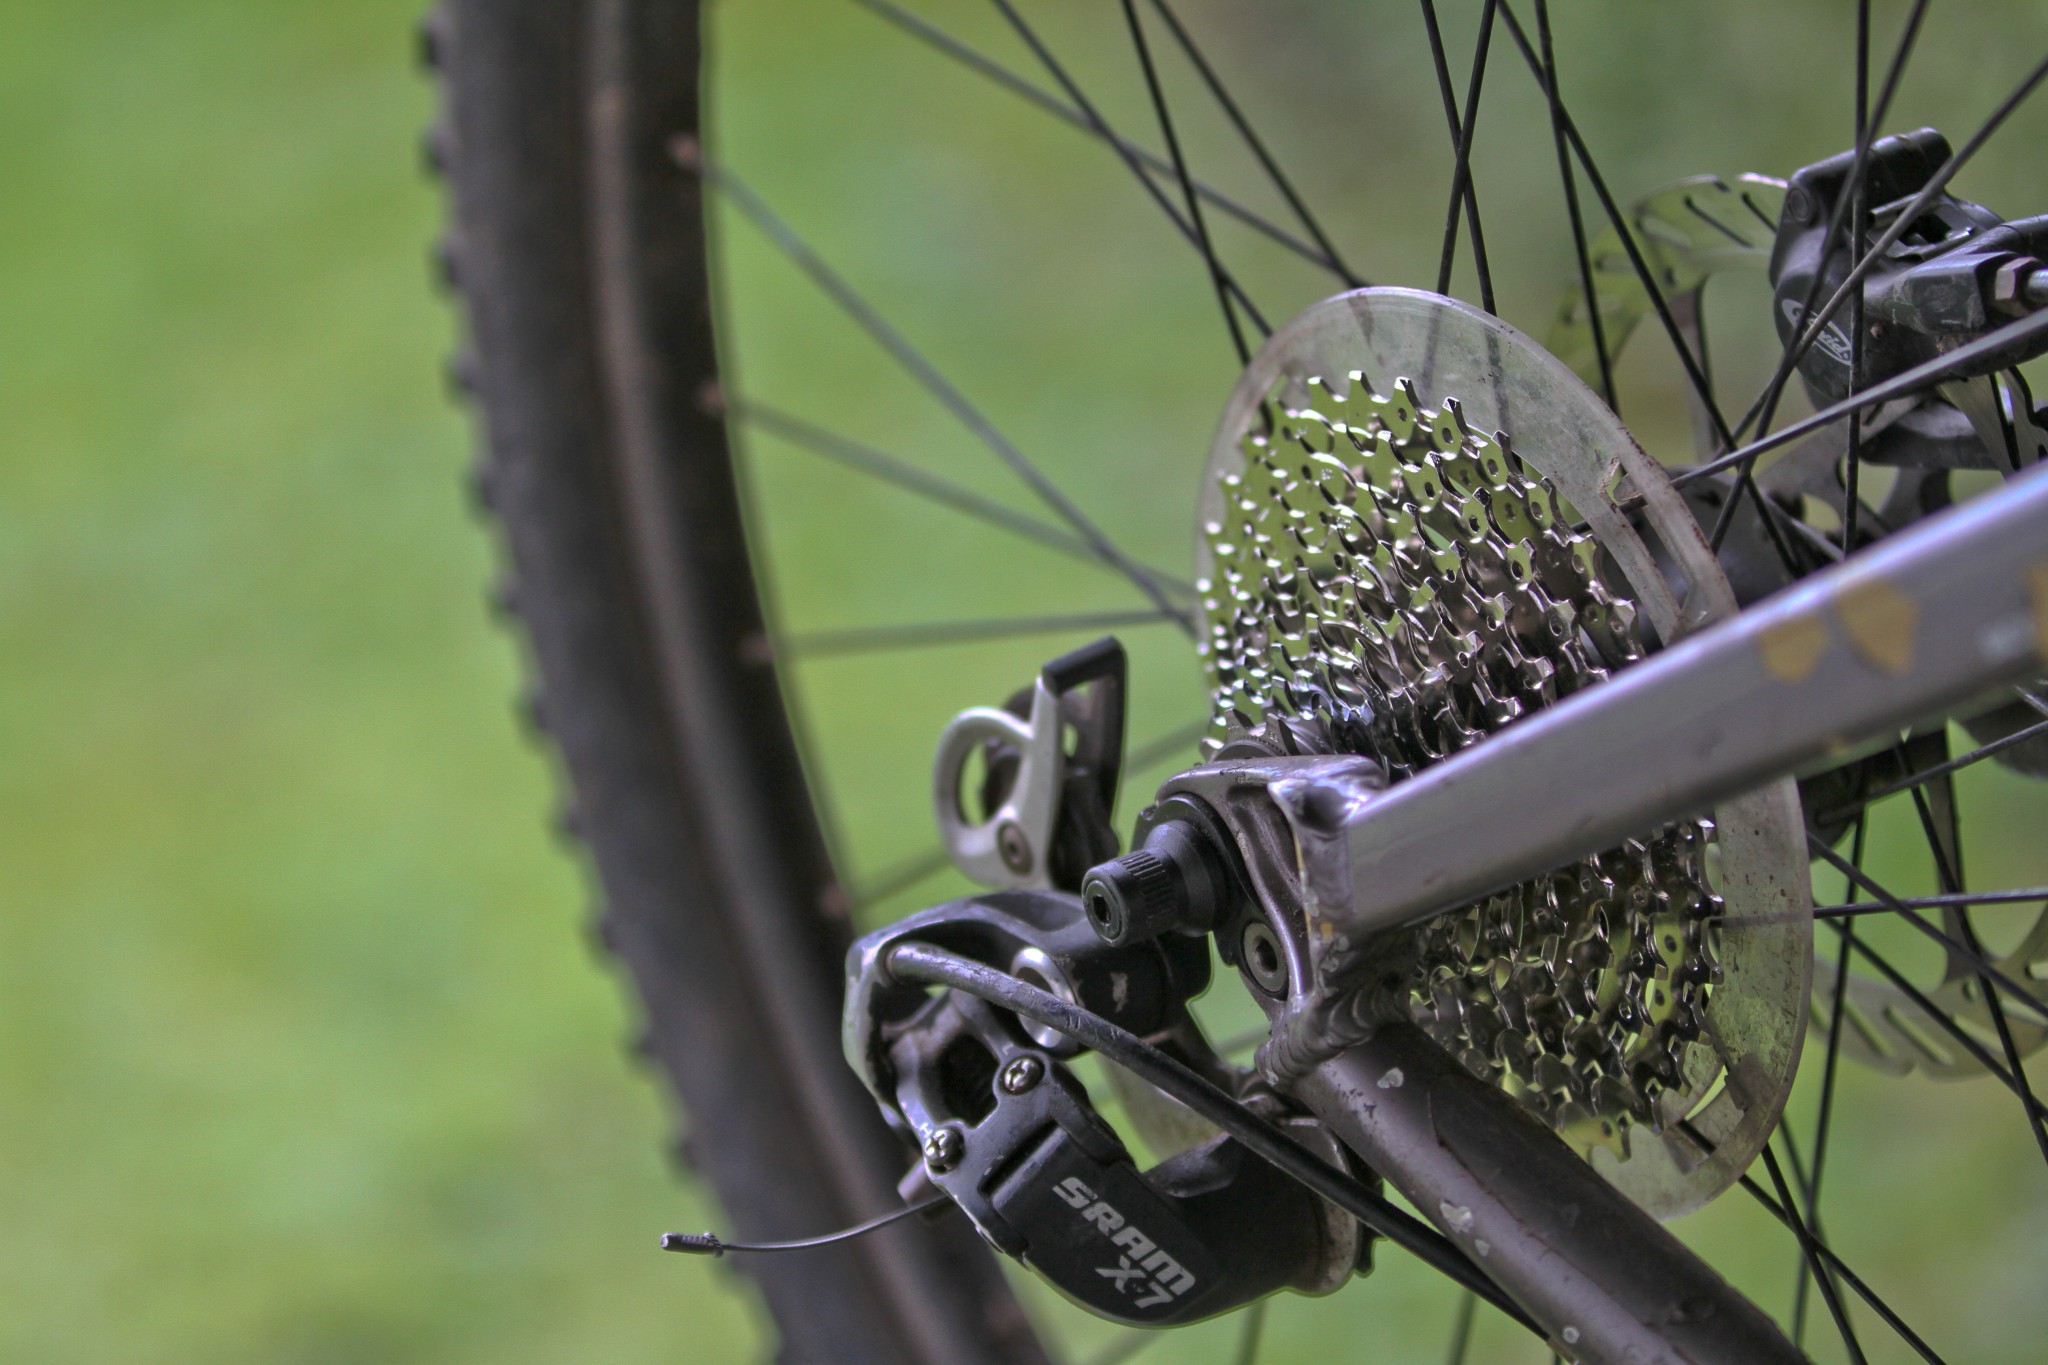
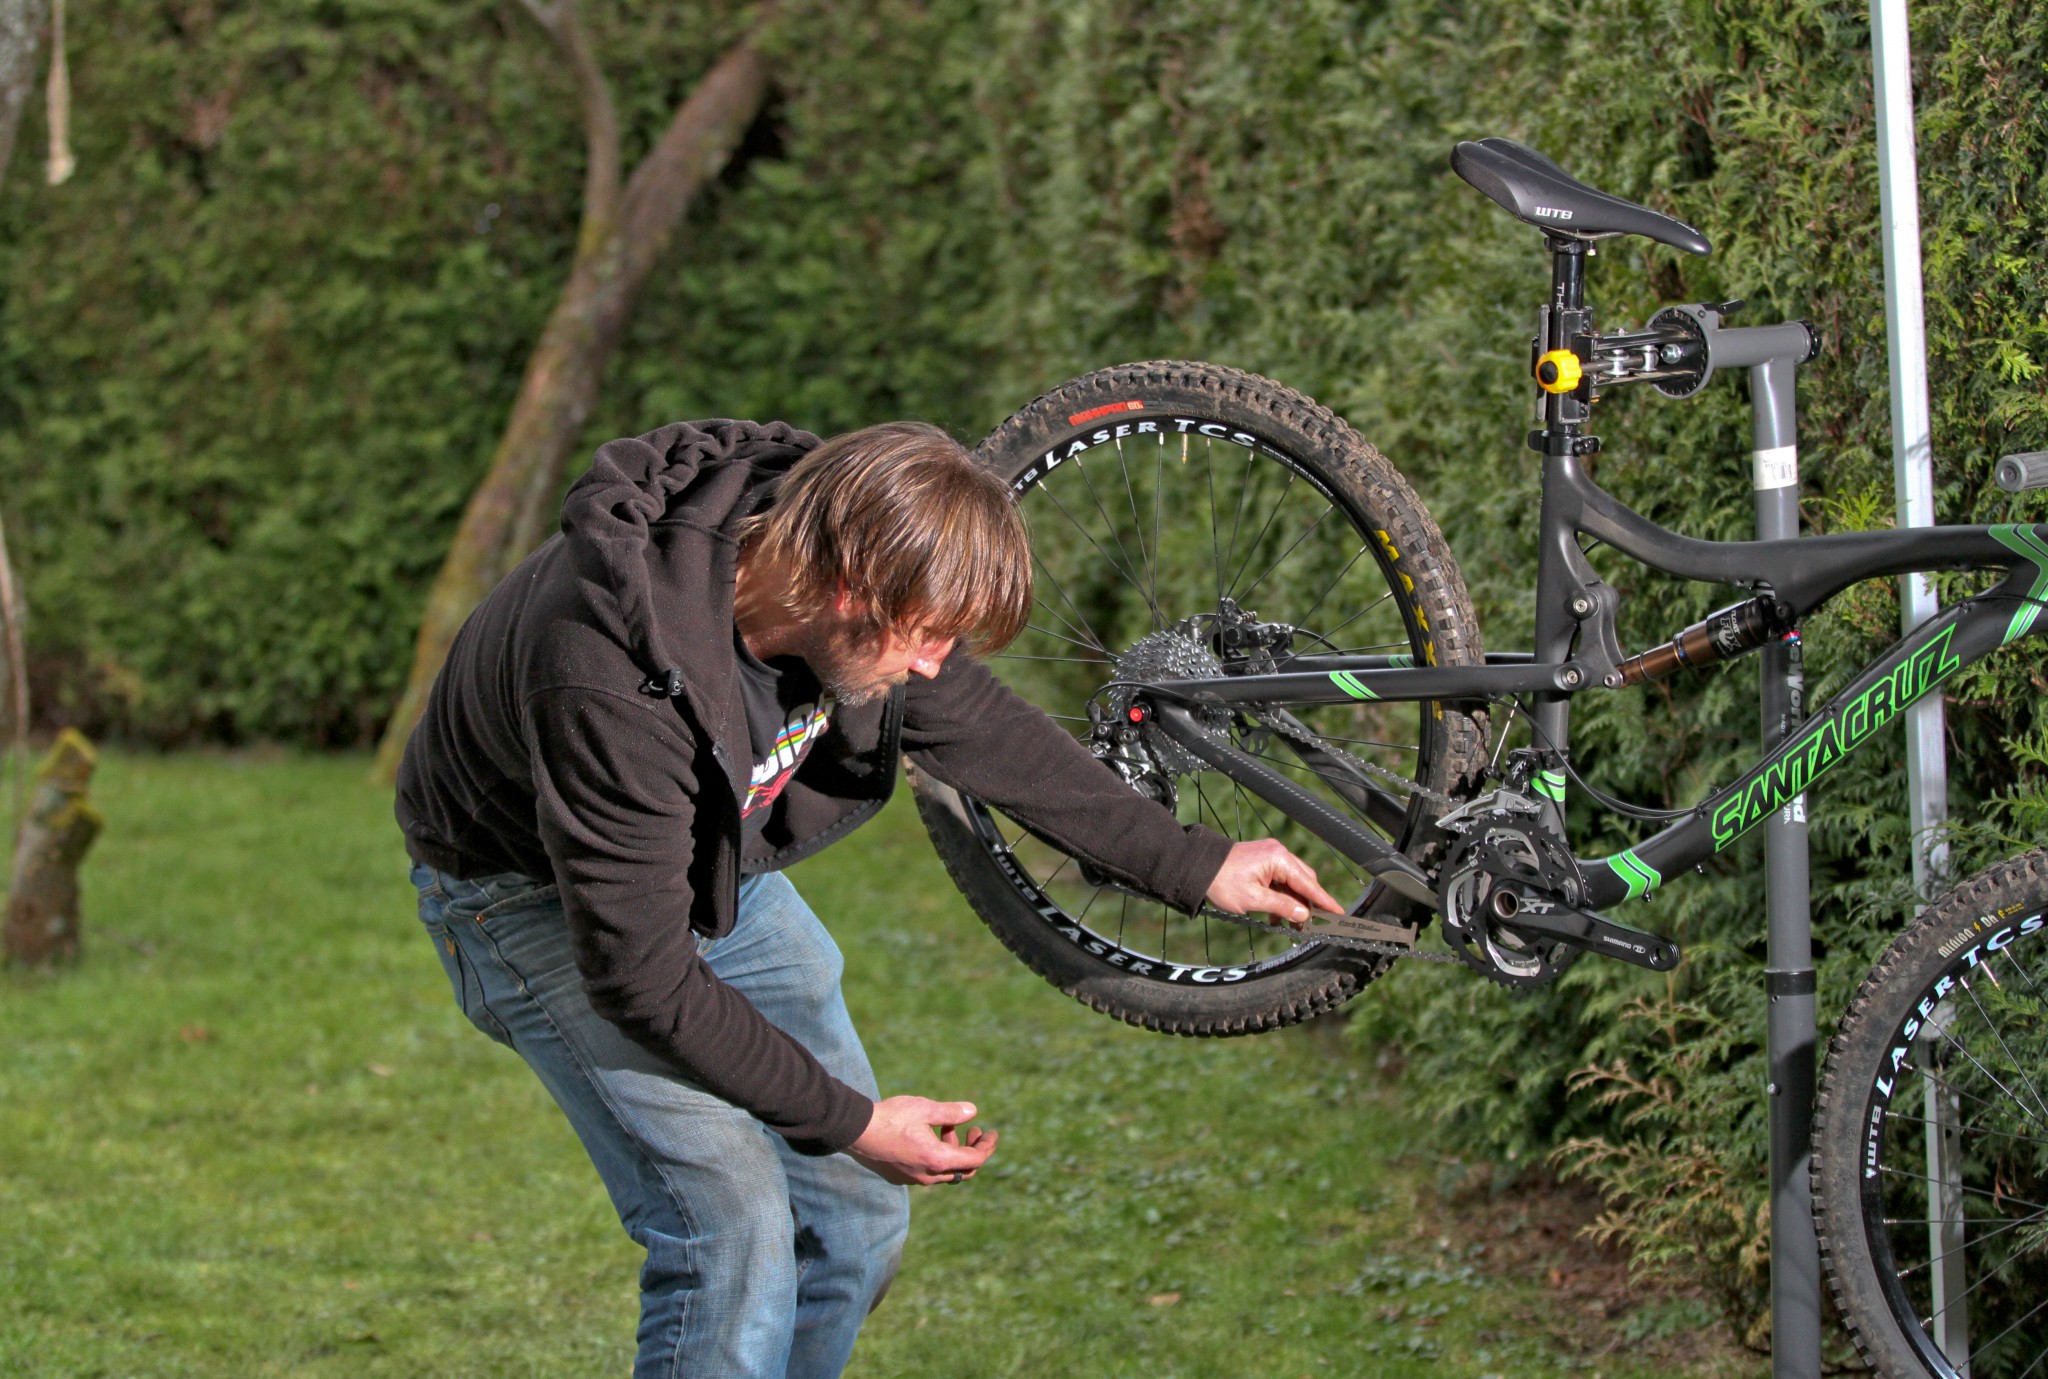
Chain stretch can be checked with a very simple (and cheap) tool. Regularly checking for any stretch will negate the need for changing your cassette every time you change a chain. Early diagnosis is not only easy but will save you cash and time. The more a chain stretches the more it will wear the cassette.
Excessive wear in the cassette can be spotted and ultimately felt. Pointed teeth won't engage with the chain effectively and as you power up the chain can slip. If your chain continually jumps as you add more power check both for chain stretch and pointed teeth. A brand new chain on a worn cassette will jump more readily than the old one.
Tools for the Job
Your check list of tools for keeping your drive train in order will vary depending on the how your cranks are attached and the type of bottom bracket you are running (internal bearings or external). Some, however, are generic.
Chain whip - this device holds the cassette firmly allowing you to undo the locking nut without the cassette spinning.
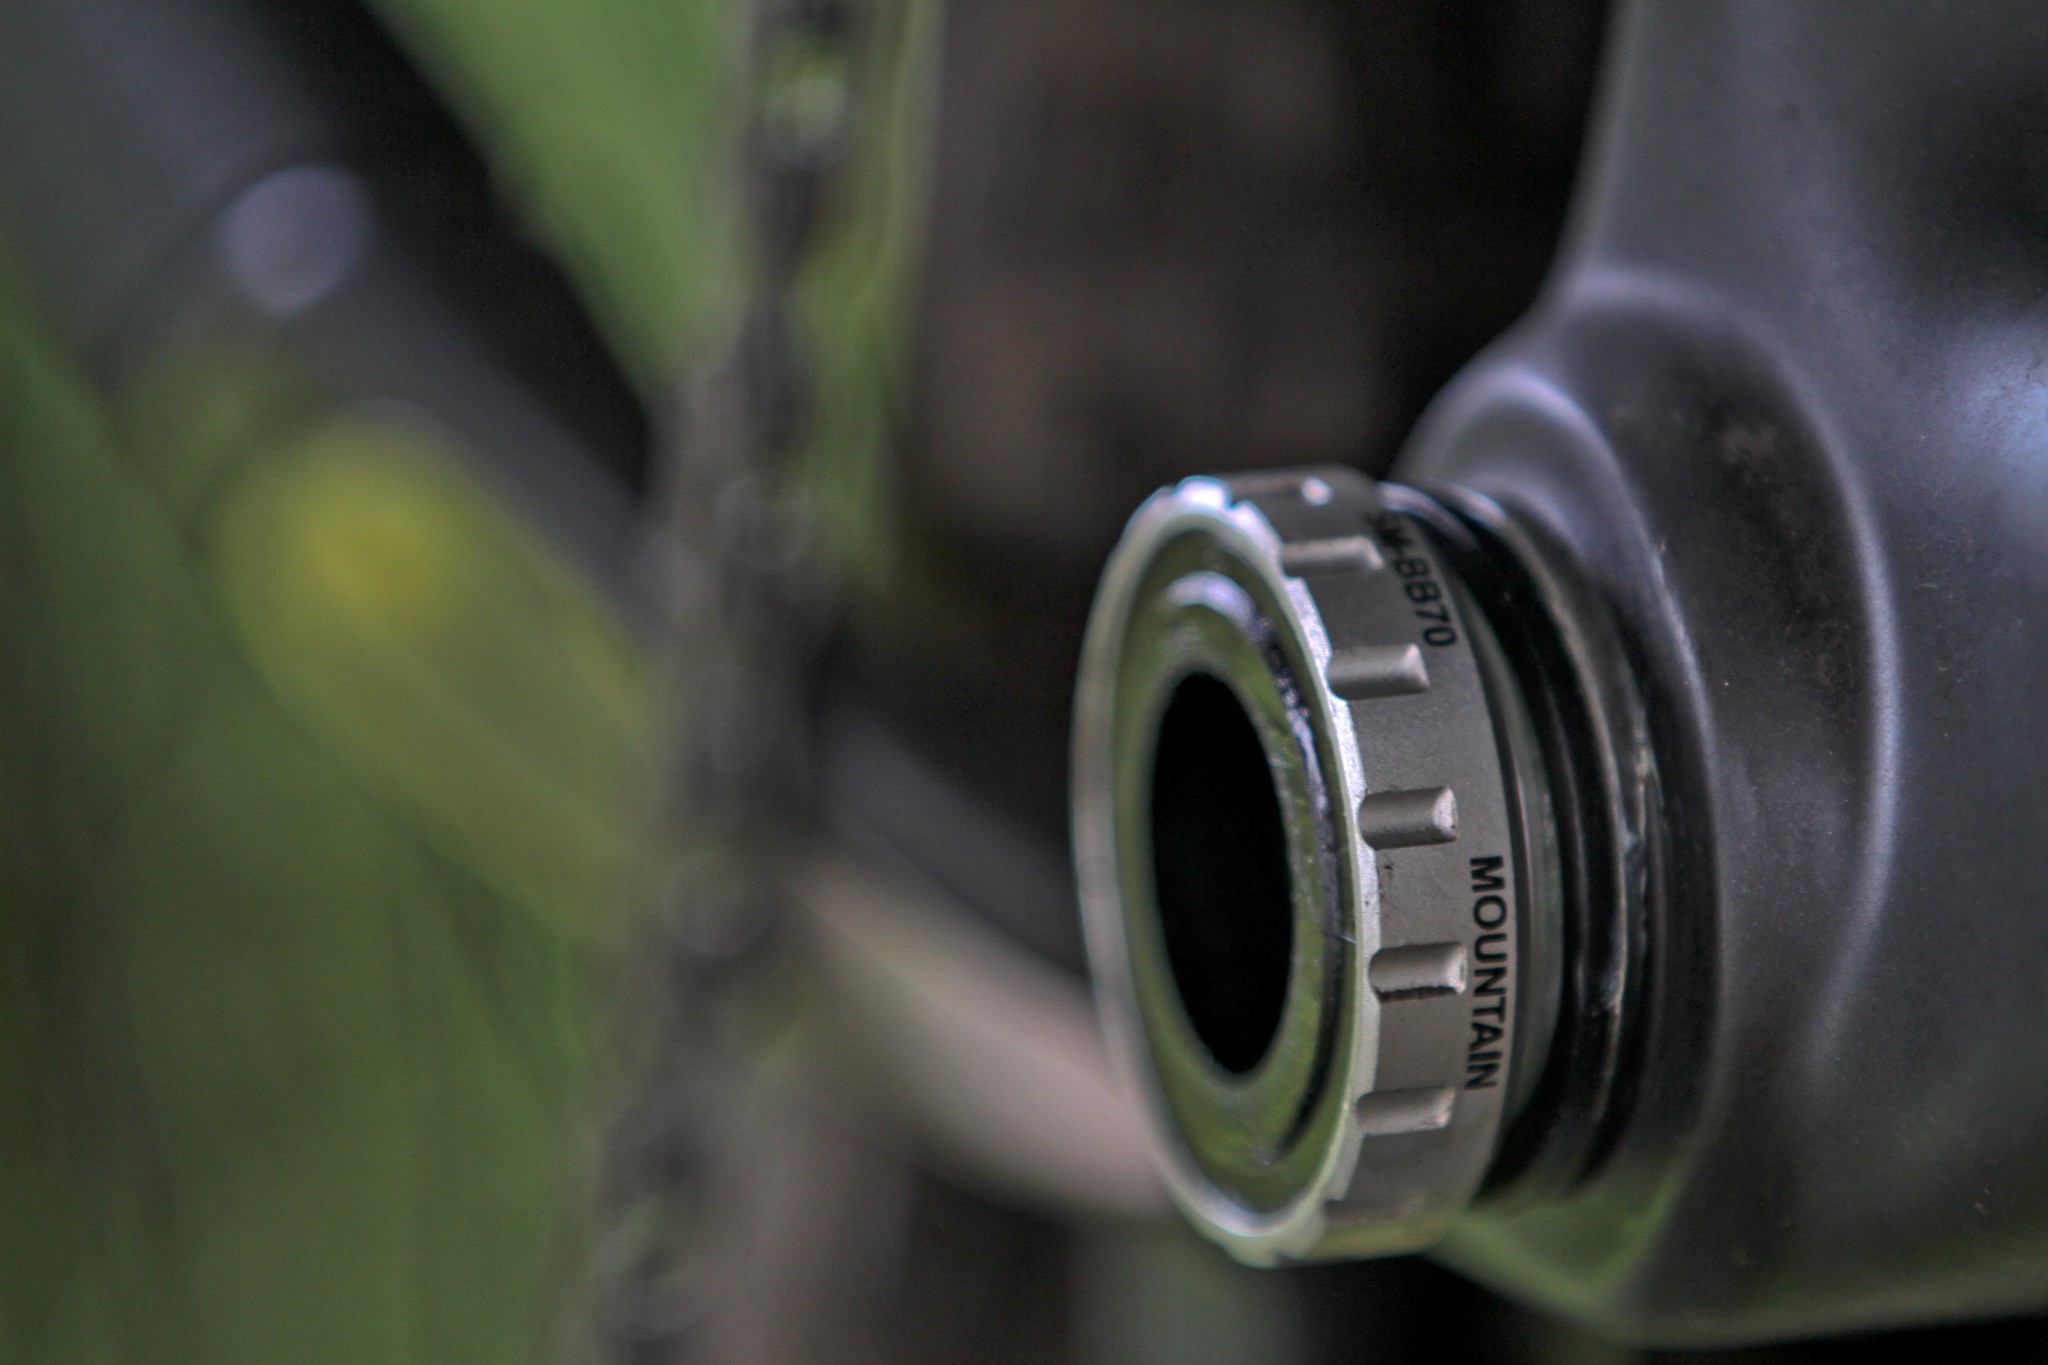
Bottom bracket wrench (external bearings) or bottom bracket tool (cartridge bottom brackets)
Crank extractor (for cranks held in place by crank bolts (spindle type)).
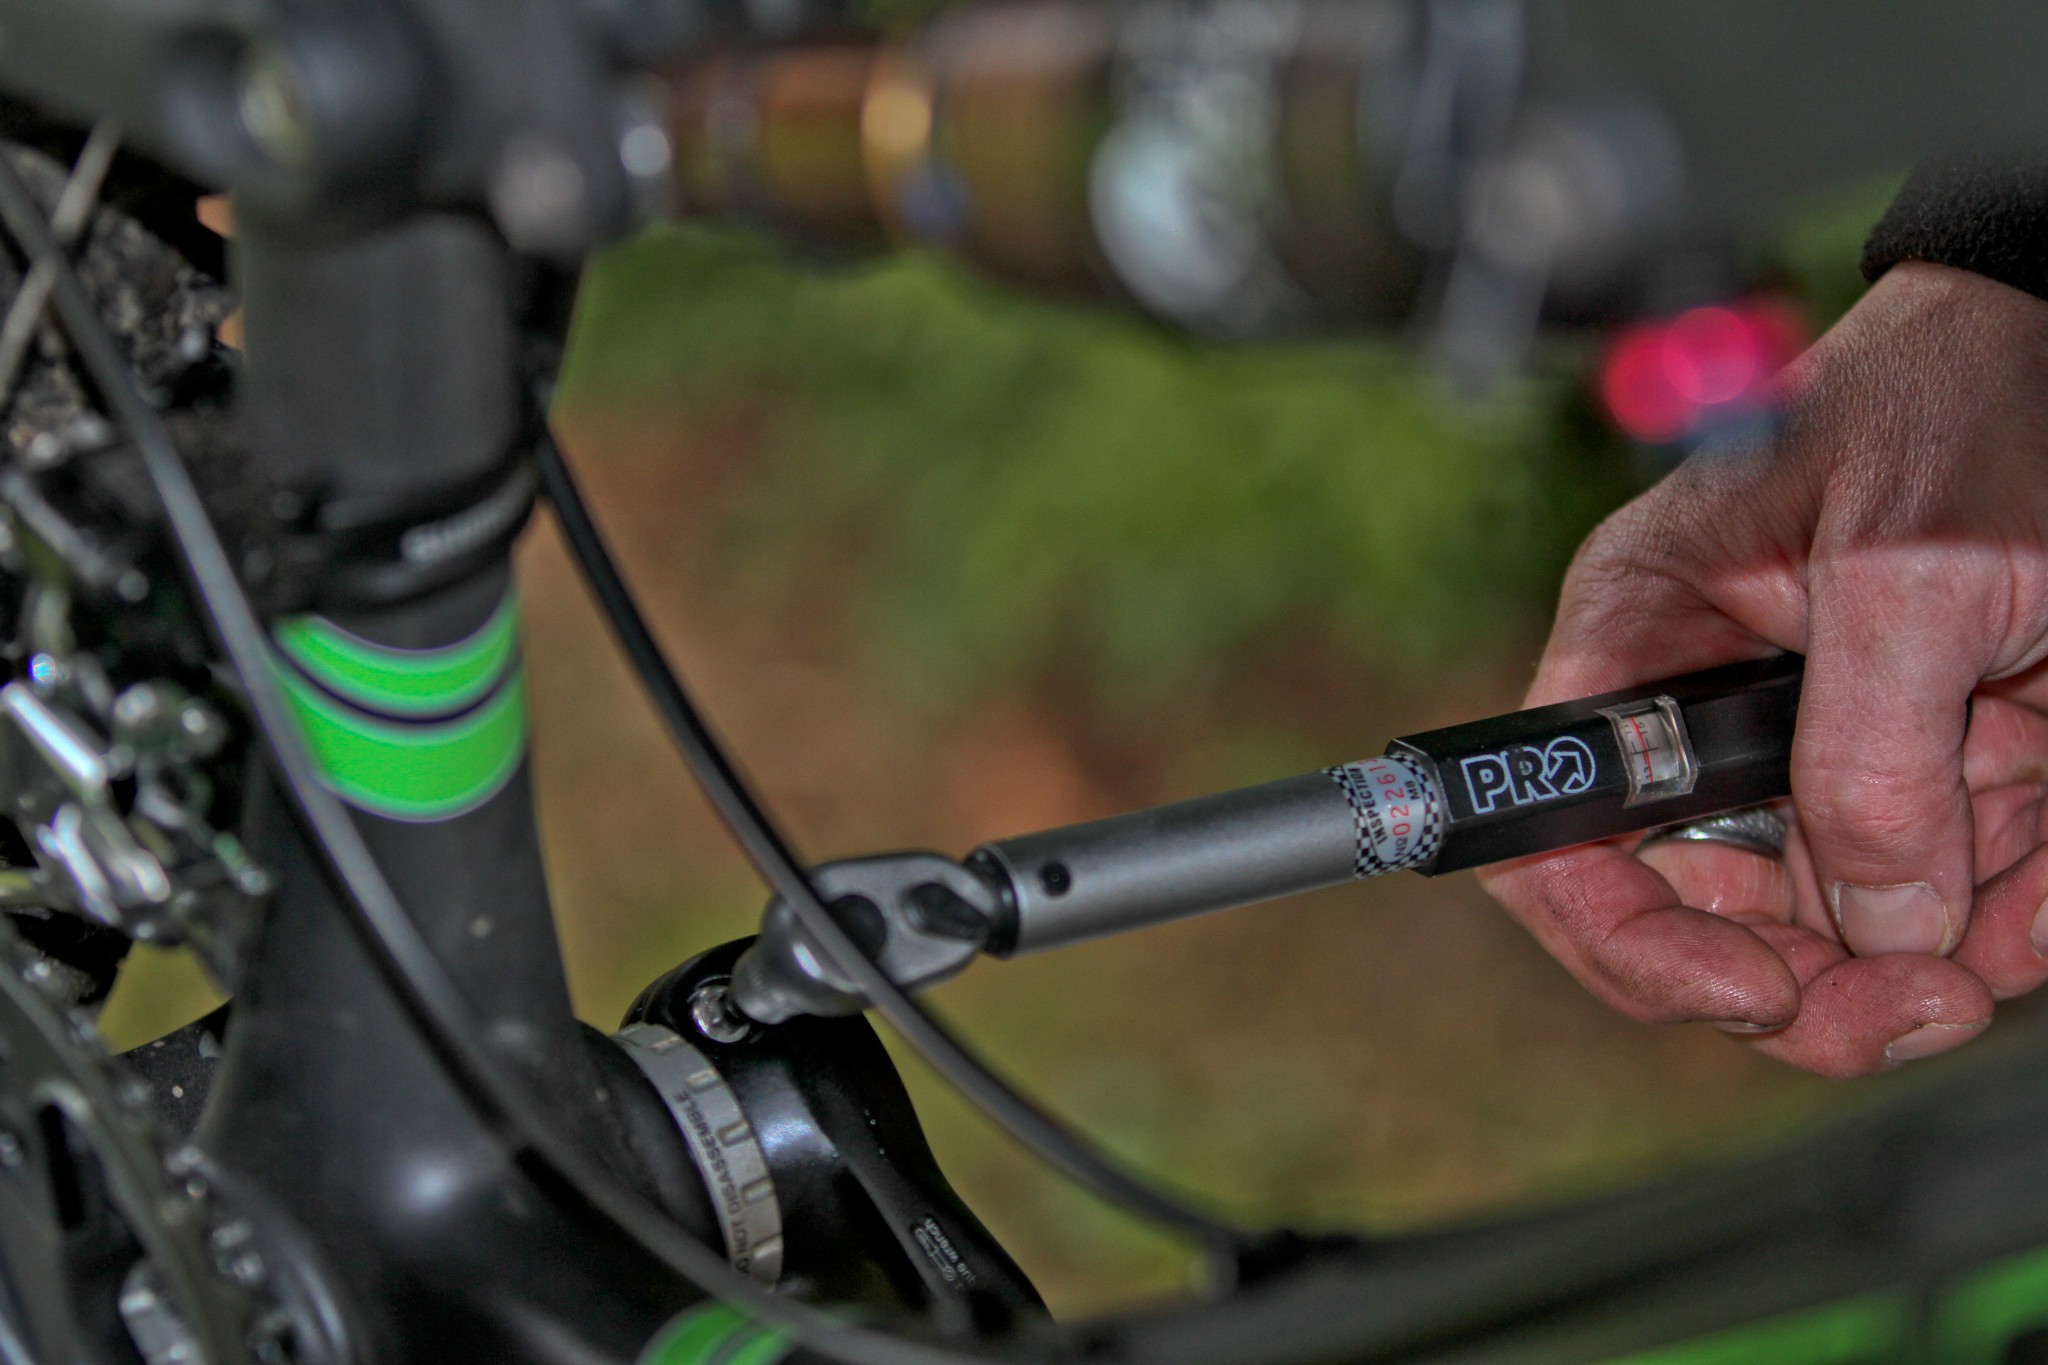
Useful but not essential is a torque wrench - it is not always a case of tightening things to the limits of your physical ability.
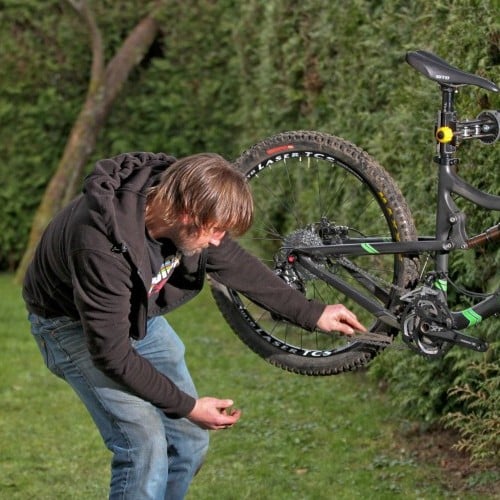
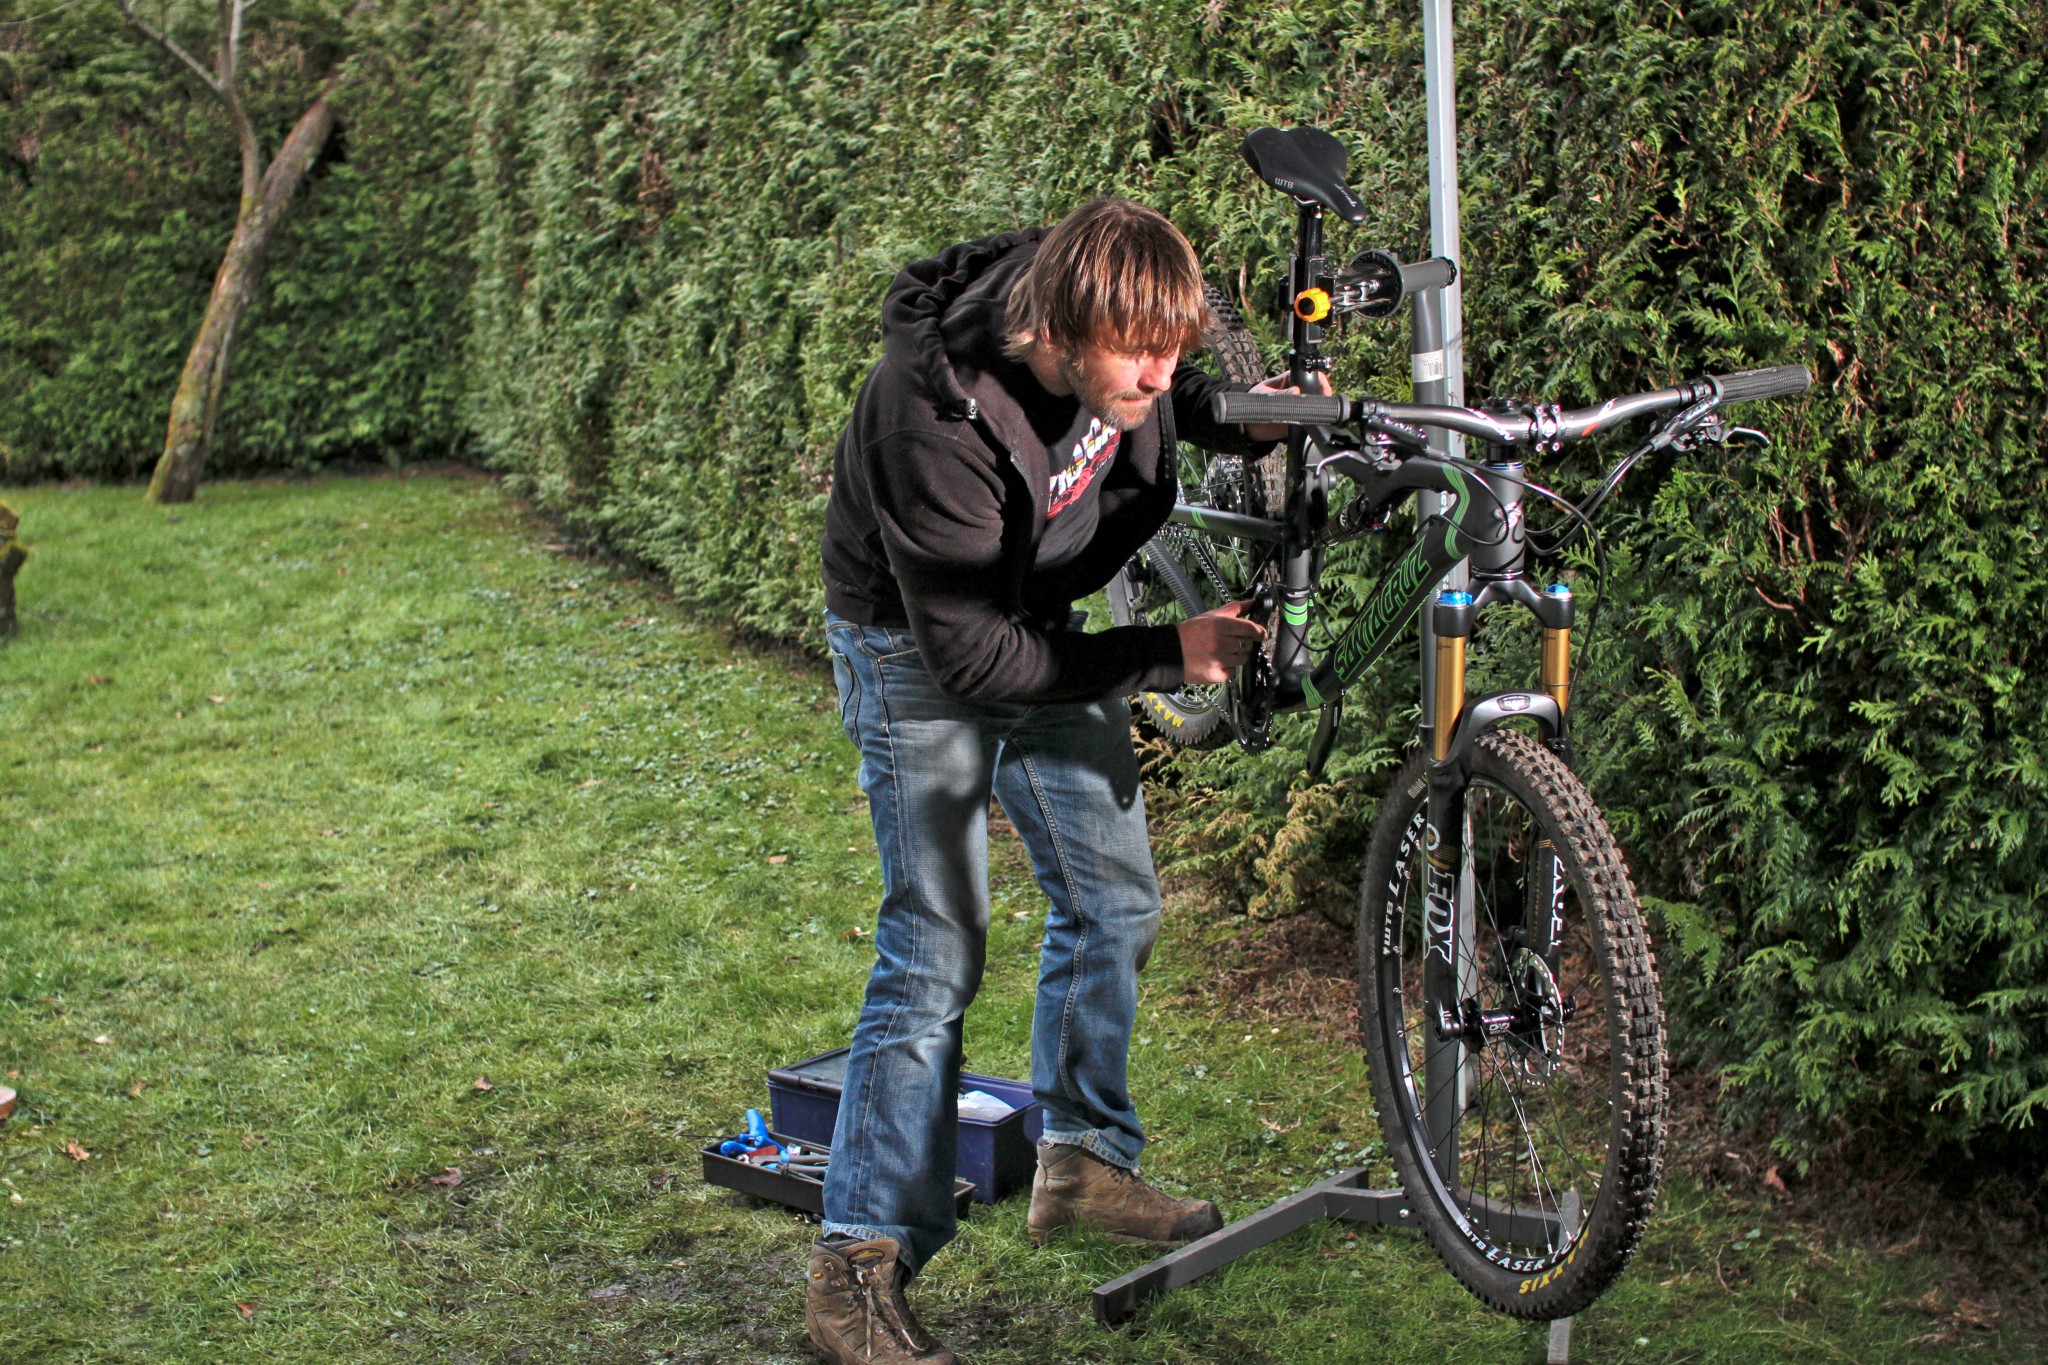
Bike stand - by no means essential but definitely makes things easier. Crawling round on the floor around an upturned bike is by no means a pleasure.
Workshop or clean tidy organised area to work in - as you'll see from the videos all the tasks can be undertaken alfresco but for all but extreme claustrophobics not being subject to the forces of nature can be a bonus.
The embedded videos will take you through the removing cranks, changing bottom brackets, and cassettes. Video is worth tens of thousands of words so the step by step side of things is left to them. It is however easy to make mistakes in certain areas and the most common can make the tasks harder, damage brand new parts and lead to problems in the future.
For trouble free maintenance and repairs a few written reminders that make the process easier are outlined below. Some of these tips are more obvious than others, take no offence - it is easy to suffer from brain freeze even if you have the IQ of an Oxford Don. There are some mistakes that are easy to make and result in a simple task becoming mission impossible.
General
- Check you bike regularly. Don't wait until bits shear off, or find they are rusted in situ.
- Regular cleaning and lubrication will help to protect your bike and minimise wear and tear.
- Using a chain cleaning device after every ride will greatly enhance the life of a chain. Sand and grit in your chain, unseen and unmoved, will wear at links fast. Remember, dirt eats bikes. Failing to clean your bike is like providing it with a 'ready meal'.
- Make sure the parts your fitting (or are attempting to fit are the right ones). Chains are specific to the number of gears you have, internal bottom brackets come in different sizes etc. (Those numbers on the box do usually mean something).
- Tighten sufficiently but don't over tighten - torque wrenches are not cheap but neither is a replacement carbon frame
- Get the right tools for the job - Bodging with the wrong tool is not (usually) an option.
- Try and have a clear clean organised working area.
- Once you have removed a part clean and grease the bit that is not being replaced. It will really help the next time you need to repeat the process.
- Allow enough time. Working against the clock adds another element of stress to the process and will not contribute to successful outcomes.
- Keep calm and don't rely on brute force - Failure to realise this will end with stripped threads, burred bolts, damage to parts new and old, increased blood pressure and sore knuckles or head depending on which you choose to drive into the nearest solid object
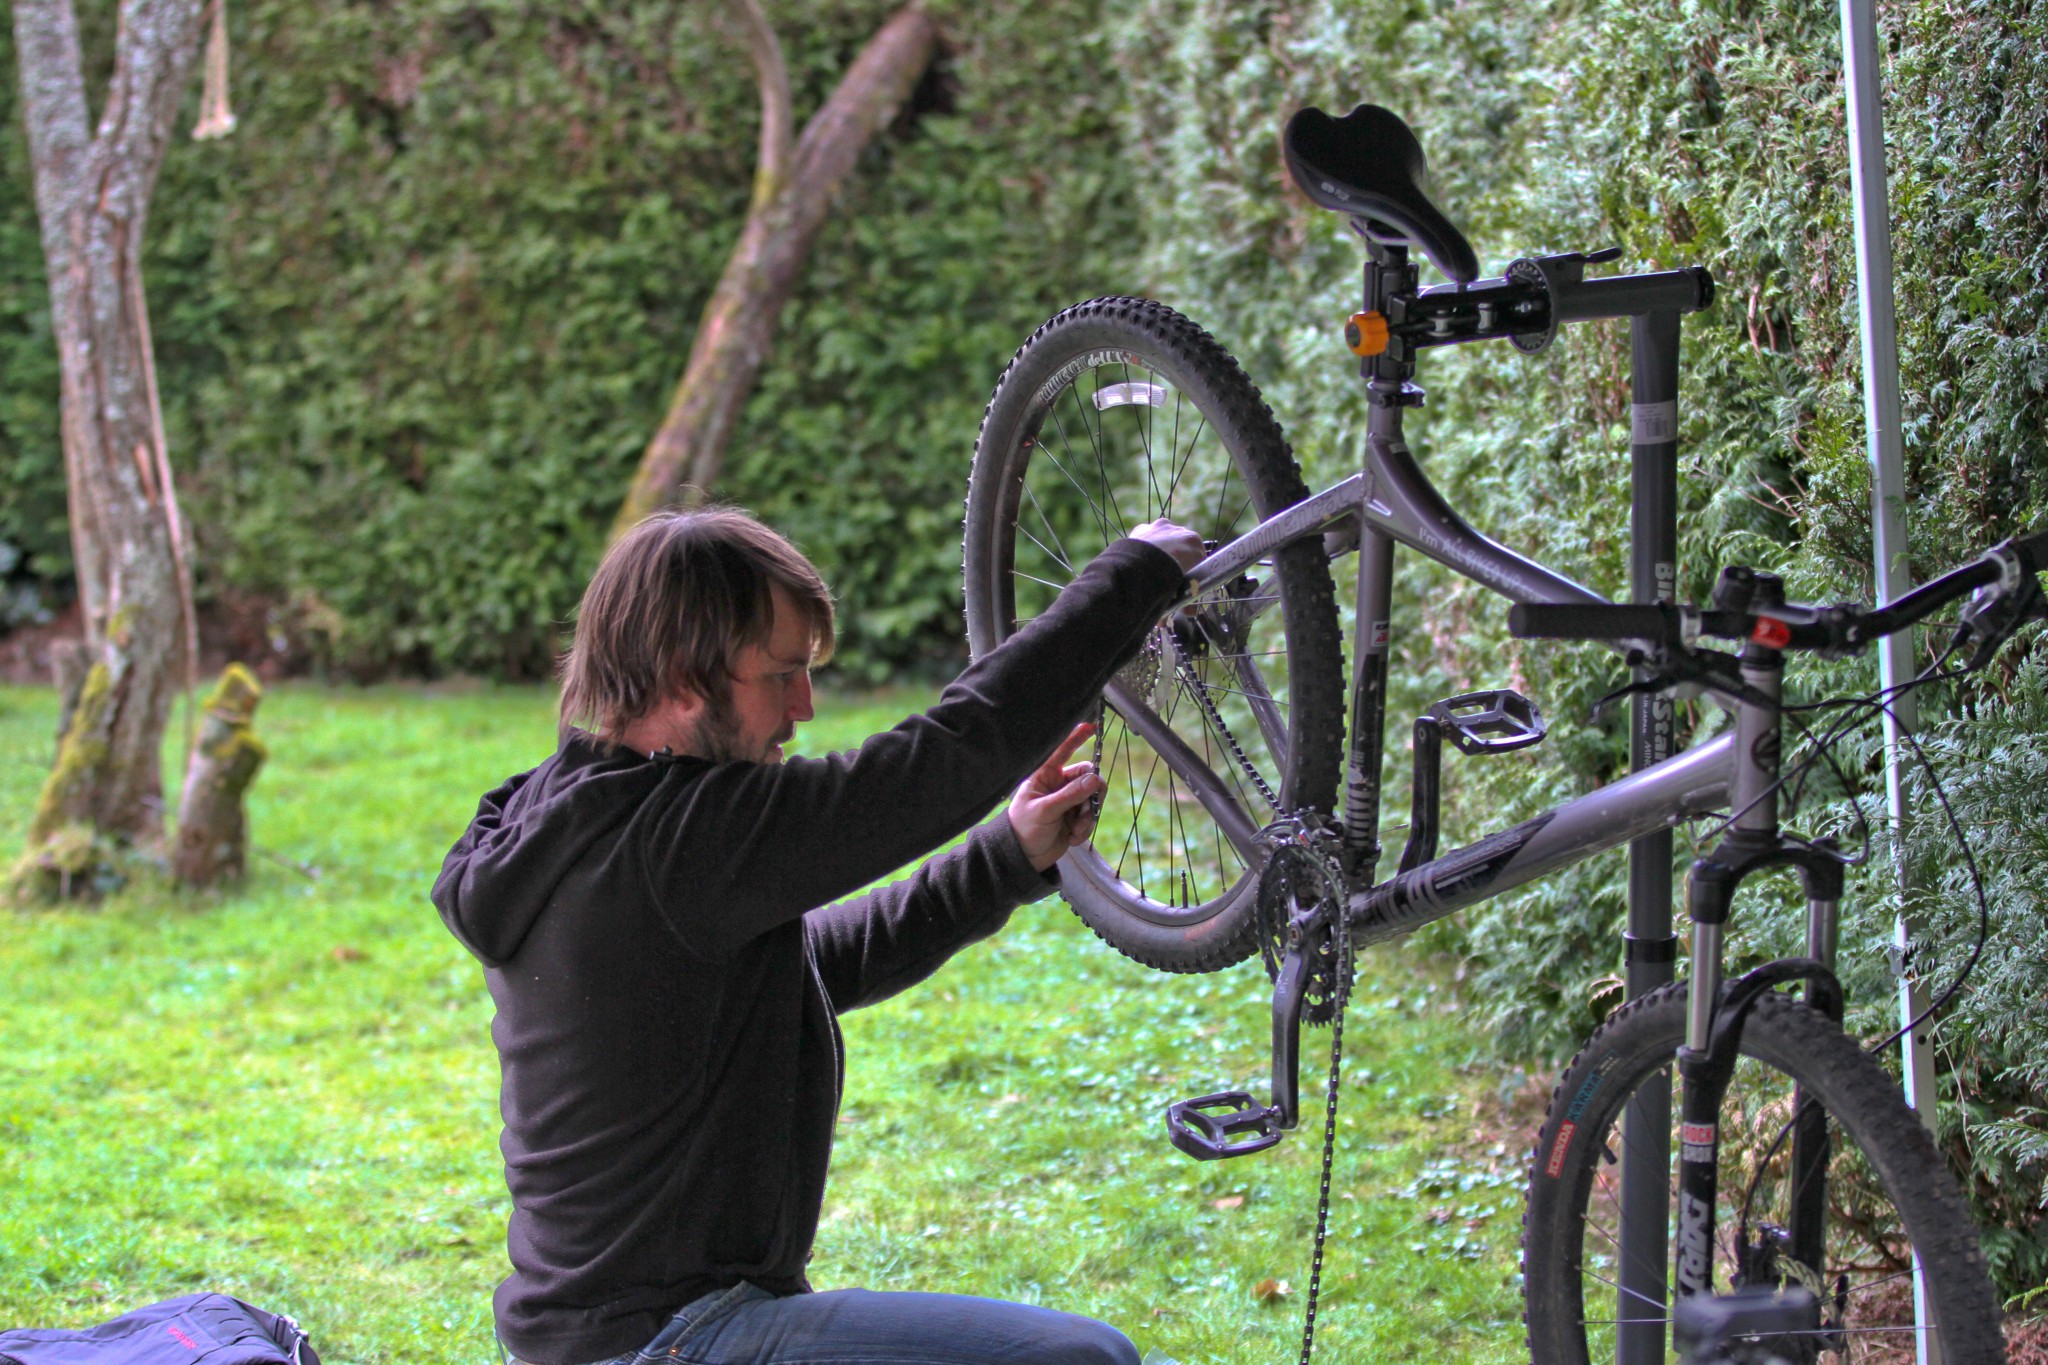
Crank Removal
If removing cranks bolted in to a spindle of cartridge bearings make sure the crank extractor is wound in tightly to the crank arm before your start to wind in the 'pusher' or 'handle stud'. It is easy to strip the thread in your crank arms and once you have done this crank removal will become nigh on impossible. The end of the 'handle stud' must fit through the aperture in the middle of the crank arm. A handle stud designed to work with and 'octalink' or splined BB will not fit through a square tapered crank arm..
If you are removing a crank attached to an external BB that is not 'self extracting' undo the bolts on the crank arm before attempting to remove the locking nut or you will damage it. Completely unwind the bolt nearest the frame and lift the small locking plate up. Once loosened the locking nut should be easy to remove and not need a death grip and massive force.
Make sure that the chain is looped over the new bottom bracket before refitting the drive side crank arm. Fail to do this will result in the unnecessary task of cracking your chain. Be careful not to trap your chain between the frame and chainrings.
Bottom Brackets
- When it comes to internal Bottom Brackets size matters - shell and spindle lengths are specific
- Remove the cup first (none drive side), the main sealed unit (drive side) second.
- Drive side is reverse thread - you can spend a lot of time sweating, trying to turn it the wrong way.
- Put the new sealed unit in place first and tighten, then the cup.
External bottom brackets come with spacers. Use them. If your shell is 68mm it will require two spacers on the drive side one on the none drive side. 73 mm will require one spacer on the drive side
Cassettes
The spacings on your freehub are not uniform. Line them up before trying to force a new cassette on. Grease and clean the freehub while the old cassette is off before applying the new cassette.
Getting to grips with performing drivetrain maintenance and replacement of parts is by no means rocket science (even if it might feel so on he first attempt). With a little knowledge and bit of practise you will save money and be a more self-sufficient rider.
Keep a clear head, work methodically, get to know your bike and reap the rewards.
This technique article was in Issue 16 of IMB.
Related
By Richard Kelly
Richard Kelly has been riding bikes since forever, and teaching people to become better mountain bikers for over a decade. He’s always out in the Surrey Hills training riders, building trails and riding for himself whenever he gets the chance. His unique perspective on mountain bike technique has earned him fans the world over, with some speculating he is actually Jamiroquai or perhaps Jack Sparrow…