Going Tubeless In Ten Minutes
Going tubeless can be rewarding, but also exceedingly frustrating!
Running tubeless tires can be exceedingly rewarding in terms of never having to fix a puncture, but it can also be a total pain in the arse to set up. Over the years we have run tubeless set-ups on numerous bikes, it’s great if you don’t have to change your tyres very often, it saves weight and noticeably reduces punctures.
There is however a technique for getting it right and in this handy guide we will give you the skills to go tubeless in ten minutes, without swearing and without nearly having a heart attack whilst standing over a track pump…
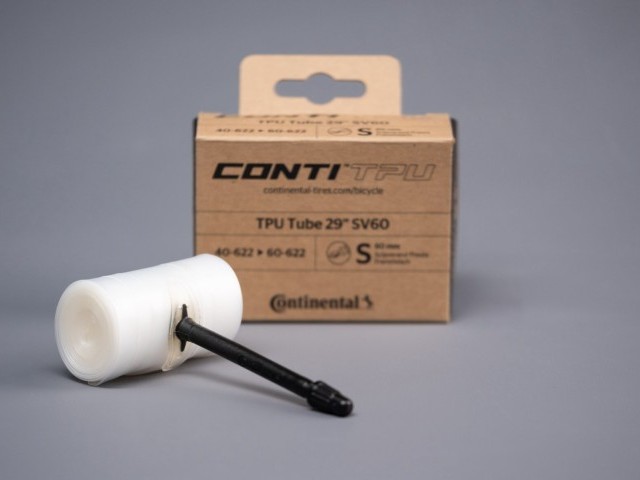
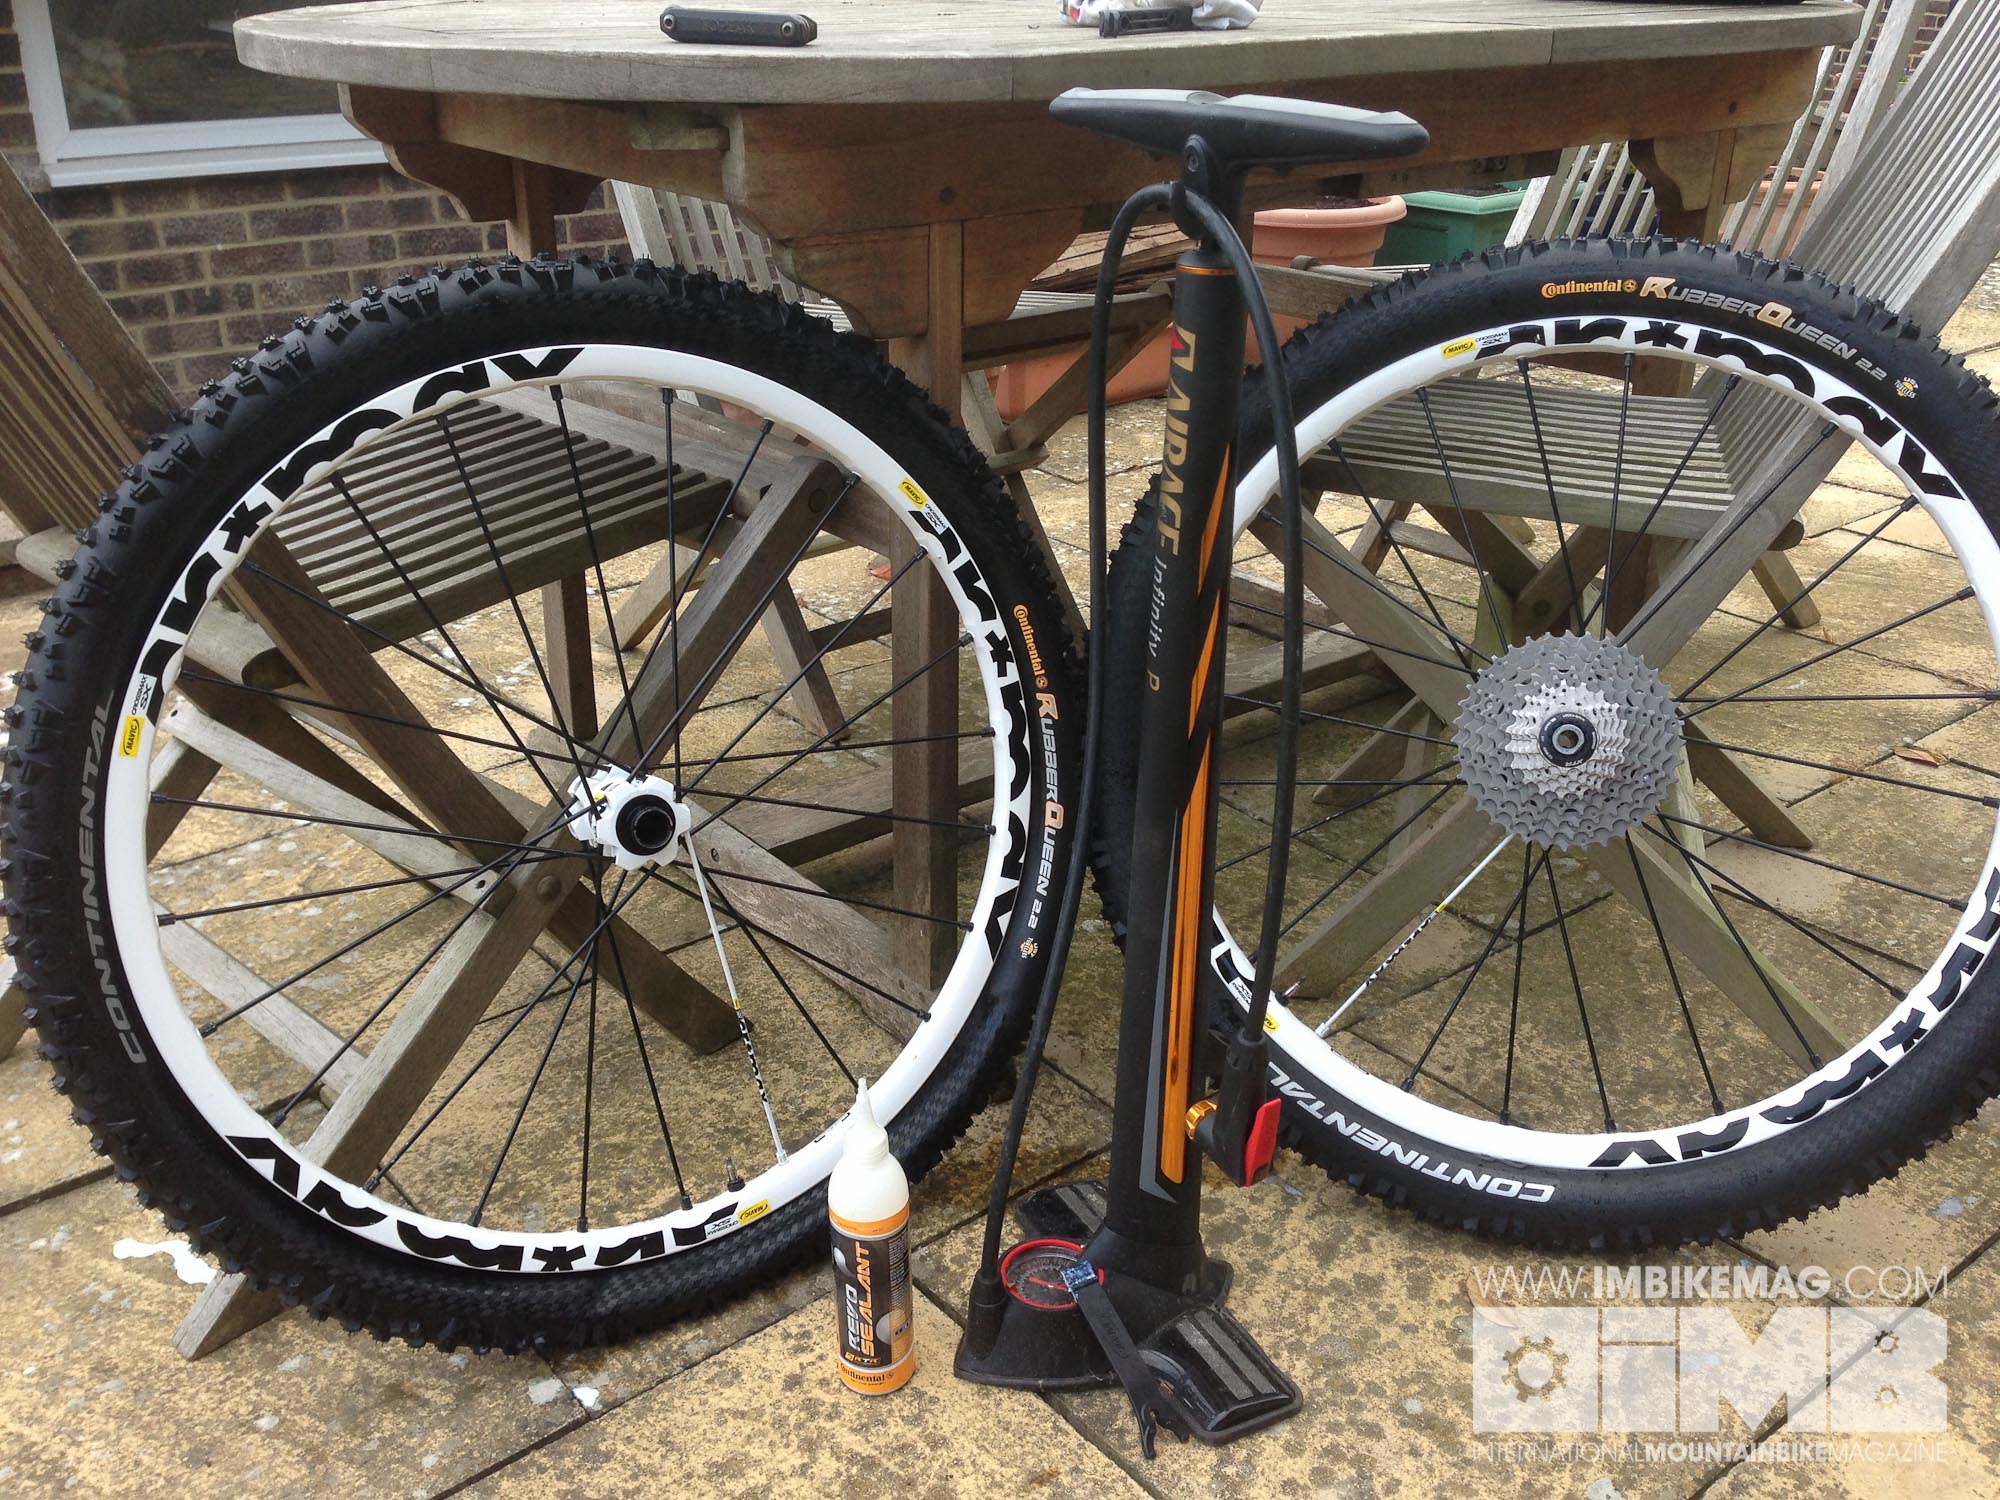
First up you’ll need a set of tubeless tyres and some tubeless compatible rims. You can of course use non-tubeless tyres as advertised by companies like Stans who say their kit will convert pretty much any tyre. A word of warning however, some tyre carcases have different ply thicknesses, and generally tubeless tyres are thicker and more naturally airtight. Whilst the latex sealant will seal some holes it won’t seal up a tyre that’s thinner than a supermodel on a crash diet. So choose your tyres wisely. For the most stress free solution run tubeless tyres on tubeless rims.
Now, don’t get all excited and put your tubeless tyres on your tubeless rims and fill them with sealant like a sailor in a brothel after several months at sea, you’ll make a mess of it rather early on. Instead seat the bead of one side of the tyre on the rim. Remove the tubeless valve from the rim if you are putting new tubeless tyres on an older rim and pop an inner tube in there.
Now is not the time for sealant, tubeless tyres are like beautiful women, you need to work with them a little first…

Remove the valve from the tubeless rim.

Like so!
Inflate the tyre to 50 PSI, or has hard as you need to seat both beads of the tyre to both sides of the rim. Leave the tyre for 5 minutes like this, this will help to shape the tyre and ensure the beads are nicely seated.

Get an inner tube in there first, it makes the world of difference!

Pump that baby up nice and hard to seat the beads on the rim.
Now you can deflate the tyre, carefully unseat ONE bead from ONE side of the rim, once you have done this remove the inner tube and replace the tubeless valve into the rim of the wheel. Next up fill the bottom of the tyre with the required amount of sealant.
Deflate the tyre.

Carefully unseat one bead from one side of the rim.

Reinsert the tubeless valve into the rim.

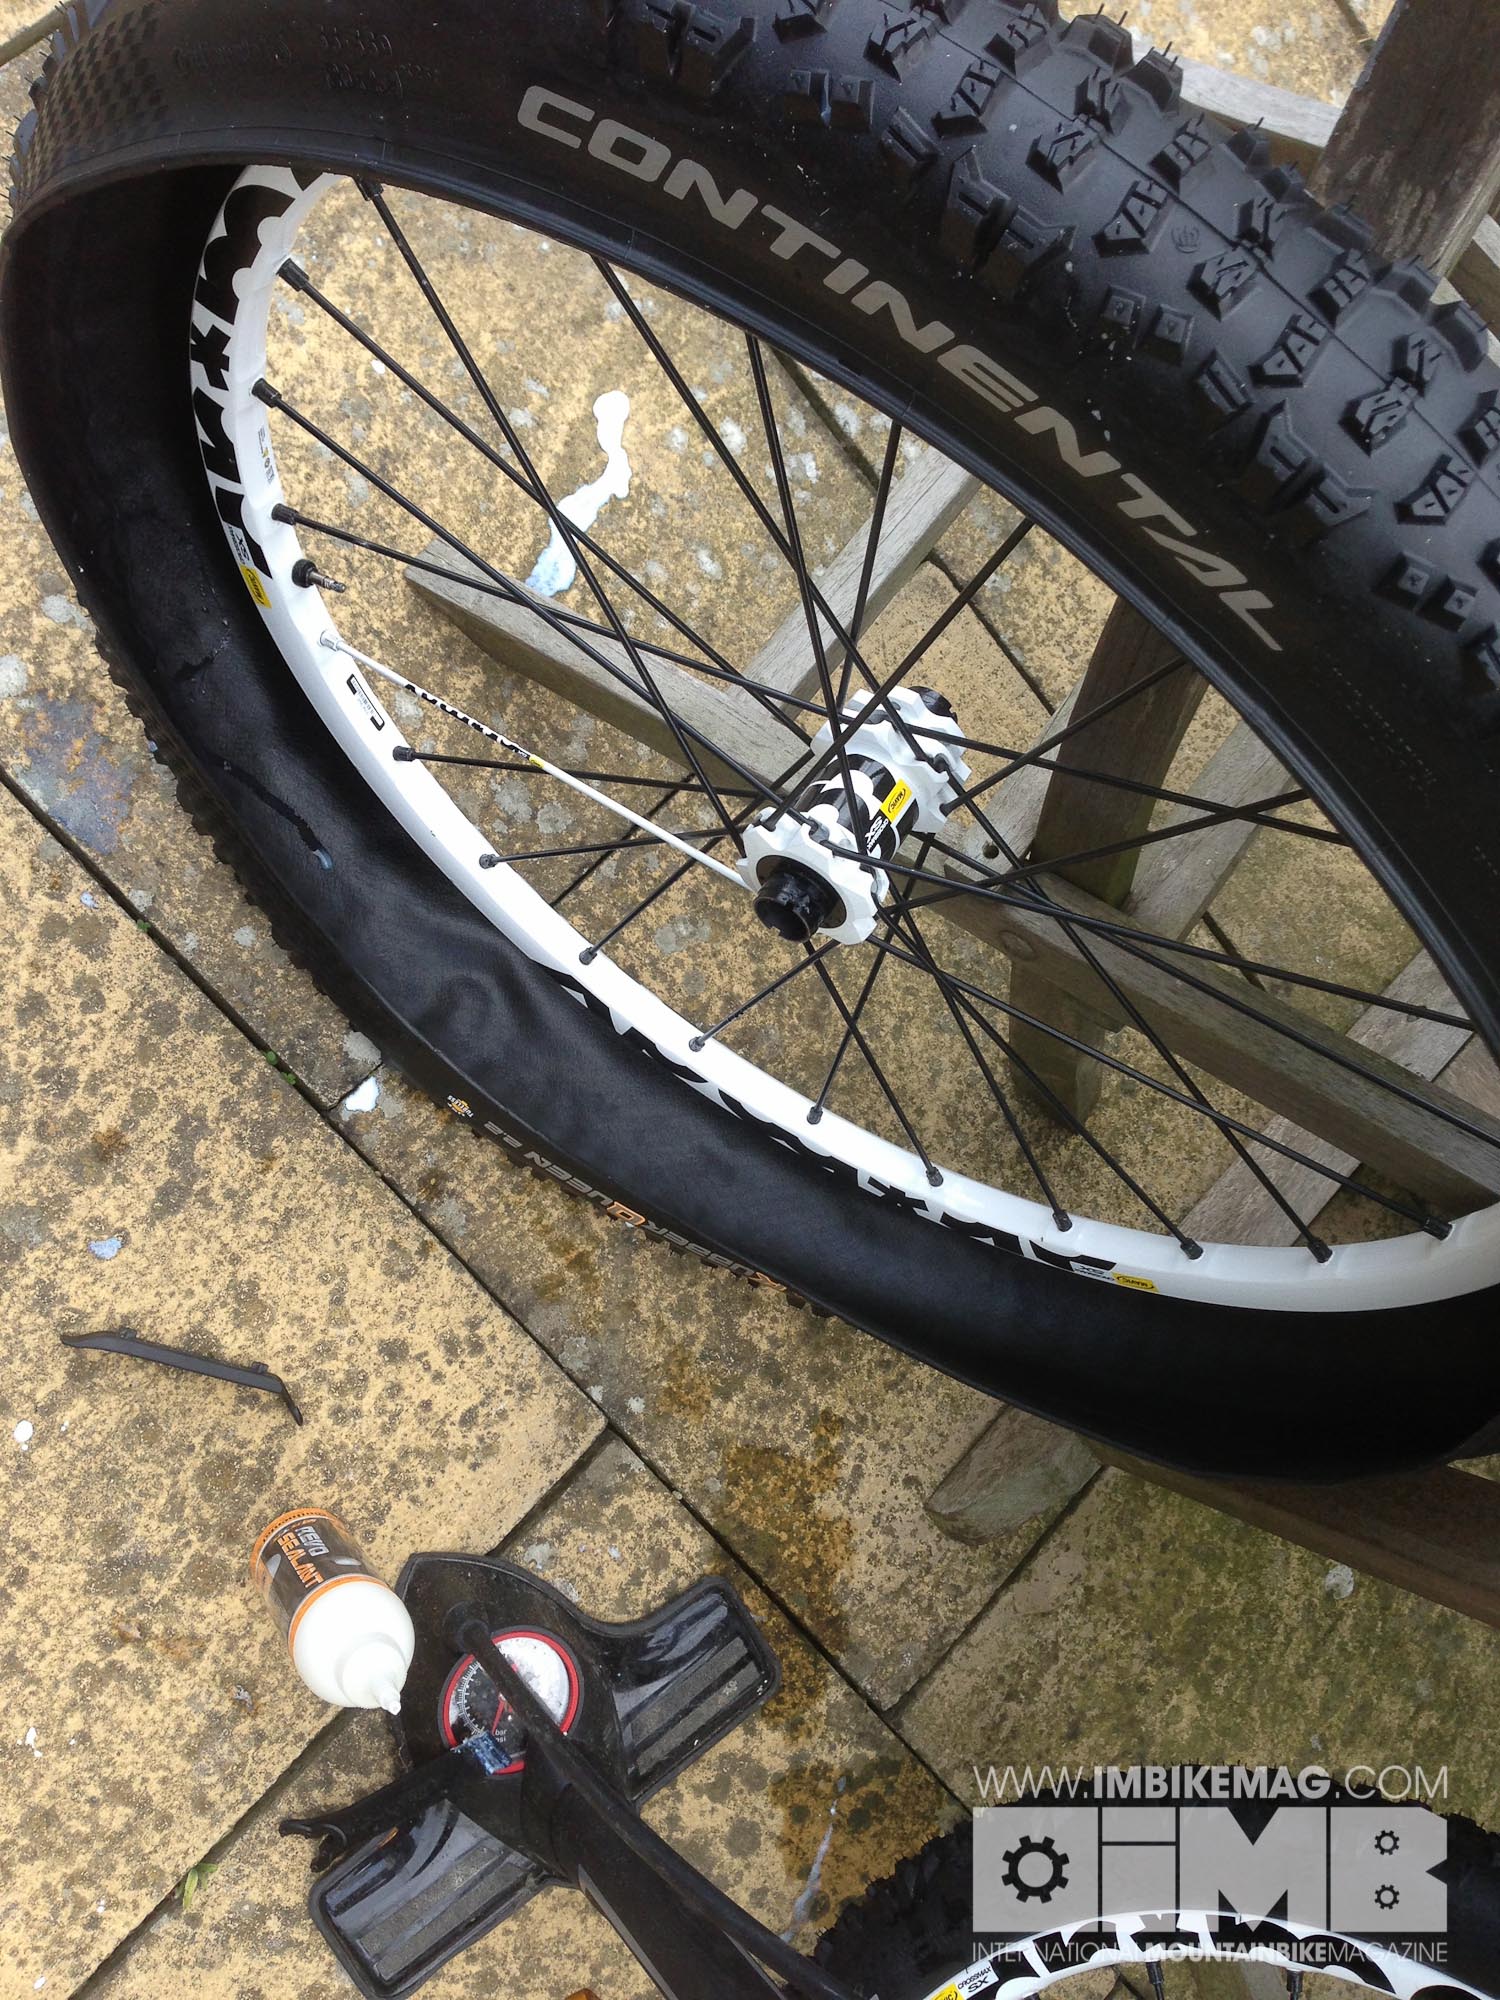
A generous amount of sealant needs to go into new tyres…

The Revo Sealant from Continental is good stuff…
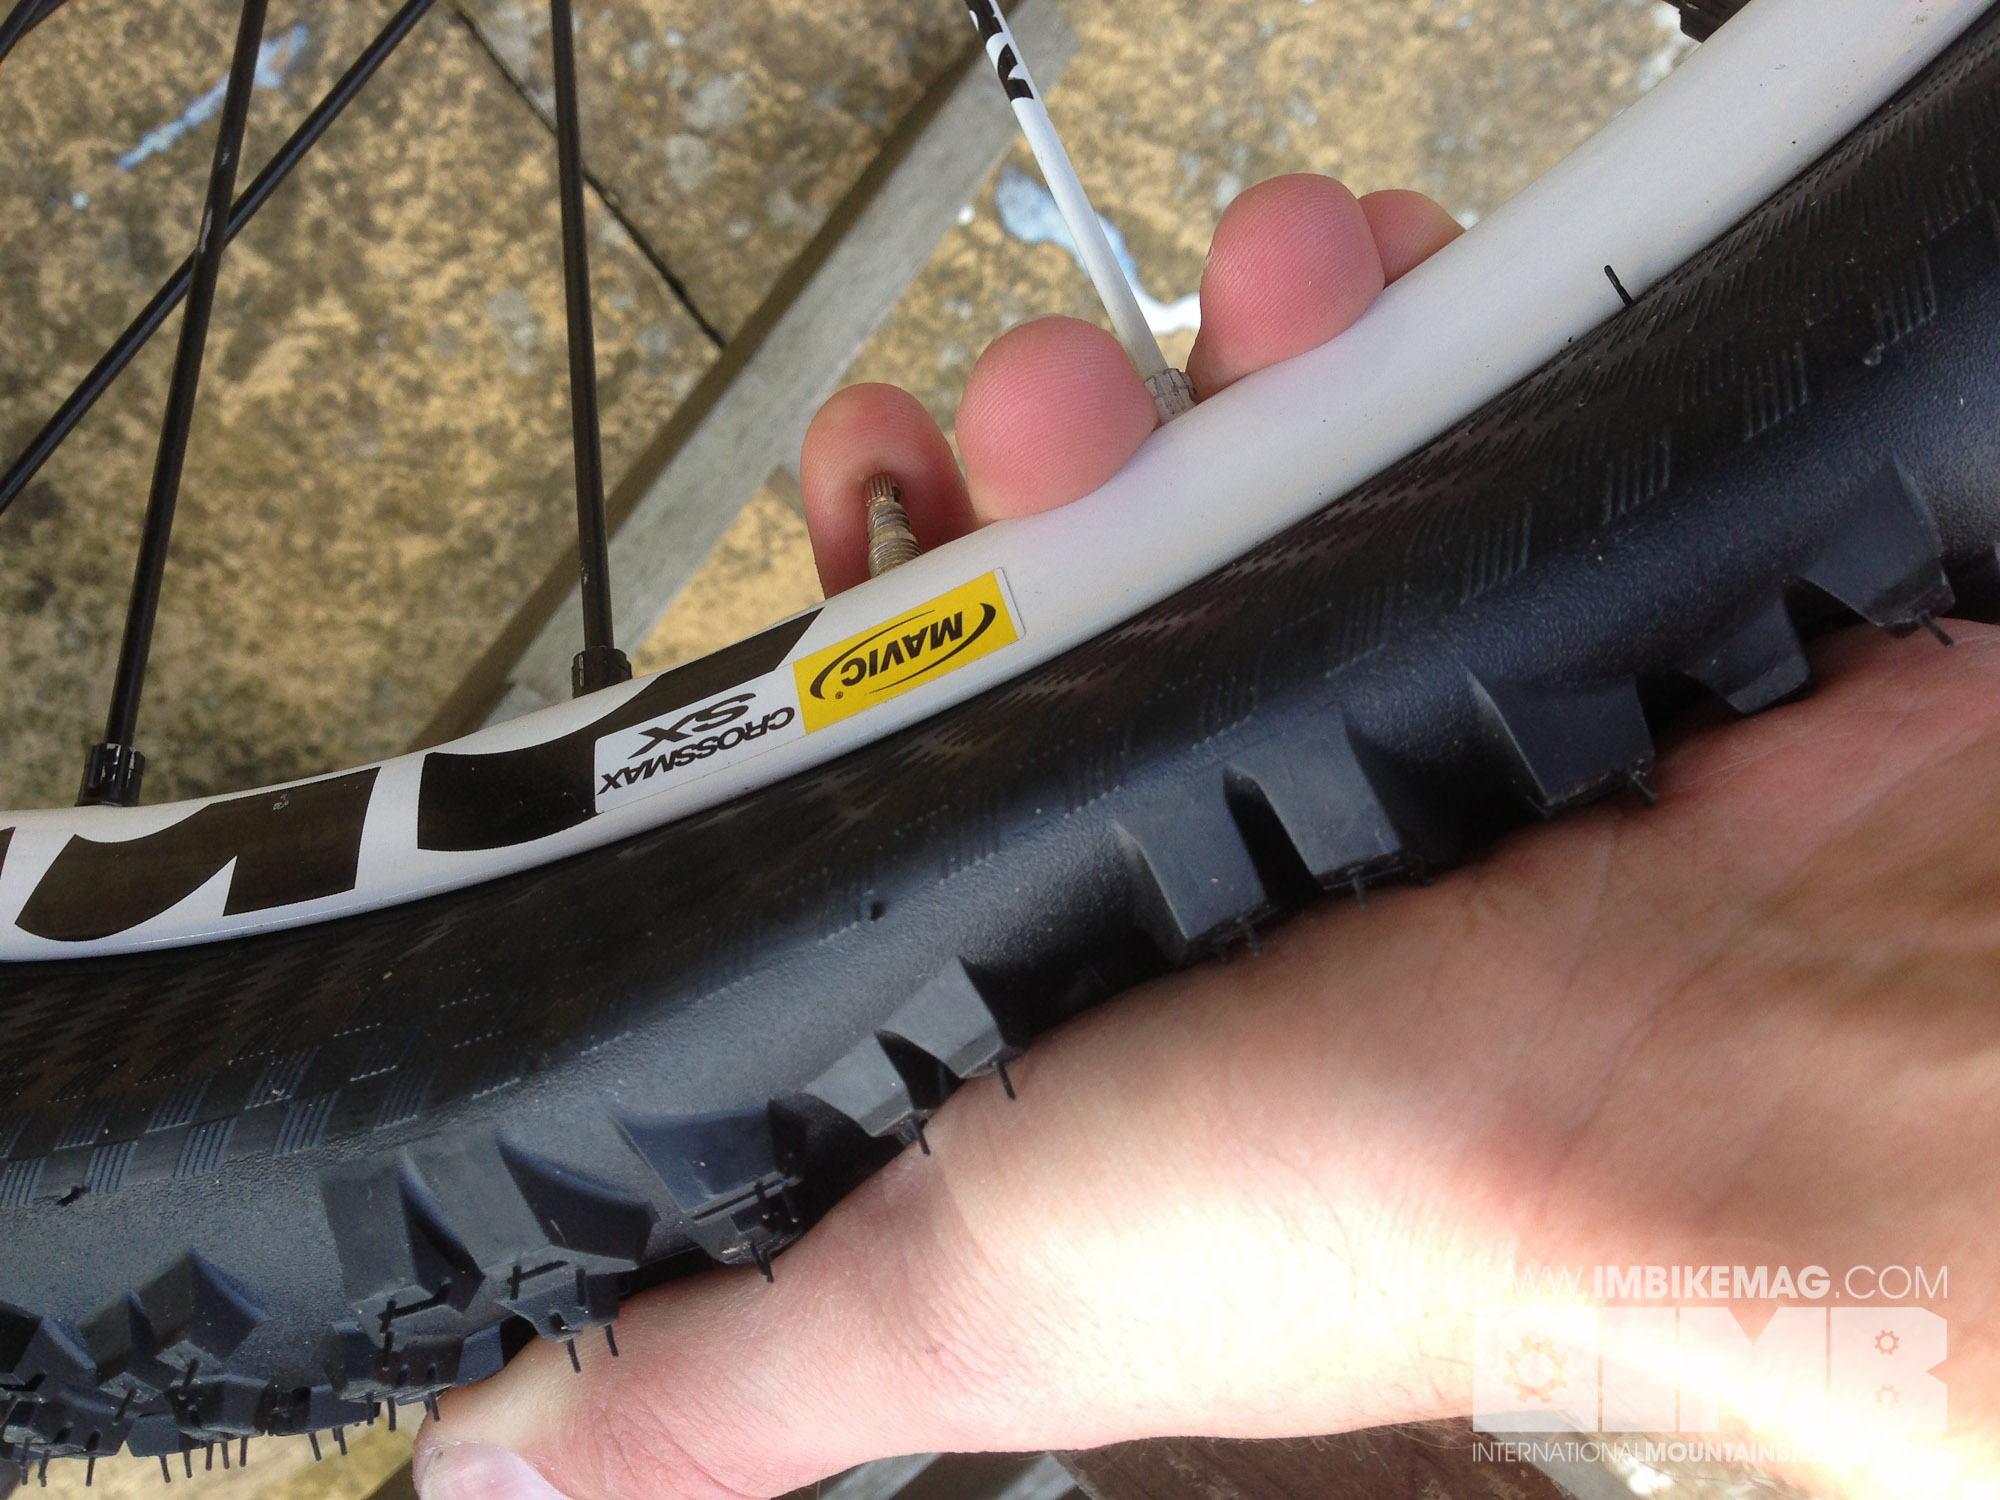
The next trick is to seat the bead of the tyre back on to the rim as best you can with your hands. To do this pinch the tyre and pull it outwards to get it seated as much as possible. Work your way around the tyre and ensure you have it seated as best you can.

Pinch the side of the tyre and pull the bead onto the rim.

Work your way around the entire rim ensuring it is seated as much as possible.
Lastly with the valve at the bottom and the tyre resting gently on the ground attach the track pump and hit the tyre with three or four hard fast pumps. The tyre should take air immediately, if it doesn’t repeat the hand bead seating process. If it does take air, congratulations, you have become a man my son, and successfully set your tyres and wheels up for months of tubeless bliss. Keep pumping to about 50PSI and then give them the old shake and bake to get the sealant well and truly everywhere inside the tyre.

Now the tyre is ready for inflation with the sealant inside!

Lastly shake and bake the tyres to distribute the sealant evenly, then rest them horizontally for a little while to ensure they hold air.
Whatever happens, don’t pump your tyre 100 times thinking it might help if it isn’t holding air, you’re just going to kill yourself! A well set up tubeless tyre and rim should hold air immediately.
If you are using a Stans, or similar, kit, it will be impossible to seat the tyre and then insert the rim strip, instead pump the tyre up with a tube and leave it overnight to allow it to take shape. Then remove the tyre, insert the rim strip and work both sides of the bead onto the rim in the manner described above.
If you find yourself out of breath, throwing sh!t around and swearing, you are doing it wrong, trust us!