Essentials: What To Take In Your Pack In Winter
Features / Mon 29th Aug, 2016 @ 3:30 pm
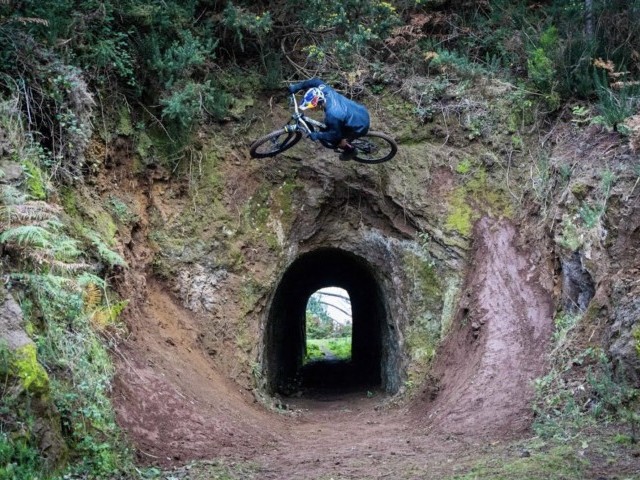
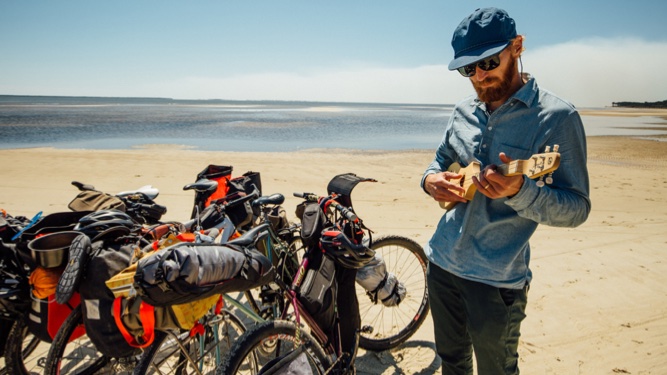
Heading out into the wilderness for some sweet MTB action but unsure of what you should pack in your rucksack before a winter ride?
Riding in the winter months brings with it a whole host of challenges to the humble mountain biker looking to maximise their time in the saddle. Questions such as what to wear, where to ride and how many daylight hours are available for post-ride cleaning permeate the thoughts of even the least experienced among us.
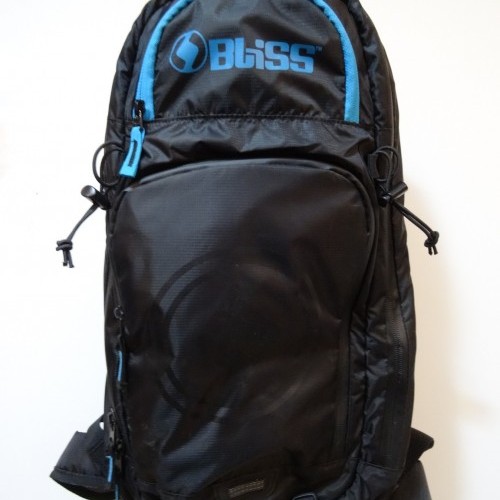
And then there’s the question of what to carry in your pack. It’s all too easy to maintain the default kit list you’ve been rocking all summer of the bare essentials for trail fixes, snacks and hydration, but as anyone who’s been benighted ‘pon a hillside will tell you – it’s better to have something and not need it than to need it and not have it (thanks also to mums of the world for this gem of advice).
With this in mind our Winter Kit List has been compiled to help you overcome any dangers or set backs you might (read: will) experience when out on the hills, trail centres and mountains of the world.
What You Should Pack For A Winter Bike Ride:
In order to determine a definitive list of winter cycling equipment for your bag we’ll assume that you’ll already be dressed appropriately, however, some items in the list could be worn or packed, depending on the conditions at the outset of your ride.
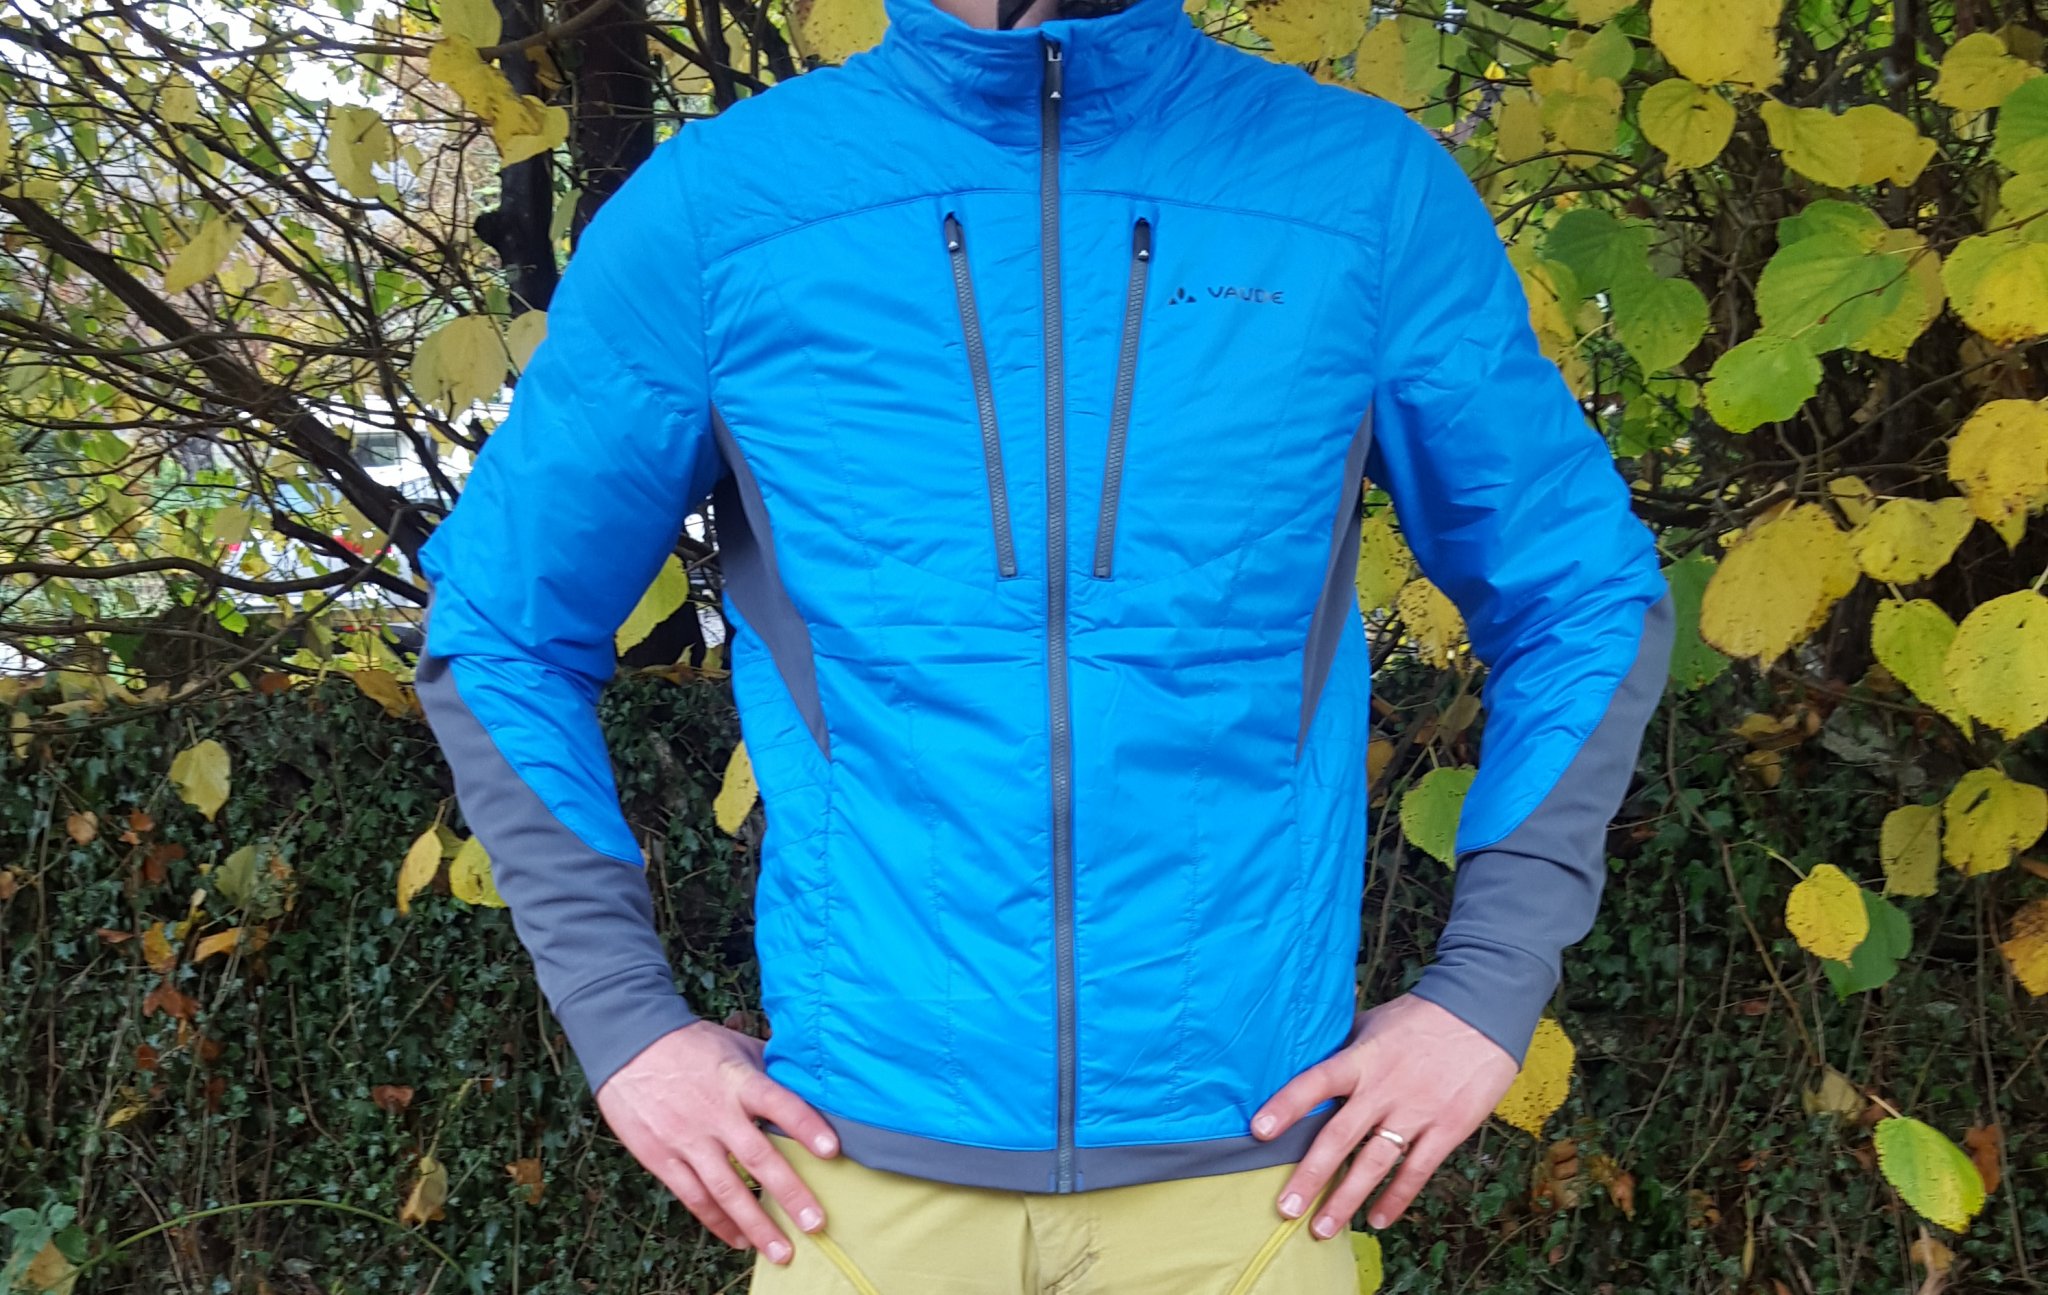
Spare Clothes
As a bare minimum you should look to pack a spare pair of warm gloves and a back up top for winter riding as temperatures and conditions can quickly change – and let’s face it, life can get pretty miserable when you’re cold and wet.
- Pair of gloves – Even the greatest of waterproof gloves will wet out eventually, leaving your poor wee fingers numb and useless. A back up pair of gloves will save you fumbling around like a 16 year old on prom night.
- Waterproof Jacket – You’re likely to get wet from above or below at some point and a waterproof will dramatically help to keep the wind off as well as the rain, significantly reducing your chances of becoming a cold, wet mess, and even hypothermia.
- Mid layer – look for a fleece made from either synthetic materials – such as polyester or nylon – or merino wool, which has great insulation properties even when wet. As with any outdoor clothing, cotton is off the menu due to its inability to move moisture away from the body. Your aim should be to remain as dry and warm as possible, from the inside out.
- Headwear – Something to keep your noggin warm is a good idea, better still a Buff (or other seamless tubes of synthetic material) is ideal for slipping over your head or neck for extra warmth, especially as they fit nicely under a helmet. Top tip: take two Buffs and loop them together to form a sling for those pesky broken arms and collarbones.

Food & Water
Clearly without either of these two you’re not going to get very far to begin with. Not only is a good pre-ride carbohydrate-based meal going to set you up well for hours of climbing and descending, but carrying some rations for use out on the trail will ensure that both your energy levels and your stoke-factor remain high. Look for a good calorie-to-weight ratio food with a good balance of carbs, protein and minerals, such as CLIF Bar.
Water is essential to effective and efficient performance in any sport, even in the cold. Just a 2% drop in body weight due to sweating will significantly decrease your ability to function well on the bike. British Cycling lists several physiological reasons for performance loss due to dehydration:
- Reduction in blood volume
- Decreased skin blood flow
- Decreased sweat rate
- Decreased heat dissipation
- Increased core temperature
- Increased rate of muscle glycogen use
- Decreased digestive function
If water might be hard to come by on your chosen route then it may be worth carrying water purifying tablets – just make sure you’re aware of how and when they can be used effectively!
Map & Compass
Unless you know the area like the back of your hand then taking some form of map or trail guide is a must. If you’re going into the kind of terrain and weather that could prove to be problematic then a map and compass – and the knowledge of how to use them together effectively – is essential. Snow, fog and even forests can become disorientating and a little nav knowledge can go a long way to ensuring you and your riding buddies have a good time, whatever the situation.
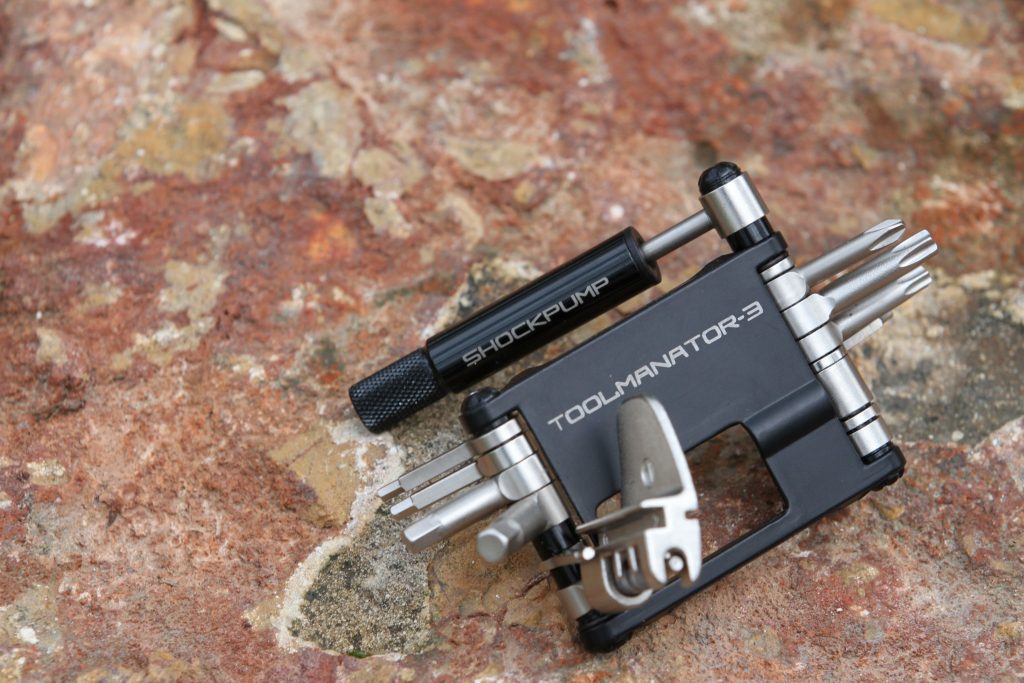
Multi-Tool
Modern multi-tools will fix pretty much any ailment your bike might have on the trail and are an essential of any mountain biker’s pack. Most tools worth their salt will feature:
- Allen (hex) keys, sizes: 2, 2.5, 3, 4, 5, 6, 8
- Screwdrivers: phillips and flat-head
- Torx wrench: T25
- Wrench/Spanner: 8mm, 10mm
- Spoke wrench: #0, 1, 2, 3
- Chain tool: ideally 8/9/10 speed compatible to cover all eventualities
If you can’t mend your bike with one of these gizmos then a roll of duct tape and a few zip ties should do the trick.
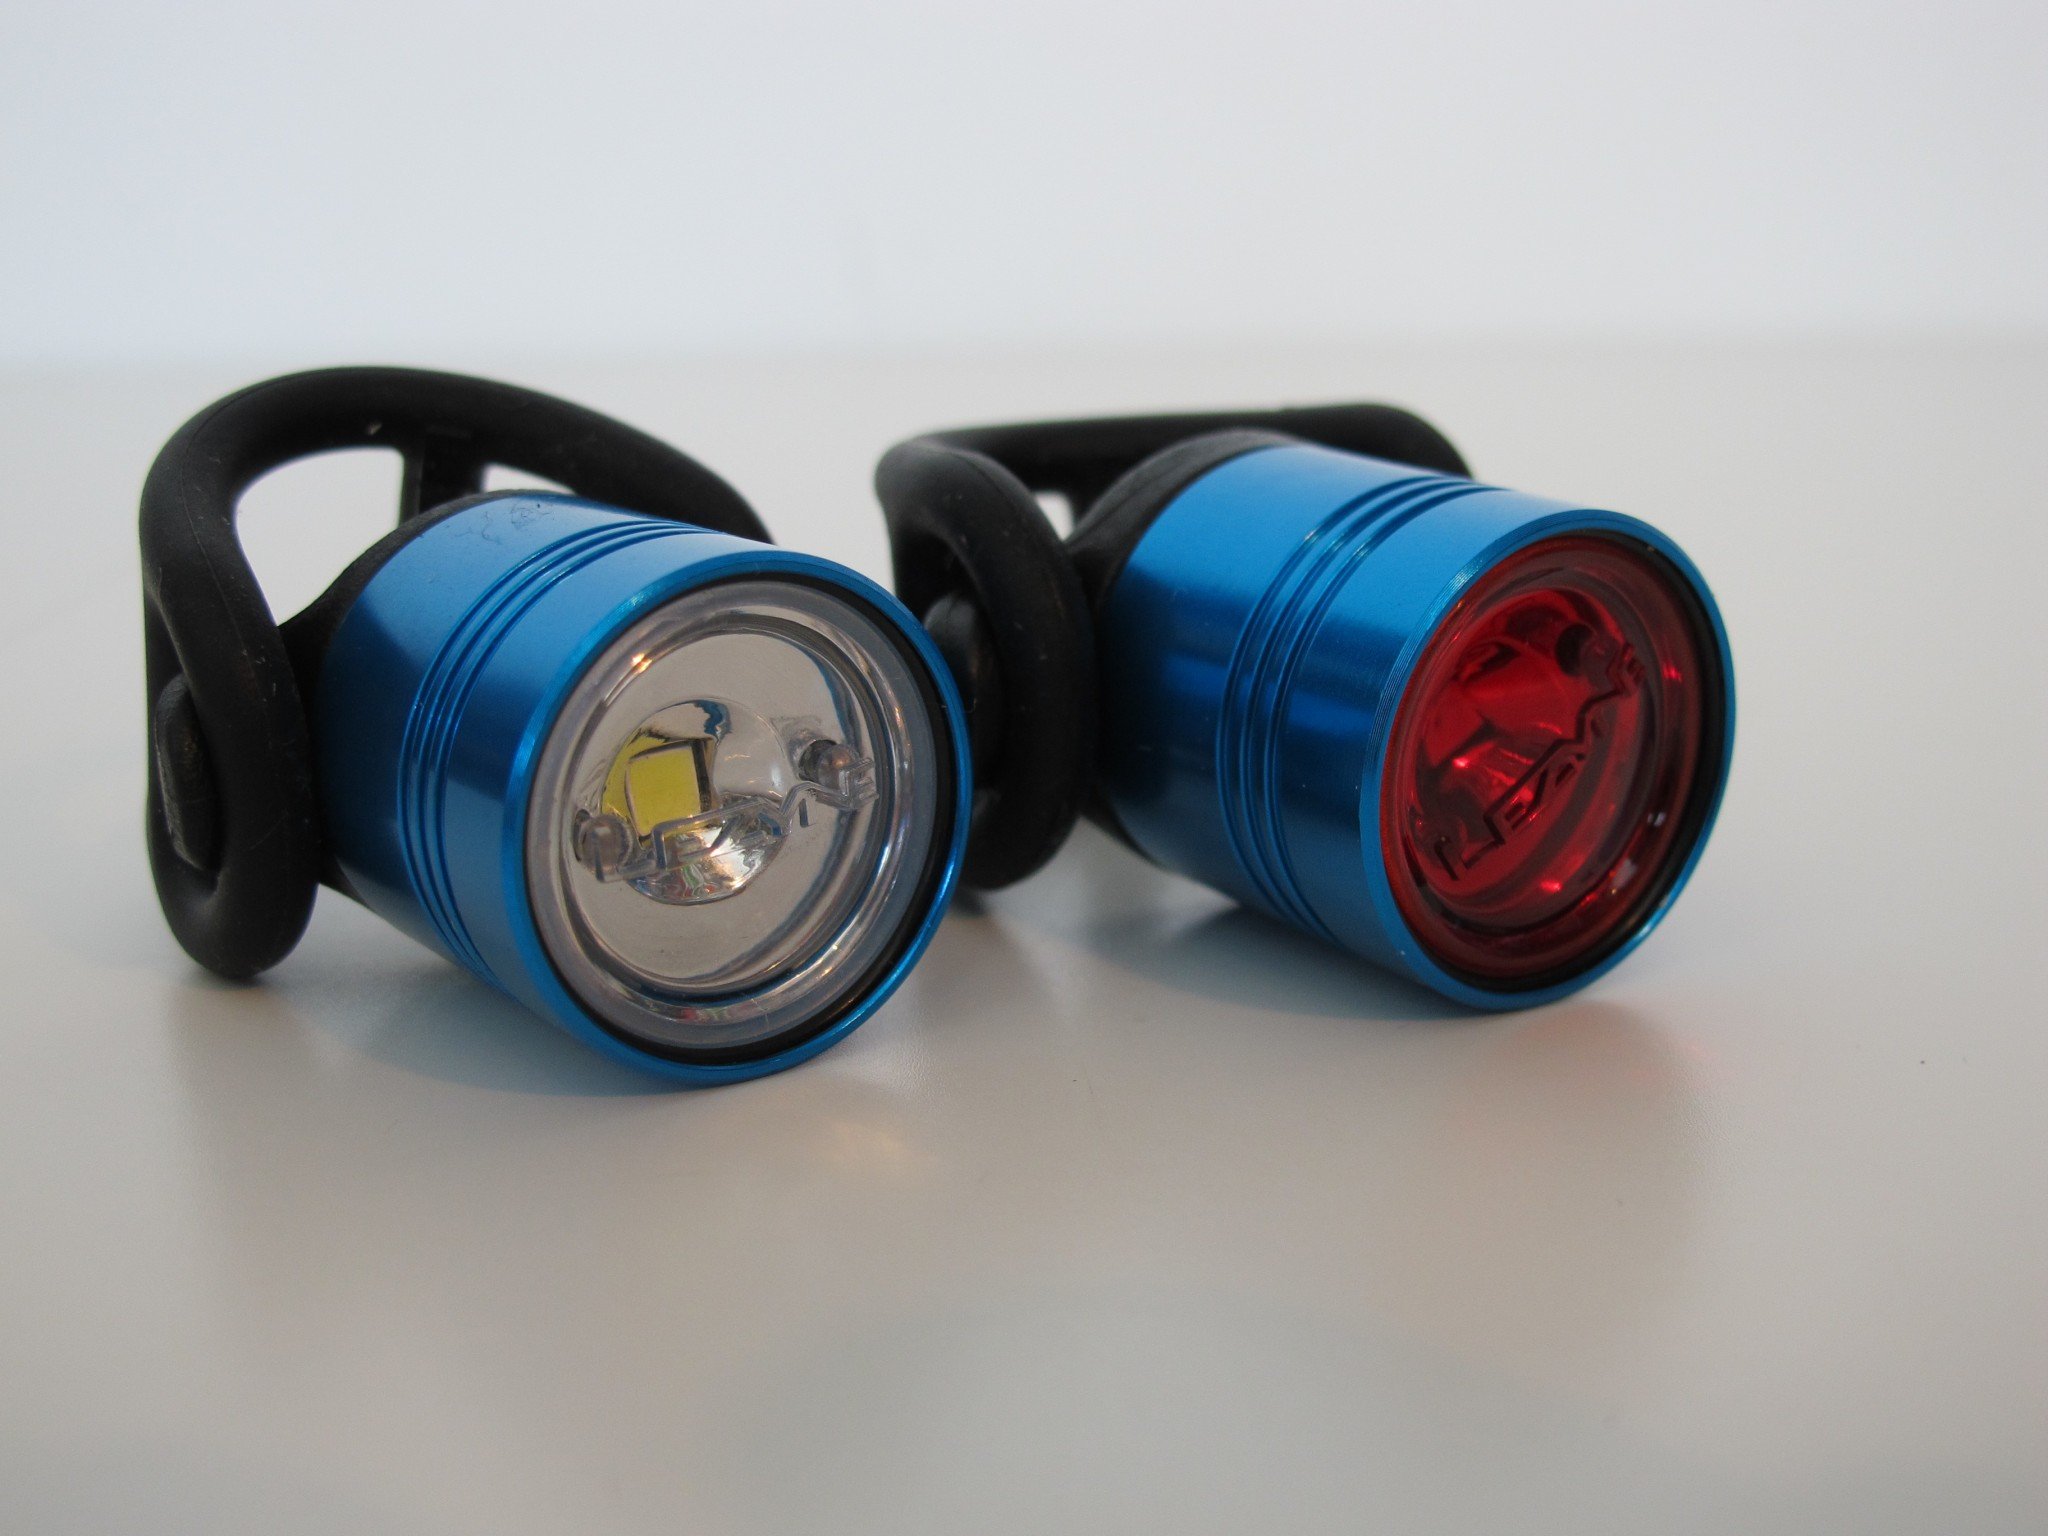
Lights
Even if you’re not planning on staying out after dark it’s still a good idea to carry at least a set of lights (white for the front, red for the back) to be seen by should you run into trouble or take a wrong turn. Just make sure that they’re fully charged and working before you set out. A head torch is also handy for emergencies and map reading. Of course, if you’re intentionally out at night then make sure you have a decent set of bike lights to see the trail by.
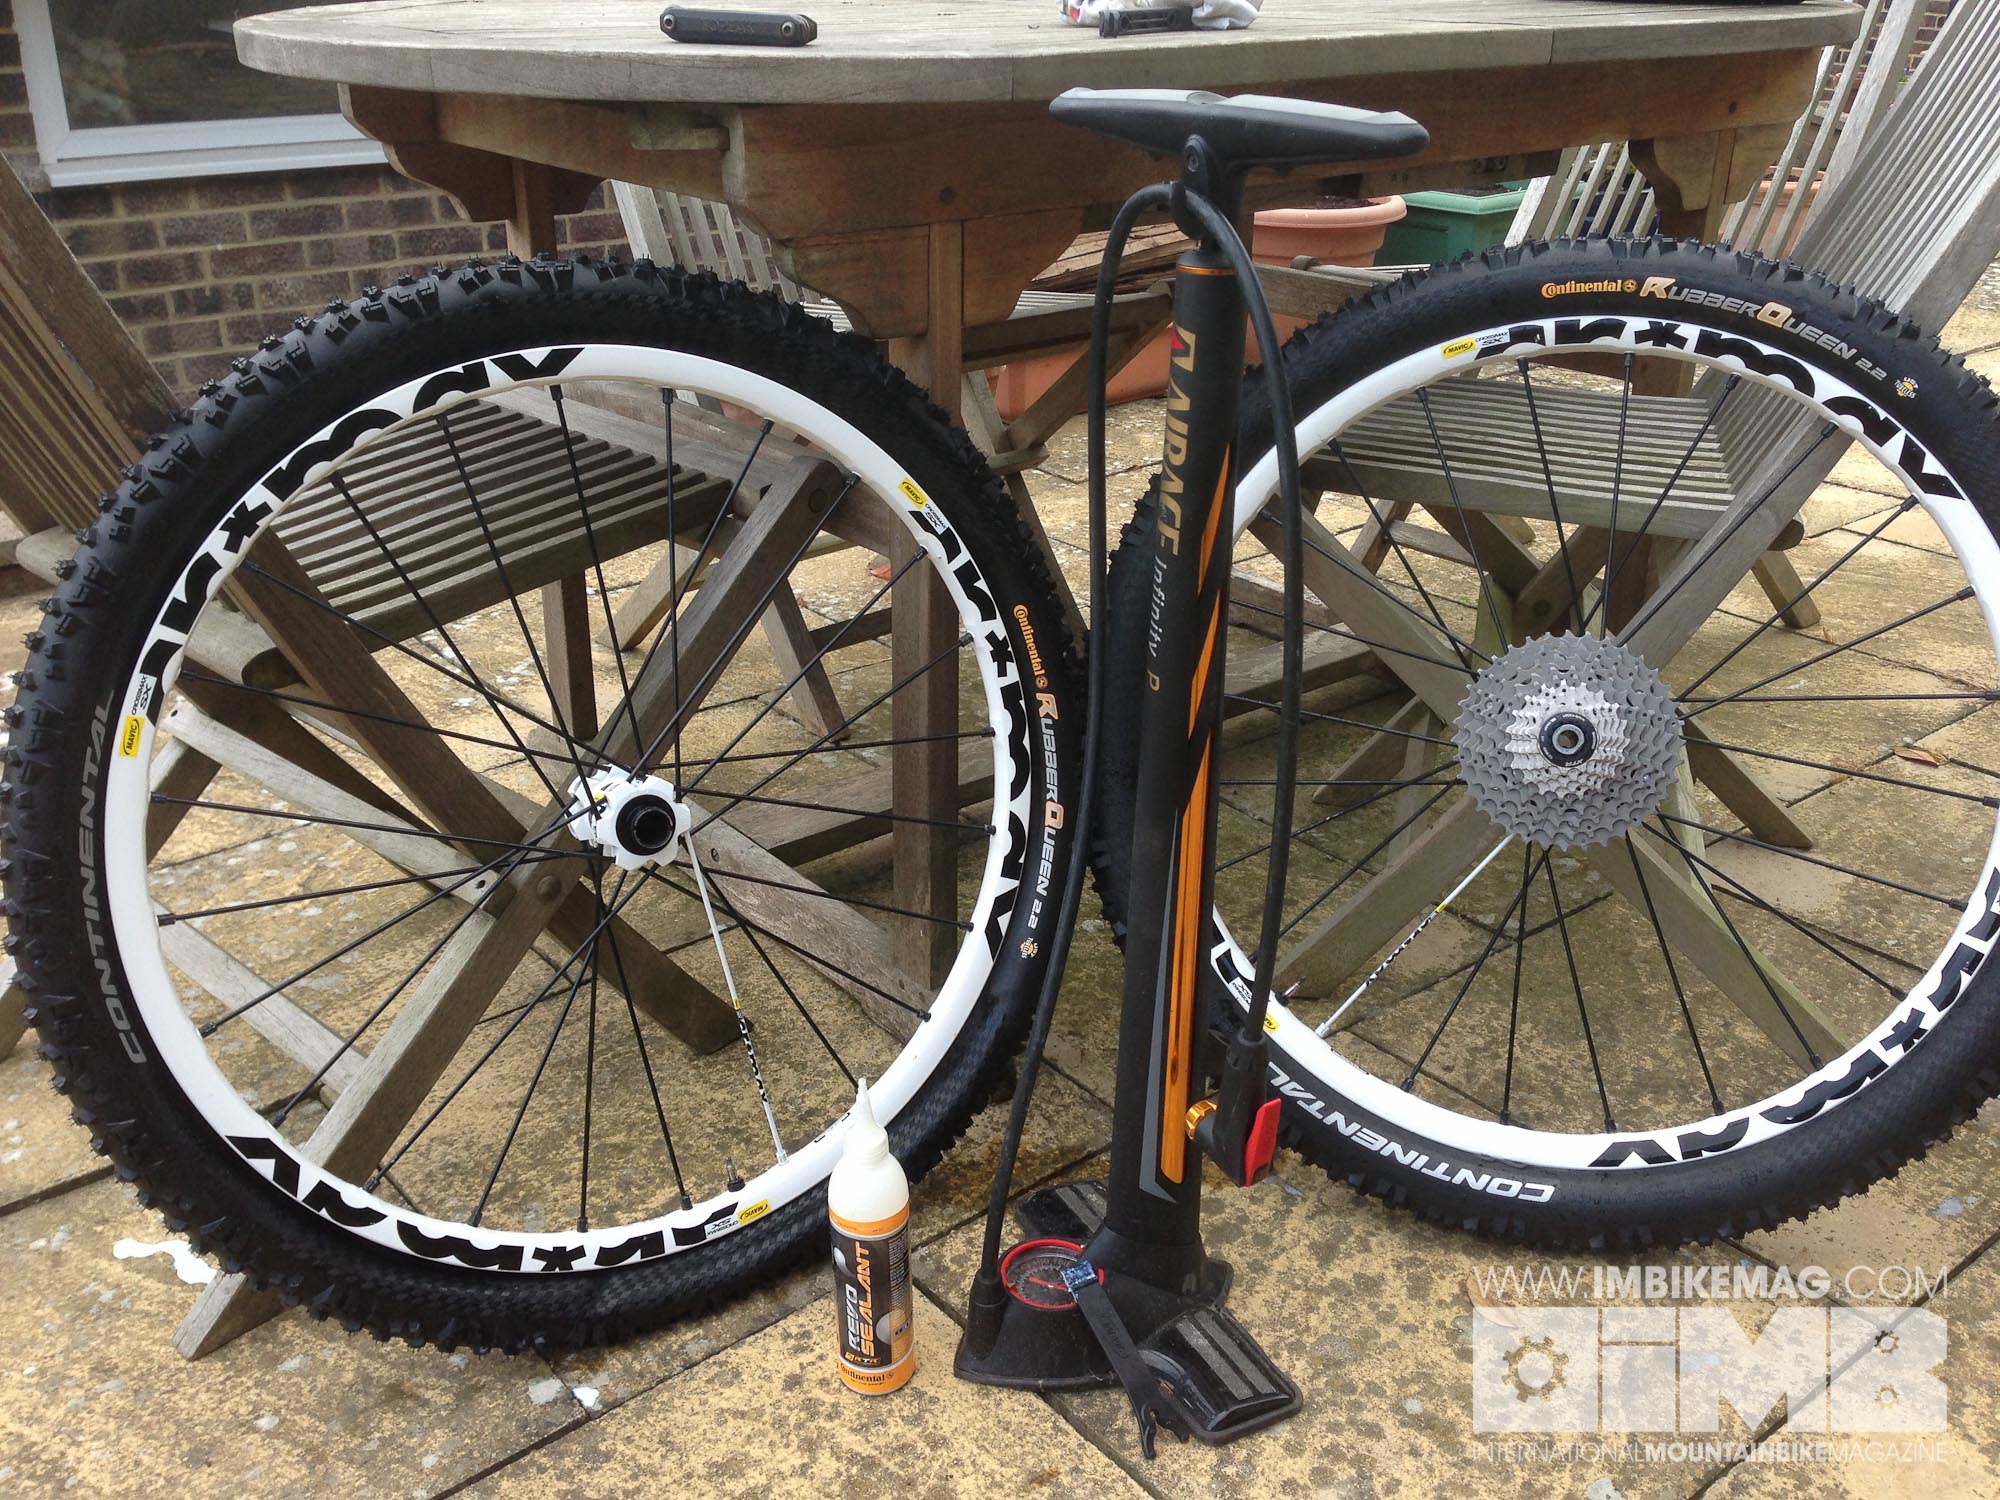
Pump, Inner Tubes & Tyre Lever
Even with the advent of the tubeless tyre (we love you tubeless tyre) it’s still a good move to carry a tube or two as back up. It may also help one of your riding chums out of a hole if they get a flat. Be sure to carry the right size for your wheel dimensions, although for a trail fix you can generally get by with a 26″, 27.5″ or 29″ tube in any of the other wheel sizes.
You’ll be feeling pretty silly if you don’t have something to inflate your tubes with so pack a good pump and be sure to check that it fits the valve type on the innertube(s) – the two main valve types are presta (the one you can press) and schrader (the one that looks like a car tyre valve). A tyre lever will also help for getting stubborn tyres off the rim, especially in those numb finger moments!
Spoke(s)
Times may well be hard should you find yourself in need of replacing a spoke or two mid-ride, but should a catastrophic wheel failure befall you then having a couple of spokes in your bag could well save the day (and a long walk). Be sure to carry spokes specific to your wheel size and fitment type. A couple of spare spoke nipples should also be stashed in your pack.
Quick Links
Providing your chain and drivetrain are well looked after, and you know how to change gear smoothly, then your chain shouldn’t ever be in need of a fix. However, accidents do happen and chains do get neglected, so carry a couple of quick links in your kit. These enable the two ends of a chain to be quickly, erm, linked by slotting through the eyes of the open ends of a chain and pulled together. They work neatly by using the opposing forces in the chain to pull tight and lock. Much faster, cleaner and neater than fumbling around for the right pin and using a chain tool, but be sure to carry the correct size for the ‘speed’ of your rear cassette.
Tyre Gator / Tyre Boot
When (not if, when) your tyre gains a huge slash through its sidewall then it’s time to deploy the trusty tyre gator (or tyre boot). This sleeve of plastic should be placed inside the tyre to prevent the innertube from spilling out of the deep wound and, once again, halting your progress. You can make a free tyre boot by cutting the top and bottom off a lightweight plastic bottle or toothpaste tube, cutting once along its length to make an expandable, packable trail fix. One of life’s most rewarding trail fixes!
Mech Hanger
Rear derailleurs can be a bit fragile and temperamental. It only take one strategically placed rock or branch to catch it, as it nonchalantly hangs out round the back wheel, and it’s off. Then what? Well if you’re at a trail centre it may only entail the minor inconvenience of a walk back to the car or trail head to get it fixed (if there’s a workshop). If you’re out in the sticks and a long way from home then it could be really bad news.
Weather conditions can change quickly in the mountains and being without the means to get your drivetrain driving again could result in a very long hike a bike in the dark. Bad times indeed.
Zip Ties & Duct Tape
Cable ties (or zip ties) and duct tape (Duck Tape is a brand name) are one of your most essential and trusted friends and should have a permanent home in your cycling pack. Should the multi-tool fail in its task then these two legends of the man drawer are likely to save your bacon. Both are perfect for holding broken things together and duct tape is a great tyre fix and substitute first aid item.
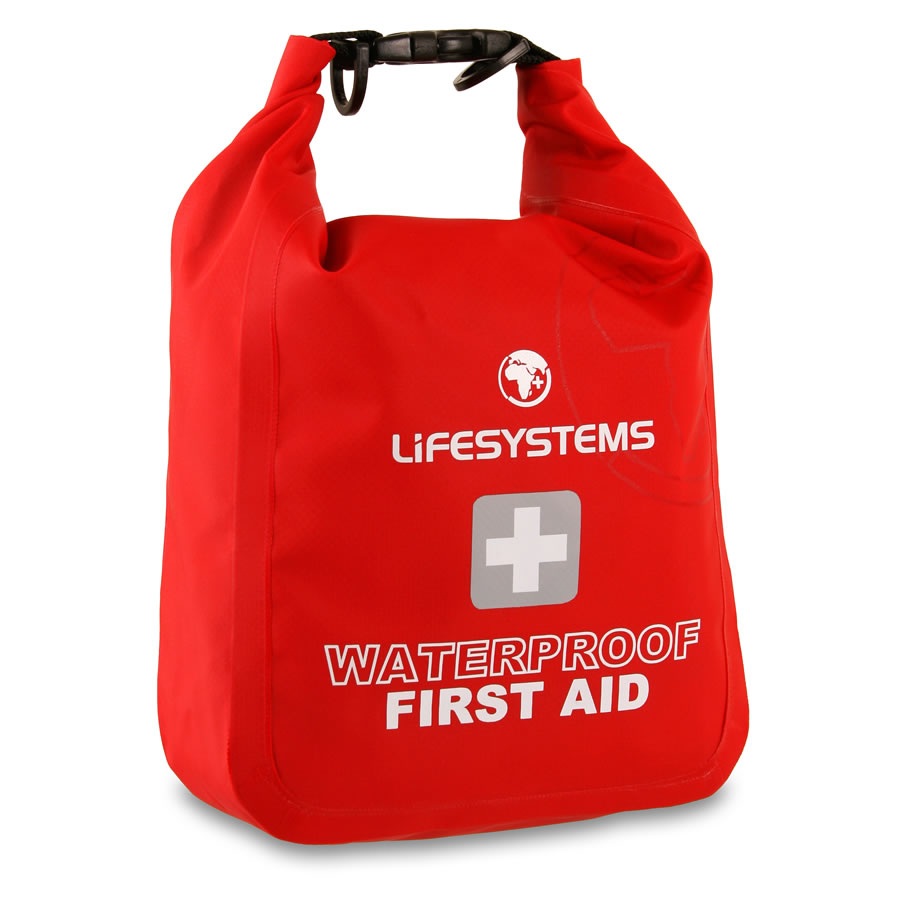
First Aid Kit
Ideally at least one person in your group should have some basic first aid training and know things such as CPR and how to dress a wound. The following items can be packed into a dry bag and stashed away in your bag at all times – just don’t forget to replace anything you use for next time!
- Bandages
- Wound dressing (gauze)
- Medical tape
- Scissors
- Hydration sachets
- Paracetomol
- Ibuprofen
- Anti-septic wipes or cream
- Hand gel
Mobile Phone
These days it’s safe to say that it’s likely everyone in your group will be carrying a smart phone. Great as a nav tool for its GPS (but not a substitute for a map, compass and nav knowledge) your phone should also contain an ‘I.C.E’ (In Case of Emergency) contact – emergency services will look for a physical ICE contact in your contacts list, so put one or two in.
Even without signal your phone can still make emergency calls and of course, Strava needs to be on or it never happened…or did it?
Cash
Should you suddenly find yourself in a bit of a pickle then having a means to bail yourself out of a situation is going to come in handy. A card and cash can get you places, feed your face, help your mate out of trouble and of course, buy the post ride beers!
And Finally
Aim to be self sufficient and not reliant on others to keep you moving/smiling/living and you’re bound to have a much better, stress-free time. If you’re riding in a larger group then a quick run through and rationalisation of kit before a ride can save you all carrying multiple items unnecessarily.
Now that your pack is ready for winter riding it’s also a good idea to revisit your suspension settings, as you are likely to be carrying some extra weight.
So the overall message is – as any good Scout would tell you – be prepared. Or, in other words: fail to prepare, prepare to fail.
Now go and have fun!
—
Have we missed anything? Too much kit to carry? Let us know what you’d change down in the comments section.
By James Swann
Originally from Sheffield, James lives and works in the mountain bike mecca that is the Lake District and has been falling off bikes since he was six. In between working on bike events, riding bikes, racing bikes and writing about bikes he enjoys talking about bikes with anyone who will listen. He really likes bikes.