The Need For Speed Part 2
Technique / Psychological
Introduction
Welcome back, last issue we looked at riding trails for the first time and how you can hit them with more confidence and more speed, this time round we delve into one of the common features on a trail and a feature where speed is not the only thing that can be wiped out. For some riders the fear of washing out in a corner is up there with the thought of going over the bars (OTB) in a steep rock strewn chute, if you have ever slid along the trail and been gifted with a dose of gravel rash then it is easy to see why this may be so.
The unfortunate thing for our unfortunate brethren is that as a consequence of a hearty dose of gravel rash, broken bone or dislocation we can be left cowering away from committing to any form of corner. The natural reaction of grabbing a bit too much brake on the way into a turn or not leaning the bike over is understandable, but it is actions like these that will inevitably work against us and potentially lead to another session of stone picking or kicking around in A&E.


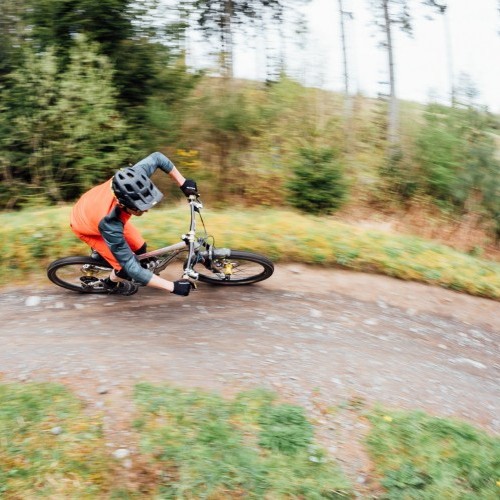
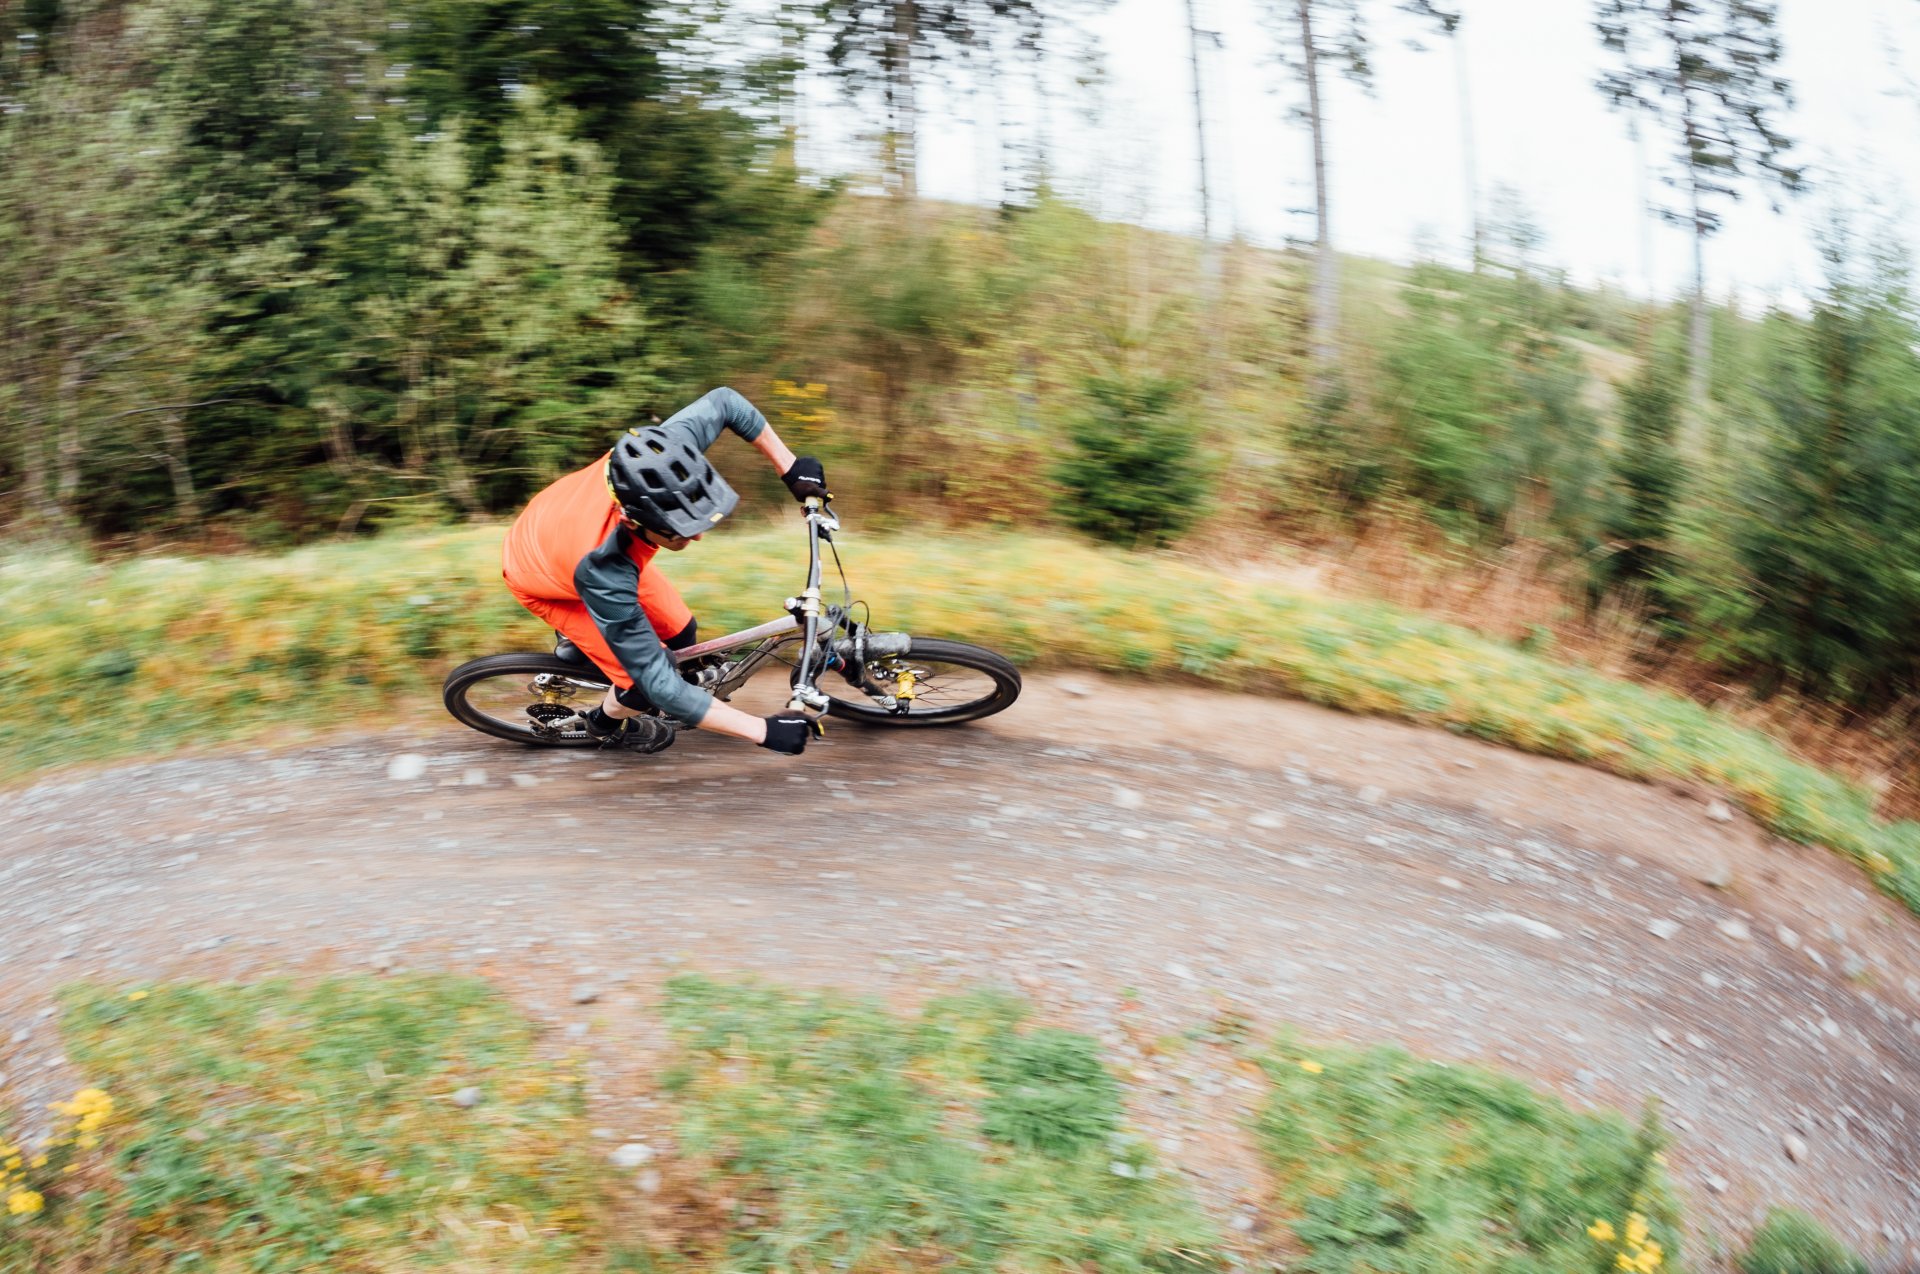
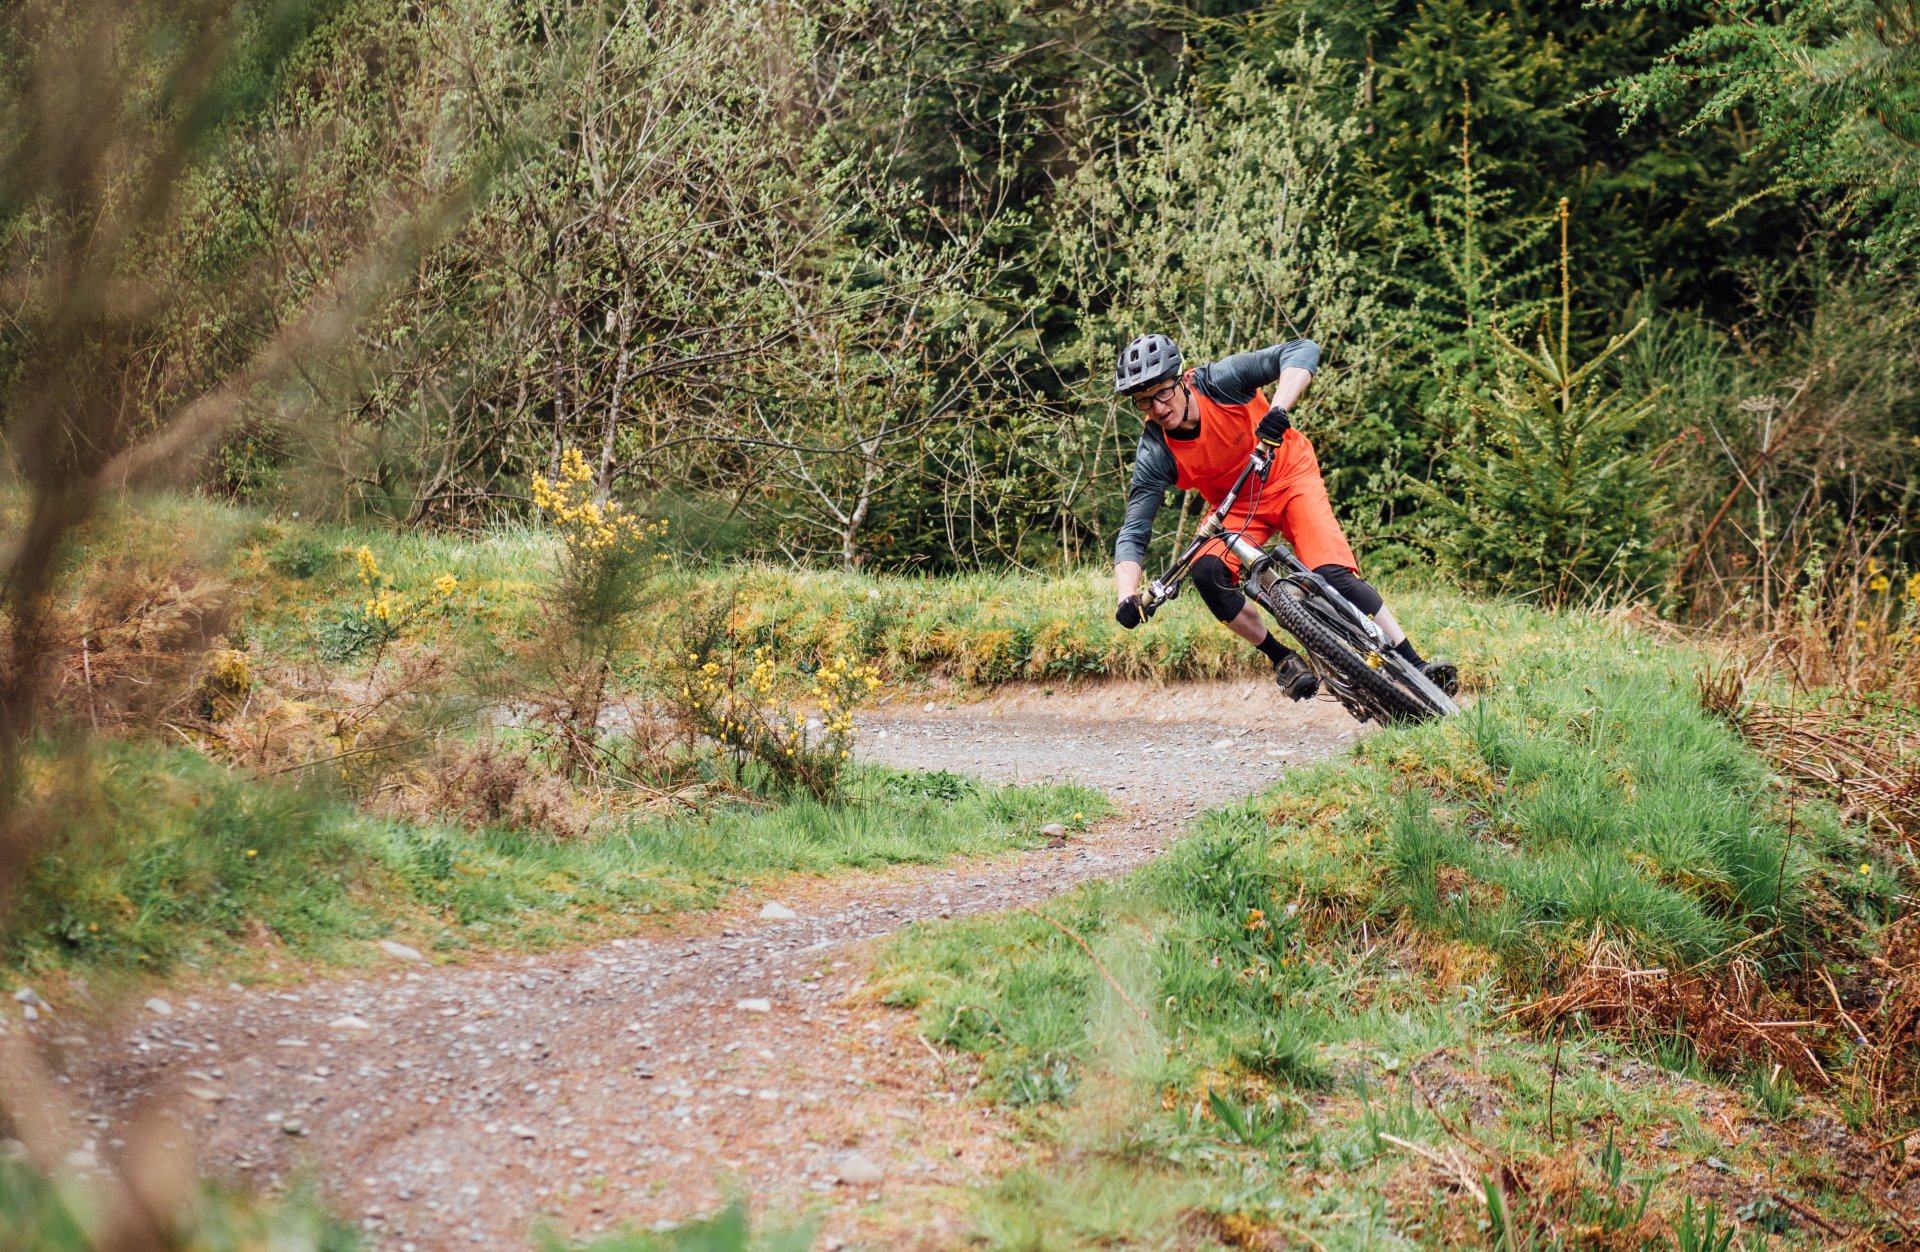
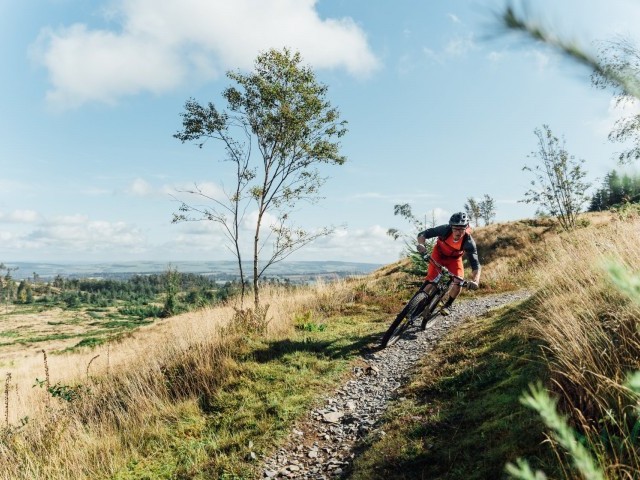
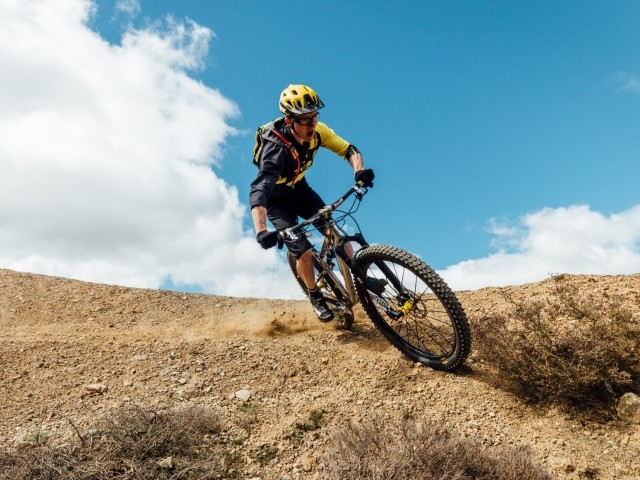
All corners including berms require an amount of commitment from a rider, the steeper the face of the berm the more committed we have to be for the centrifugal forces to work in our favour, of course we still rely on the force of friction (hence the fear of washing out should there be a lack of this) but generally speaking we can ride at a much higher speed than if there was only a slight positive camber to the trails surface. Big berms are generally less of an issue, their size, scale and location often mean that the rider who is likely to face them is already geared up to carry sufficient speed to utilise them reasonably well. However, that said I can still offer a few pointers on the best way to deal with monster berms to help you stick and not come unstuck.
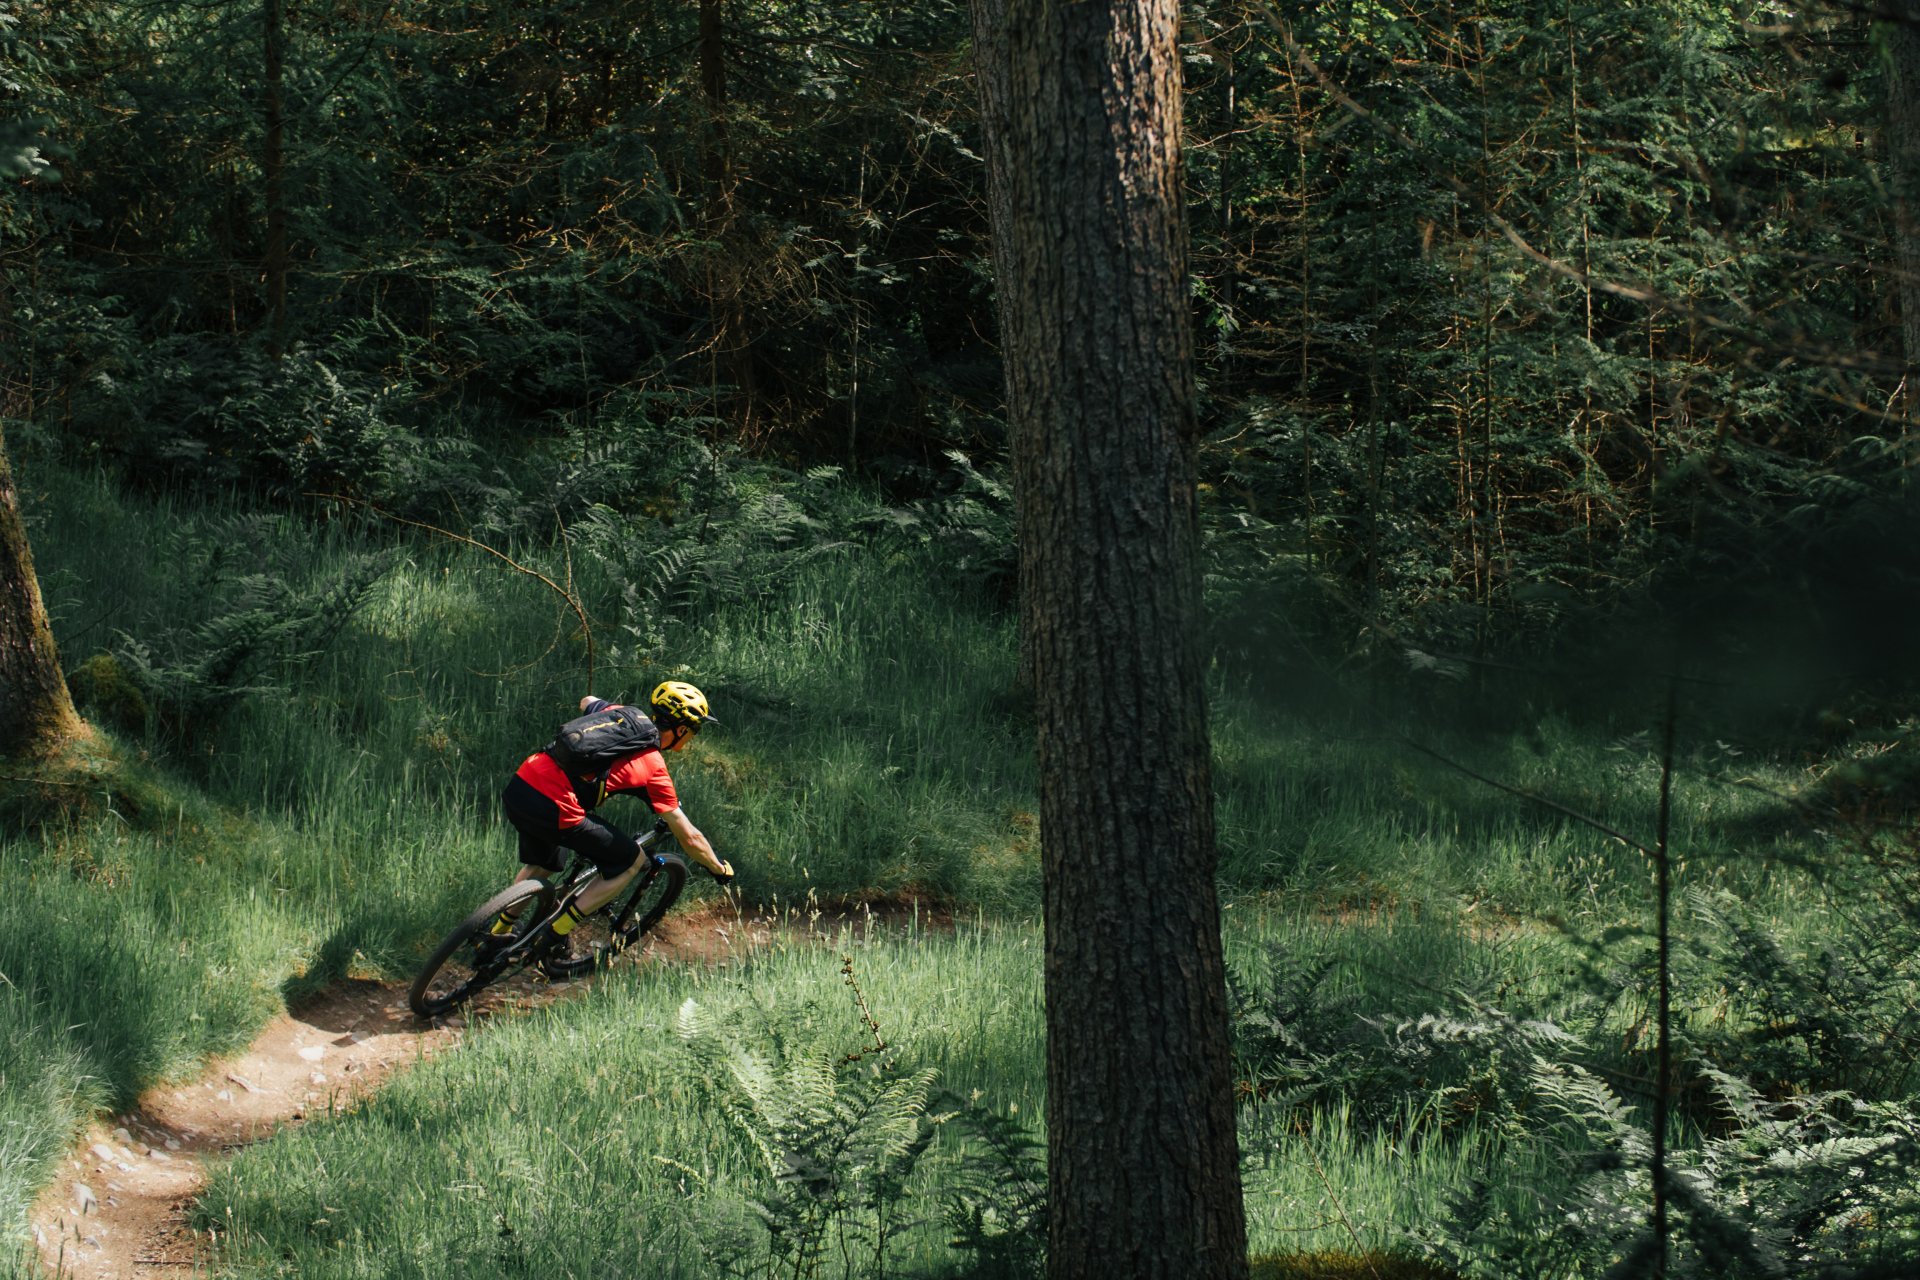
Let's go back to some basics and bring in the classic lingo, entry-section-exit. Vision-Speed control-Body position-Footwork. On the entry we need to be looking ahead into the berm, we will see an obvious wear line, this is a good tell that the trail ahead is clear and this line choice will give us sufficient grip and send us on a reasonable trajectory. Well that may, or may not be the case, the more time I’ve spent working on mountain bike trails (my other day job when I’m not in the saddle) the more I’ve witnessed the wear line creeping higher and higher through bermed corners, if I wrote this feature a decade ago I would take my previous sentence as a good rule of thumb, but not anymore. There seems to be a whole host of riders out there who like to live life on the edge, the rim of a berm really is not a safe bet and if you find yourself up there you’d better hope that the front wheel doesn’t wander wide and push over the top.
So where should you enter berms and what is the preferred line through them? First up your vision should should be detecting the sustain to the berm, is it a little hook berm with minimal angle or is it a long sweeping 90* berm? Small-short berms are less of an issue for wandering wheels, it's the slightly longer and larger ones that we need consider here, the ones where you will be on its face for a few bike lengths or more. Your vision should also be focused on the trails profile, does the berm look more like a banked corner or does it have that toboggan style curvature to it? Another thing to pay attention to is how wide the curved section is. Does it offer room to meander from side to side on the worn line?
A quick note here on vanishing points and something that will help you tackle all corners, even ones on the public highway. When the lines at each edge of trail (your left side and right side) converge you know for sure that the radius tightens up, this should be a signal to decelerate or maintain speed. When the start to peel apart then you can get off the brakes and pick up speed.
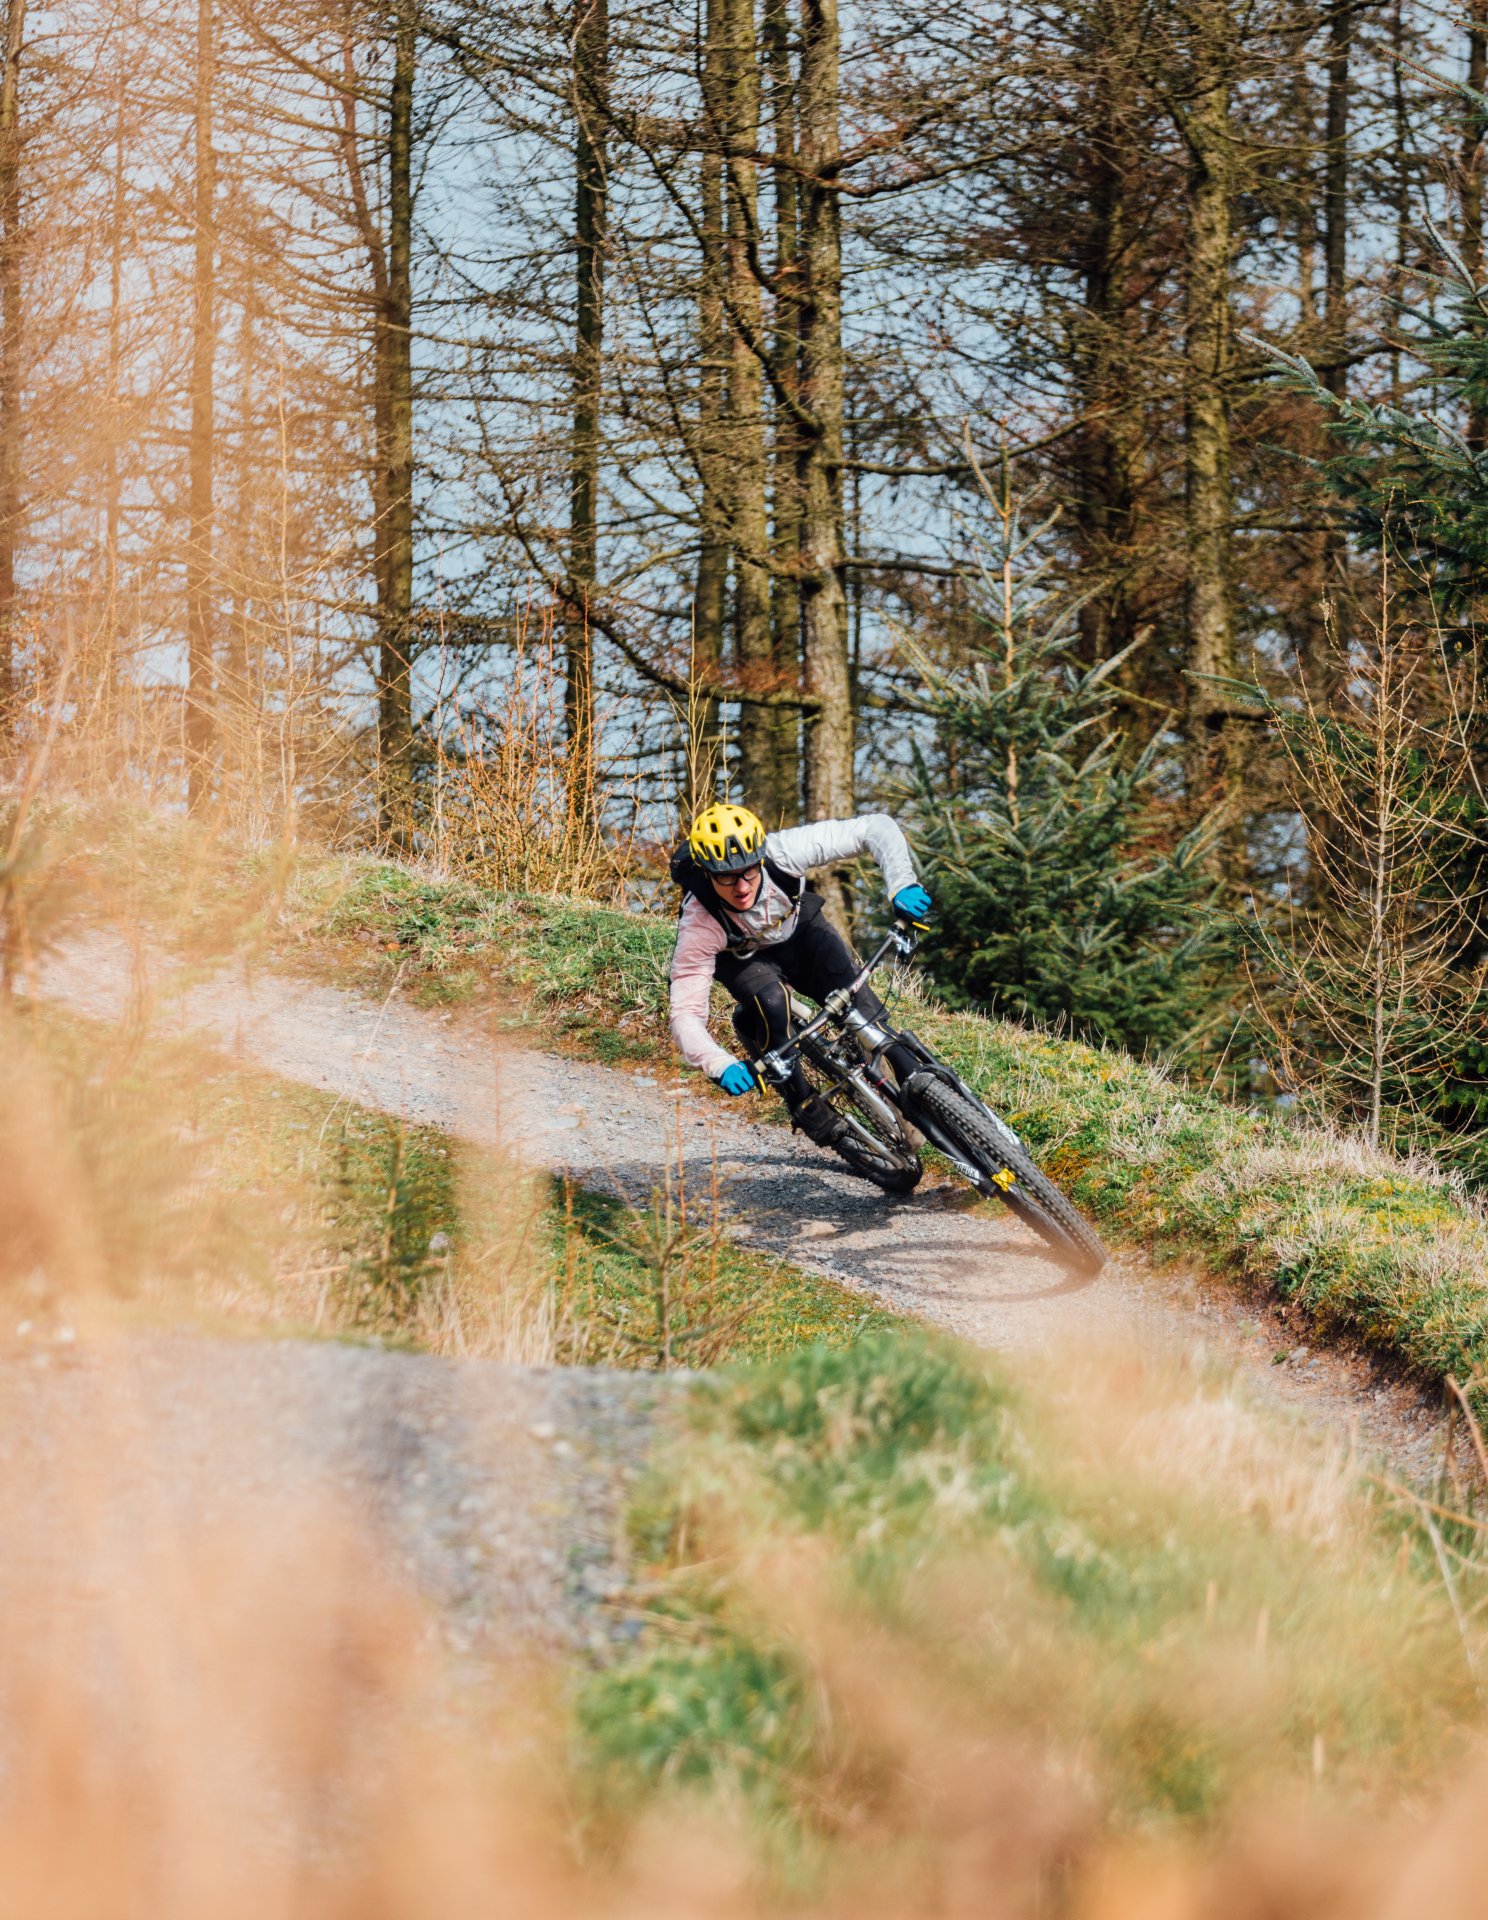
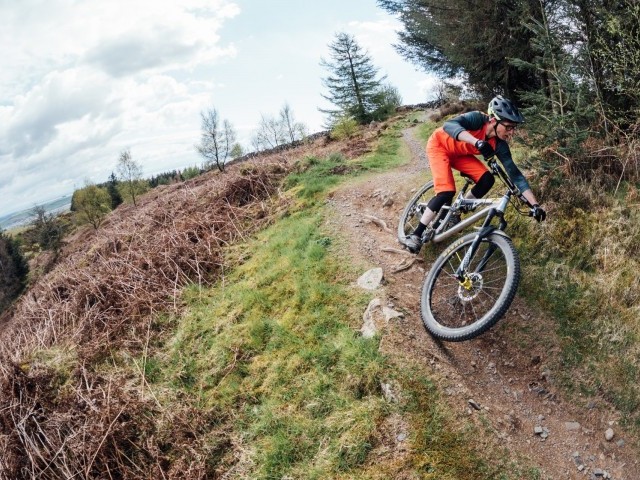
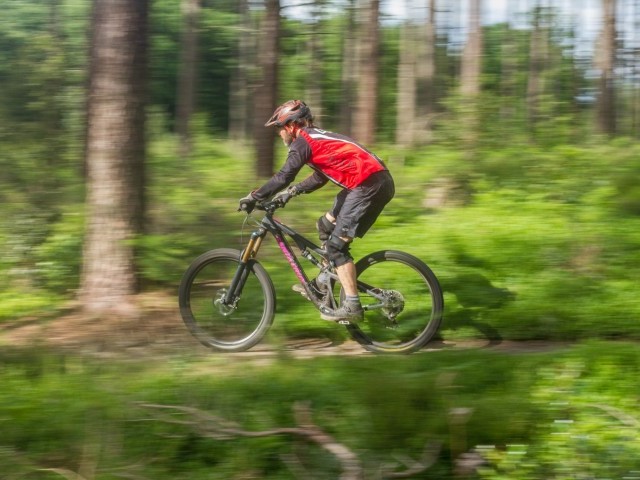
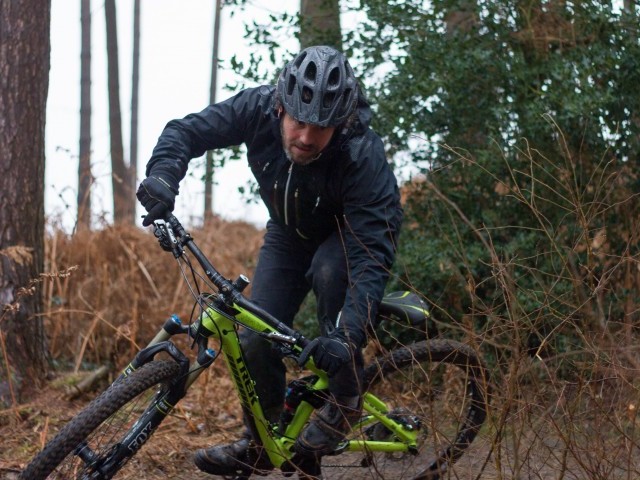
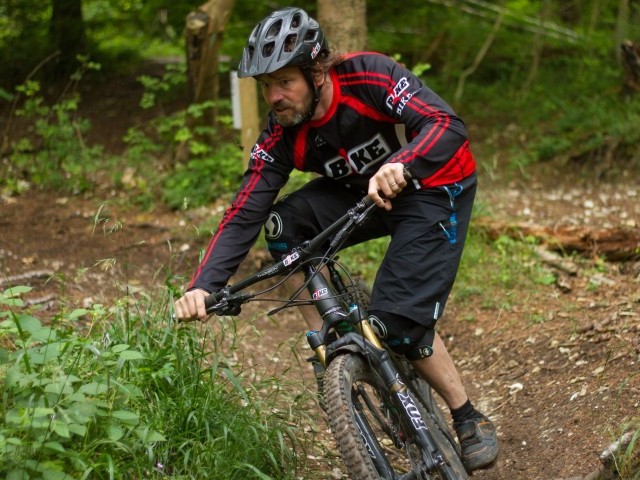
Having observed these things on the entry you can then adjust your speed, scrub a bit with some deceleration braking (hard braking), maintain speed (covering the brakes) or get on the gas and pedal (but only before the corner and not into it as you lean the bike). Setting up for the corner we need to think about our body position, drop down slightly bending the legs and bringing the chest closer to the frame, a lower centre of gravity will help with traction and you can push your feet away from your hips forcing the tyre into the face of the berm for even more grip.

On short sharp tight hook berms this driving the feet away from hips can be done very fast (think skier on moguls vs someone racing downhill), on longer bermed corners the push is more sustained, when hitting big berms and in situation where huge centrifugal force is happening then you will need this pushing technique so you don’t get squashed into the frame (there are many incidents online in the tube videos where riders crash due to a lack of strength in the limbs).
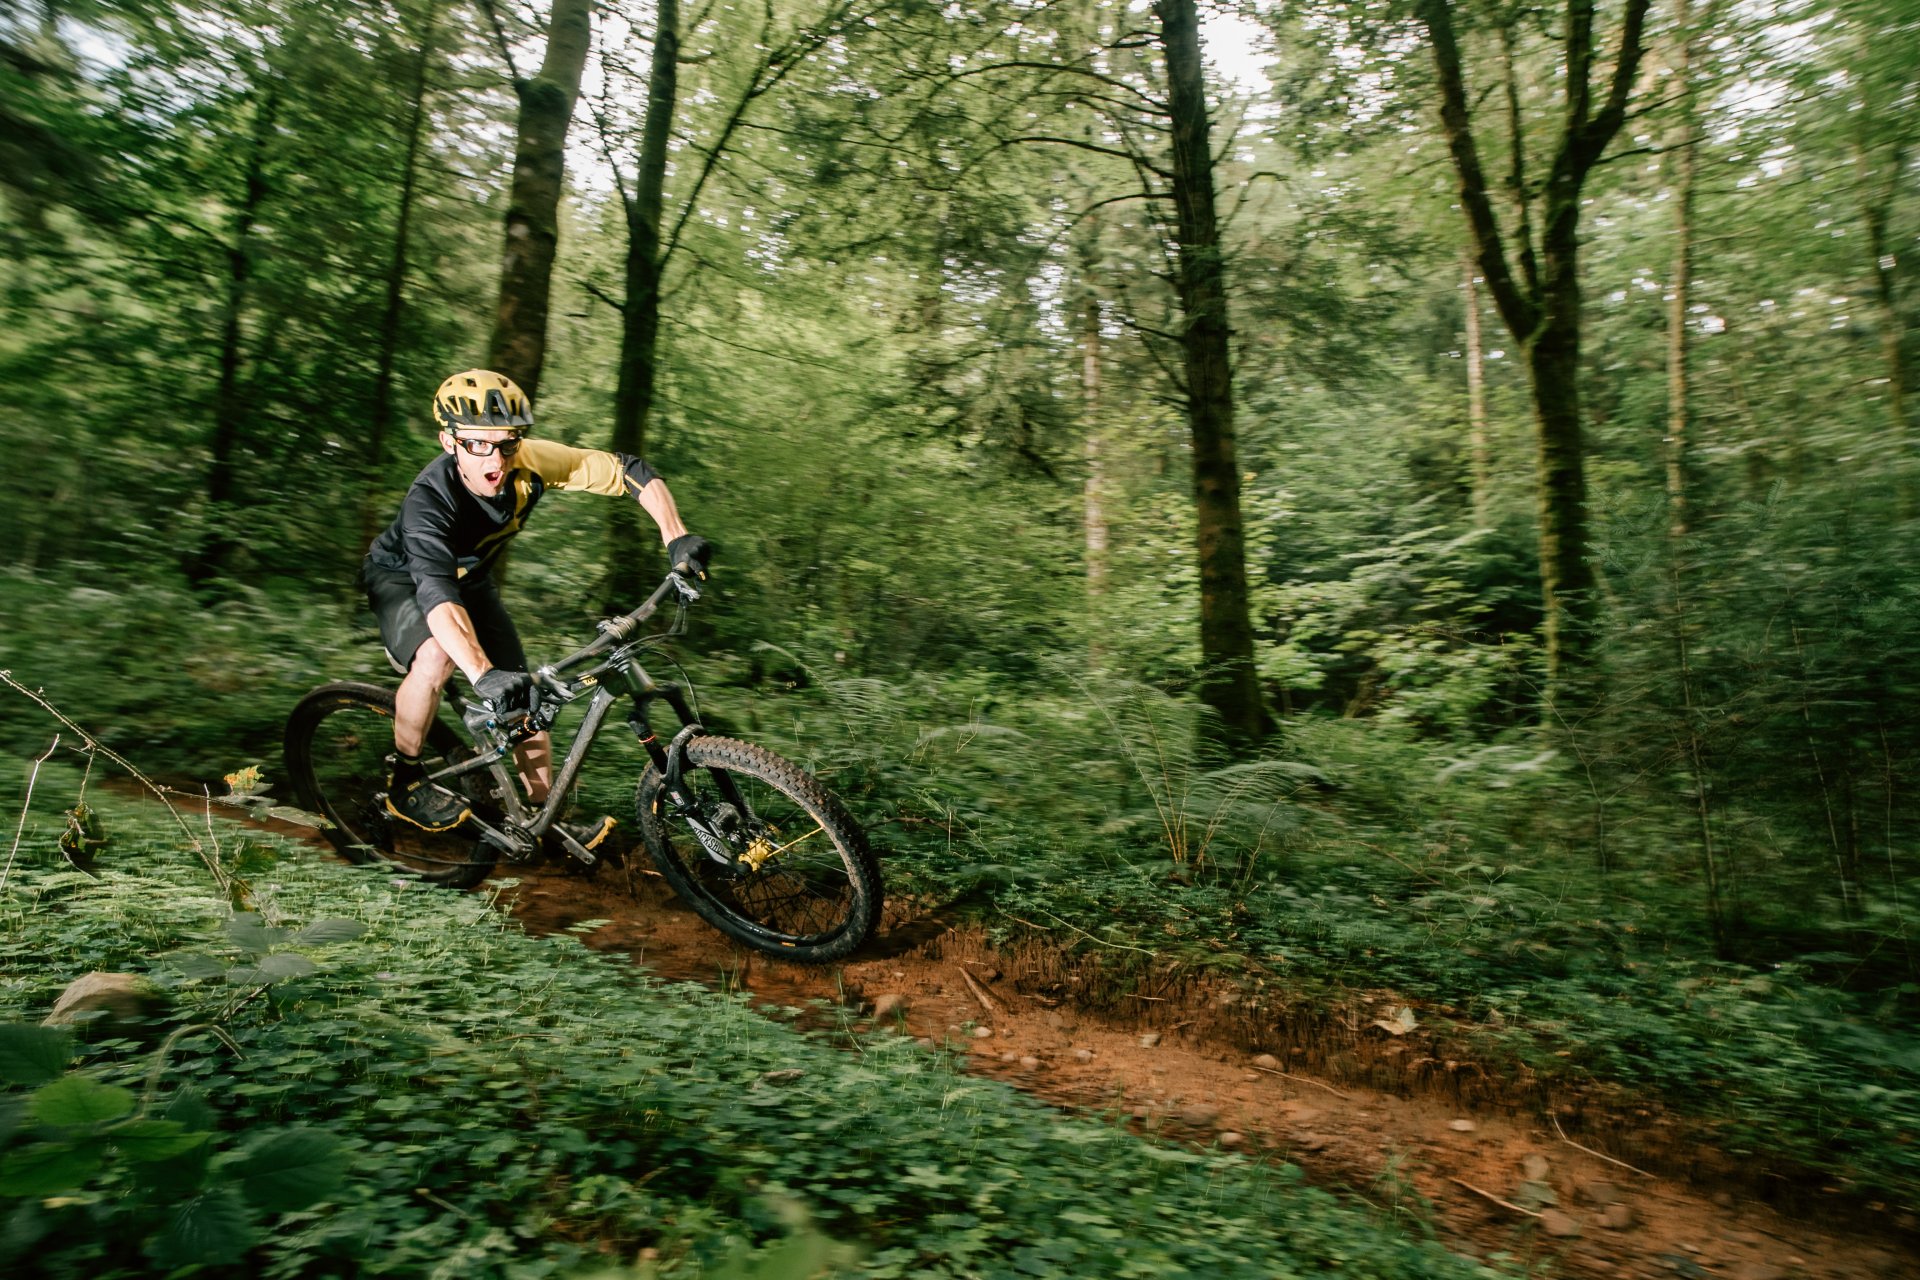
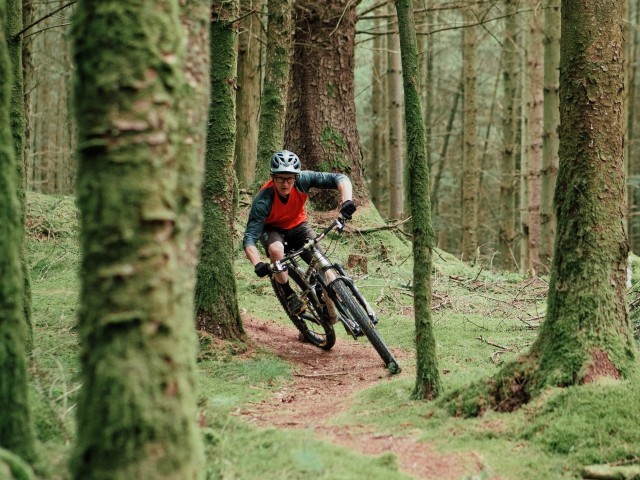
Our footwork can be trained so we lead right foot for left hand corners and left foot for right hand corners, riding in switch stance (or with your chocolate foot first) will steer the hips in the desired direction of travel, the body steers from top to bottom and bottom to top. What I mean by that is we look with the head and the eyes thus turning/twisting the neck, then shoulders followed by spine and down to the hips (the legs follow and we pivot).

From the bottom up we point our foot outwards, the knee twists and then the hips follow. Everything converges in the centre and this is a big part of where we drive direction change from. Cranks can remain level for good even weight transfer or you can then drop that outer foot down and increase the load through the crank and on through the frame into the wheels and tyres. There is more leaning and less steering input at speed and it is crucial that we lean the bike over to what may seem like an exaggerated amount for the tyre to dig into the face of the berm. This is especially the case on very hard packed surfaces where you typically find these longer and larger types of berm.
Berms will deform with time and use, material is displaced by the tyres compacting the trails surface, initially there will be fines (small loose stones) that sit on the low side of the worn ride line. This low loose line is actually quite a safe place to ride, just so long as you preempt the inevitable slide and squirming around on the loose kitty litter.
When the wheels start to slide out they will work their way higher up into the berm where they will find support and traction. As the berm gets older (and more often than not due to riders keeping the bike too upright whilst riding them at slower speeds than they were designed for) the displacement of material creates a mini berm in the upper half of the trail, material has slumped down into the lower half of the trail and the available obvious ride-line is greatly reduced. These situations can easily dupe the seasoned rider into going high round the berm, when a berm is halved like this then you will certainly need more lean to the tyres to hook up, another option is to ride what would appear to be off-line in the lower portion of the berm, but be aware there may be debris lurking in the undergrowth.

If you have been watching the latest hip video edits online then you will have witnessed riders styling it up in a berm sliding the rear wheel hard, the ‘shralp’ is an age-old technique used in surfing and skateboarding. It dates back to the 70’s and the correct name is a ‘slash turn’.
The technique on the bike also involves steering from the rear and it involves squaring off a corner, shortcutting in down low on the entrance of the corner, then turning/changing direction hard at the apex about 3/4 the way through the radius of the corner. You have to commit with excess speed and use the drift to kill speed instead of braking. By flicking the bike, kicking the legs out from the hips and thus turning the bike hard the rear wheel is forced to break traction, there is no use of the back brake to slash a corner (or shralp a berm).
As much as it looks mighty fine it is actually a slower way to corner, although initially it may look like a longer way round to not shortcut the average speed will be higher and your exit speed will be faster. That said it is a good advanced technique to learn as it will develop confidence in riding the tyre beyond its grip level, especially useful in slippery conditions.
Just remember that berms come in all shapes and sizes, from well manicured sculpted dirt masterpieces to hokey piles of rotting logs and loamy topsoil, just make sure you check it before you wreck it, remember that first run should be treated as a sighting run and not an exciting run. Until next time, keep turning them cranks and power to ya pedals.
This technique article was in Issue 69 of IMB.
Related

By Clive Forth
Clive Forth is a rider who has been there, done that, got the t-shirt and cleaned his bike with it. He has grown with the UK scene and technological developments for the last 30 years and has competed at all levels in all disciplines riding for some prestigious brands along the way. Always looking for that extra edge with endless passion and drive he is geared up to bring you the inside line on all aspects of mountain biking skills and technique.