The Weighting Game
Technique / Psychological
Pump up your riding
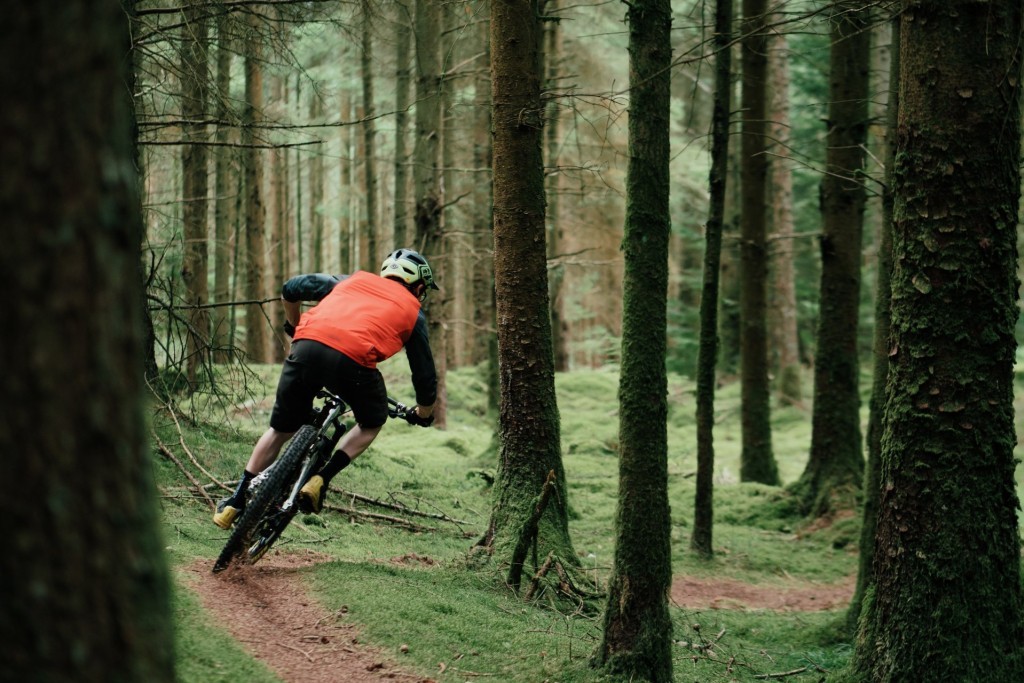
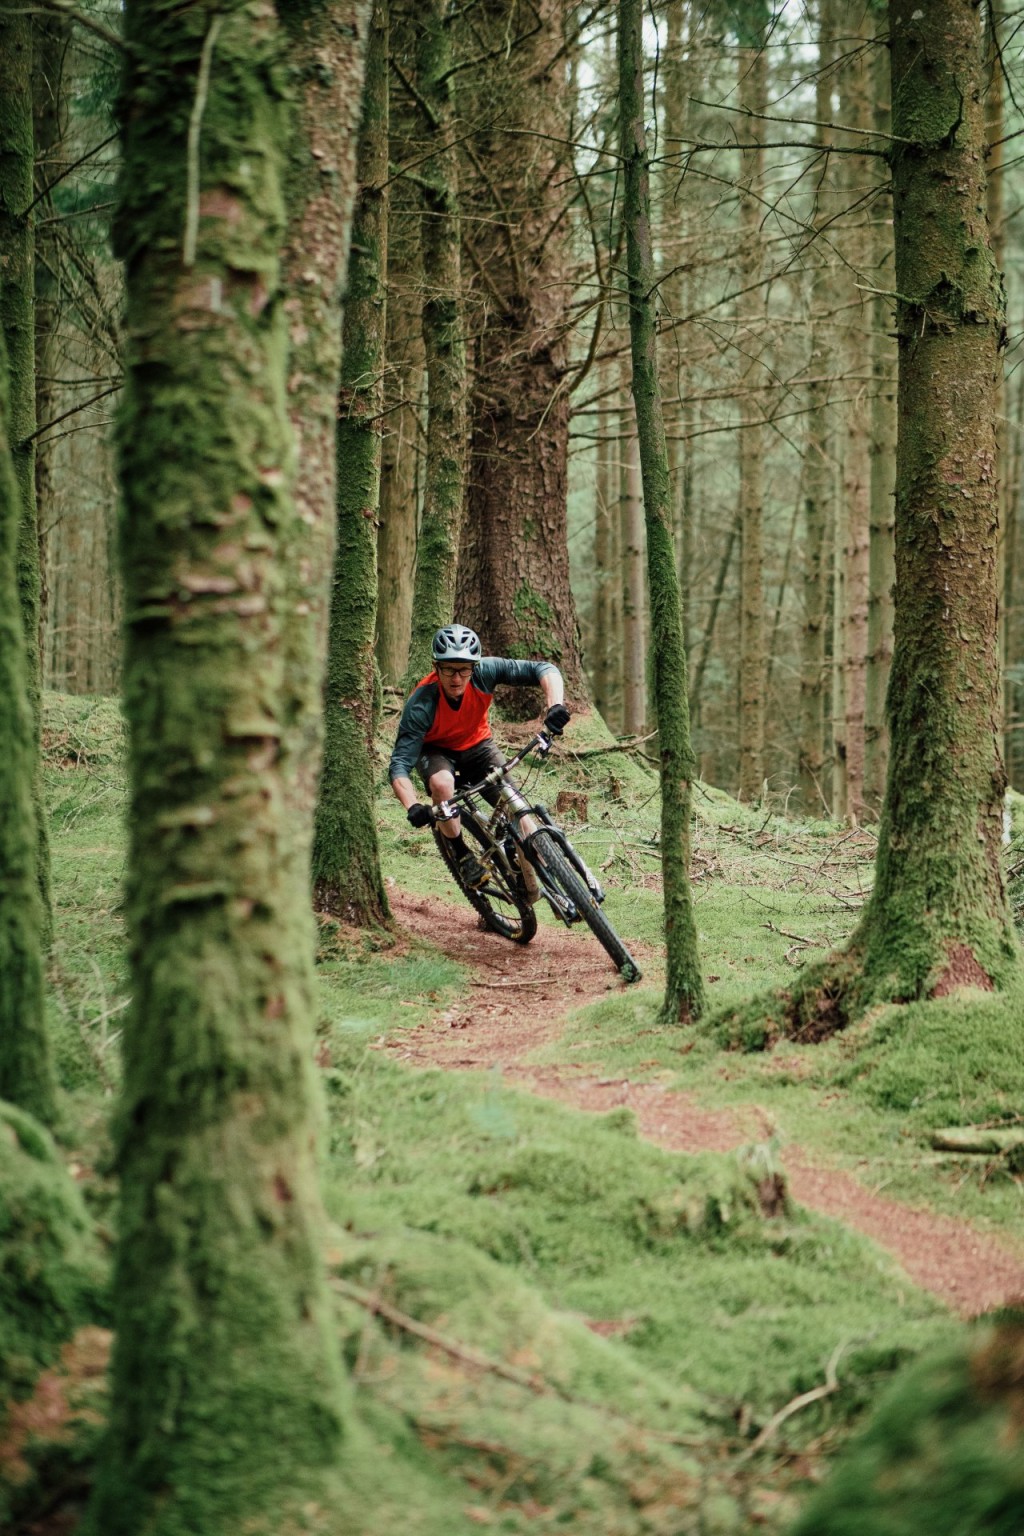
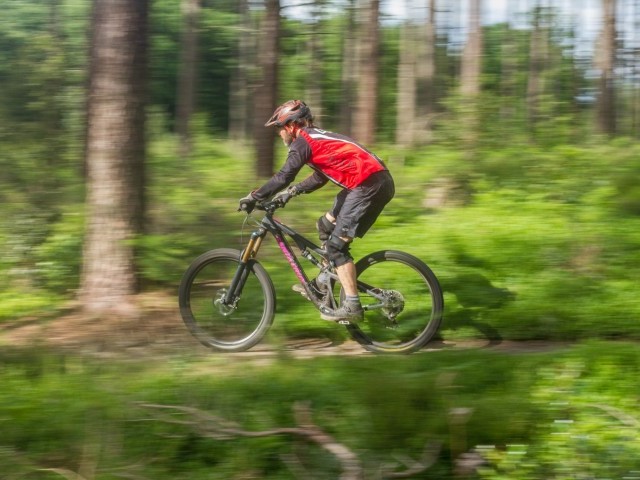
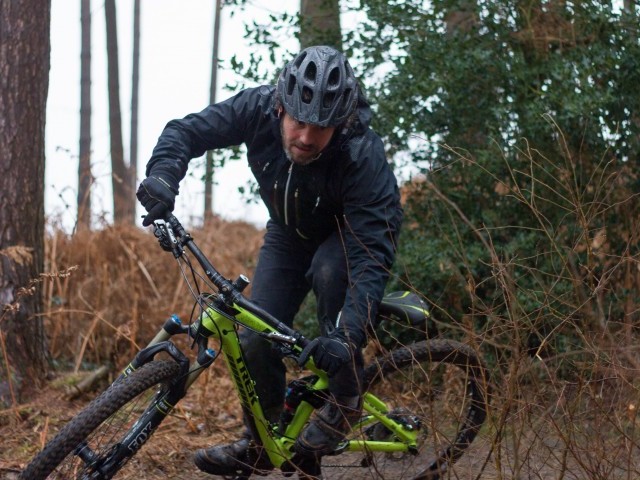
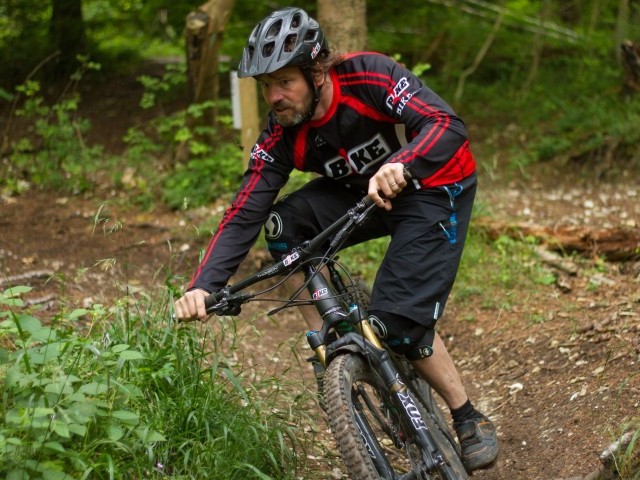
This issue it’s about time we delve deeper into the subject of pumping, pressure, and unweighting the bike. When it comes to putting words into action then this is a topic fraught with controversy and confusion. Thanks to the various lingo used to describe a sensation and a technique, the outcome on the trail can be very different from the intention of the tutor. When used to good effect, riders will gain free speed and progression along the trail will seem effortless. But get it wrong and you will kiss that free speed goodbye and take a beating in the process.
You may be familiar with the common terms of pump, press, bounce, weight, and unweight, the usual skills basics stuff. So where and when do we deploy these techniques? If, like me, you have ever seen someone bouncing the bike up and down on the smallest of bumps trying to get that pumping free speed then you may be wondering if they are bouncing to the latest Holy Goof tune. It’s not just a case of bouncing the fork and flexing the legs, as per most things skills related it is all about playing the right card at just the right time.
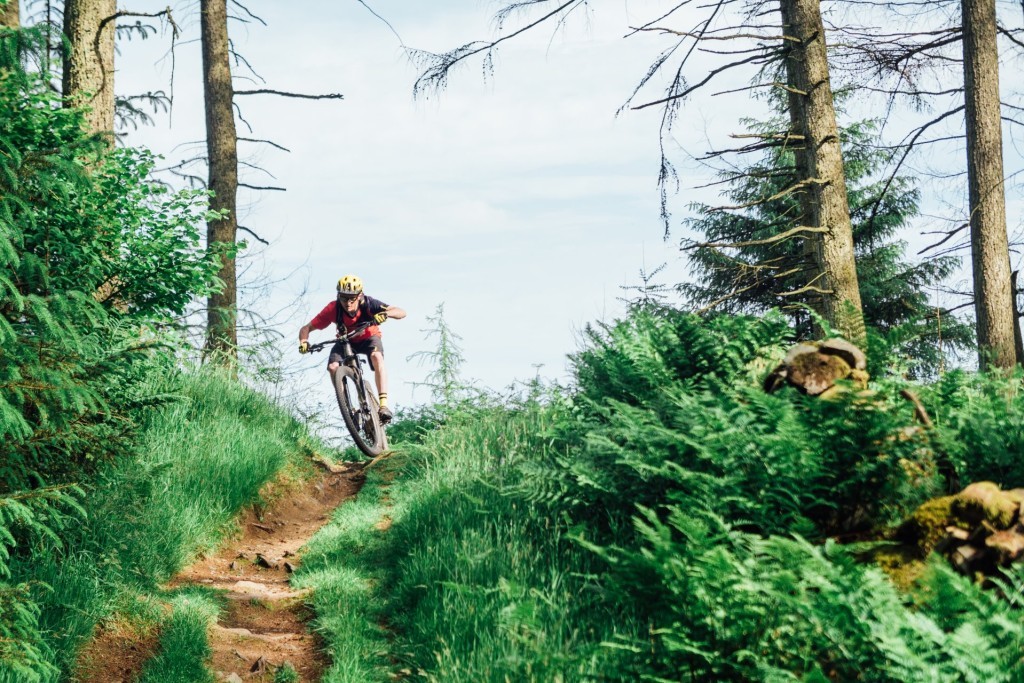
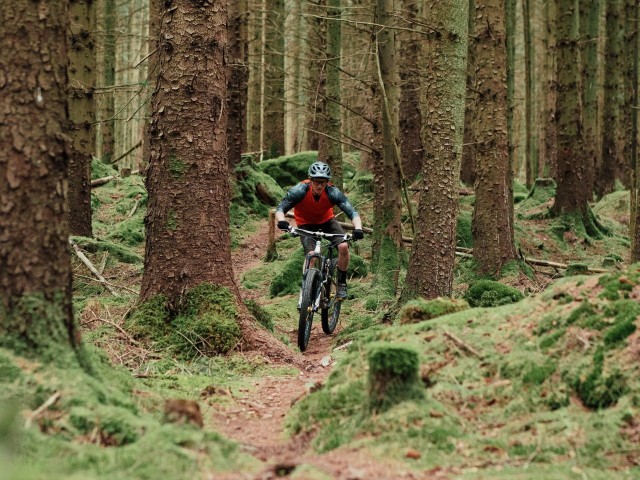
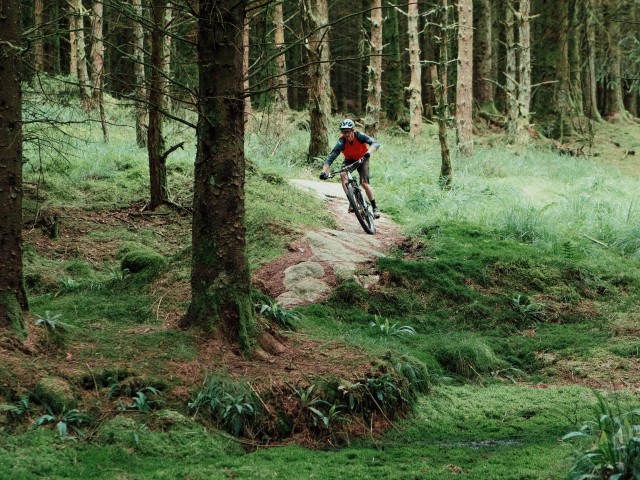
As I have mentioned in previous features the trail and terrain will do a lot of the work for us, the undulations will give you a cue when to move. But get it wrong and you will get hung up and beaten up by every lump, bump, root, and rock that mother earth can throw your way. When it comes to the size of these shapes then we find it’s the more medium size features that are generally easier to work with.
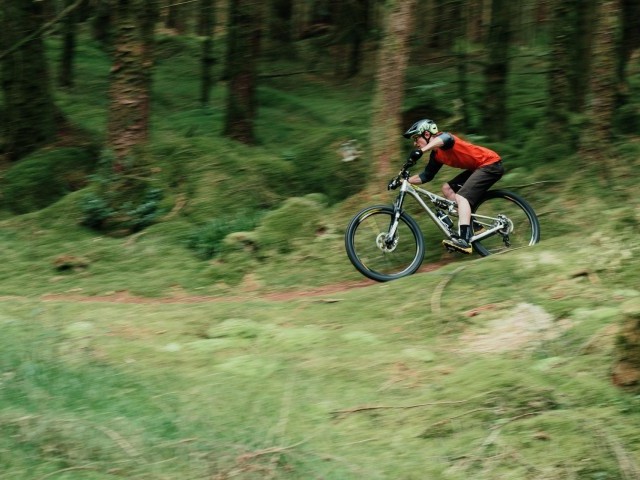
The feeling through the bike from medium-size compressions and crests is obvious enough to respond to, but not so overwhelming that gravity will get one over on you should your timing not be 100%. To get the best out of big undulations (pumping through compressions, and keeping the bike on the trail over crests) we have to move in what often feels like slow-motion, in these situations the speed is higher and the consequences over crests are of a greater magnitude. The small sharp and harsh shapes mean we have to move lightning fast, their scale and associated speeds don’t mean that you will get off lightly if your timing isn’t perfect, on the contrary. Small harsh hits punish us the most, both uphill as well as down.
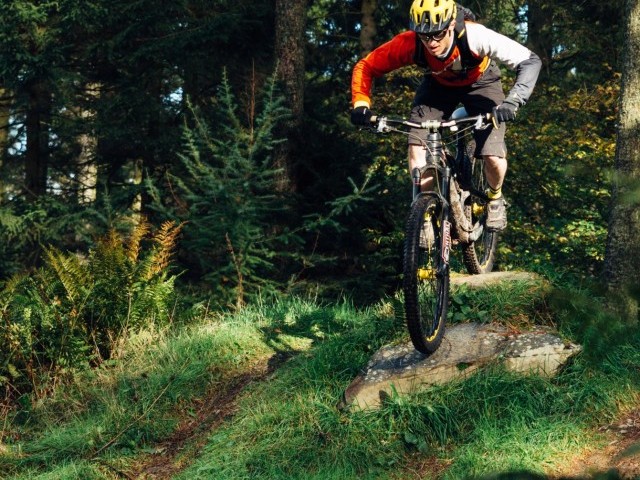
Let's throw some fresh jargon in here to help you visualize the process, think ‘bike to the body; ' and ‘body to the bike’, also consider ‘holes’ and ‘highs’. I’m talking about being ‘proactive’ or ‘reactive’. The terrain wants to move the bike when the wheels are on the ground. The body can either pre-empt this and move or react to the shape and move as you take the hit (holes).
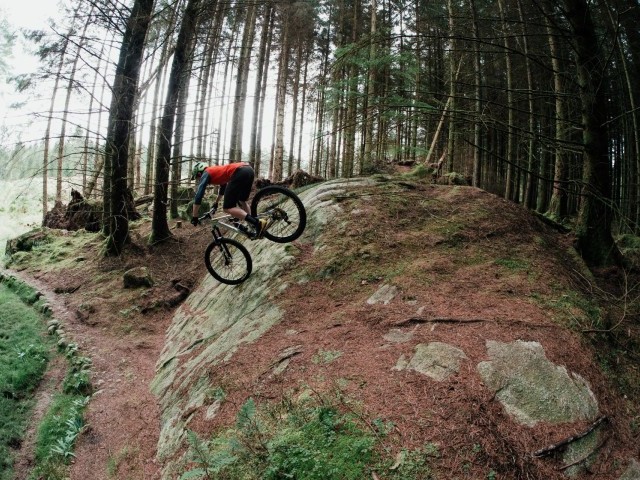
On the highs, you will react to the sensation of the bike going light (crests/highs). It’s key to always be synchronized, moving in-time relative to your speed, and the timing of your contact points (tyre to terrain) passing through the apex of the hole or high.
A good way to look at this and better understand what’s going on with the body is to watch someone on a skateboard try and pump either side of a half pipe in an effort to work their way up to the coping (the steel tube at the top edge of the ramp). The person has to pump the transitions using their legs (a common mistake on the bike is the tendency to use the arms far too much), they will bring the feet up towards the hips as they roll up the transition before stalling out. The rider will then use those compressed legs, driving the feet away as the board rolls back down through the transition. On the flat bottom of the ramp, they will stand tall and proud with legs straight.
To gain added momentum as they cross the flat bottom of the ramp they will bend at the knees, dipping down and standing back up just before rolling into the transition, this process of weighting the board before unweighting the board as they roll uphill through the transition is all about combating gravity, the only way we can unweight ourselves momentarily is by jumping up in the air. Jumping up in the air without the bike under us is something we have all done at some point, bending at the knees before springing upwards. Now, this is where many people go wrong when trying to unweight the bike, things are different when we are lent over on two wheels and, instead of two feet on the floor side by side we have two wheels spaced out ahead and behind our center of mass.
Weighting to unweight the bike (and visa versa) is NOT a motion where everything moves in a vertical plane. As we are moving forwards the fixed points we can visualize (think crash test dummy with the black and yellow circles on) have to move in arcs. I think all too often the message of moving the body gets lost in translation with that key bit of information missing. Lee McCormac, author of the old go-to ride manual produced with Brian Lopes now talks about rowing the bike, a pretty good way to visualize the shapes we make with arms and bars.
What Lee is referencing is the fact that we have to consider forward momentum vs shapes in the terrain, and how we need to decelerate and accelerate the bike below us using our limbs. Just listen to the sound of the freewheel to hear the proof in the method described. If the freewheel noise stays the same pitch you are working the limbs to maintain a constant, not being slowed by the incline but also not gaining momentum from the decline (or back-slope). If the freewheel pitch has a distinct change on the downslope then you are pumping well. But, if there is no change on the upslope then you suck, rather than you sucking up the bike. Joking aside, the freewheel noise is a good indicator to go from for those of you who have noisy hubs.
In some situations, you will drive the bar away from you, in dynamic situations you have to build up the momentum by bringing the bar towards you first then thrusting it away (a series of pump track rollers give you this shape by their very nature). The reverse is also true, although it may seem counterintuitive, I’ll explain. When preparing to take a hit (and the load generated from colliding into something) we do so by purposefully driving the bar forward into that obstacle before absorbing the load generated from the collision. This is exactly what you need to do through transitions in jumps. If you cower away from the collision by sucking the bar back into the body all you end up actually achieving is reducing your range of movement, in addition, you put the limbs in a range of movement where they can not produce the most amount of power. The same is true for the legs, we need to use the biggest muscles in the body to influence the overall shape of the bike, readying ourselves to take hits and preparing to push the bike back down on the trail over the high points.
Regardless of speed, in either a descending or climbing situation there has to be a combination of input from the upper body and lower bits, working in unison to get the desired outcome. A slow-speed climb with an obstacle in the trail is overcome with maximum efficiency when we lift the front wheel up onto the obstacle using a small power wheelie. Crank timing and pedal power are synced with a little help from the torso and arms to pick up the front wheel. The bottom bracket passes over the obstacle and without pausing we move from sitting to standing to help lift the rear wheel up onto the feature.
For maximum efficiency, we keep driving the cranks round as we unweight and lift the rear wheel up, once clear of the obstacle we return to our seated position to help recover for the next effort. The pressure deployed downwards (weighting) is bare minimal in these slow-speed climbing scenarios. The weighting refers to the pressure and effort being put through the cranks, more weight is applied on the power stroke to help lift that front wheel. The unweighting is done from the rear wheel (yes your rolling mass will now be transferred to the front wheel). By being stood up out of the saddle we give essential clearance, allowing us to bring the legs up into the body, thus lifting the rear wheel up onto the obstacle.
So with higher speeds, and in situations where we are freewheeling, weighting and unweighting are equally important if we are to flow along the trail with maximum efficiency. Again to coin Lee’s term we are ‘rowing’ the bars, moving in arcs and working the legs to press that rear wheel down into the lows (hits), and help suck it up into the body over the highs. The size and shape of the undulations and hits, and transitions all dictate how fast or slow we have to move. If we go back to our skateboarder there is another element to consider in transitions, the torso. As the board rolls up through the transition then the torso’s angle must change from vertical. The rider is trying to keep the torso perpendicular to the ramp's surface (give or take a few degrees).
The same thing applies on the bike, if you don’t let the shoulders roll back over the rear wheel then you will take the energy out of the transition and jump face thus reducing your lift. On flatter take-offs where no energy is stored in the bike and body, you may need to create this artificially by compressing the bike. This is one of those very rare sets of circumstances where we do bounce the bike. The bounce is only used when the terrain is dead smooth, and we have to generate a massive amount of lift.
The Bounce - To give you an idea of just how rare an occasion this is, and the magnitude of the features I’m talking about, take a look at the final series of jumps on the RedBull Hardline track, and any one of the enormous features hopped onto by the likes of Danny MacAskill and Chris Akrigg. There should be a ban on the bounce with only a pass issued for riders who are hitting stuff that big! All rules aside, I would like to add that this does not and should not exclude the use of compression and rebound force of suspension units being used to maximum effect for even more grip, speed, and faff-free progression along the trail. Again this is advanced stuff as the timing needs to be 100% for us to synchronize our movements along with the terrain and bike to get the maximum effect of ‘working’ the suspension units through compressions and hits. Get the basics of body and bike timing right and the rest will follow.
Keep up the good work and we will check in with you next time for more skills and techniques insights.
This technique article was in Issue 72 of IMB.
Related
By Clive Forth
Clive Forth is a rider who has been there, done that, got the t-shirt and cleaned his bike with it. He has grown with the UK scene and technological developments for the last 30 years and has competed at all levels in all disciplines riding for some prestigious brands along the way. Always looking for that extra edge with endless passion and drive he is geared up to bring you the inside line on all aspects of mountain biking skills and technique.


