The Need For Speed
Technique / Psychological
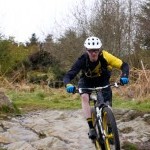
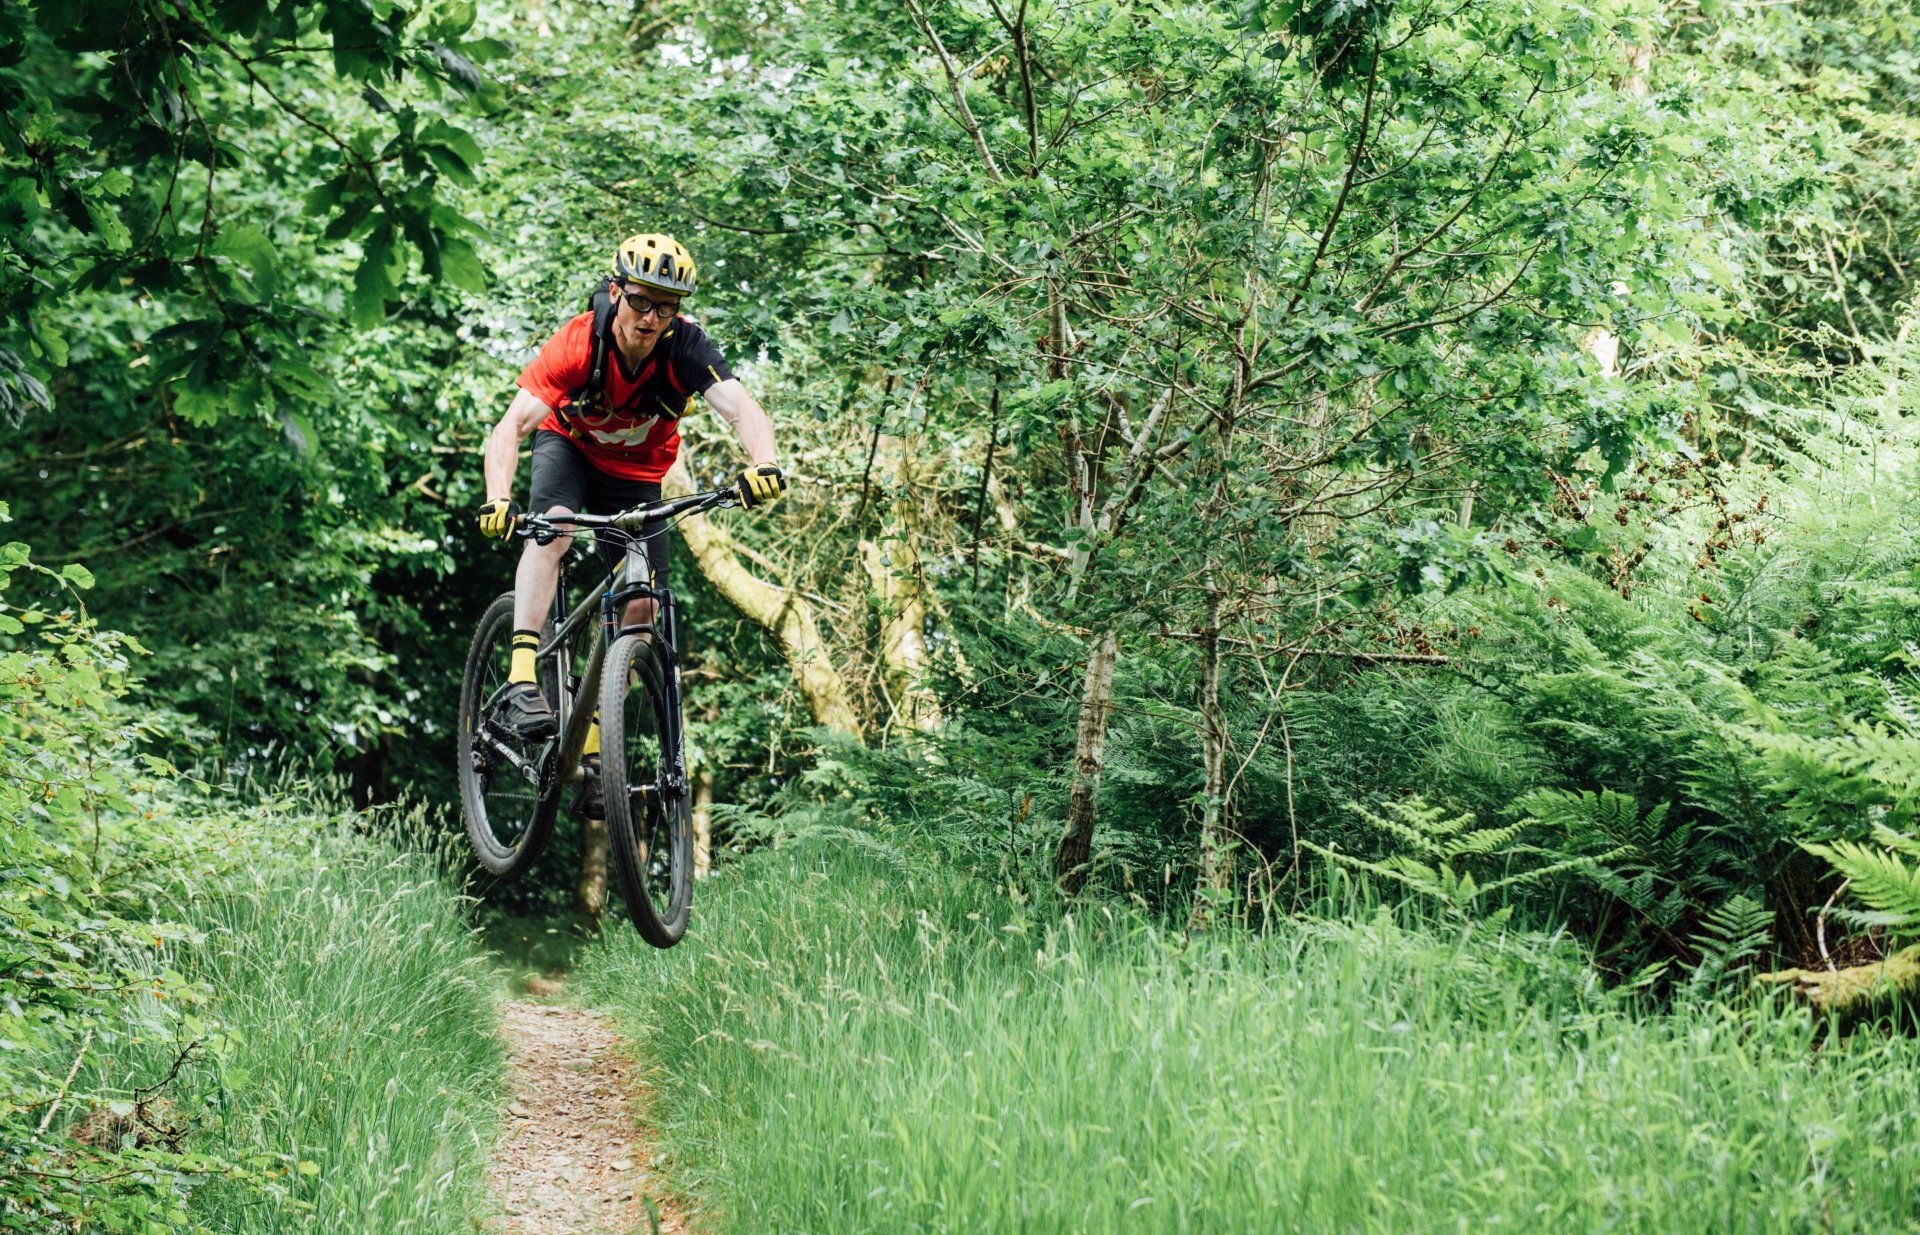
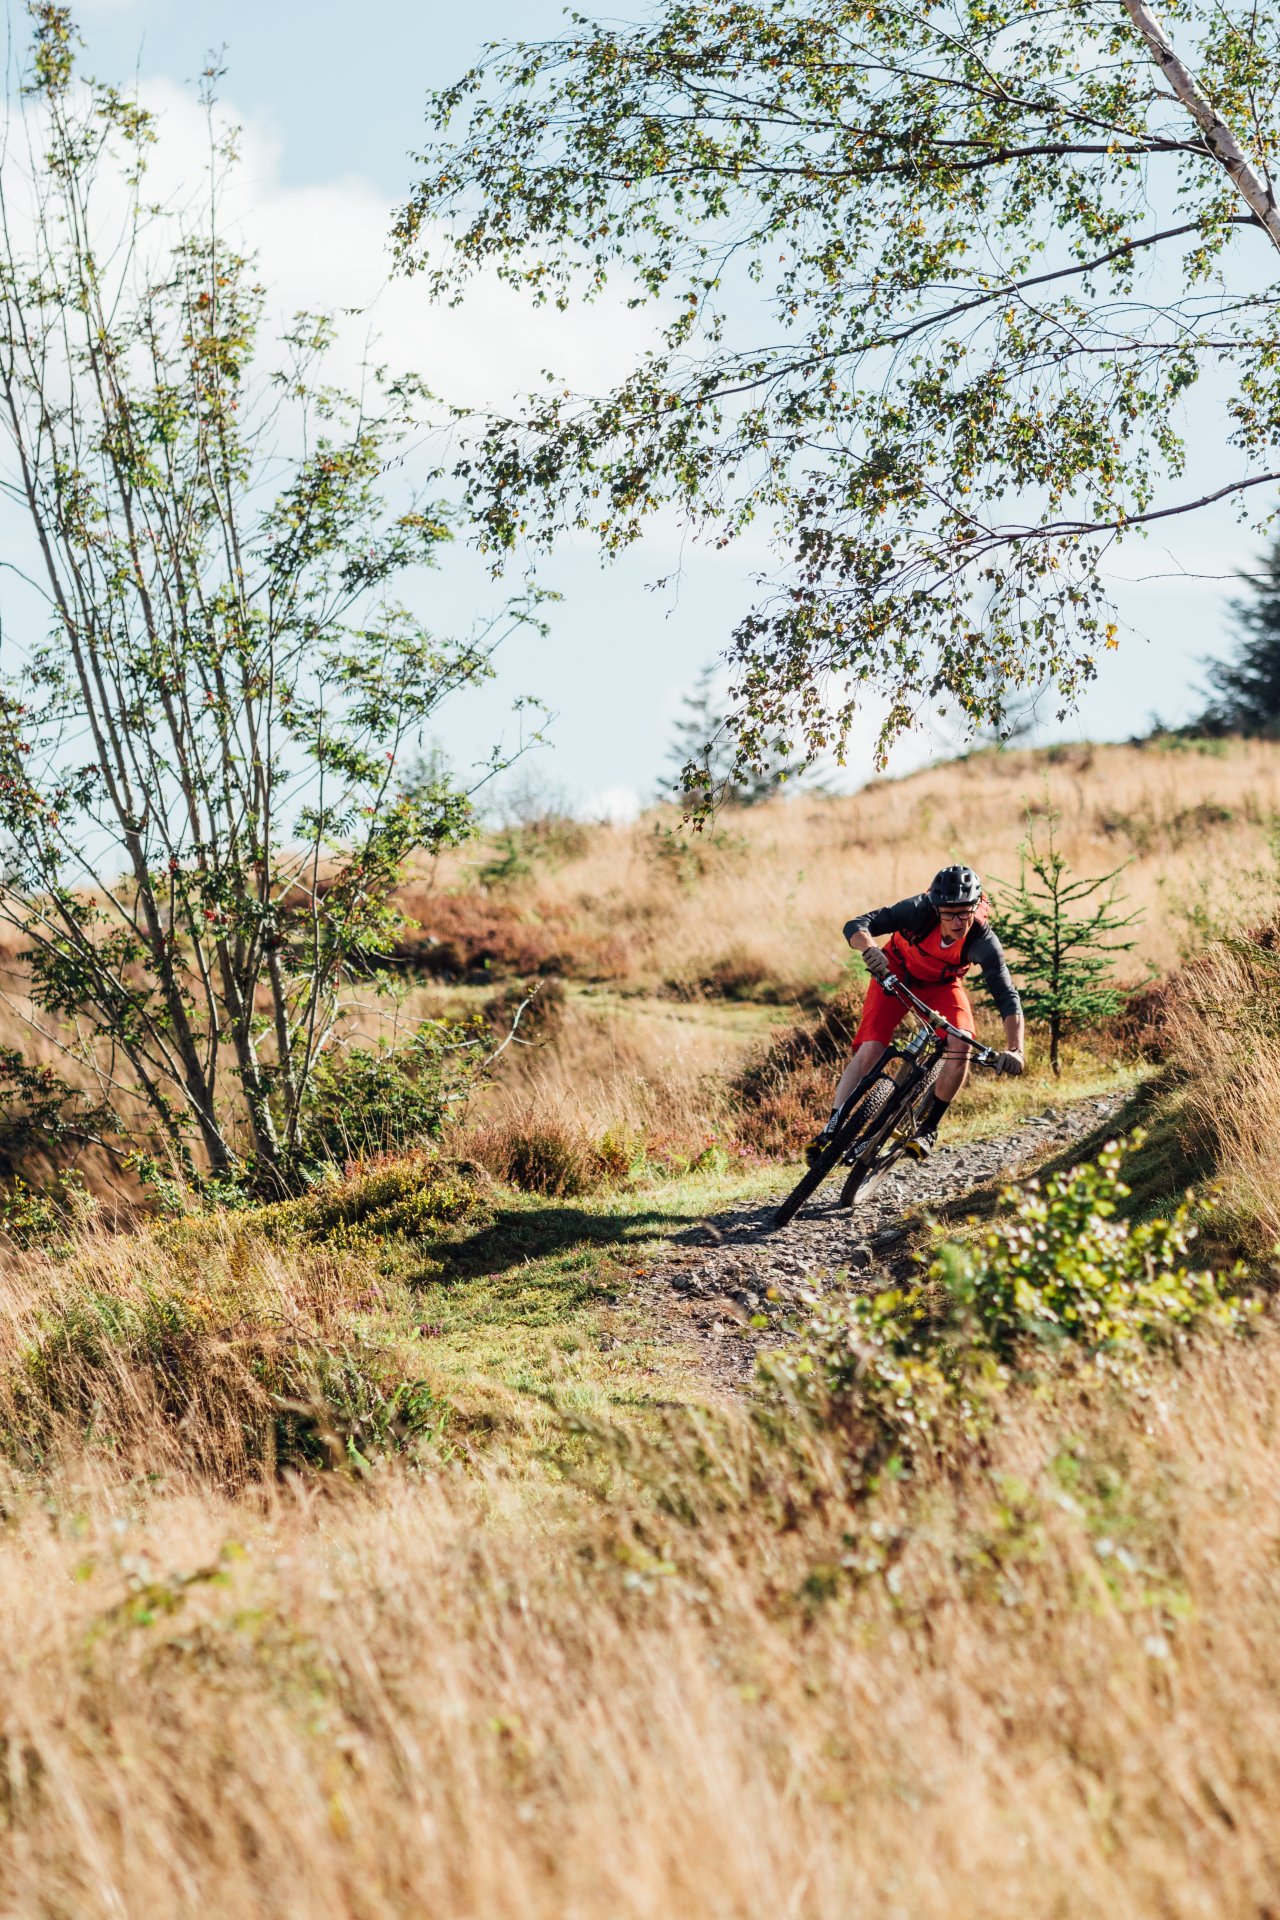
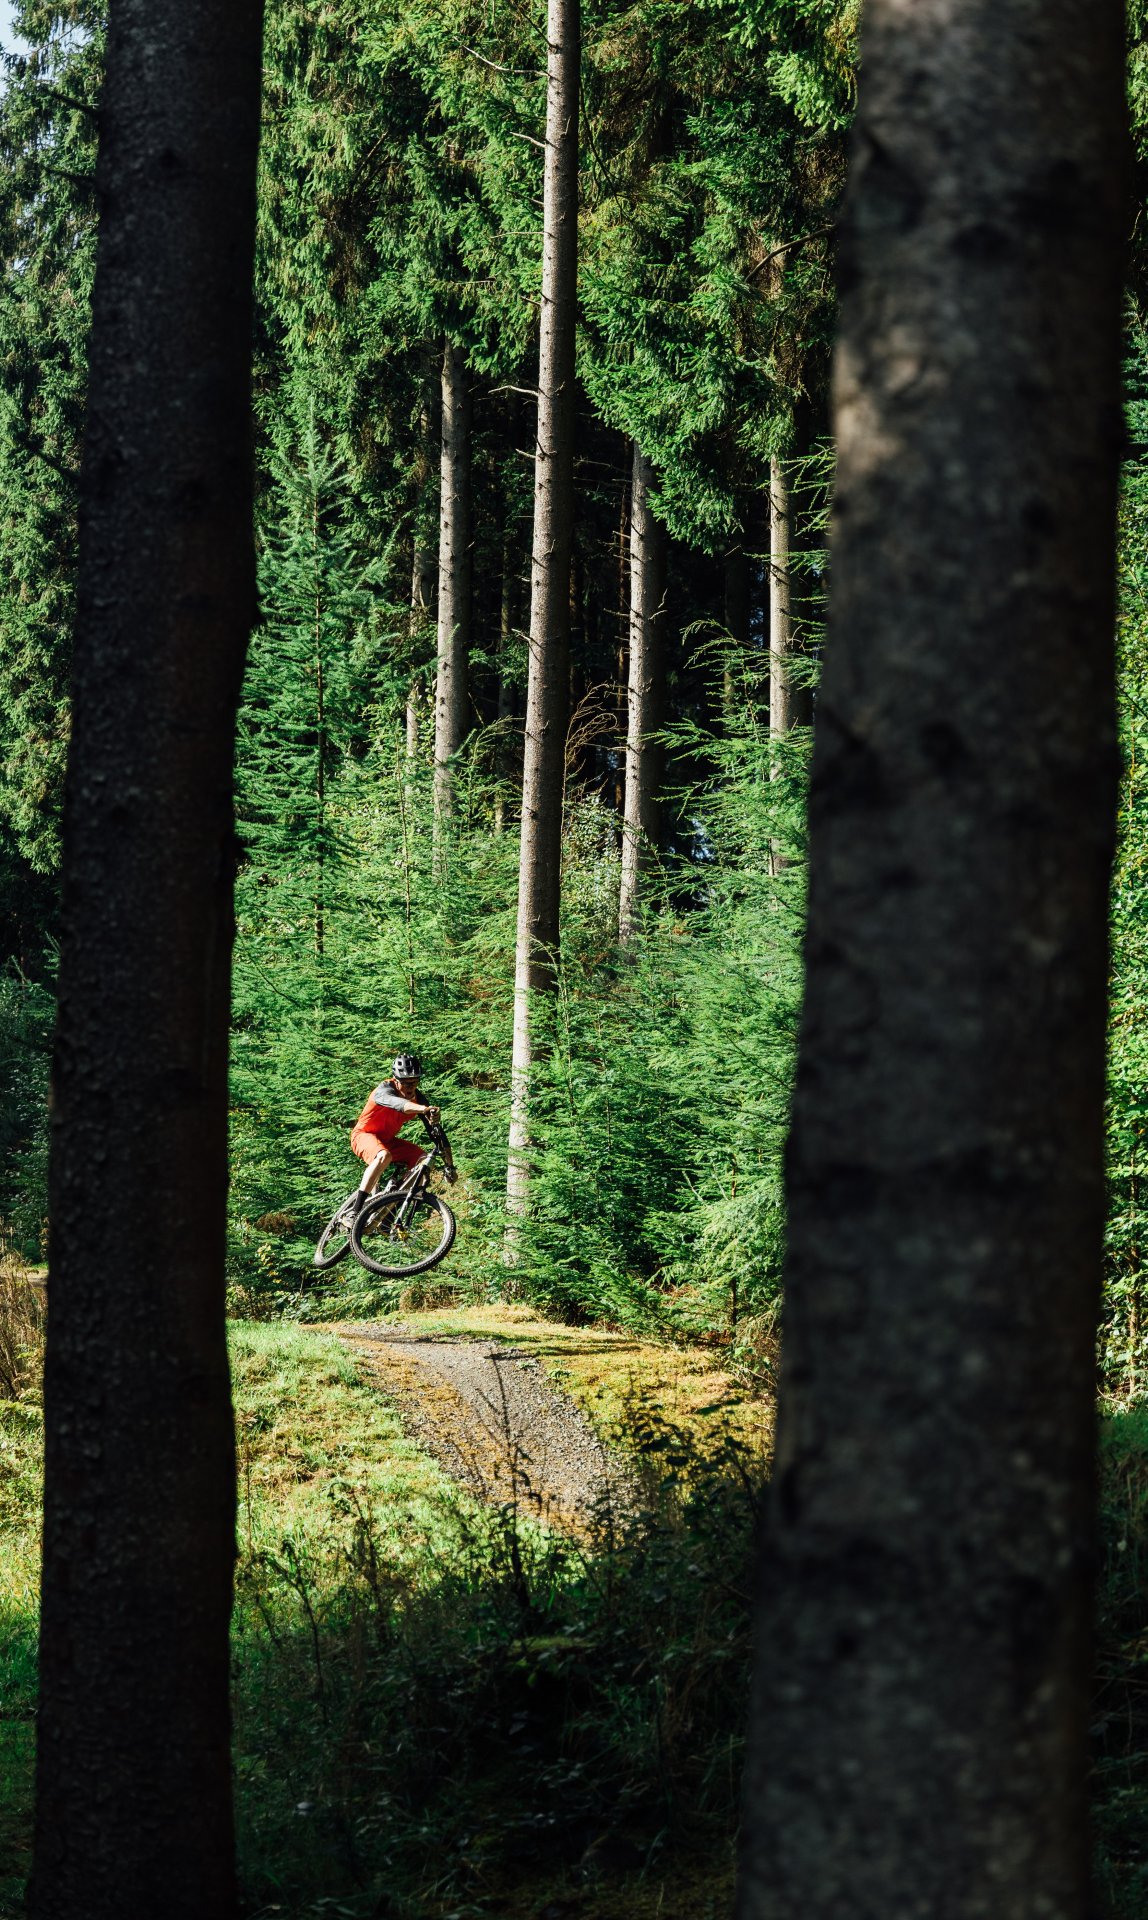
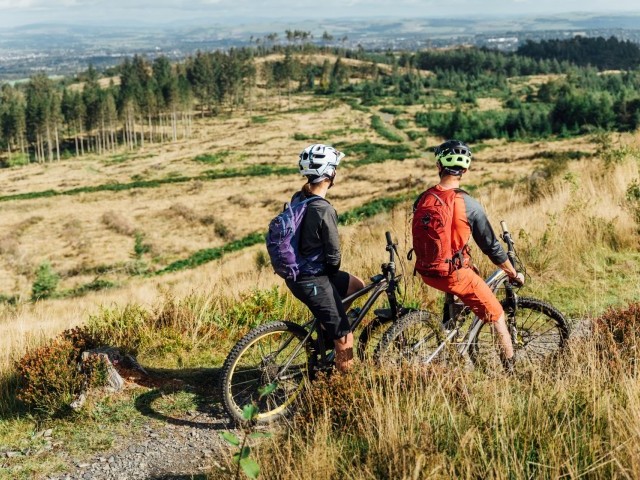
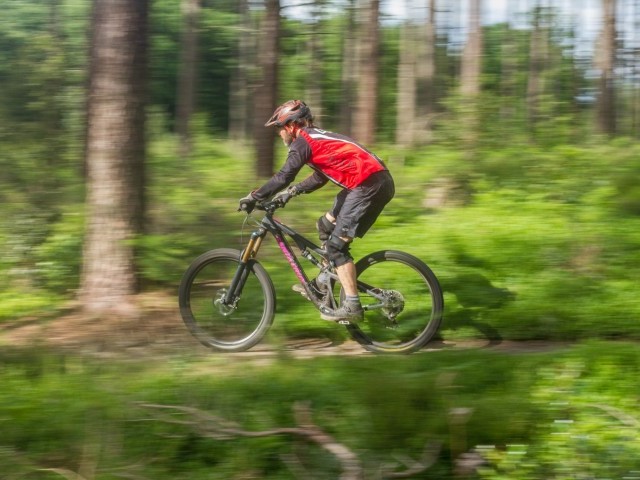
Do you have that need? That need for speed? This time we delve into the topic of riding trails for the first time and how you can do it much faster. From carving up corners to hauling over humps we are going to give you an insight into how you can carry speed with confidence on the most demanding of trials.
Without knowing the details of a fresh trail it is hard to maintain speed and ride fast through sections, unaware of what may lie around the corner or over a crest there is a natural and perfectly acceptable tendency for us to back off and proceed with caution. This safety-first approach is all well and good but it does not provide a solution for those of us who want to experience the sensation of covering ground fast.


My father once told me as a young boy “you're better to come out of the corner thinking you could have gone through it faster than to not come out of it at all!’. wise words for sure, and words that had a much deeper meaning which would enable me to ride faster, we will look into later in the feature.
When it comes to sections of trail that are purpose-built by paid professionals we can go on the assumption that if it has been built then it can be ridden, certainly seeing tyre tracks on the ground should be a good indicator that ‘it goes’.
The only caveat is that we have to have the skill-set that enables us to do so. everything we have written about leading up to this moment should have given you an understanding of A) the importance of honing those core skills and techniques, and B) the importance of actually being able to do them on demand and to a sufficient degree that you can deal with the most sizable features out there.
‘Look before you leap” is certainly something I would encourage you to do when it comes to drops, jumps, and those very very steep sections of trail. But when you are trying to carry momentum and maintain a decent average speed along the trail then this is something that can really hinder progress.
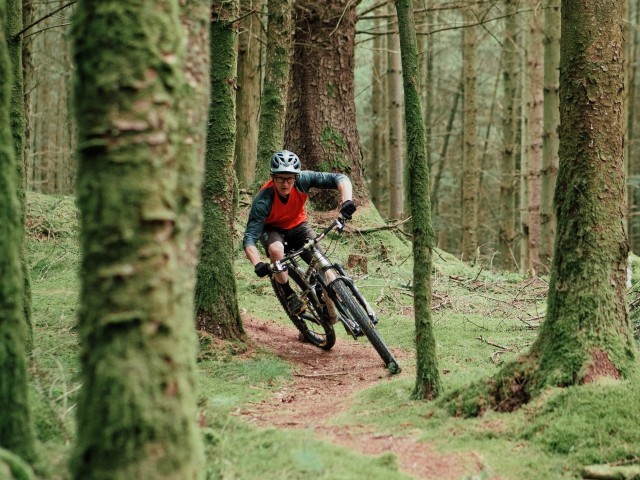
There is a certain knack to reading the terrain and understanding the tells in the landscape, the technique of using peripheral vision to detect things in the surrounding environment enables us to negate the need to stop and look. When it comes to built trails you should be able to get the measure of a trail designer, and the style in which they build. On rare occasions, they may have gotten out of bed on the wrong side and thrown you the odd curveball, from a corner tightening up to a jump being built a little too long or a little too short, but these are all things that can be overcome with good technique.

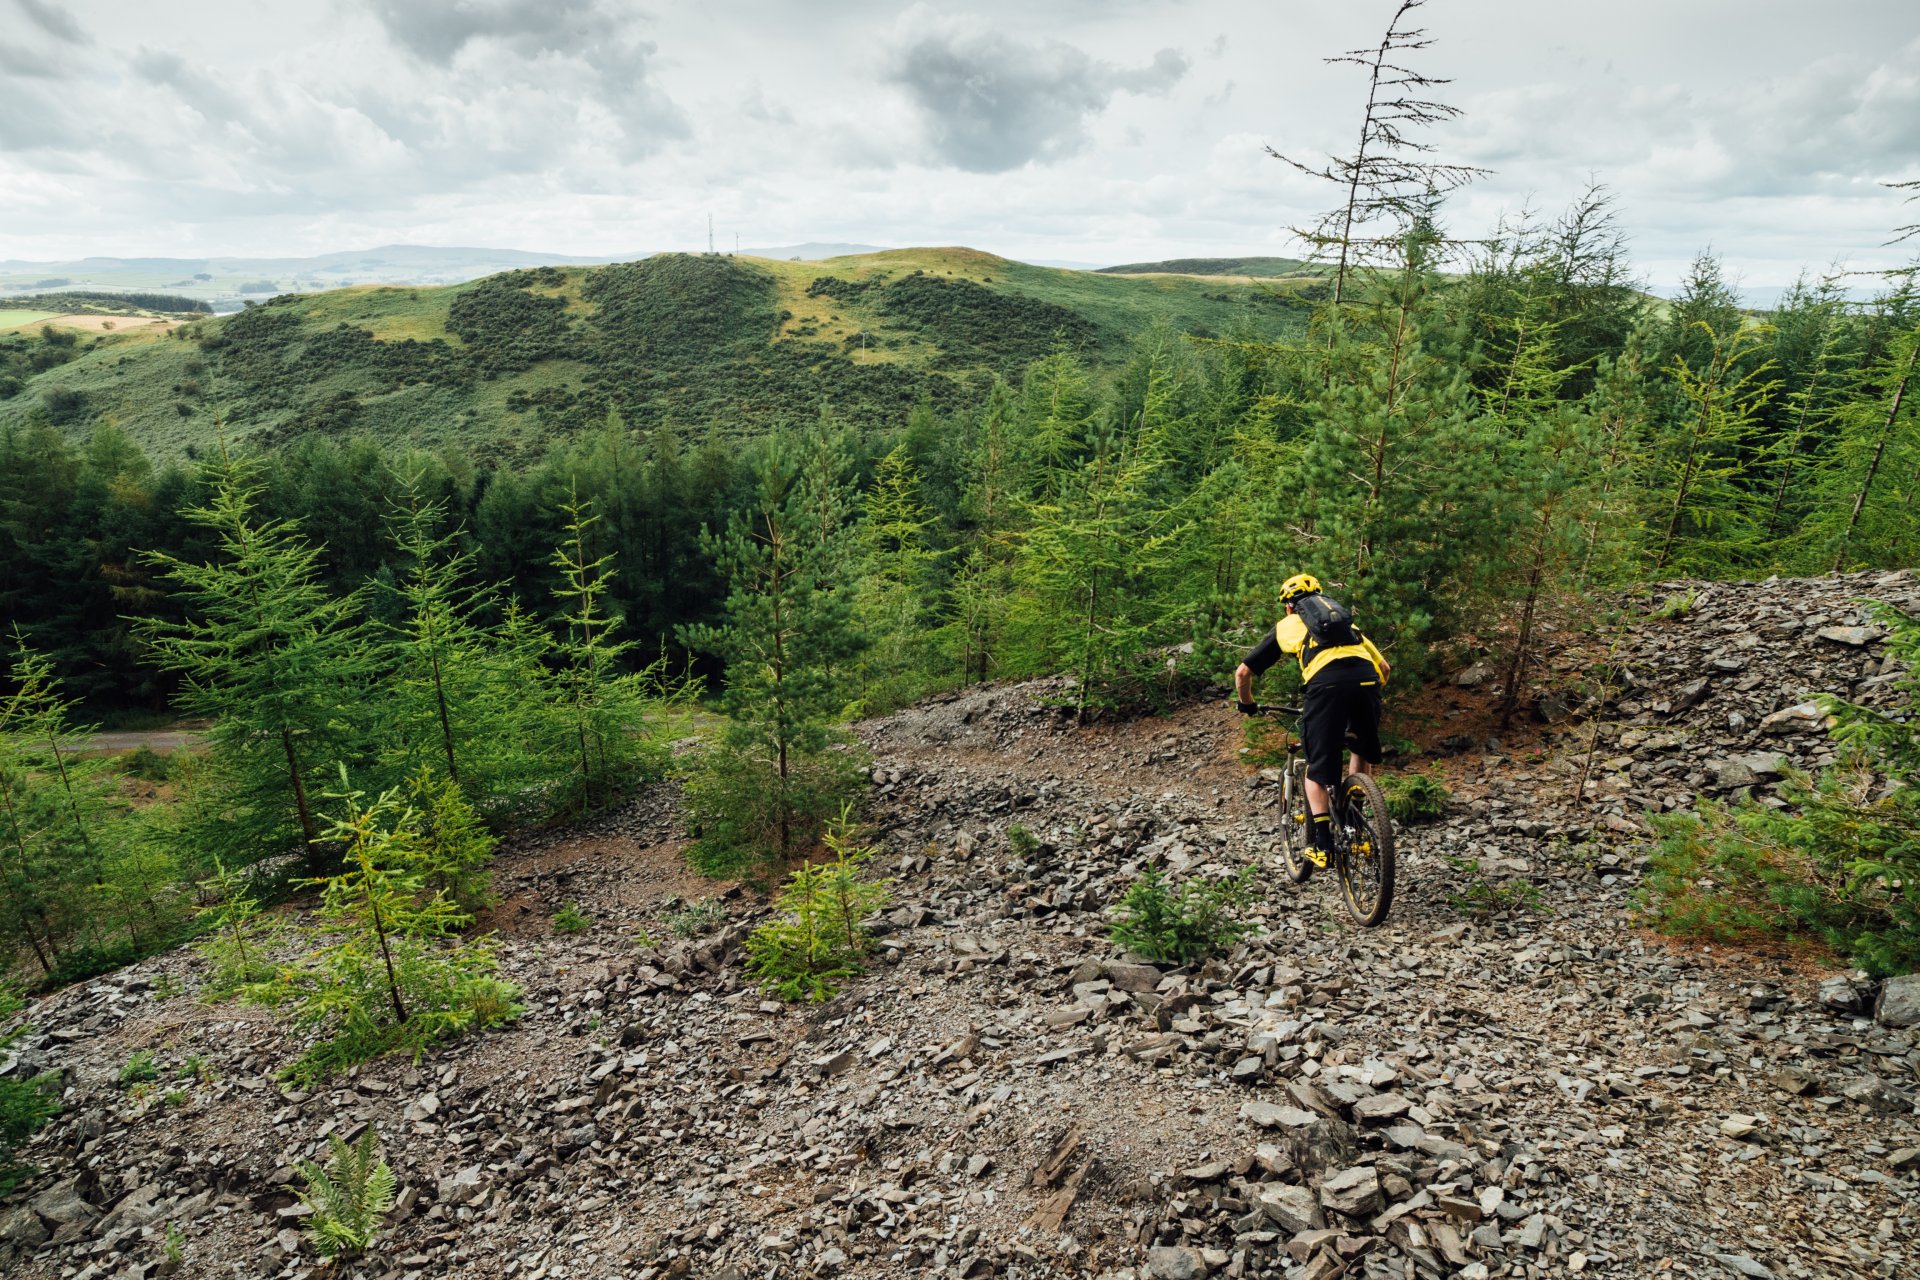
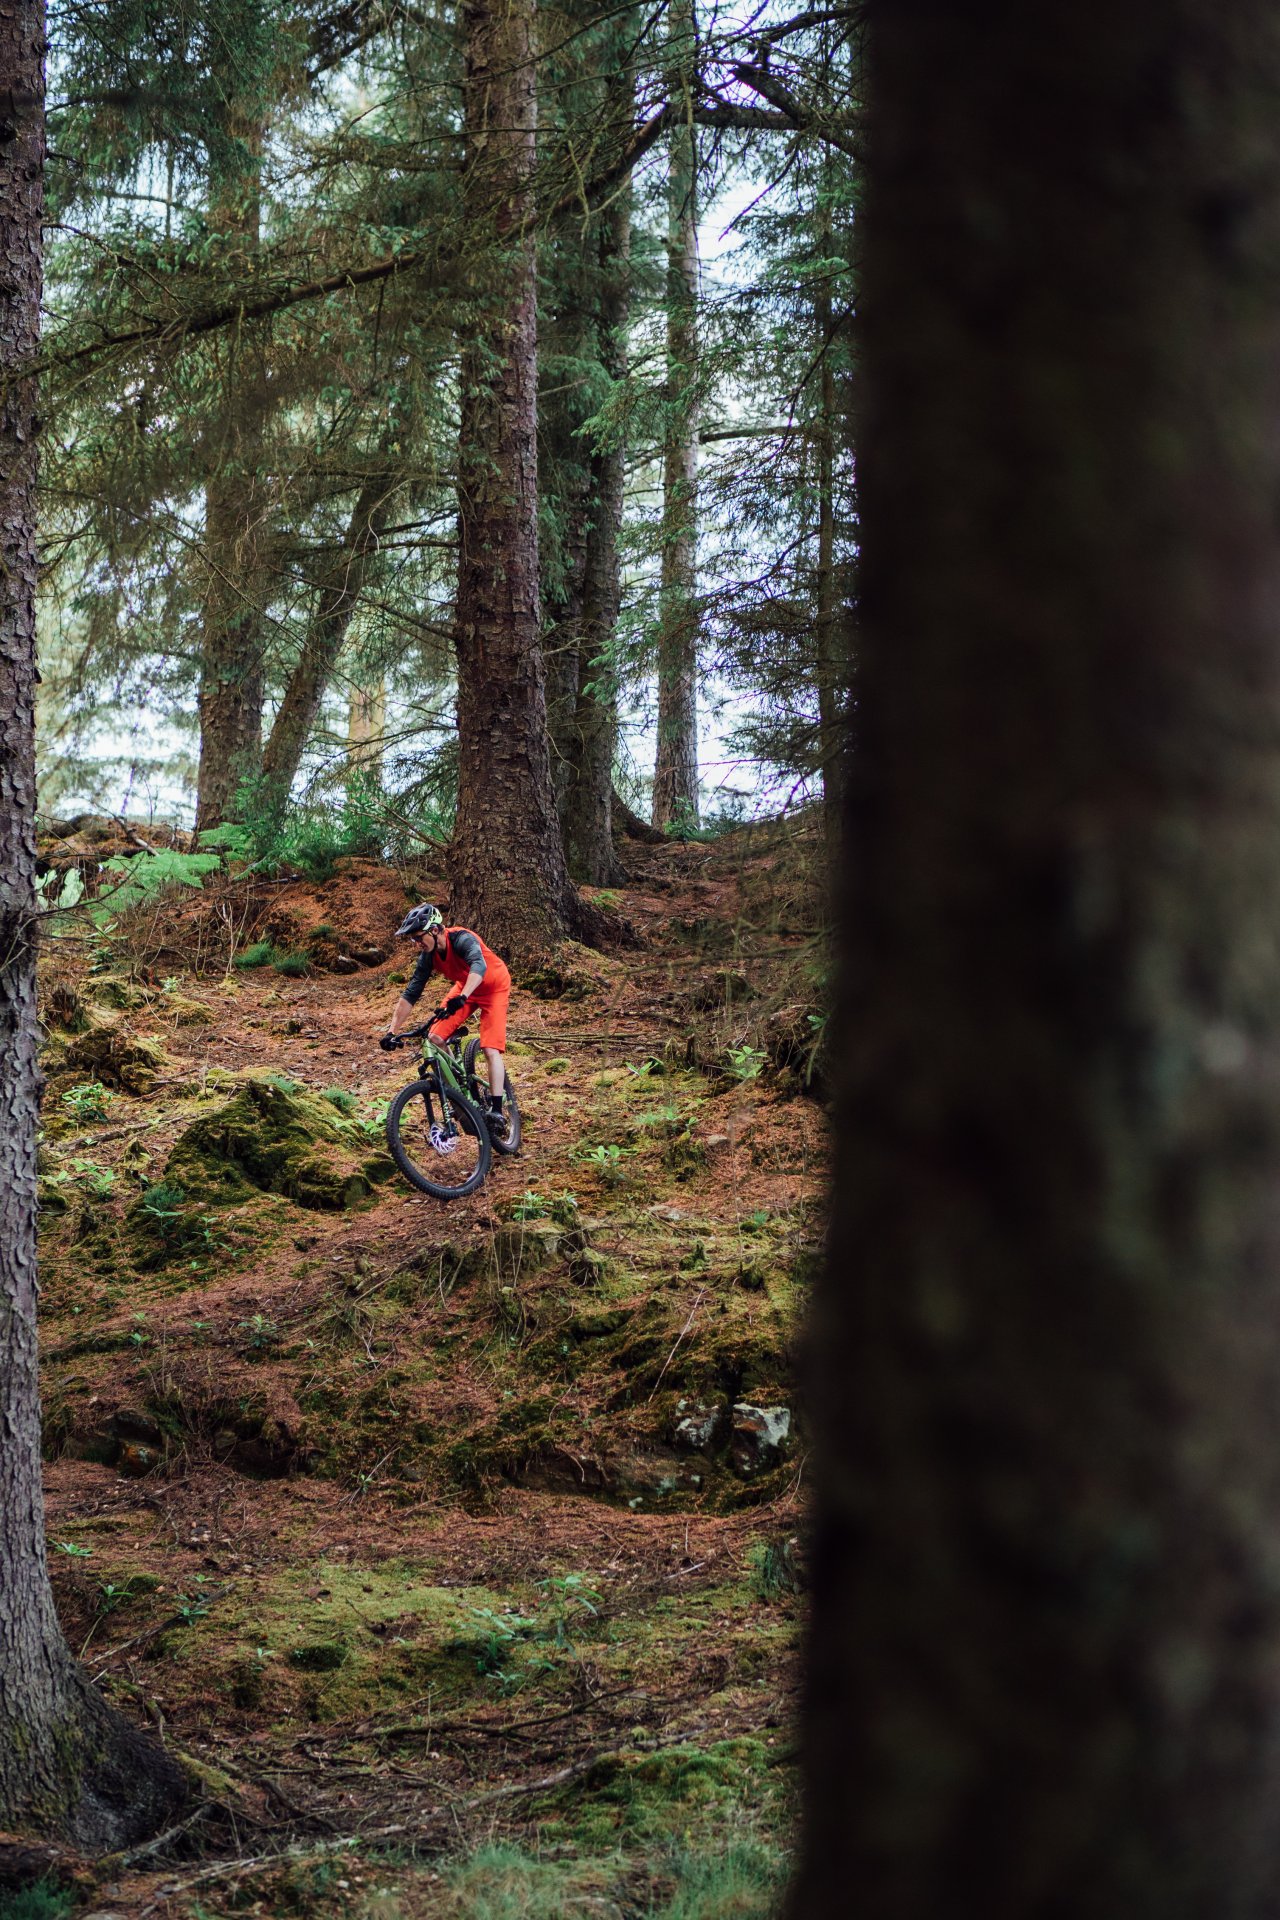
Things really start to get spiced up when we enter uncharted territory and ride trails that weren't purpose-built for mountain biking, the same applies to those trails that have been made badly by budding enthusiasts who want to lay claim and have the bragging rights of being a trail builder.
The first thing we must consider is how the trail has come about, why it is there and what purpose did or does it serve. If we have a bit of background understanding of the type of trail that we are riding we can start to anticipate design or natural elements and features that we are likely to happen upon.
Trails come in all shapes and sizes and have been created for a multitude of reasons, from ancient trackways and trade routes that provided a lifeline for the towns and villages along the way to much smaller trails that served to move cattle up and down the mountain according to the seasons.
In Europe a lot of trails in the mountains came about to move troops and supplies in World War one and two, many trails were created when building the infrastructure for the hydro schemes that power the nations. Trails may have been created for the extraction of minerals or for access to hunt, for whatever reason and purpose their ‘intended user’ gives us some idea of what we can expect.
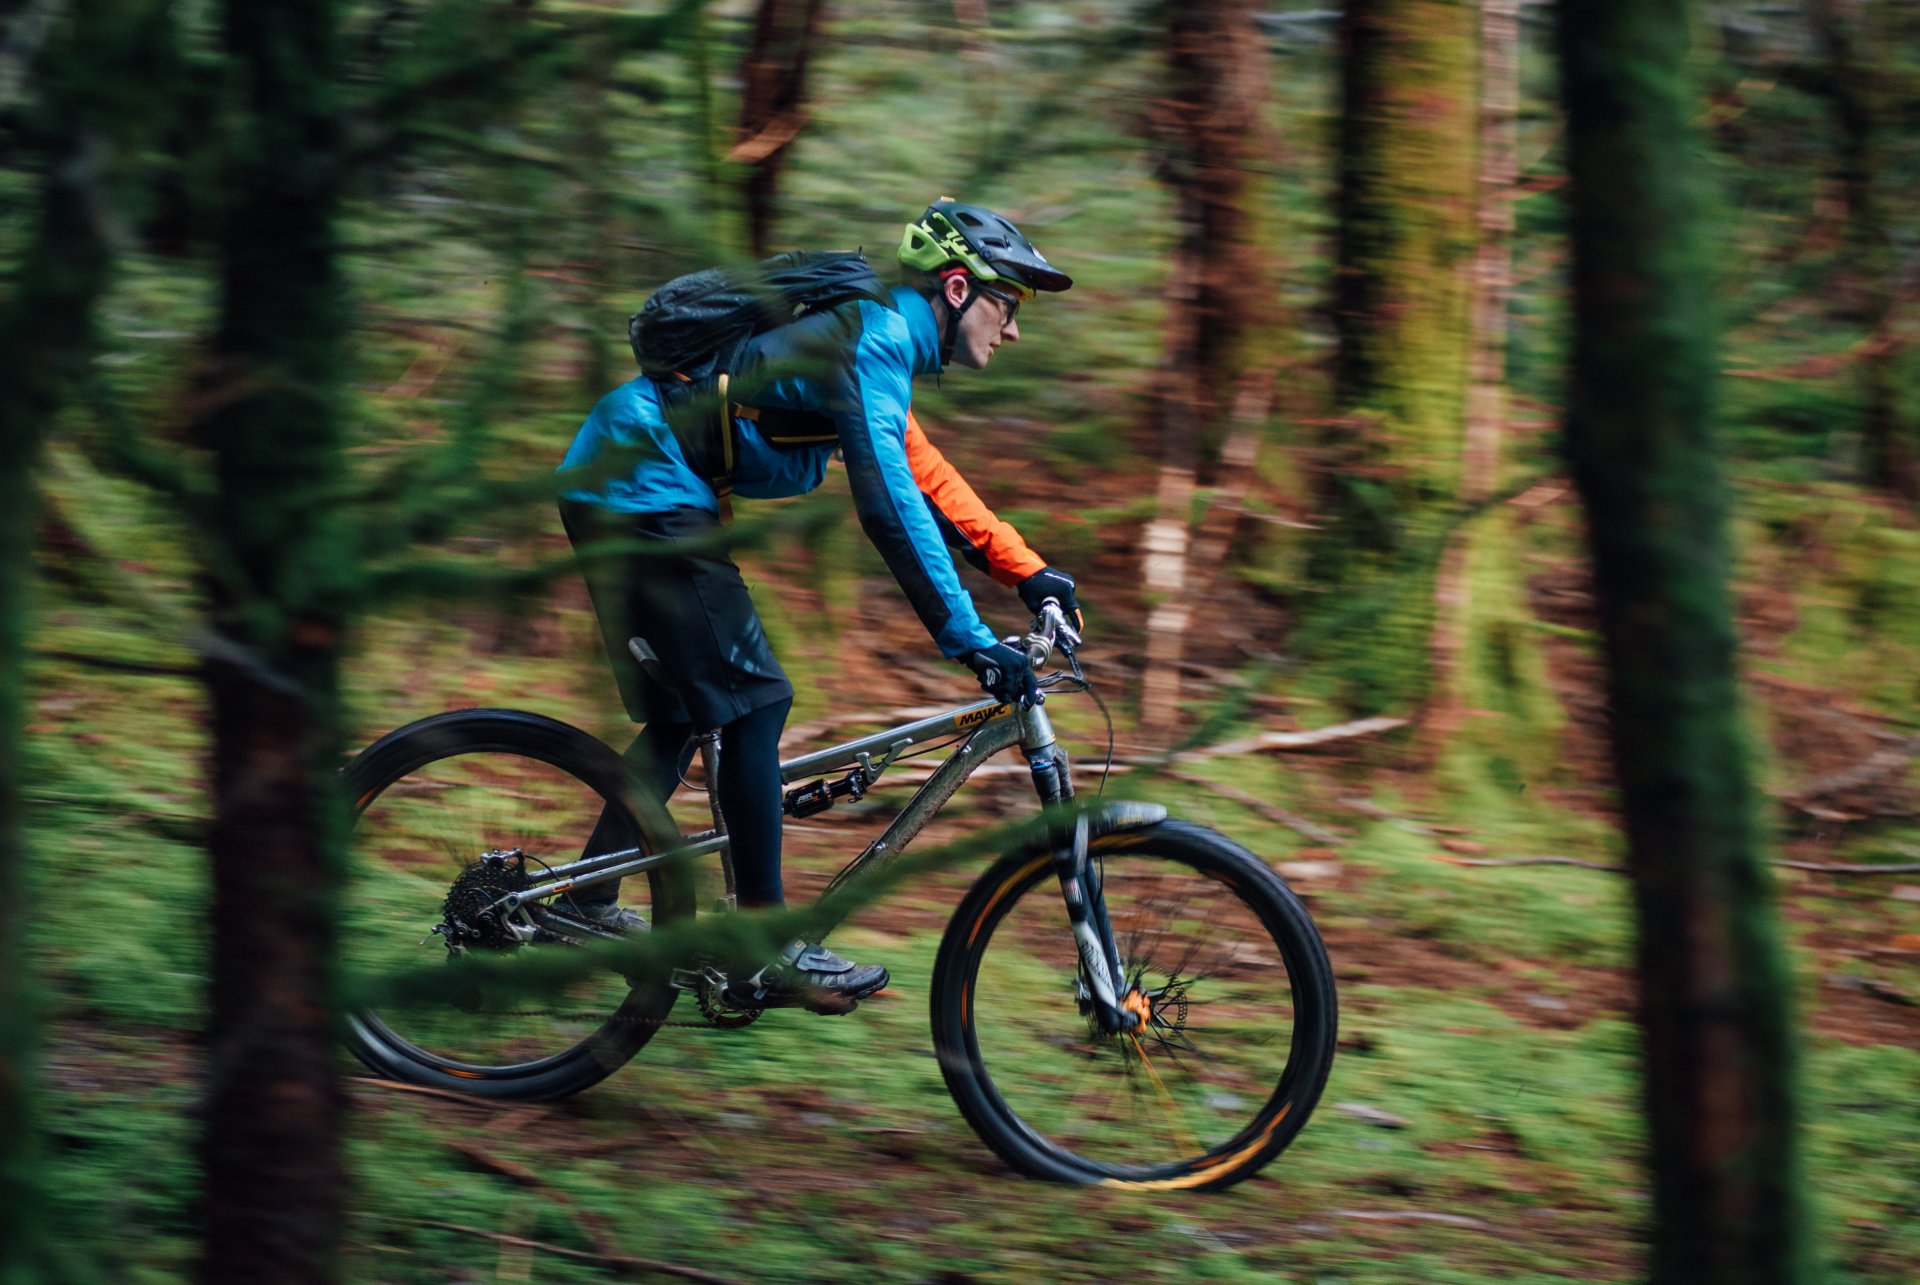
Tighter twisting single-tracks and single-tracks with high-speed sections will be our focus, typically if a trail has had some kind of heavy engineering and construction then it would have been for horse and cart or bigger machinery, these will typically be wider and have slacker gradients and generally are far more consistent in their nature, they may have ‘grown in’ and become a nice single-track strip to ride along but what you wouldn’t typically find is nasty stuff just off the ride line (stumps, boulders, etc) or sudden nasty surprises such as ditches and sizable drops.
If the track/trail has been used for moving equipment by mule then it may well be much steeper in its average gradients and have tighter twisting sections, the same can obviously be said for trails that have been used by people only, depending on the geology and location these will more likely have nasties hidden just off the worn line (known as the running course or trail tread). Already we are building up a picture telling us how precise we need to be with wheel placement, how much leeway we have for error, knowledge is power and that power in trail riding is confidence.
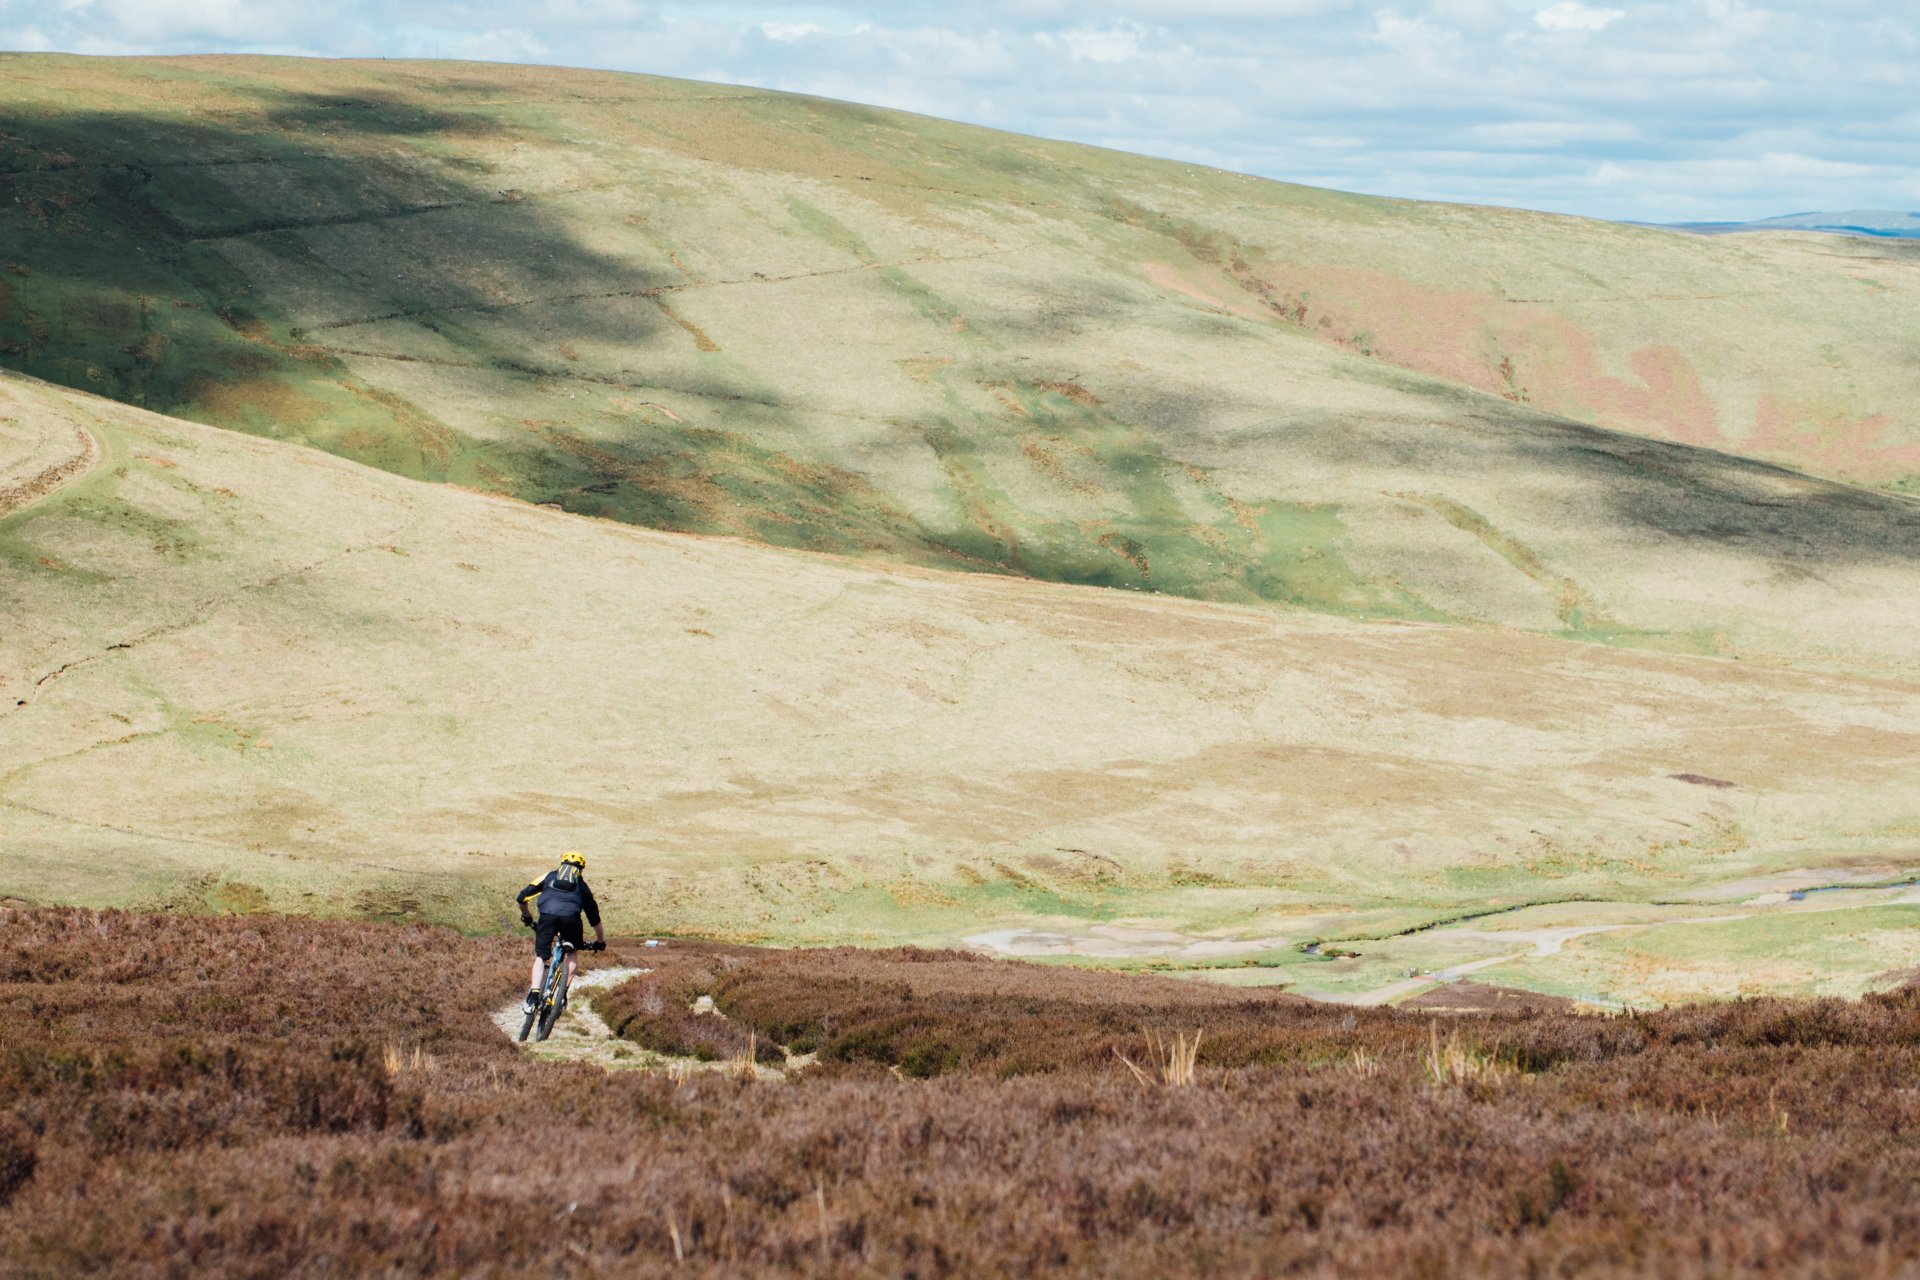
Sticking with the theme of ‘non-engineered single-tracks that have been formed by foot and hoof let's move to the next stage, if we take into account the broader landscape specifically its geology and topography we can arm ourselves further and add more confidence.
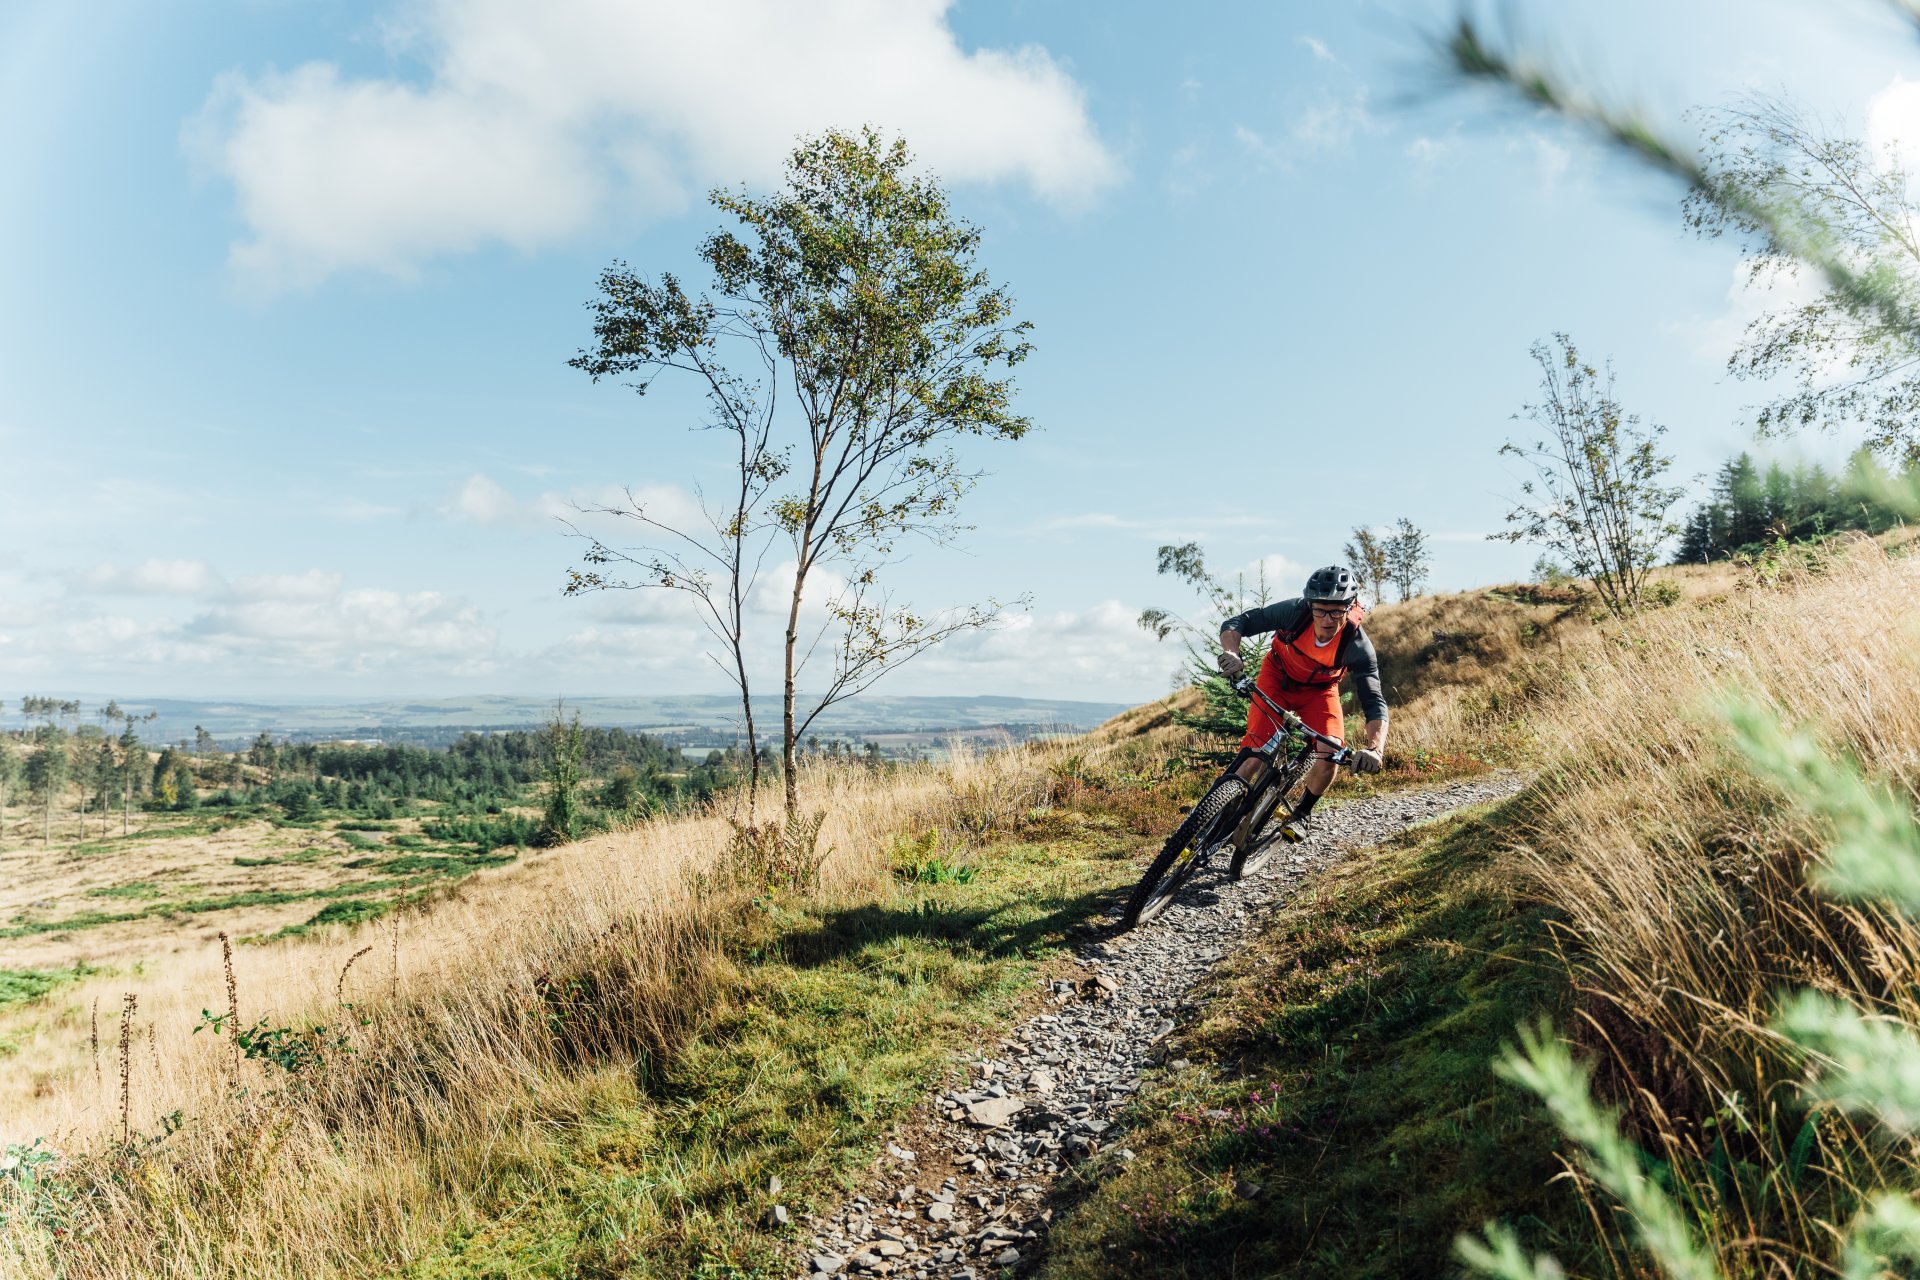
Ask yourself, what are these hills made from? Are you on dirt with rounded rocks, or are you on dirt with jagged rocks? What is the soil like, does it go to powder in the dry, or is it that hard-packed that it becomes as slippery as ice in the wet? Just by answering these basic few questions we are starting to build up a mental image of what we may expect on the trail, and at the trailside. This in turn enables us to pre-empt the severity of features, and anticipate what we might come across should we run wide from the worn trail tread.
By considering the soil type and the rock type we will also have an indicator as to how much grip will be available. Taking things further still we can read the grips levels from the surrounding vegetation, is it dank and dark, has the sun got in, has the trail been well used, and therefore the rocks have been polished? There are so many additional cues that may be read in advance from the comfort of the internet or that are available to you through your peripheral vision whilst hurtling down the trail.
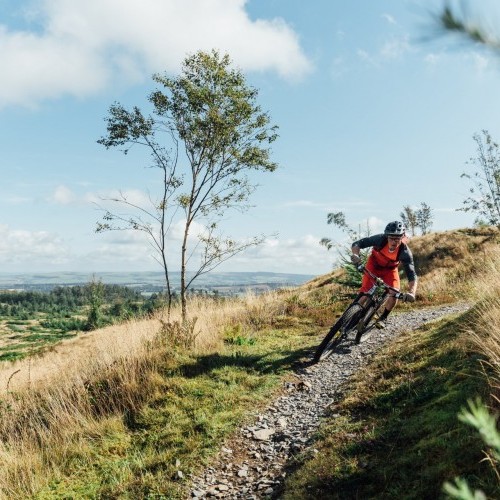
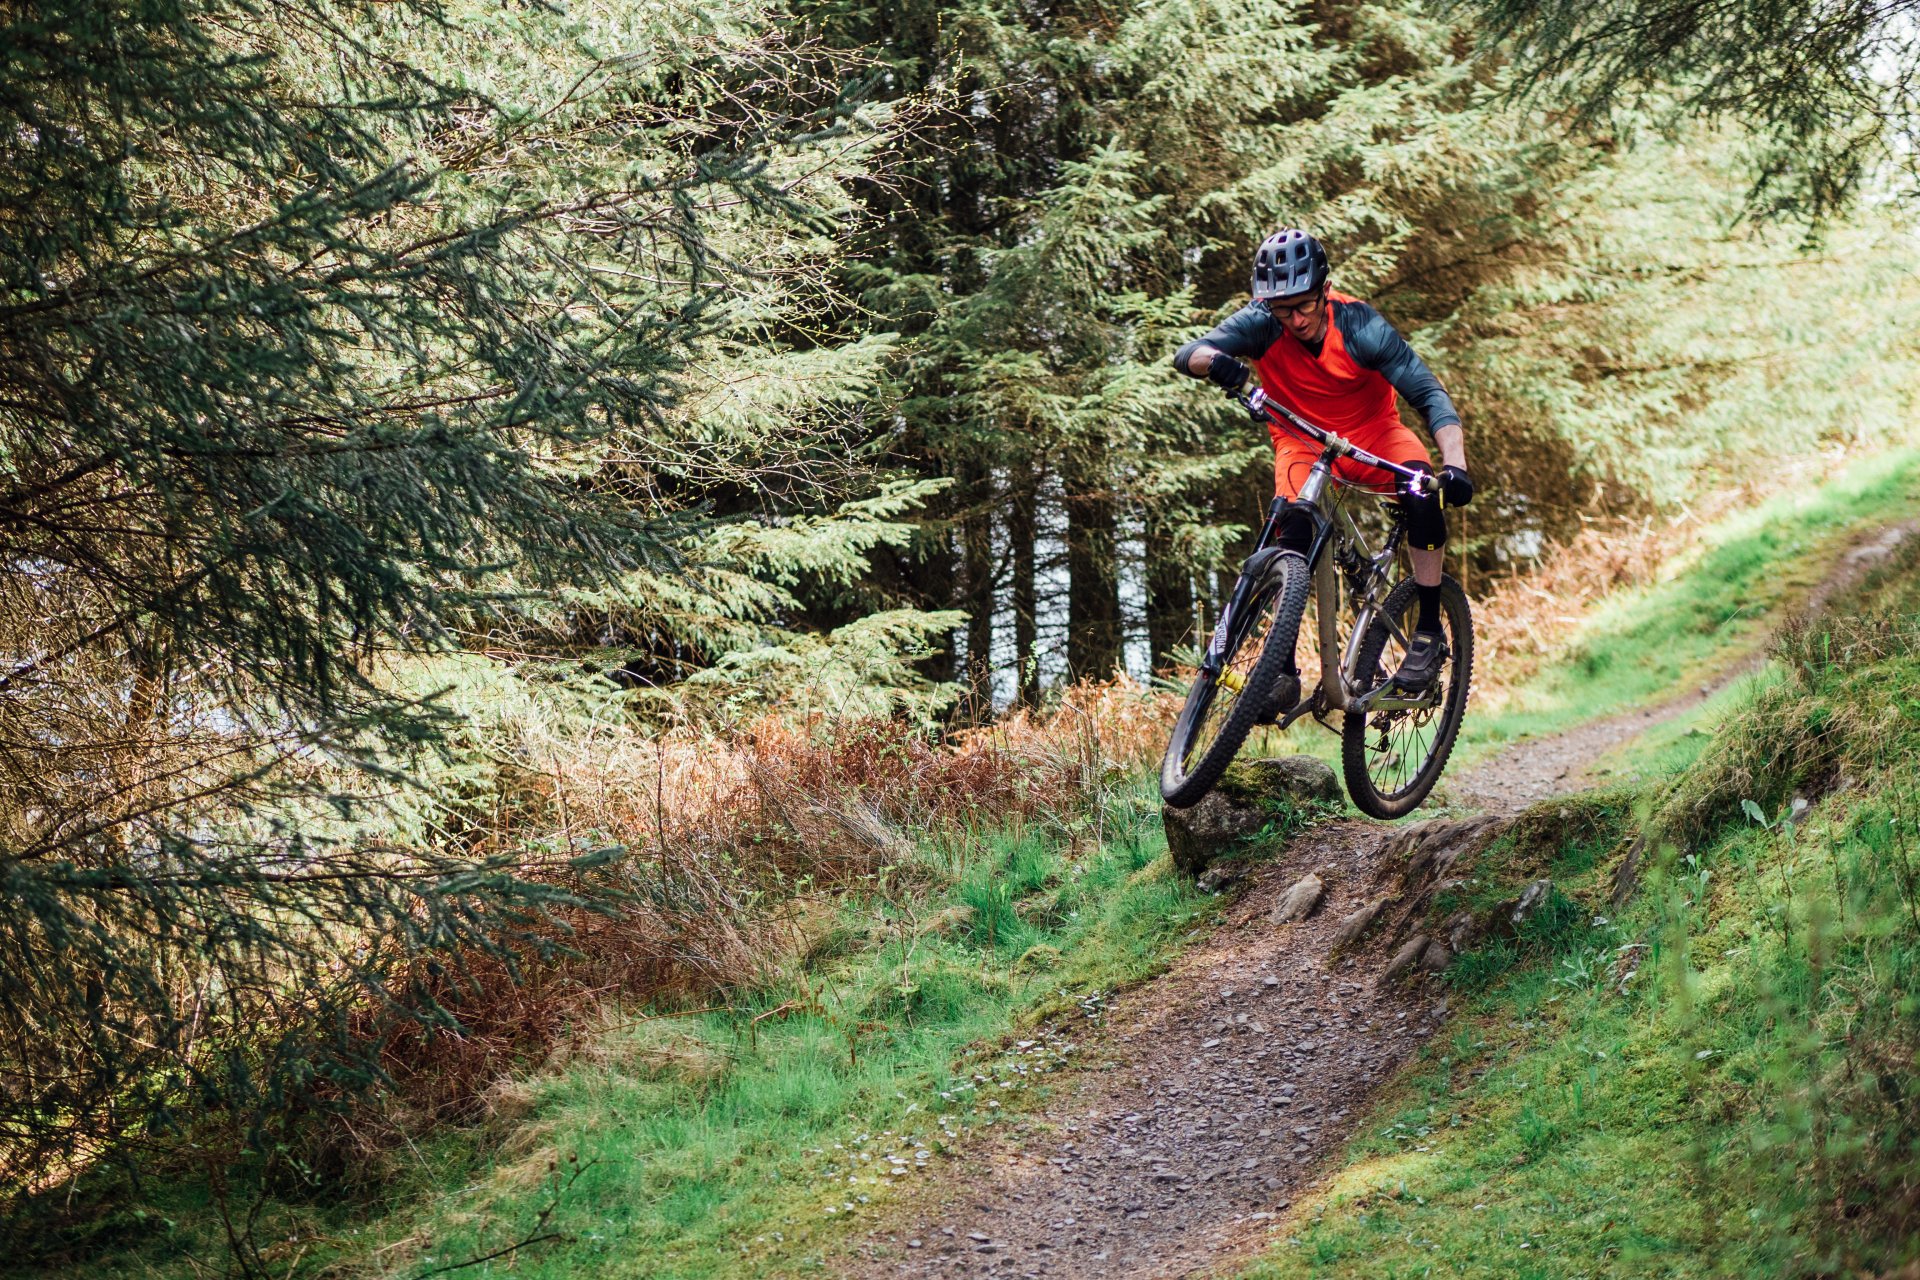
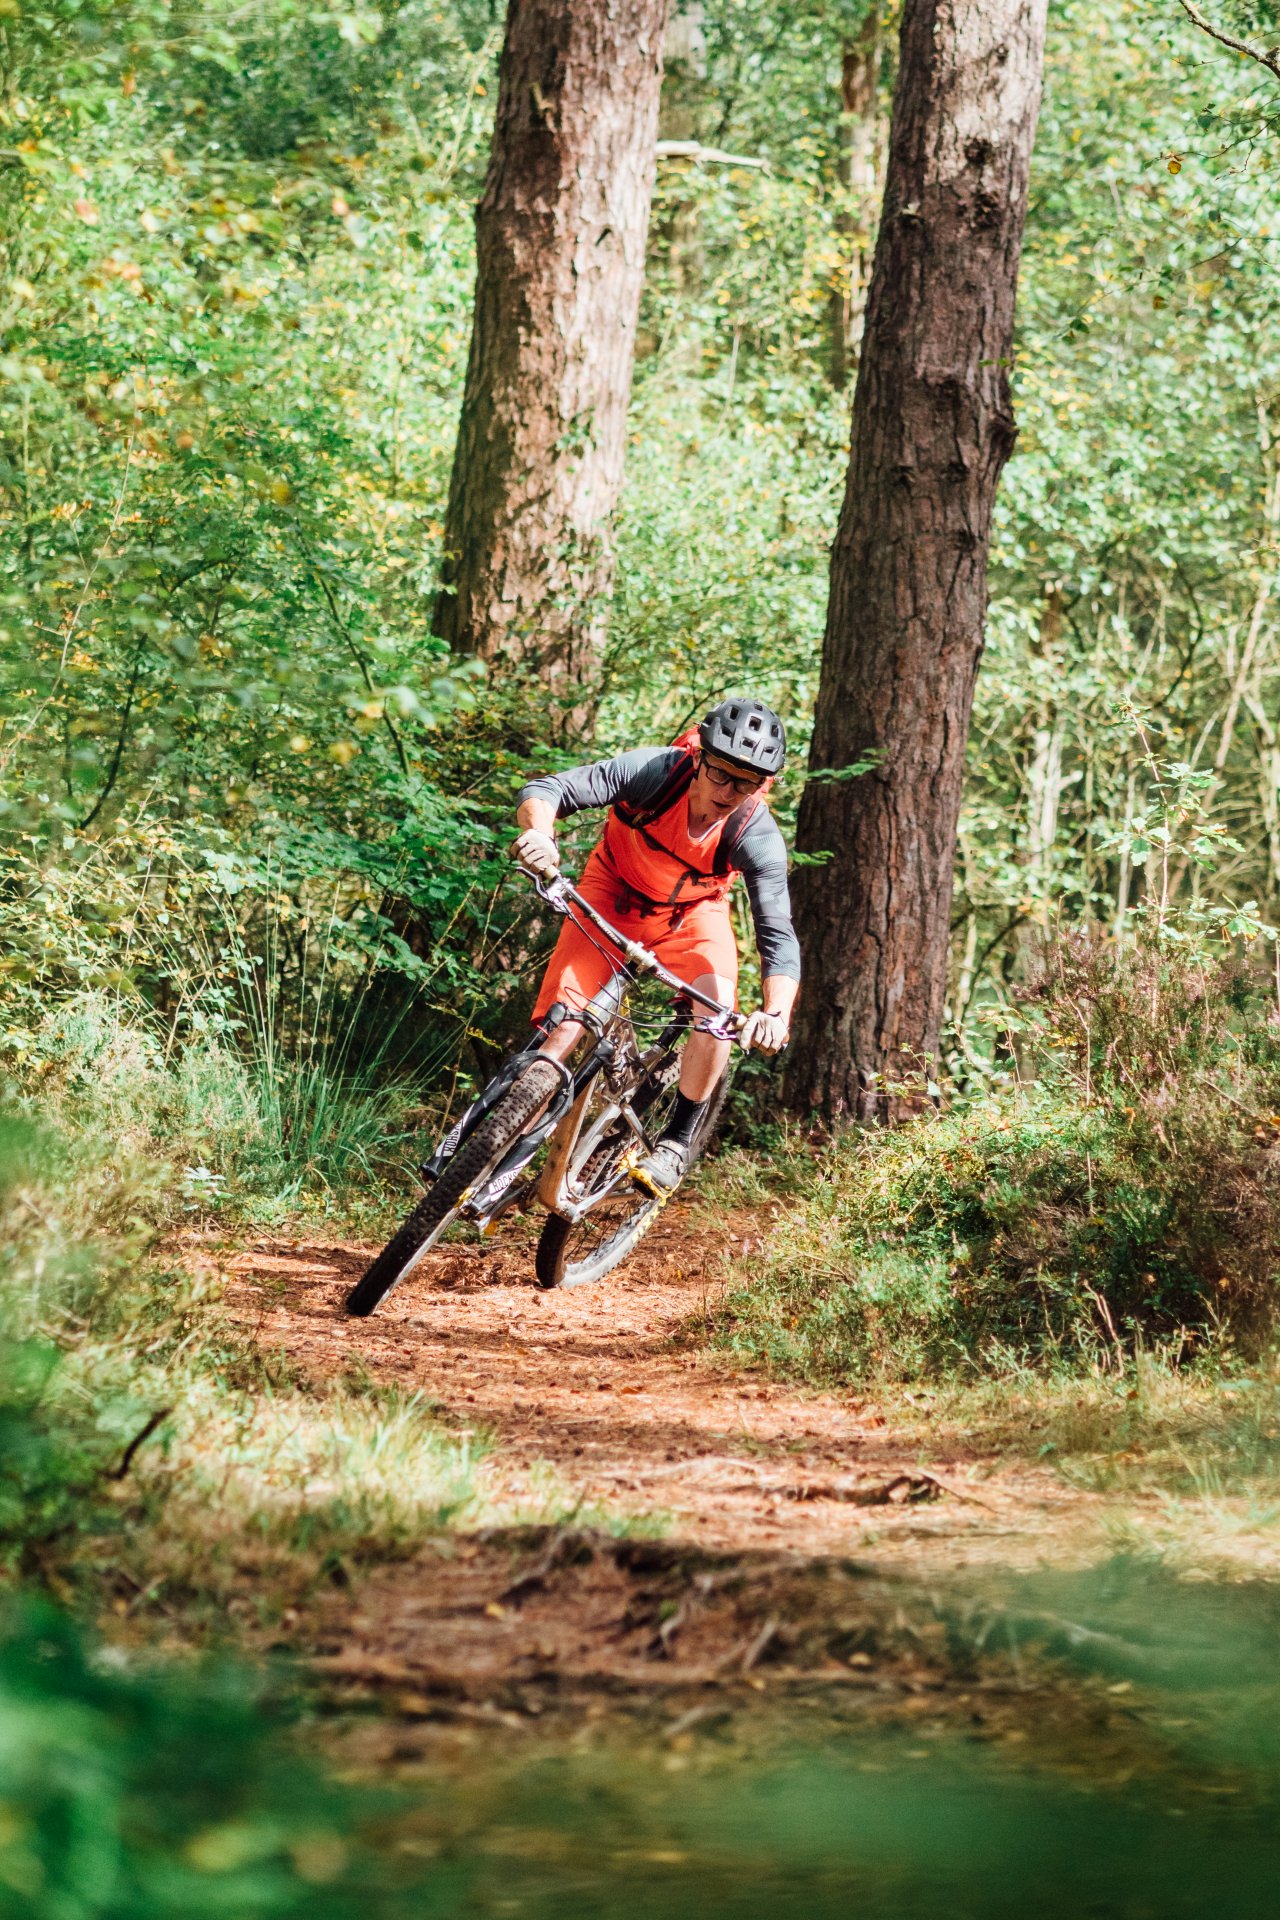
All these elements come under the micro view (geology), if we now broaden our vision and consider the macro view and the surrounding topography we can pre-empt and anticipate what form the trail will take even before we arrive at that point. Armed with a mental picture of the terrain in both the micro and macro view we should have elevated our confidence levels which in turn enables us to stay off the brakes and carry speed. And that is the key to riding stuff blind - fast, carrying speed.
Once up to speed you can deploy all the skills and techniques we have gone over previously to lift the bike up-onto and over things, thus eliminating stall points, edges that will blunt speed. Using the long view down the trail and trusting your peripheral vision to detect cues in the landscape should also enable you to only use the brakes for key deceleration and speed checking (maintaining a rate of speed).
All sounds so simple aye!. Let's look at a few of the key mistakes that people make which kills the flow and scrubs speed.
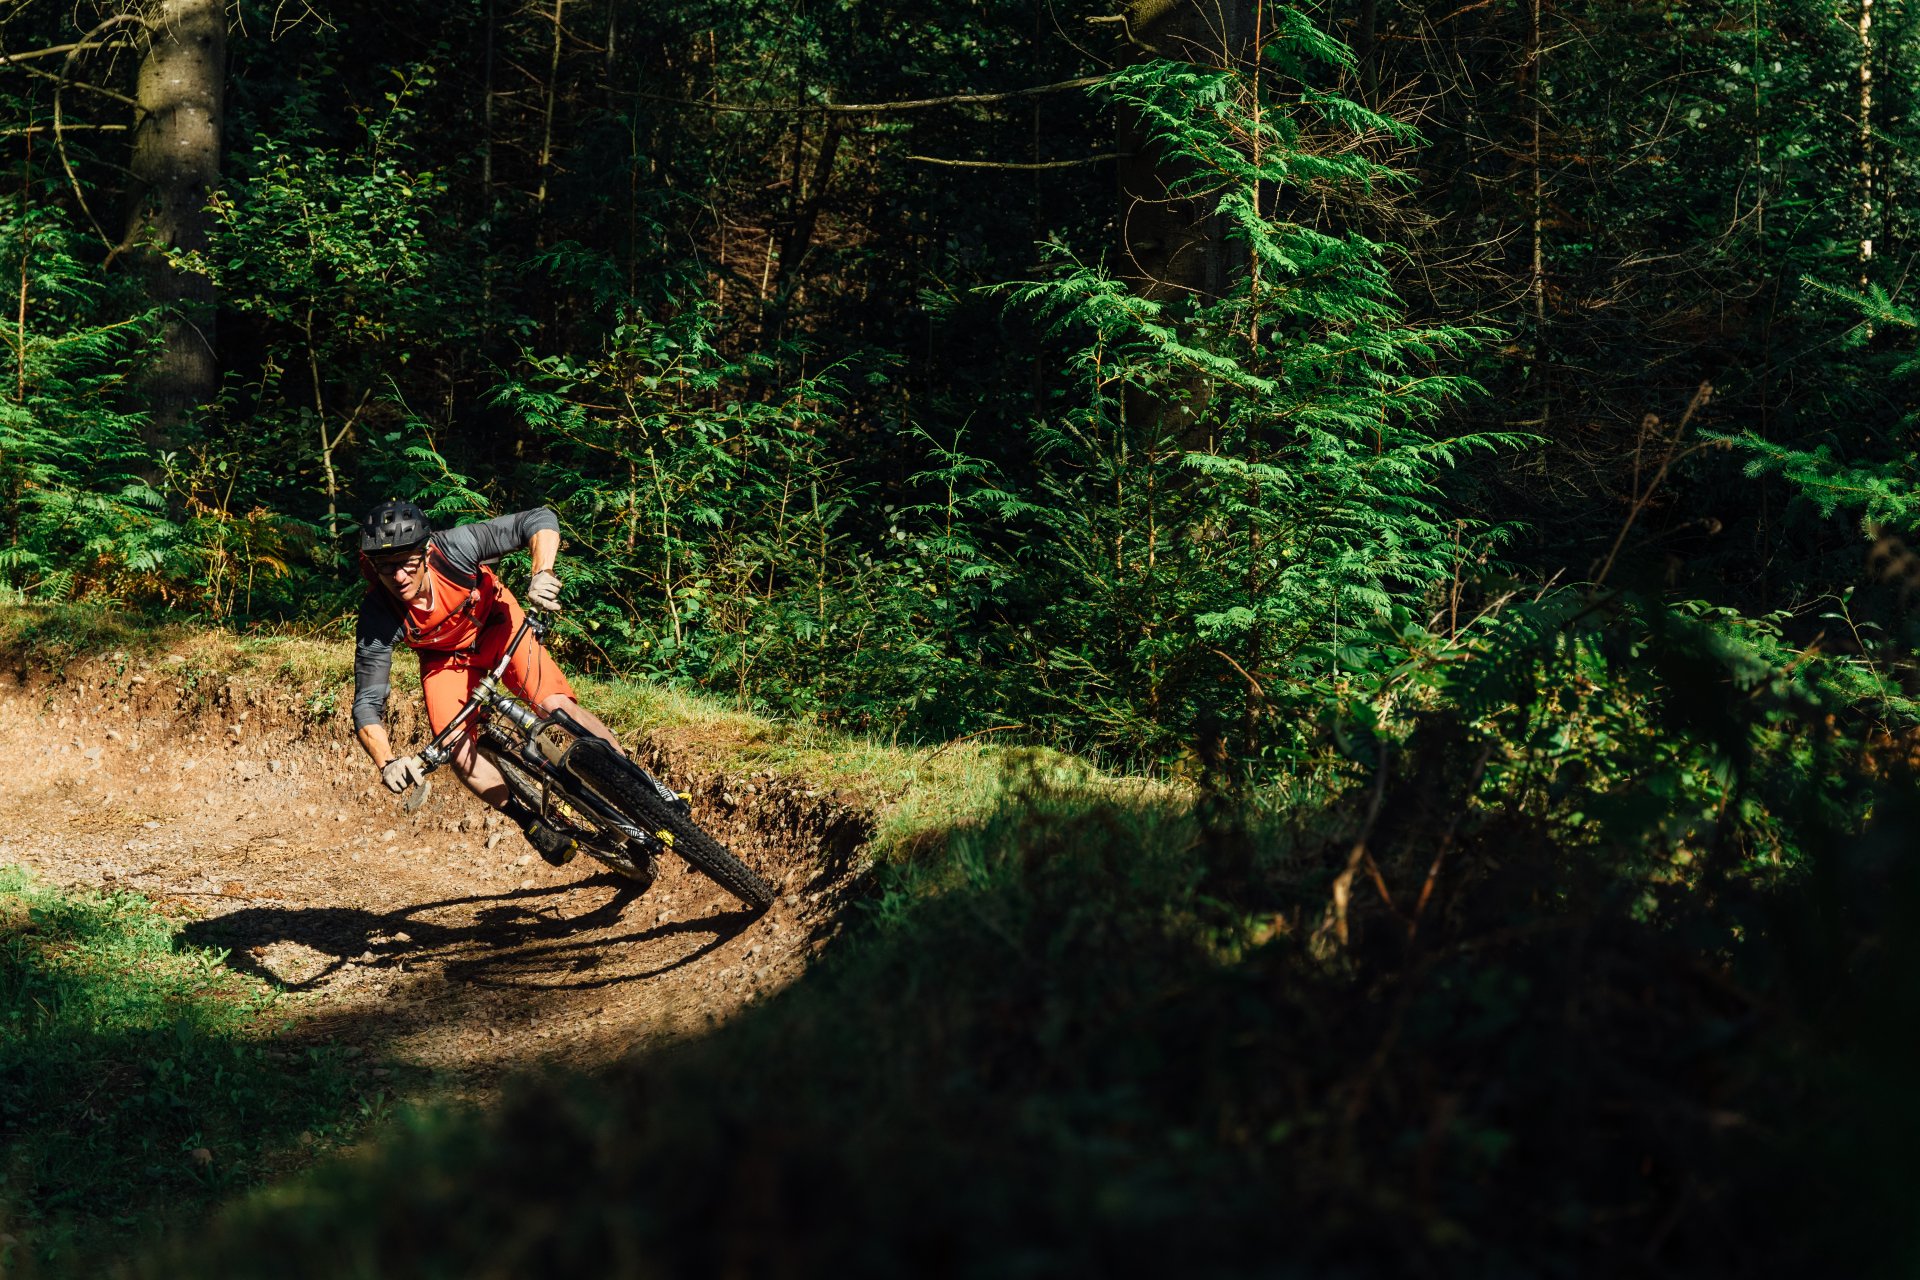
1. Not looking far enough ahead - If you fall foul of target fixation and stare at the patch of trail immediately in front of your wheel then it is inevitable that things will come as a surprise, you will naturally reach for a big handful of the brakes, thus killing your speed.
2. Dragging the brakes - it goes without saying this is slowing, not going! The downside to brake dragging is that your brakes become less efficient and you reduce your grip levels. You increase the chance of a wheel sliding out and the overall feeling on the bike is unnerving rather than confidence building.
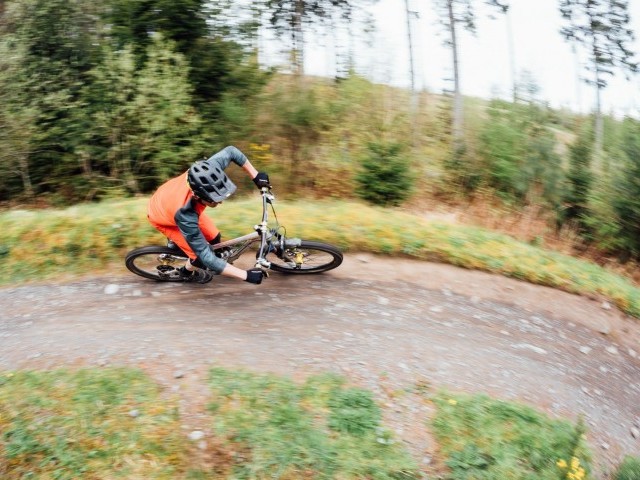
3. Entering corners too fast - this is a byproduct of not looking far enough ahead, typically resulting in grabbing a handful of brakes and exiting the corner slower than is possible.
Going back to our feature on braking, the big deceleration of the bike should be done before the corner. Only a small amount of control braking should be done IN the corner when the ground is particularly steep.
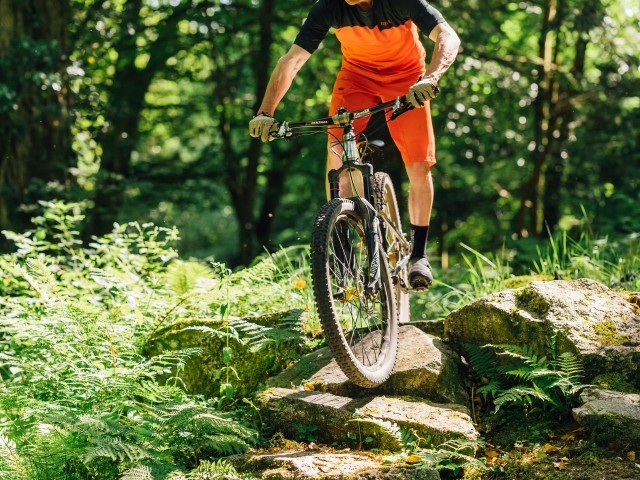
4. Lacking the ability to manual, hop, drop and jump - these are very much limiting factors when we move away from smooth-built flow trail terrain. As soon as we introduce lumps and bumps on the trail then there is the need to lift the wheels up onto and over the features.
Number 3 above is what my father was referencing when I was a small child racing 100cc karts, the comment “you're better to come out of the corner thinking you could have gone through it faster than to not come out of it at all! The underlying lesson was about speed control, the emphasis on controlling your speed before the corner, the lesson went on further with the art of using vanishing points to determine the radius of the corner, seeing if the corner continued to tighten up or stayed at a constant, giving you the cue as to when the corner started to open out.
The use of vanishing points enables you to get on the throttle early or in the case of descending on a mountain bike, off of the brakes. This works just fine on the race track, gravel road, or public road with their crisp edges, on the bike I learned to adopt the technique, using my vision to pick up on other tells in the landscape. Practicing this technique can really help with riding blind trails and it is something we will go into more detail in the next issue.

If any of these mistakes stand out to you then it really is worth going back through our features and spending some time to master the core skills and techniques, from braking to bunny hopping.
Do join us next time as we delve deeper into the art of riding stuff fast. Until then, have yourselves a happy festive season and power to ya pedals for the new year. Best wishes from Dan and all the team here at IMB, and of course myself.

This technique article was in Issue 68 of IMB.
Related

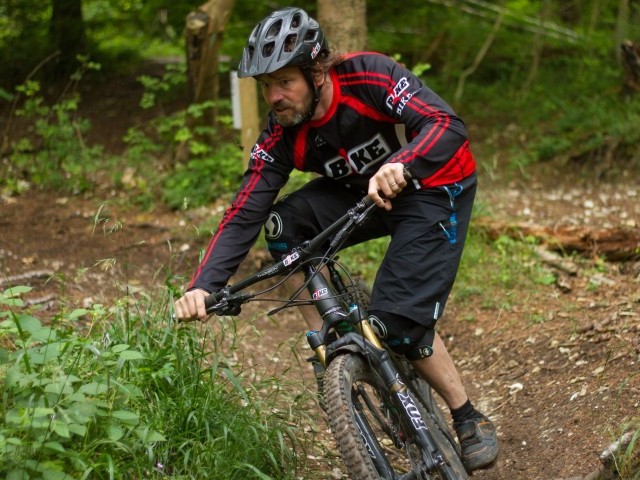
By Clive Forth
Clive Forth is a rider who has been there, done that, got the t-shirt and cleaned his bike with it. He has grown with the UK scene and technological developments for the last 30 years and has competed at all levels in all disciplines riding for some prestigious brands along the way. Always looking for that extra edge with endless passion and drive he is geared up to bring you the inside line on all aspects of mountain biking skills and technique.