Camber
Technique / Skills

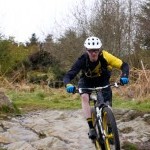
Save the anger and conquer the camber
Welcome back folks and thank you for joining us in the continuation of our skills and technique features, we now move on from the basic core skills covered in the previous issues, and we start to ramp it up with trail technicality as we look at progressing those core skills and techniques.
As trail technicality increases we need to be more pinpoint and razor-sharp with our technique and timings, speed is what it is in a section, and by being relaxed, we can sometimes get away with being a bit sloppy with our wheel placement. That said errors for margin may be as little as zero and it is at these key pinch points and crux zones that it all has to come together just so.


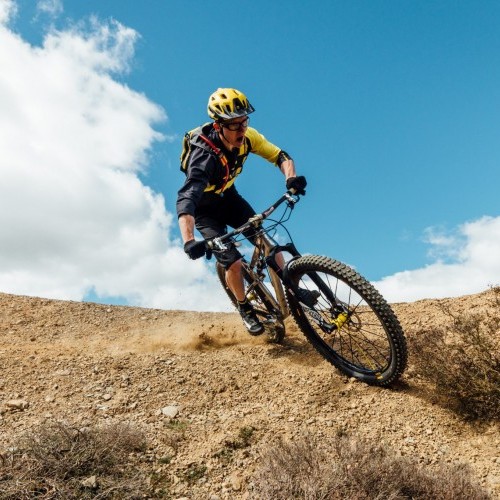
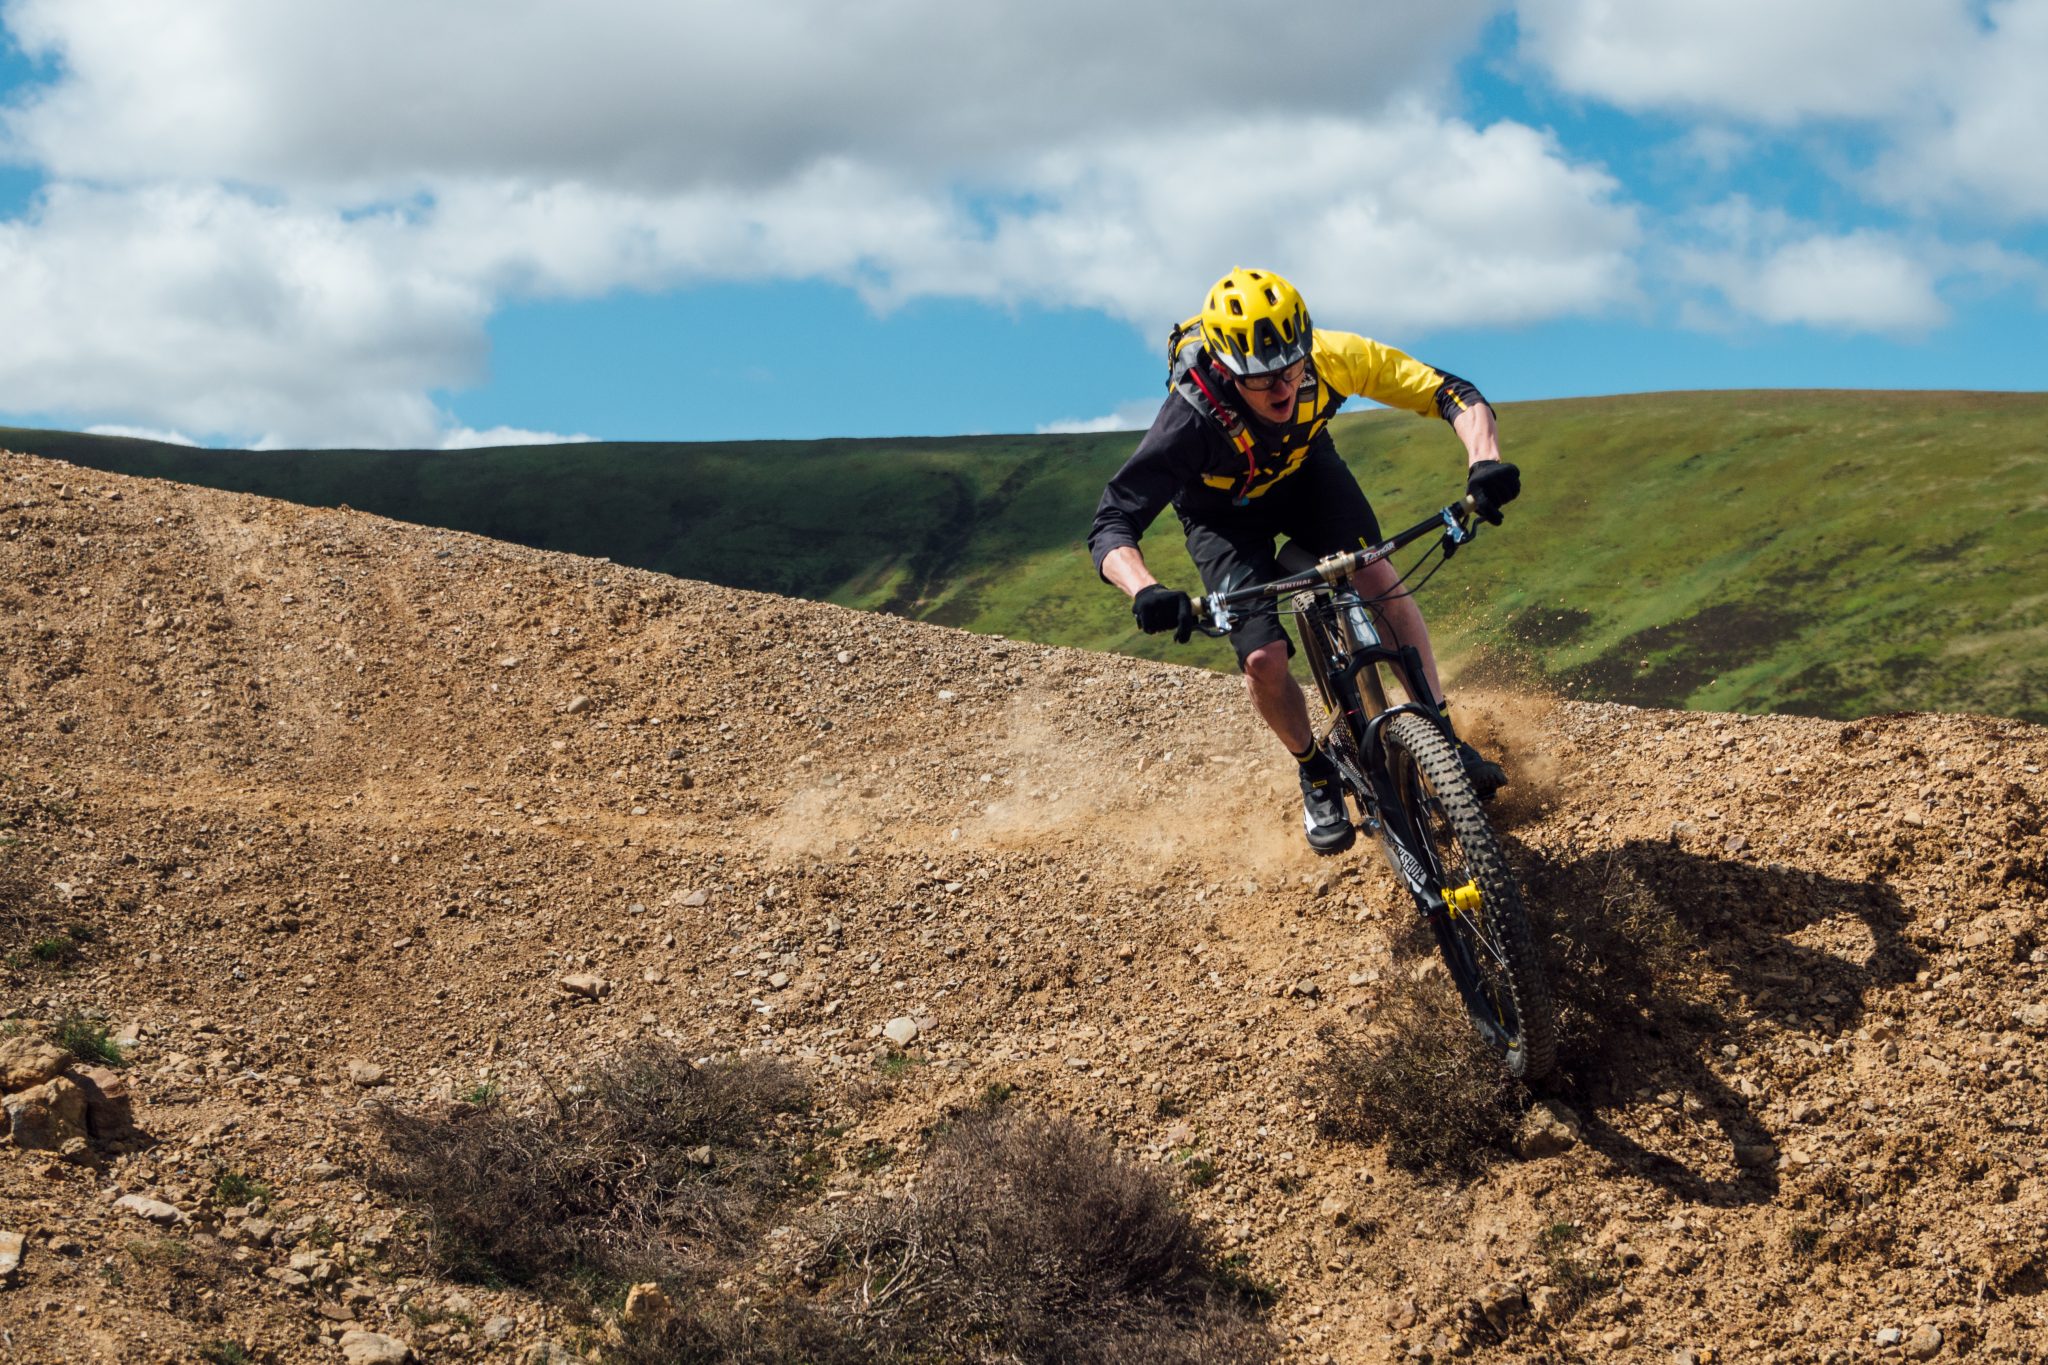
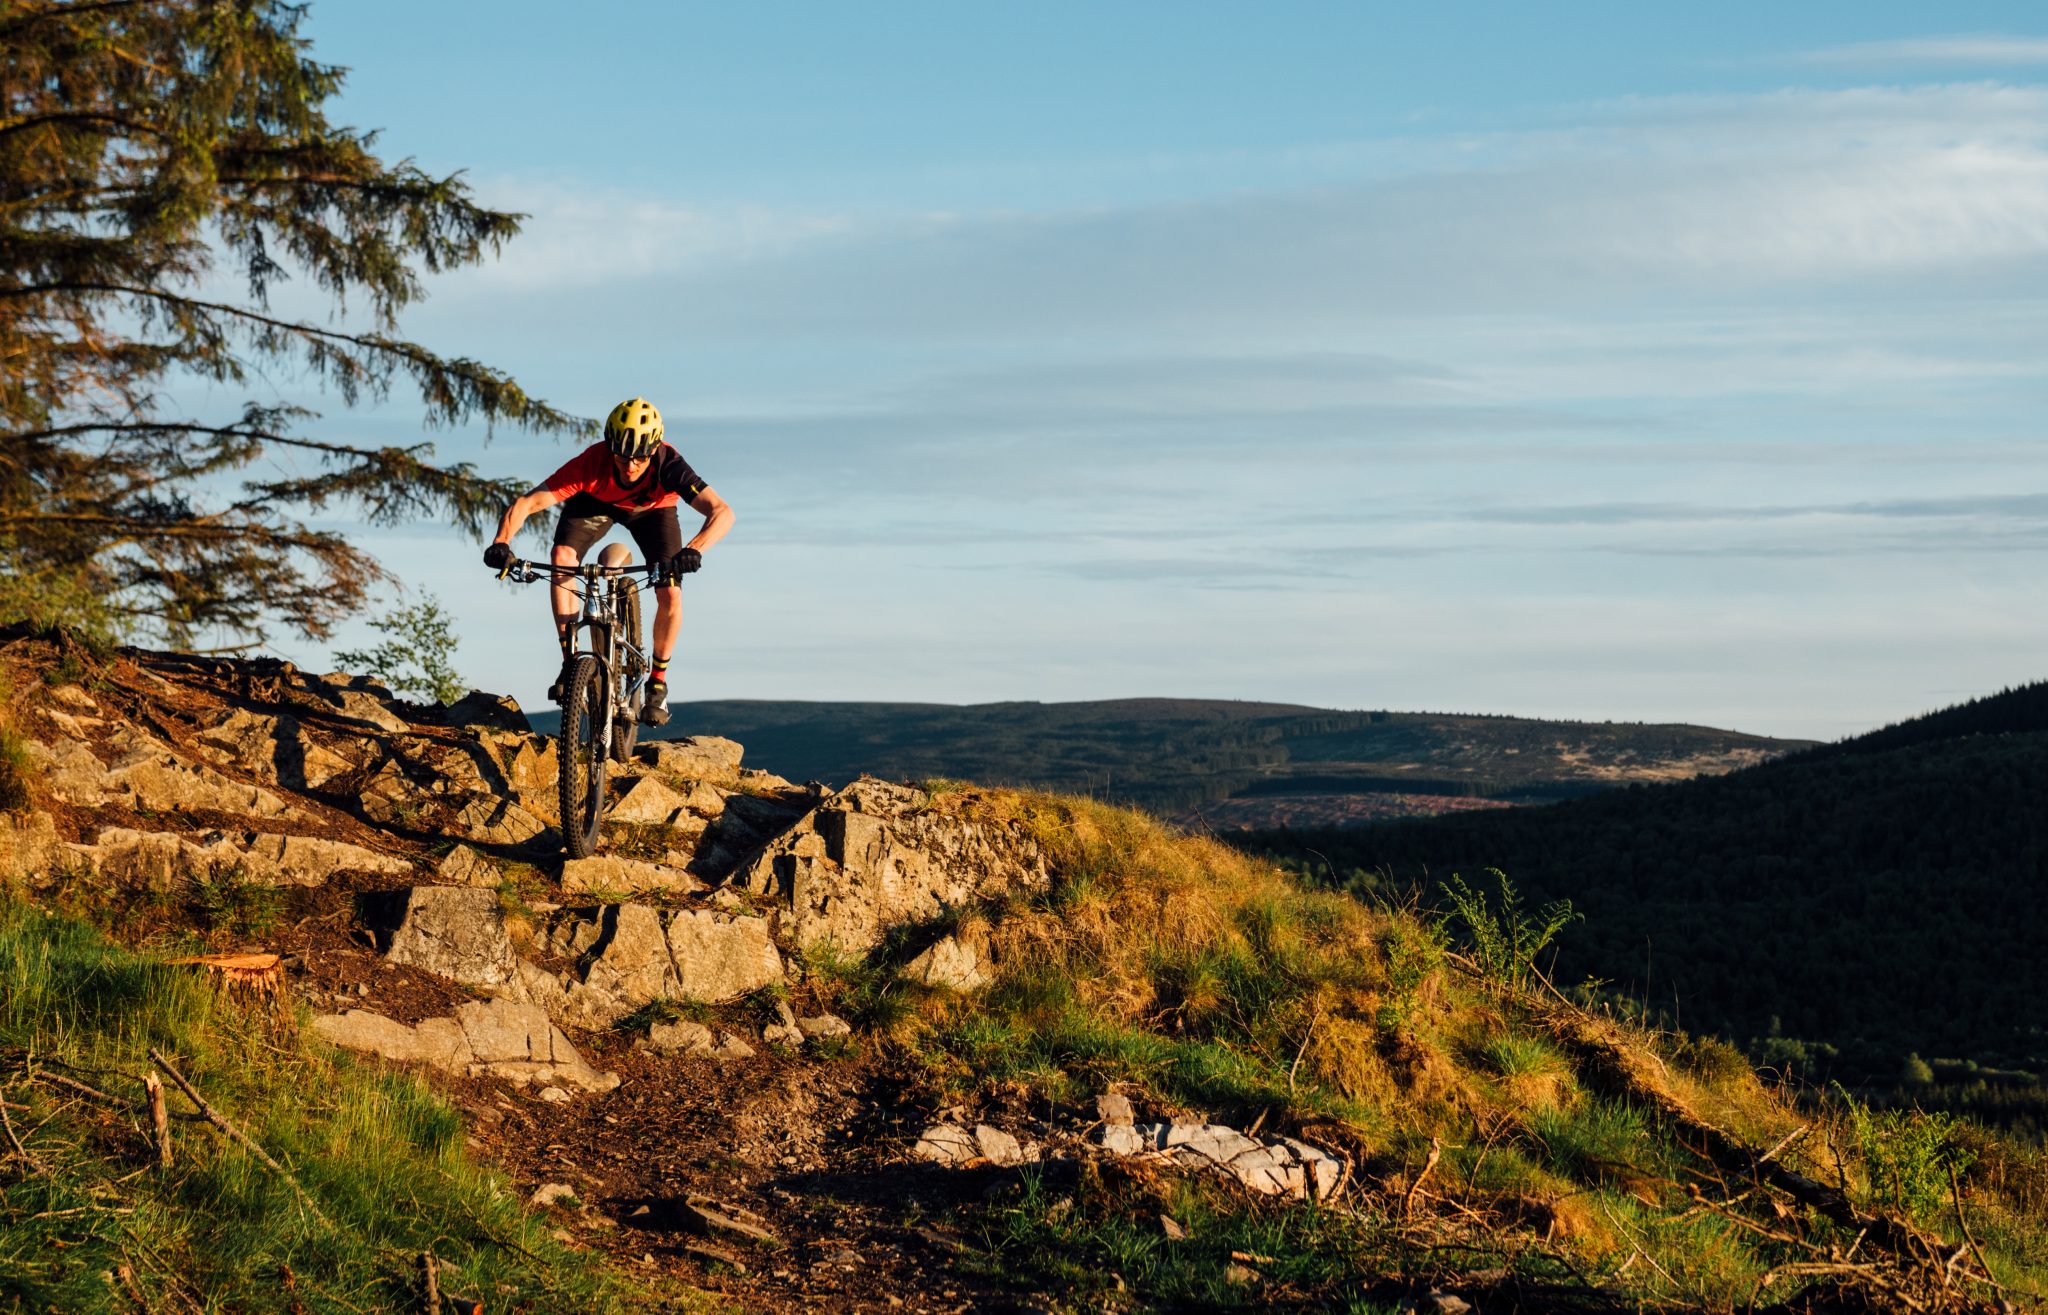
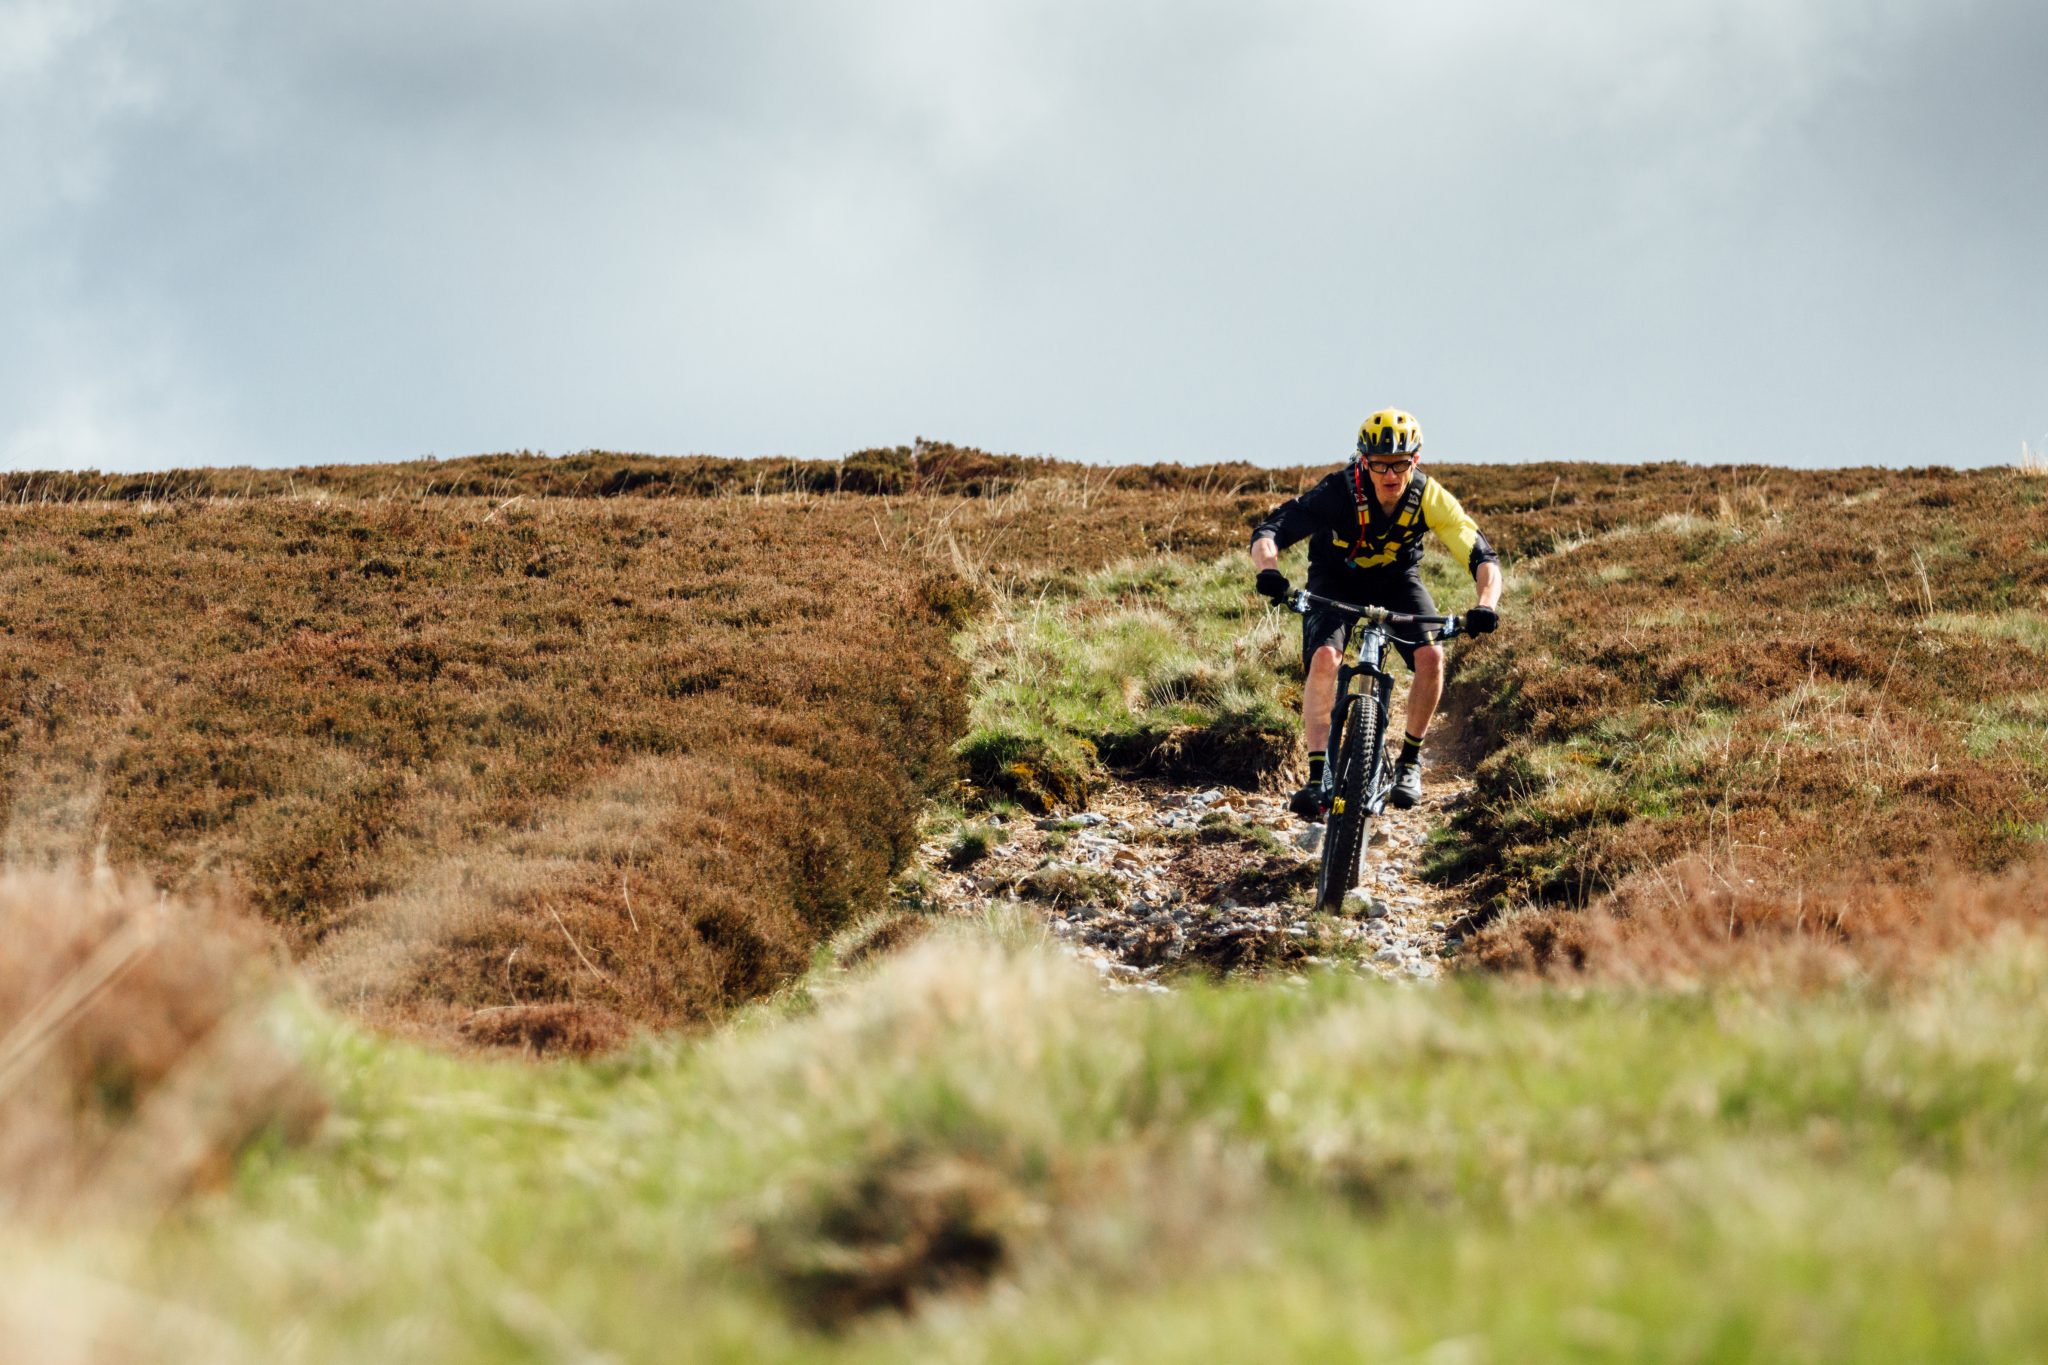
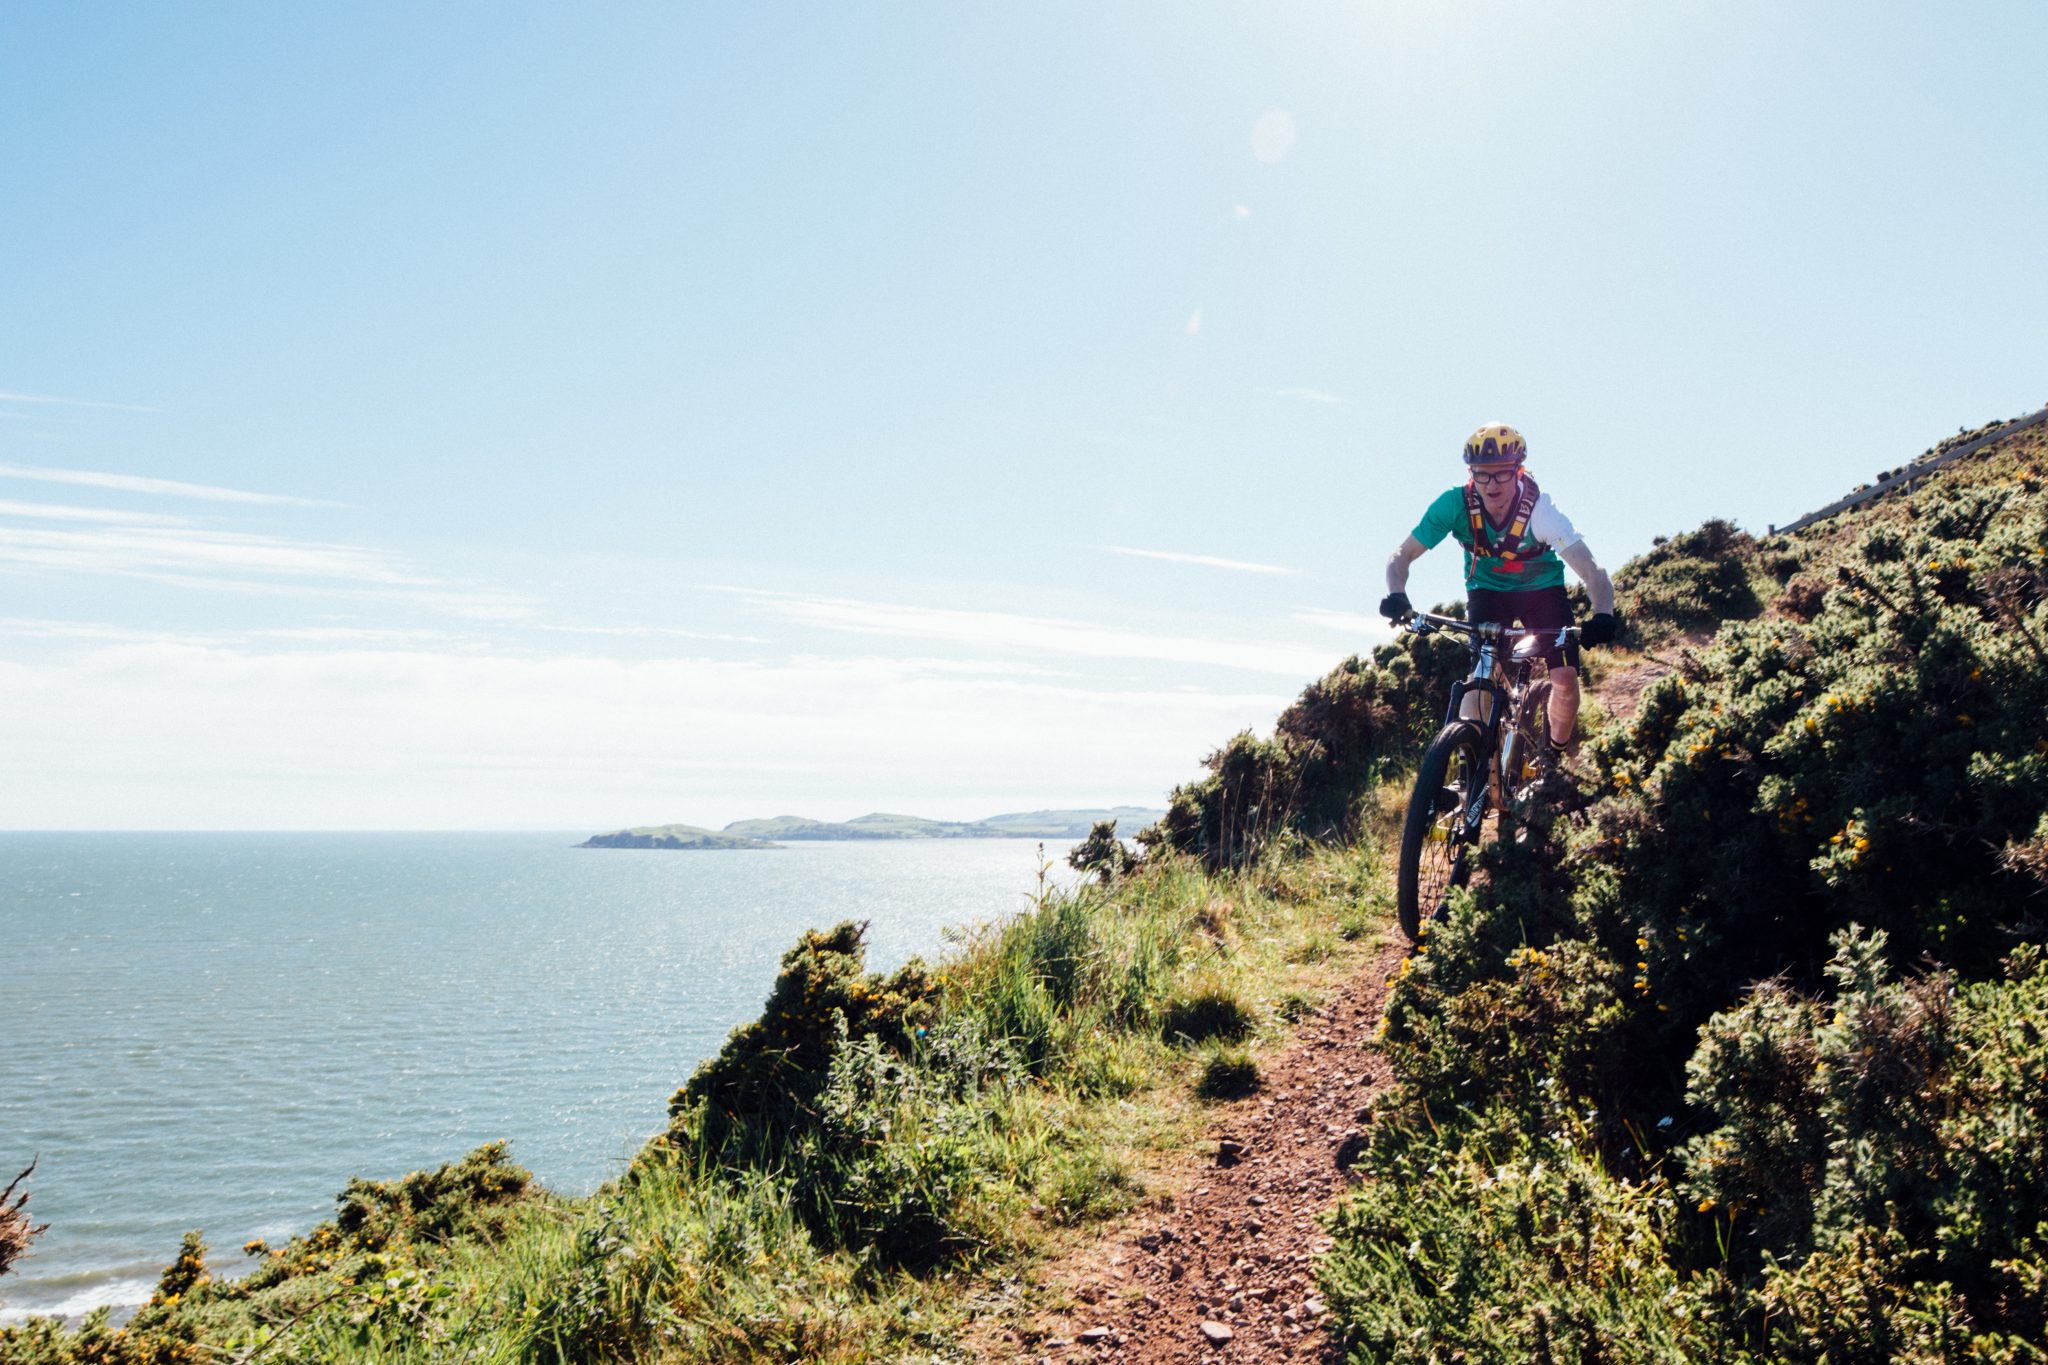
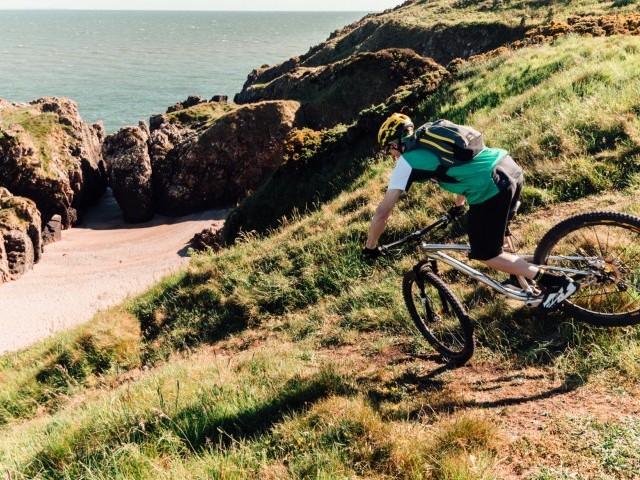
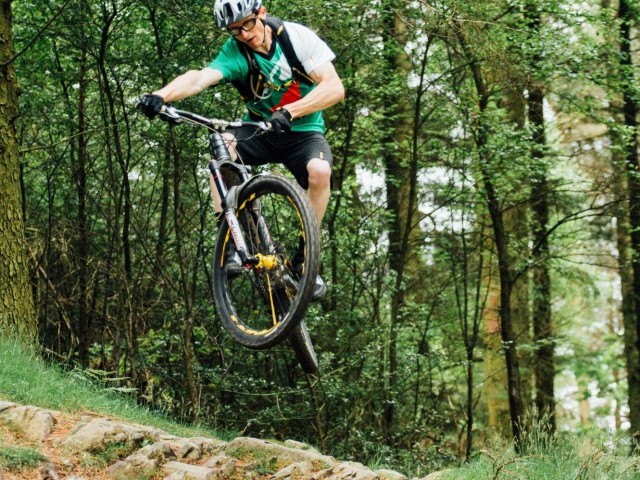
Camber often plays a significant role in these scenarios, and we ride in an environment where camber can be measured pretty much everywhere. The slope angle of the trail can be played with to unsettle the bike at point A (typically a back end nudge or drift) to make the next section easier. We start to 'bridge' sections and purposefully place the front wheel on a different line to sit the rear wheel elsewhere to either the left or right.
Where trails dish or rut out we find ourselves riding in a micro toboggan run where we have both positive camber on the outside of corners (punch berm shapes) and negative or off-camber on the inside of those corners, with limited width to play with it can be easy to get the wheels on the inside edge of these corners inducing slide or drift, hopefully there is a positive camber on the other side for you to hook up into and get the traction back, in most natural trail scenarios where we are traversing hillsides this will not be the case.
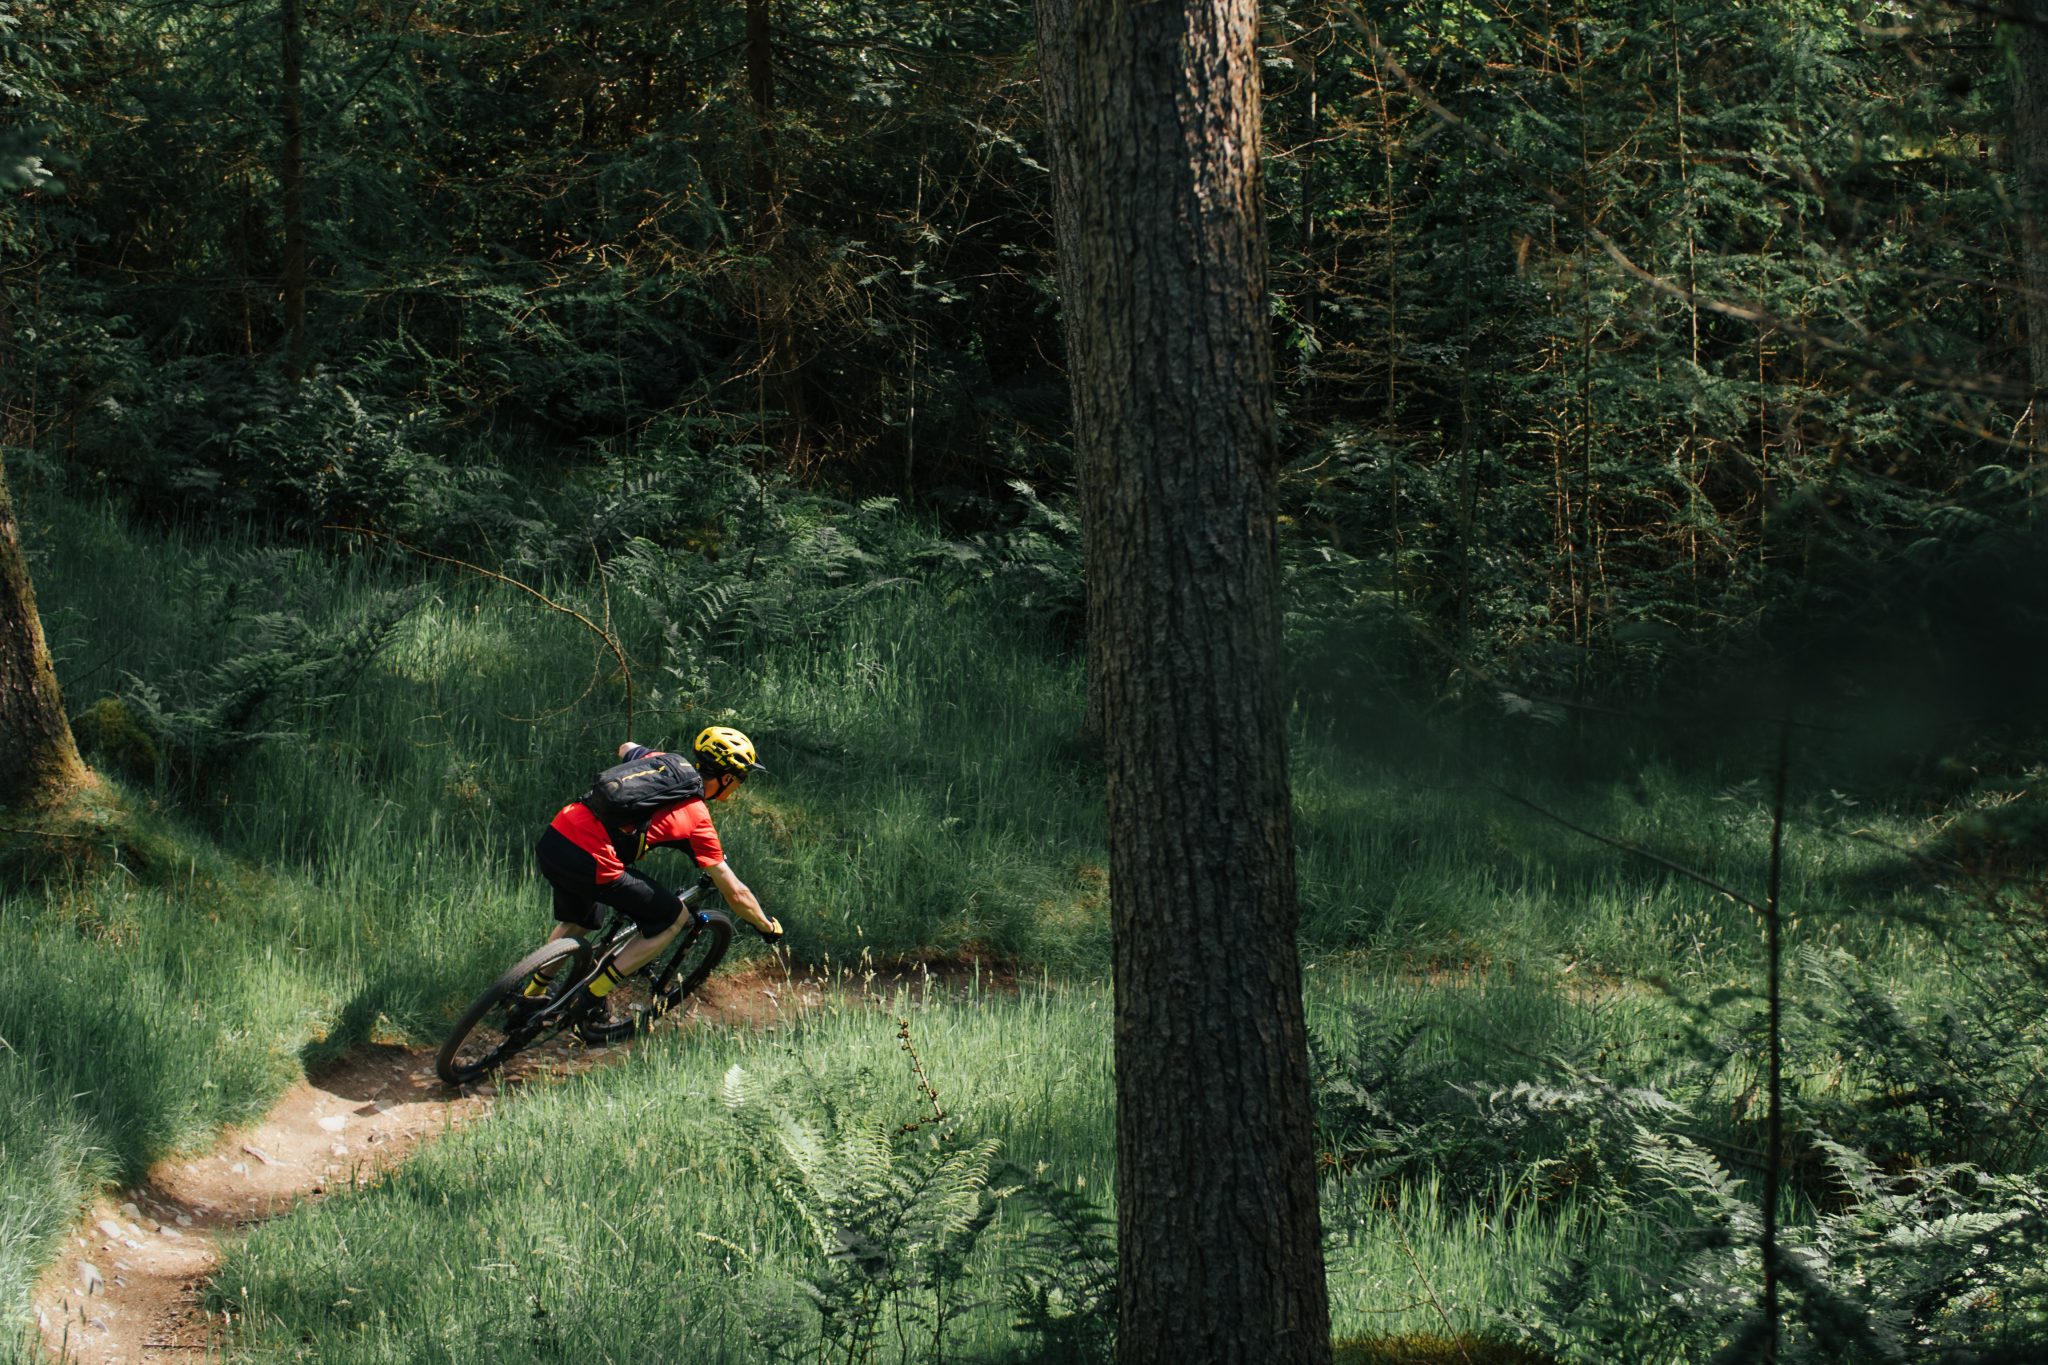
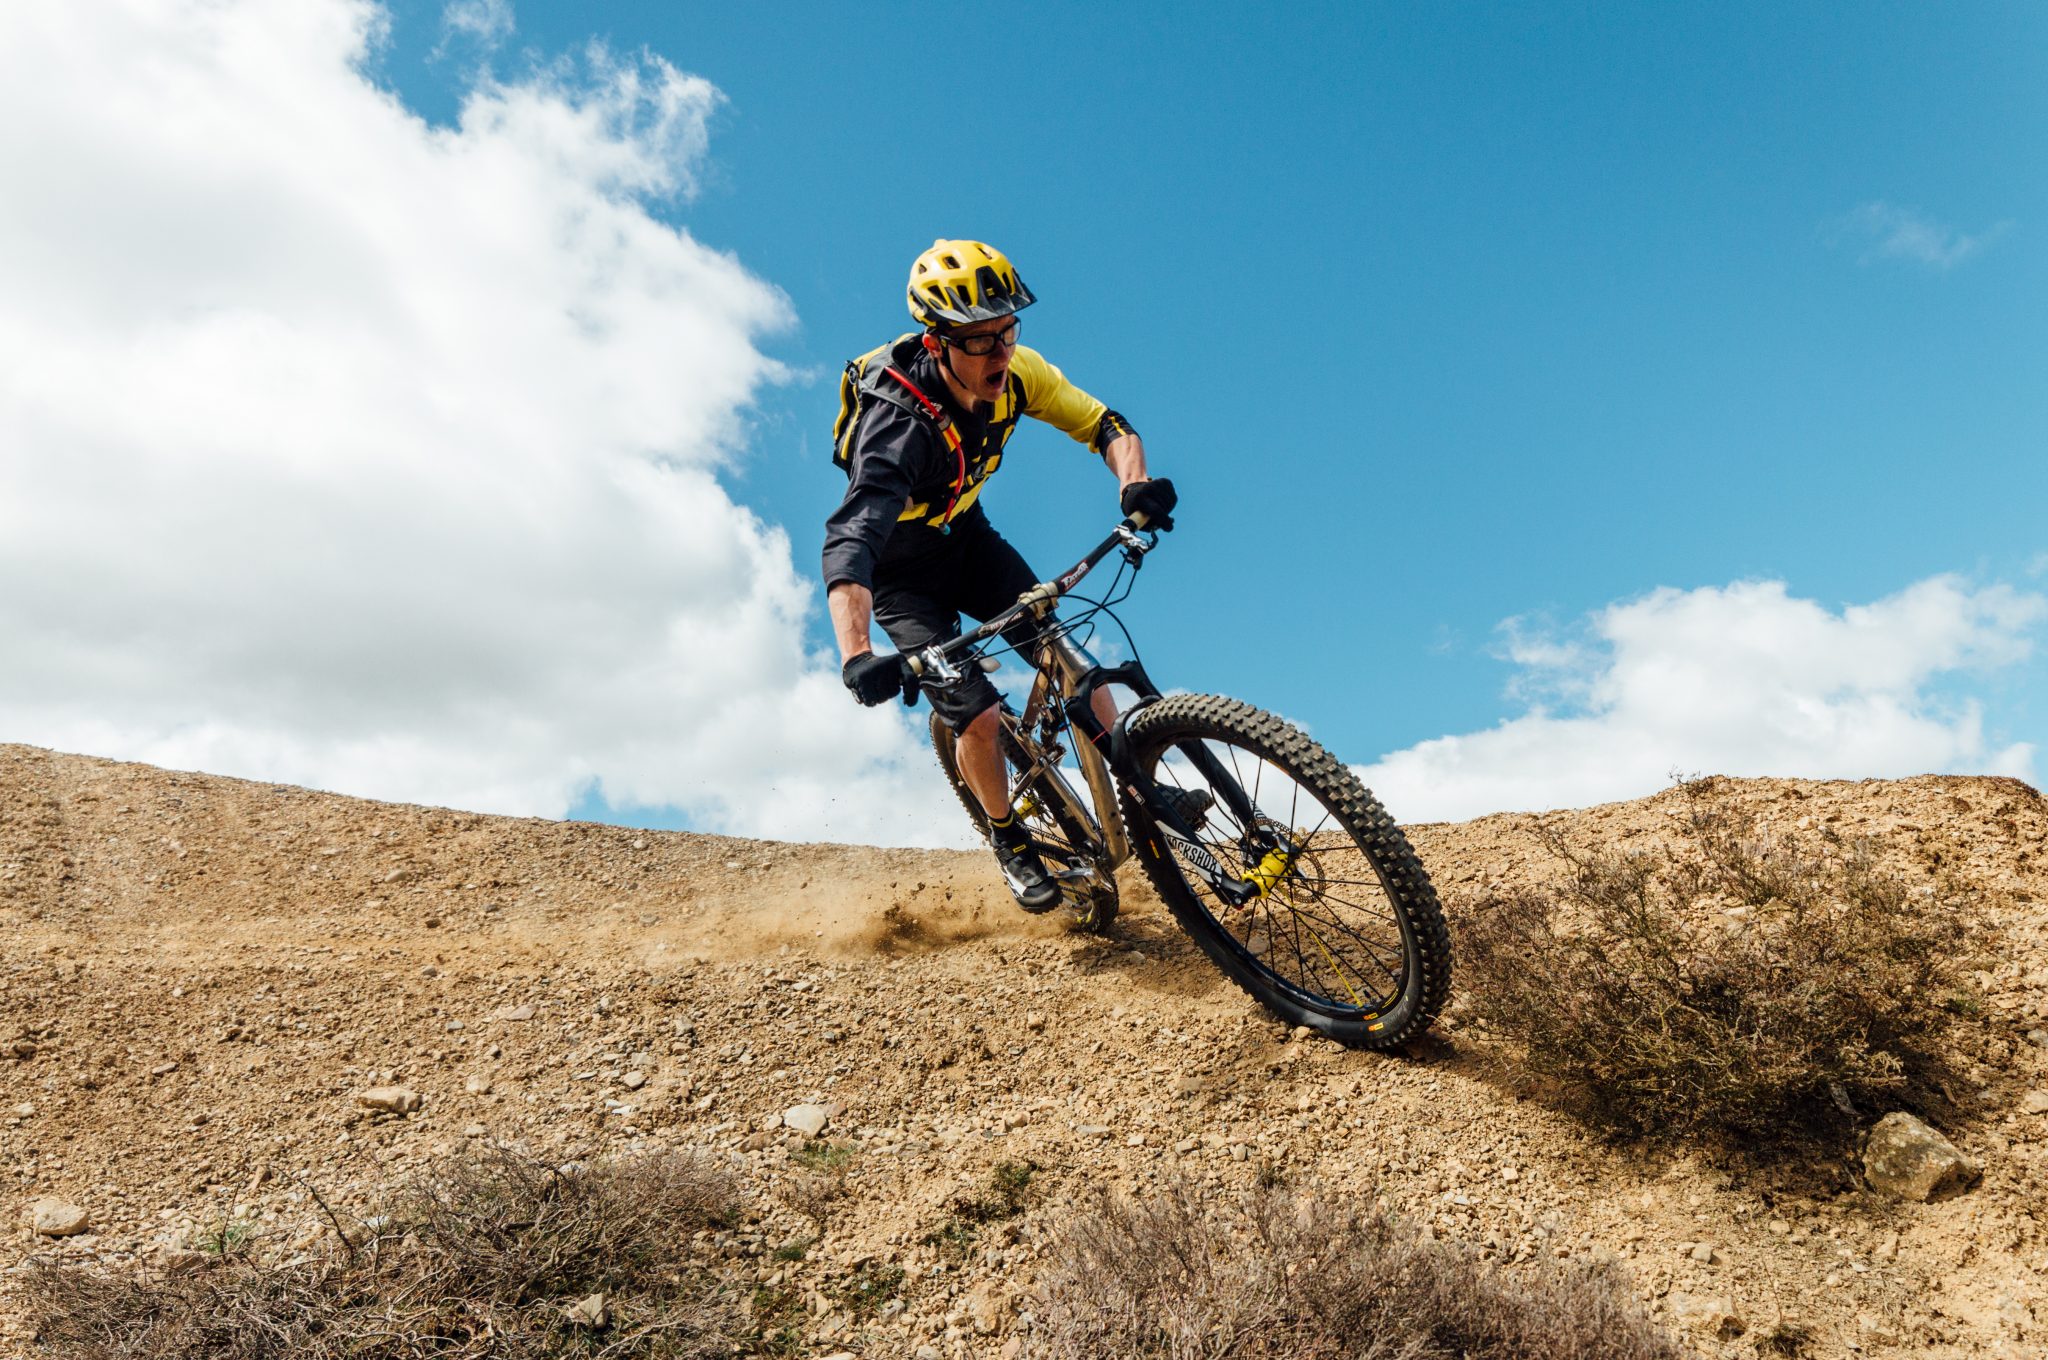
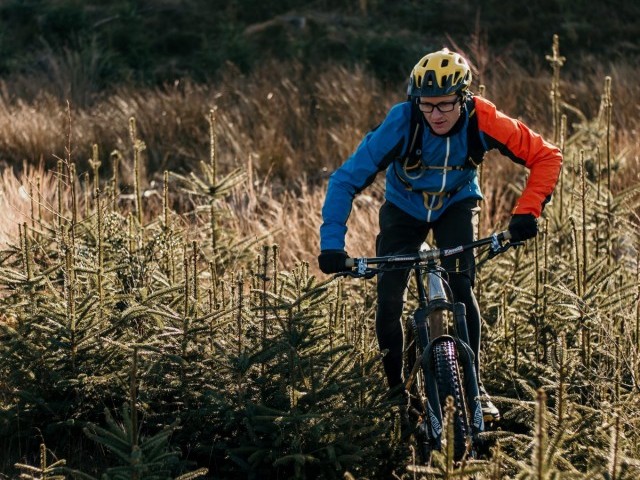
When conditions are loose or slick, and we encounter off-camber we need to hang loose and pre-empt that slip and slide, as wheels fight for traction, we need to help that rubber dig in and bite by using massive amounts of technique. This comes down to a combination of body position and footwork, hips moving, legs driving downwards and feet finishing that load transfer by further 'pressing' into the trail. The head has to remain up and looking through the section keeping the eyes aimed on the trail ahead, any lapse in the vision and wrong move of the neck and head will start to pull you down to the deck as the wheels and bike slide around underneath you.
When finding the limits of traction and of your own ability to move the bike around below you, it can often be beneficial to look at both the bike's set up and your own condition. We need to have power in the muscles to support ourselves above the bike as we take hits and get G-forces in compressions but also supple with that strength movement. Strong endurance (slow twitch) muscles need to be trained to deal with the faster lighter side of things and in situations where we have to move lightning fast. Fast muscle twitch fibres are required to make the bike dance below us; we also need an extensive range in the movement of the limbs with strength at the end of each part of that movement.
This means that for those of you who are not conditioned to the task and have recently taken up the sport (or made a welcome return to it) then you will benefit from some off-bike cross-training exercises. Many of you will be involved in day jobs where the dynamic range of movement isn't required, so these responses and moves on the bike appear more learned than natural. A coaching comrade of mine used to talk about 'calm mind and dancing body', all well and good but think about how well most folk dance and we can see that just isn't enough. Sure the calm mind and simple process of only allowing the grey matter up top to deal with light flooding in through the eyes is a massive step towards lines of success and fluidity, but without the range and speed of movement from the limbs, we are only partway there.

We can make adjustments to the bike set up, but whatever we do here will have a knock-on effect somewhere else. Softening tyre pressure and or suspension may assist in getting hooked up and gripped up on cambers, but slower rolling speeds or reduced travel may be less welcome elsewhere in the ride. A lack of traction from tyres and suspension can and in specific scenarios has to be overcompensated by increased technique, pushing the legs/feet down into the pedals harder, swinging the hips and leaning the bike over will help regain traction on off-camber traverses and where off / negative camber lies on the inside of corners.
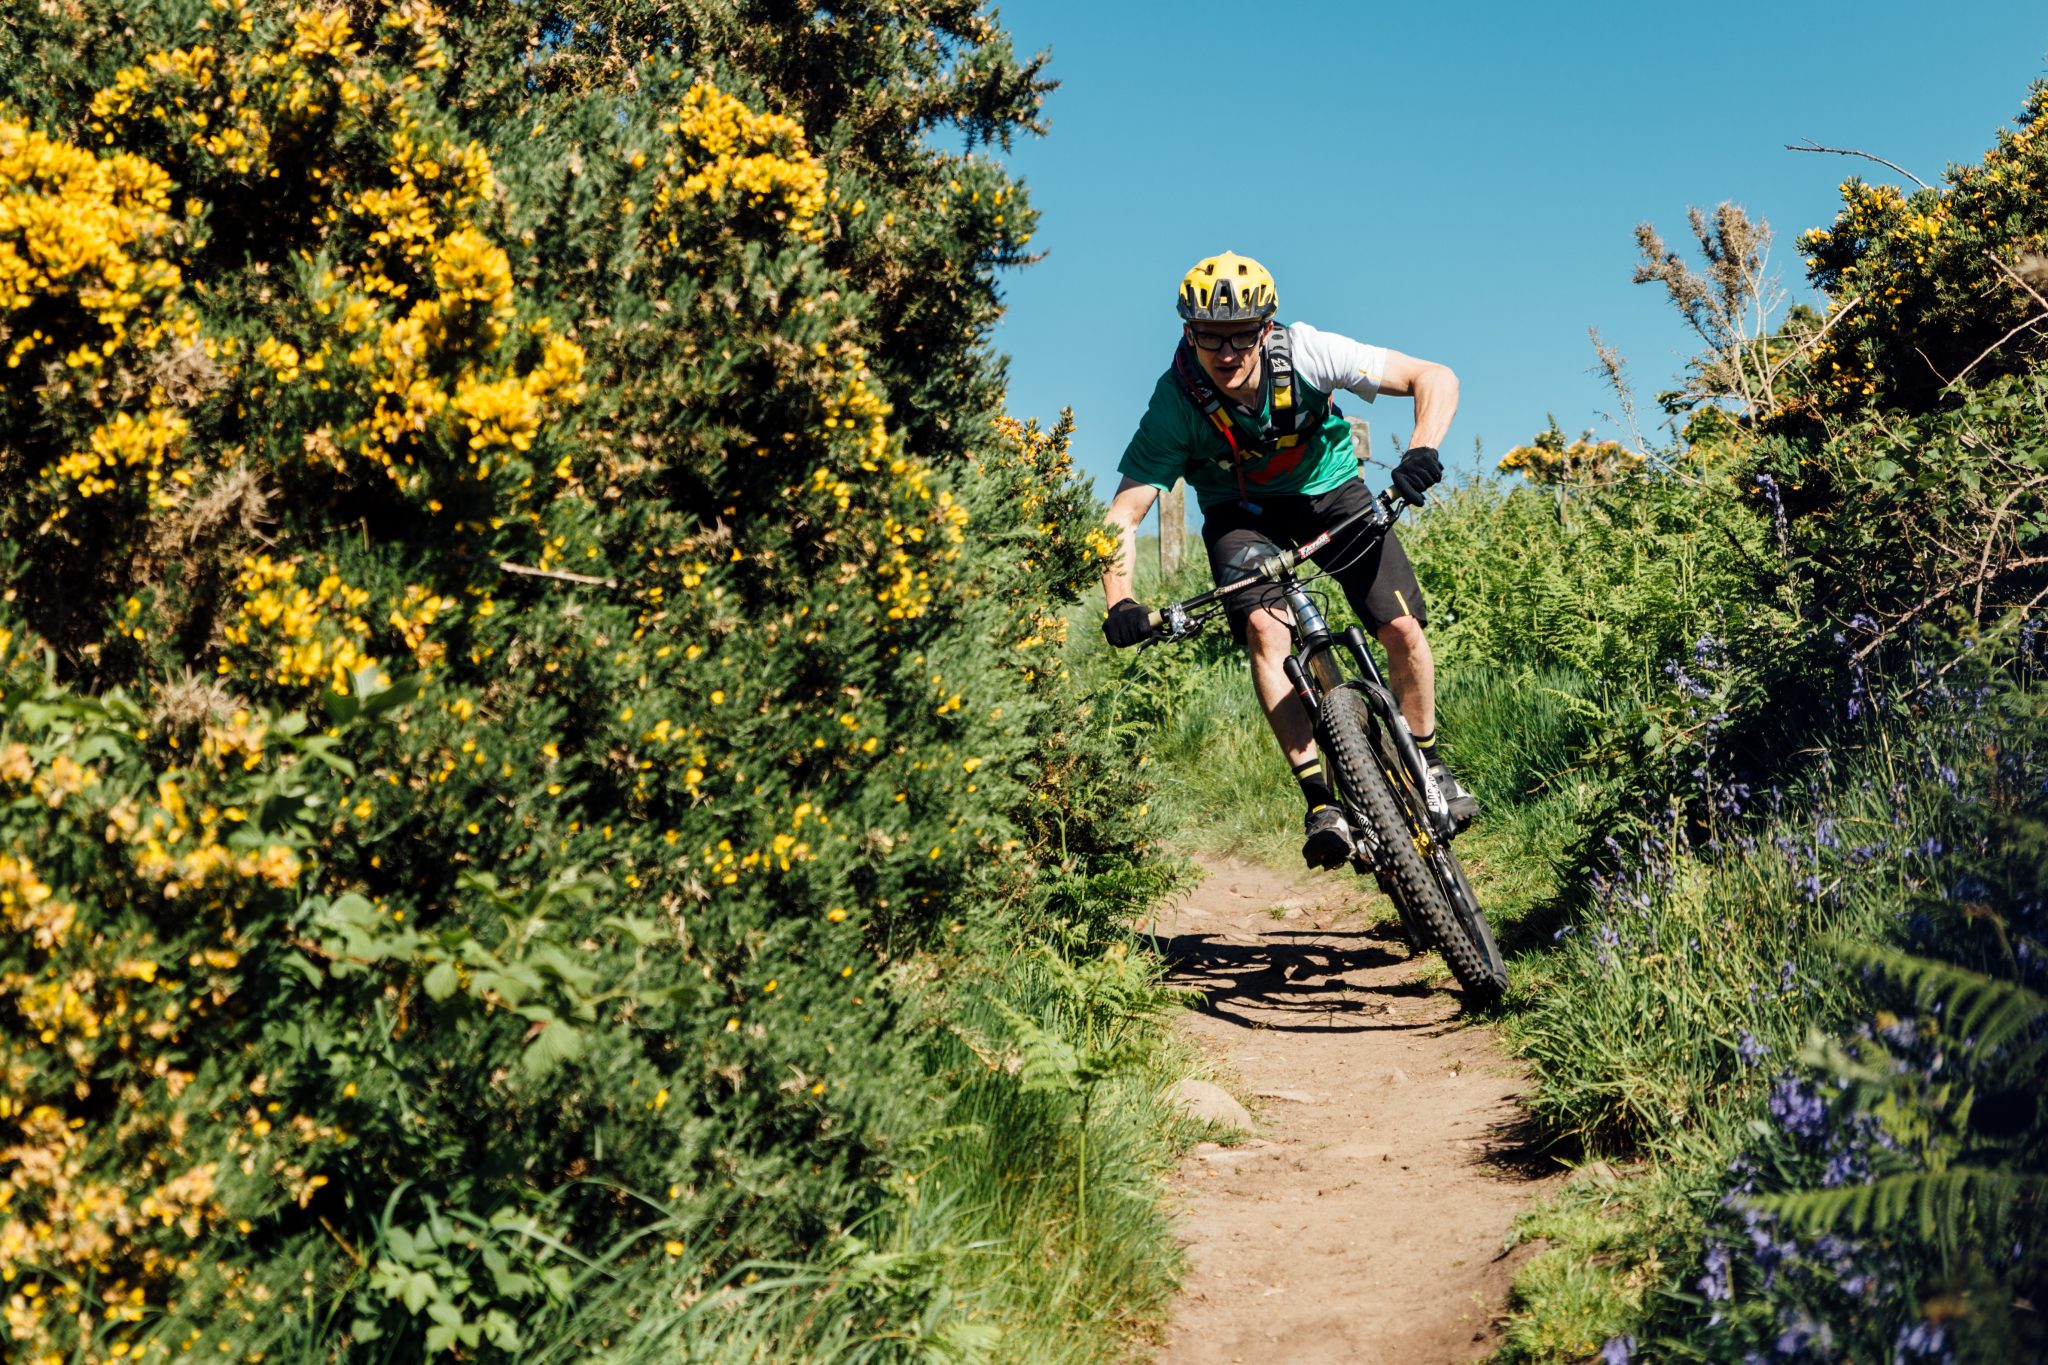
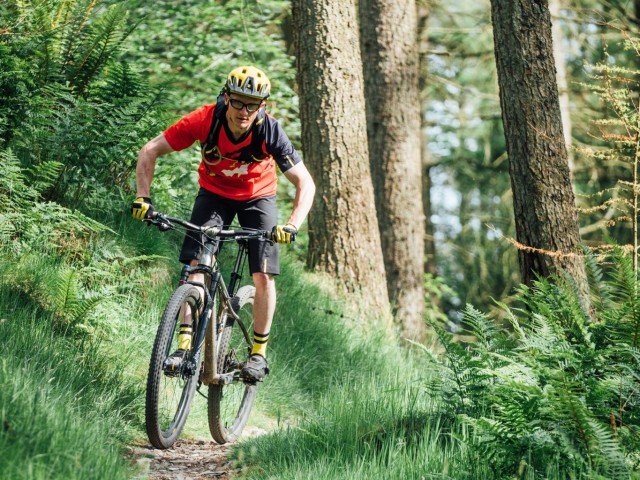
Where speeds are lower, and the trail ahead is obscured by trees and vegetation there can be a temptation to look down at the ground immediately in front of the bike, you must remember that the head leads and the body follows. Keep the head up and looking through these natural features to where you believe the trail to go beyond them, let the eyeballs drop down to check the smaller details in the trail surface to help ensure you are still hooking up the sweetest line through the section.
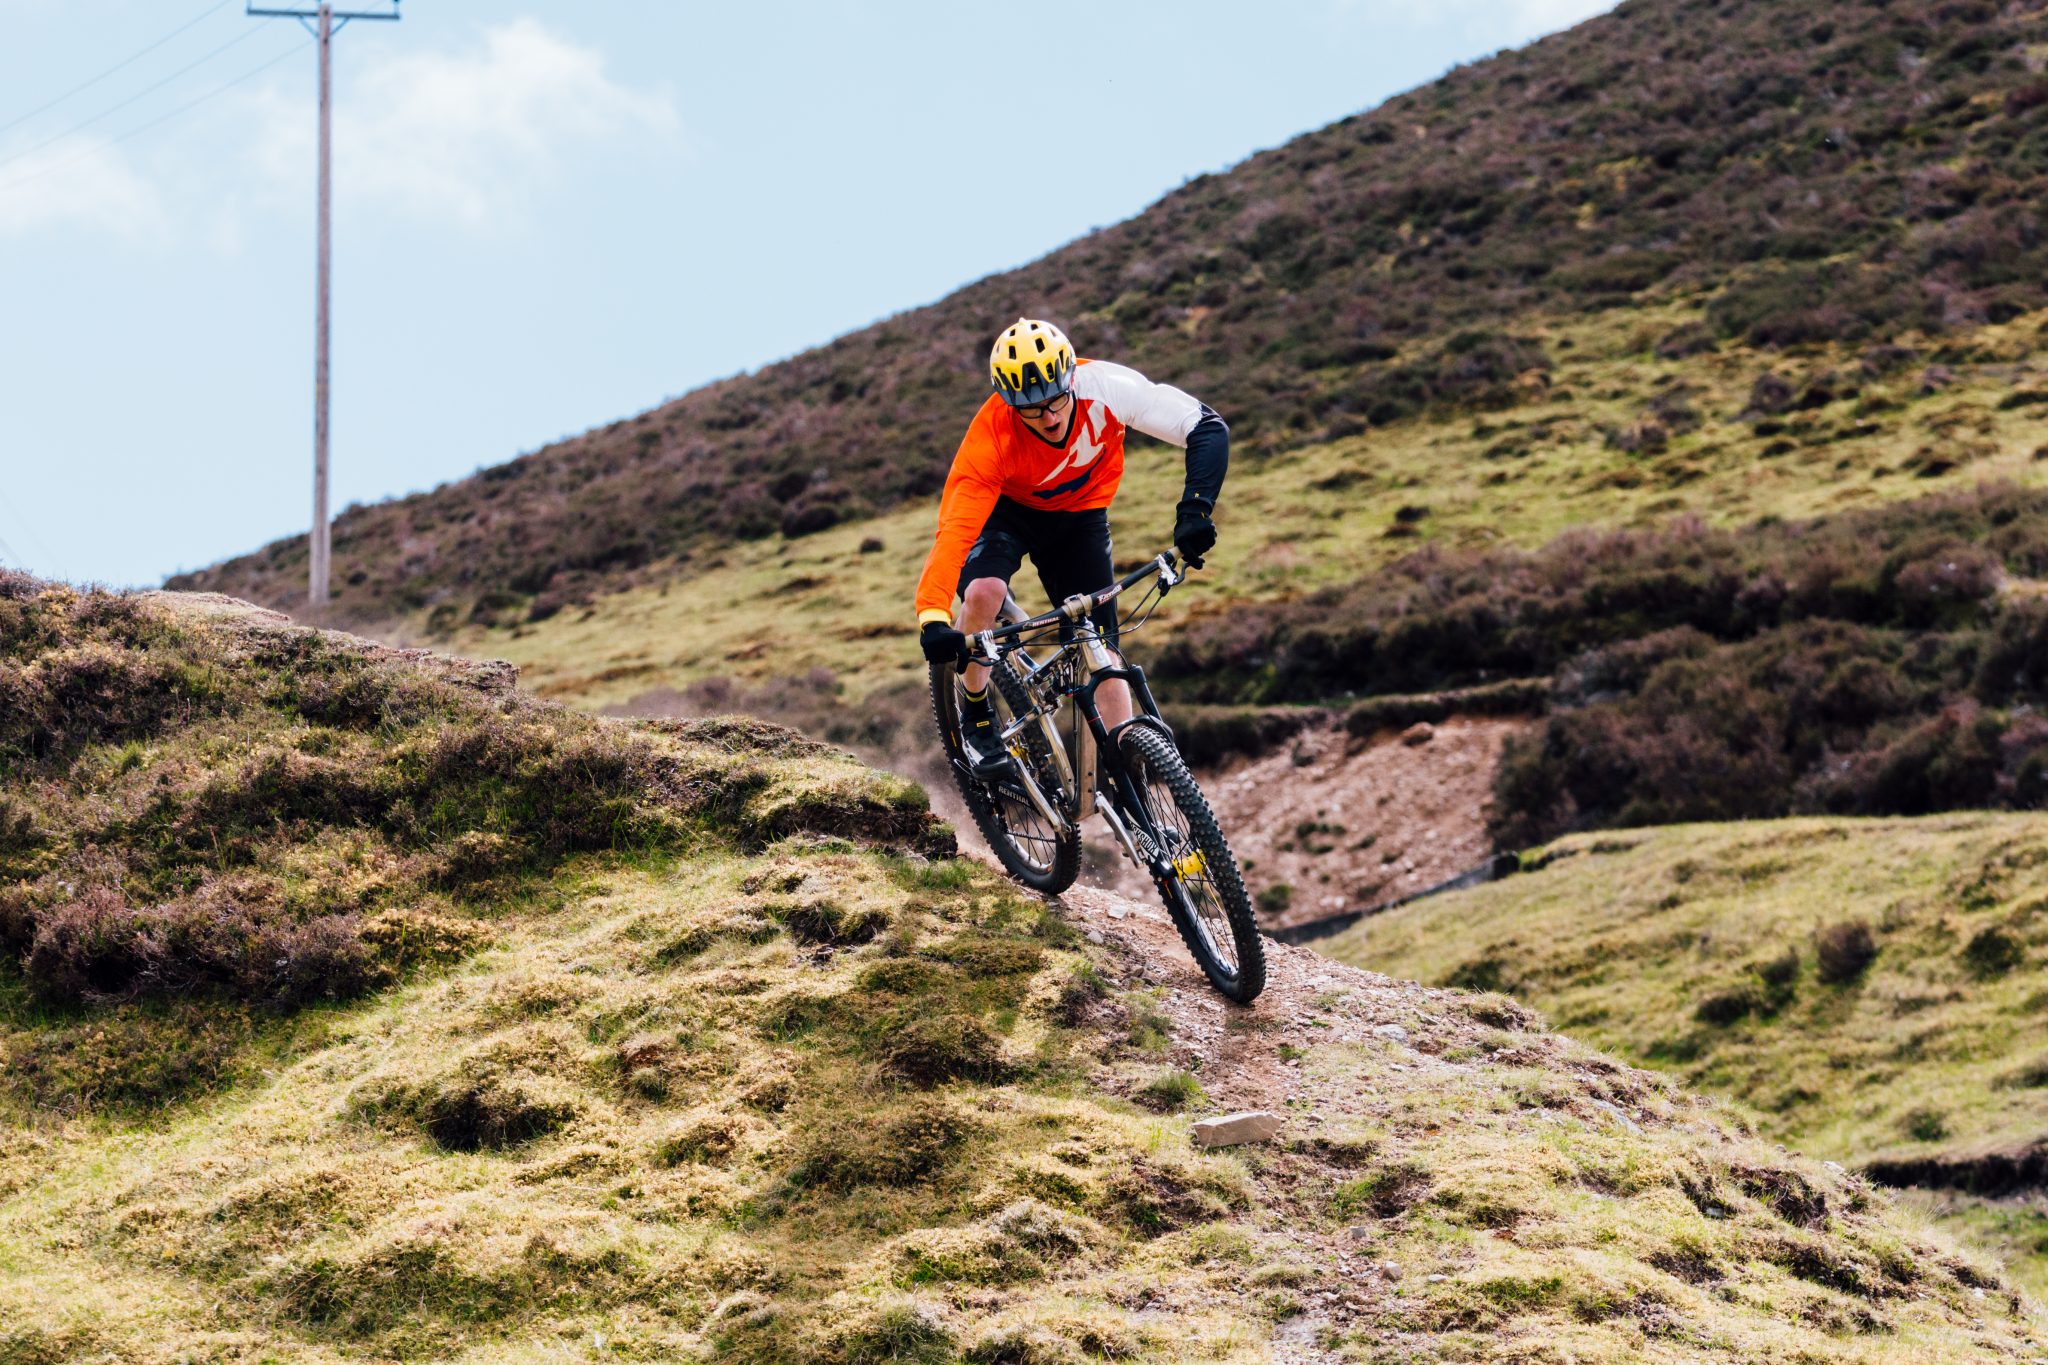
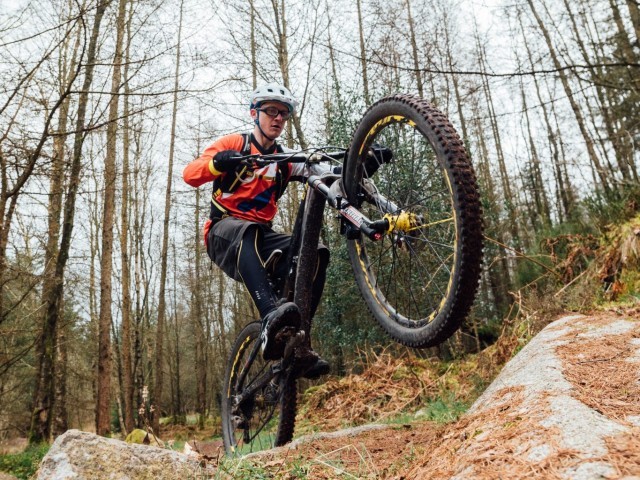
When it comes to dealing with extreme cambers in downhill sections braking has to be kept sweet, lighter control braking is going to help maintain/scrub speed while keeping the wheels rolling cutting fresh knobby's into the trail. You may need to do some more aggressive deceleration braking, if so be mindful of where your wheels are, avoiding washing out on roots that may cross the trail by modulating braking forces and easing up on the pressure at this point.
Using pressure in and pressure out you can help the bike keep traction by going light over the rocks and roots that have off-camber faces, you may still glance them but with less pressure hitting into them the deflection will be less, and the tyre will have more chance to bite back into the hardback when it lands back on the earth. Of course, there may be occasions where that sneaky slide helps you set up for the next section.
Some off / negative cambers can actually be used to our benefit, inducing slides/drifts they can help swing the bike in a pendulum motion (the Scandinavian or Scandy flick), we take the drift from one direction and 'back it in' to the other. This rear end loose style has been popularised by a current wave of riders, but its nothing new, the rallying fraternity inspired us old-schoolers many years back before that tube channel, and other online viewing platforms made these sneaky tricks more widely known. Many modern rutted and deeply scoured trails have also helped in the deployment of this style to be flamboyantly used, for sure in these situations it is a remarkably fast way to ride but don't be tricked into trying to use this steer with the rear technique in all circumstances, it just ends up in losses momentum, worn-out tyres and eroded trails.

Obviously there are many positive cambers out there on the trail to be used, natural berm shapes that we can push and slide into will help us maintain momentum and set up for features, even small angles can be worked to our advantage allowing us to get the tyres tread spread out across the terrain for maximum traction. However equally small negative cambers can really work against us, pulling/towing the bike off line or radically slapping us in the face by whipping out the front wheel, round profiled tyres, where the side knobs are equal, sided tend to 'push' off cambered edges and faces, tyres who's blocks are taller on the outside edge and lower nearer the centre of the tyre tend to cut in that little better, it also helps if the edge of the tyre is uniform, that is to say, the block pattern is NOT staggered. Staggered blocks allow the tyre to initiate sideways movement when hitting obstacles at an angle (typically a root or hard edge of soil poking out from an already off-cambered trail).
If you are encountering virgin terrain then there may be little chance of getting that edge hooked up, the tyres will slip and slide, and you are going to end up slowly losing elevation as you too slide down the hill, this is where you have to pre-empt just how much slippage you are likely to have, from entry point 'A' you need to exaggerate your line choice by aiming higher up the slope so as to hit your exit point 'B'. Different surfaces will have different slippage, some surfaces will bind and give you support after just a small amount of slippage, others may take a while to bind before they provide enough support to send you on your merry way.
Trial and error are the real fixes for getting to grips with camber, reading slope angle, trail condition and rock - lock factor will enable you to build up a database to reflect upon next time you are faced with an off-camber traverse or corner. This database of real-world experience is critical and facing such situations will become less intimidating the more of it you do. Anytime it comes time to push the envelope and stick your neck out it should be done with the knowledge and understanding that there is inherent risk in what you are doing by riding mountain bikes off-road, it has to be your call and your judgement that dictates whether the risk is worth the reward.
Ultimately we all want to ride tomorrow, and the day after and so on, for some of you the penalty for failure maybe just that bit too much to face. If we are not entirely sure then that minuscule doubt can be the trigger for us to tense up, the repercussions means we may have a rough and skeet ride or we may not even make it out the other side at all, If you are not 'feeling it' and in any doubt at all then leave it, more than likely that trail, section, feature/problem will still be there to face another day. Confidence breeds confidence, know your limits and know when to quit when you are ahead.
John F Kennedy said, "Those who dare to fail miserably can achieve greatly." He'd obviously never crashed a mountain bike, on the flip side J. K Rowling said "It is our choices, that show what we truly are, far more than our abilities," and far more fitting for those of us facing camber and gravity. Keep it rubber side down, until next time.
This technique article was in Issue 60 of IMB.
Related


By Clive Forth
Clive Forth is a rider who has been there, done that, got the t-shirt and cleaned his bike with it. He has grown with the UK scene and technological developments for the last 30 years and has competed at all levels in all disciplines riding for some prestigious brands along the way. Always looking for that extra edge with endless passion and drive he is geared up to bring you the inside line on all aspects of mountain biking skills and technique.