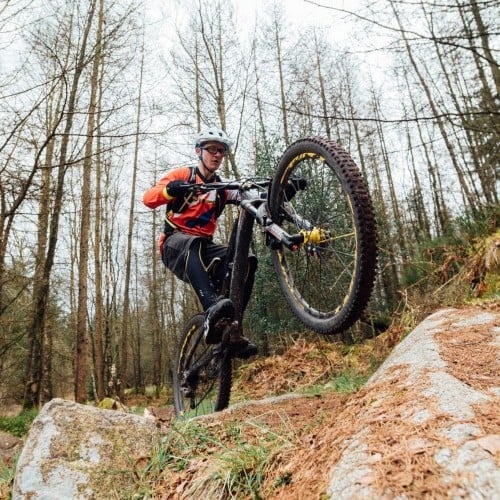
Wheelie Wicked
Technique / Skills

Eliminate And Exaggerate
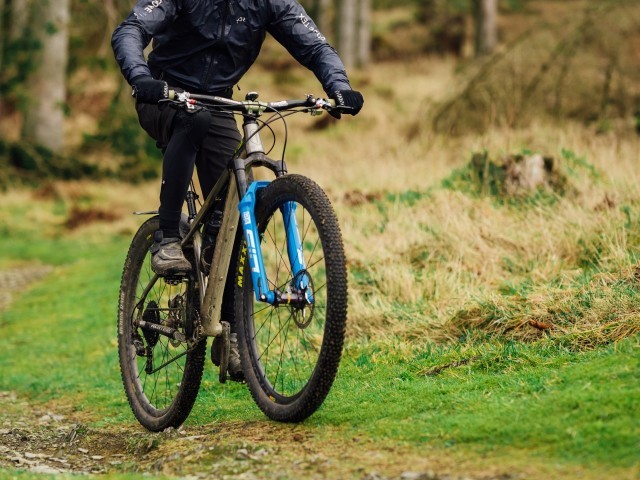
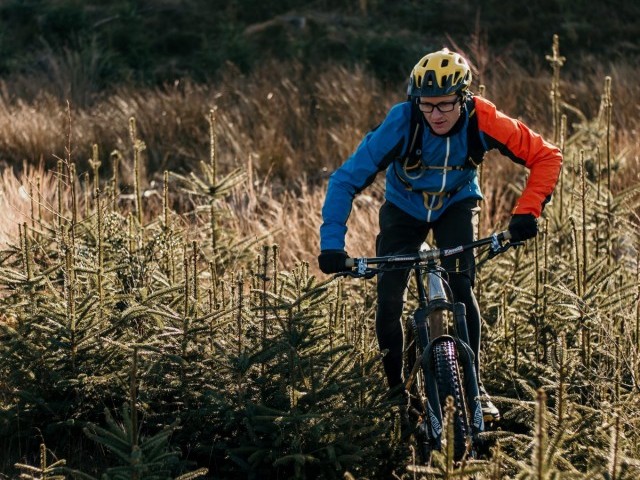
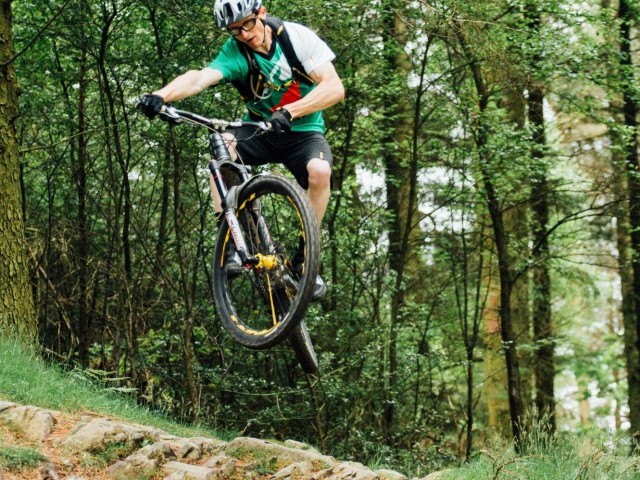
This issue is the start of a mini-series where we build on our technique and take a look at some core skills. We kick off with one of the most envied and sought-after skills; the wheelie. This one ticks the box for teens in the high street and estates of the UK as well as the big kids in the bike park. The ability to pop that front wheel up to get onto and over things is a skill set that all riders should have in their toolkit.
Only the most basic of trails will slip under the radar and allow you to roll around them without getting that front wheel unweighted at some point when gravity is working against you, and that stopper heads your way it's only a tap of the gas and lift of that front wheel which will save you. So how is it done?


To kick things off the focus is on the footwork, the subtle skills of crank/pedal placement and smooth cadence not only enable us to pull sweet wheelies on demand they will allow us to smoothly pedal through undulating terrain navigating cranks around rocks and stumps with ease. Getting to know exactly where your feet are in that 360-degree circle is all important for cleaning technical sections of trail. That log roll or up and over manoeuvre where you see painful pedal scrapes will become a joy when you have this dialled in.
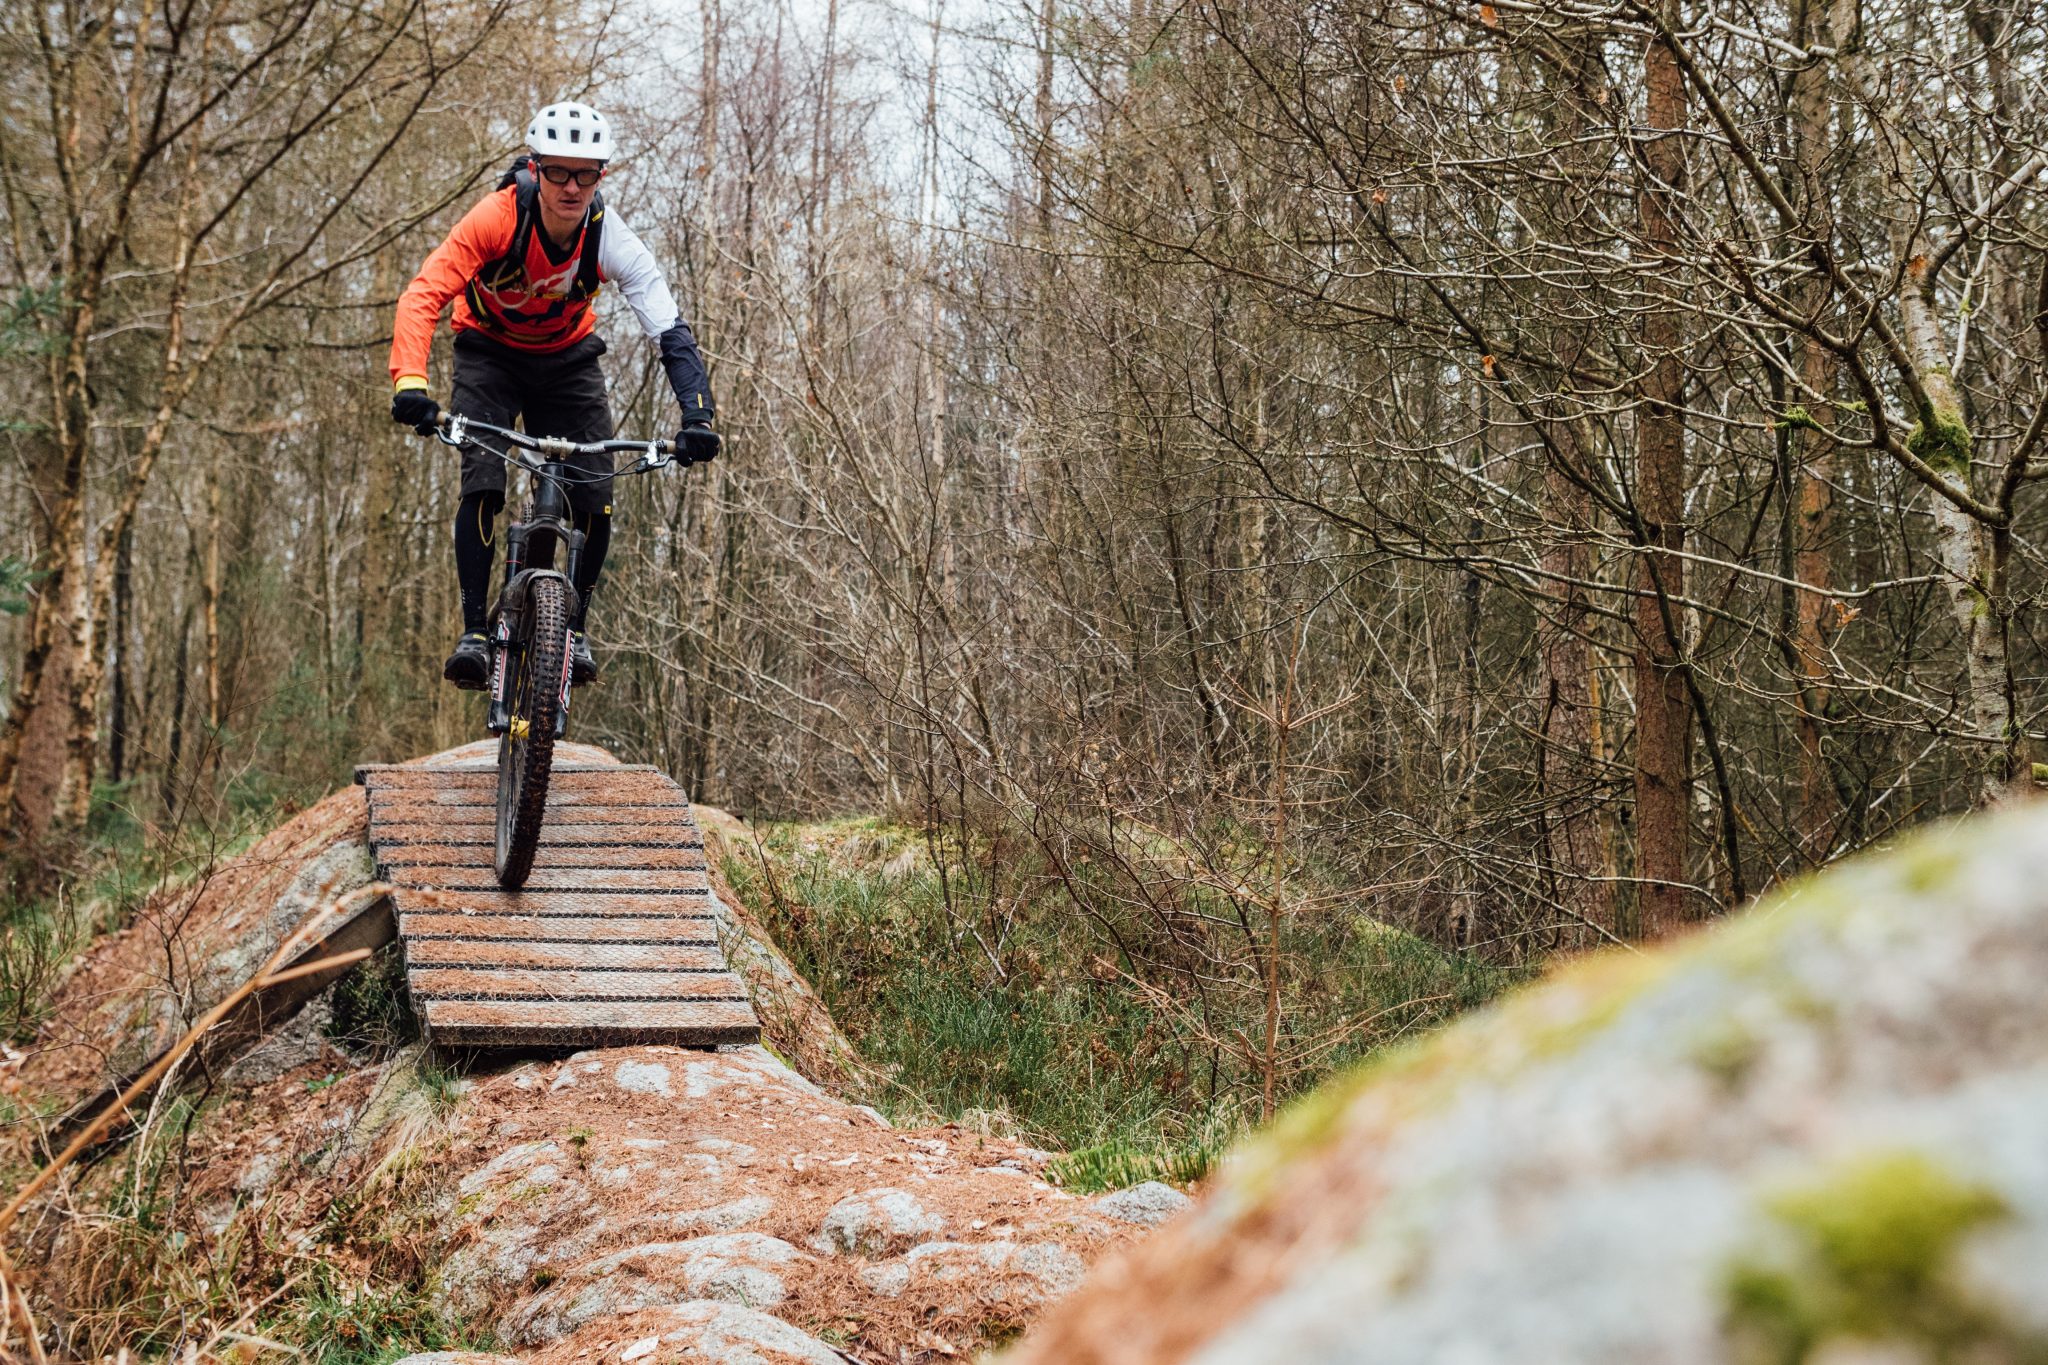
As much as it may look cool peddling the length of the high street on one wheel, it is unnecessary in most trail situations. The requirements on the trail is to simply eliminate a feature that will stall out your front wheel. Once the front wheel is over an object, the next thing to impact will be your chainset, if your chain set clears the object you're back wheel will come into contact with it, and you will then need some assistance in getting up onto and over the feature.
What this means in layman terms is that you only need to lift your wheel so high and so far, just enough to clear the feature and no more, this is an explosive manoeuvre, and we are trying to be as energy-efficient as possible. The distance you need to travel will be somewhere between your wheel size and your wheelbase; the height will be in the region of one to two feet (30 to 40 cm).
Timing Is Everything
Even a good piece of comedy can go down like a sack o spuds if the timing is wrong. Likewise, if you mess up your timing, you’ll be heading for the cloakroom and collecting your jacket. Timing is everything when it comes to performing wheelies on demand in trail situations. If we can learn to ‘kick-off’ with either foot then no matter what way round our cranks are as we approach a technical feature we are ready and equipped to deal with the situation. Let's look at this in more detail and break the skill down.
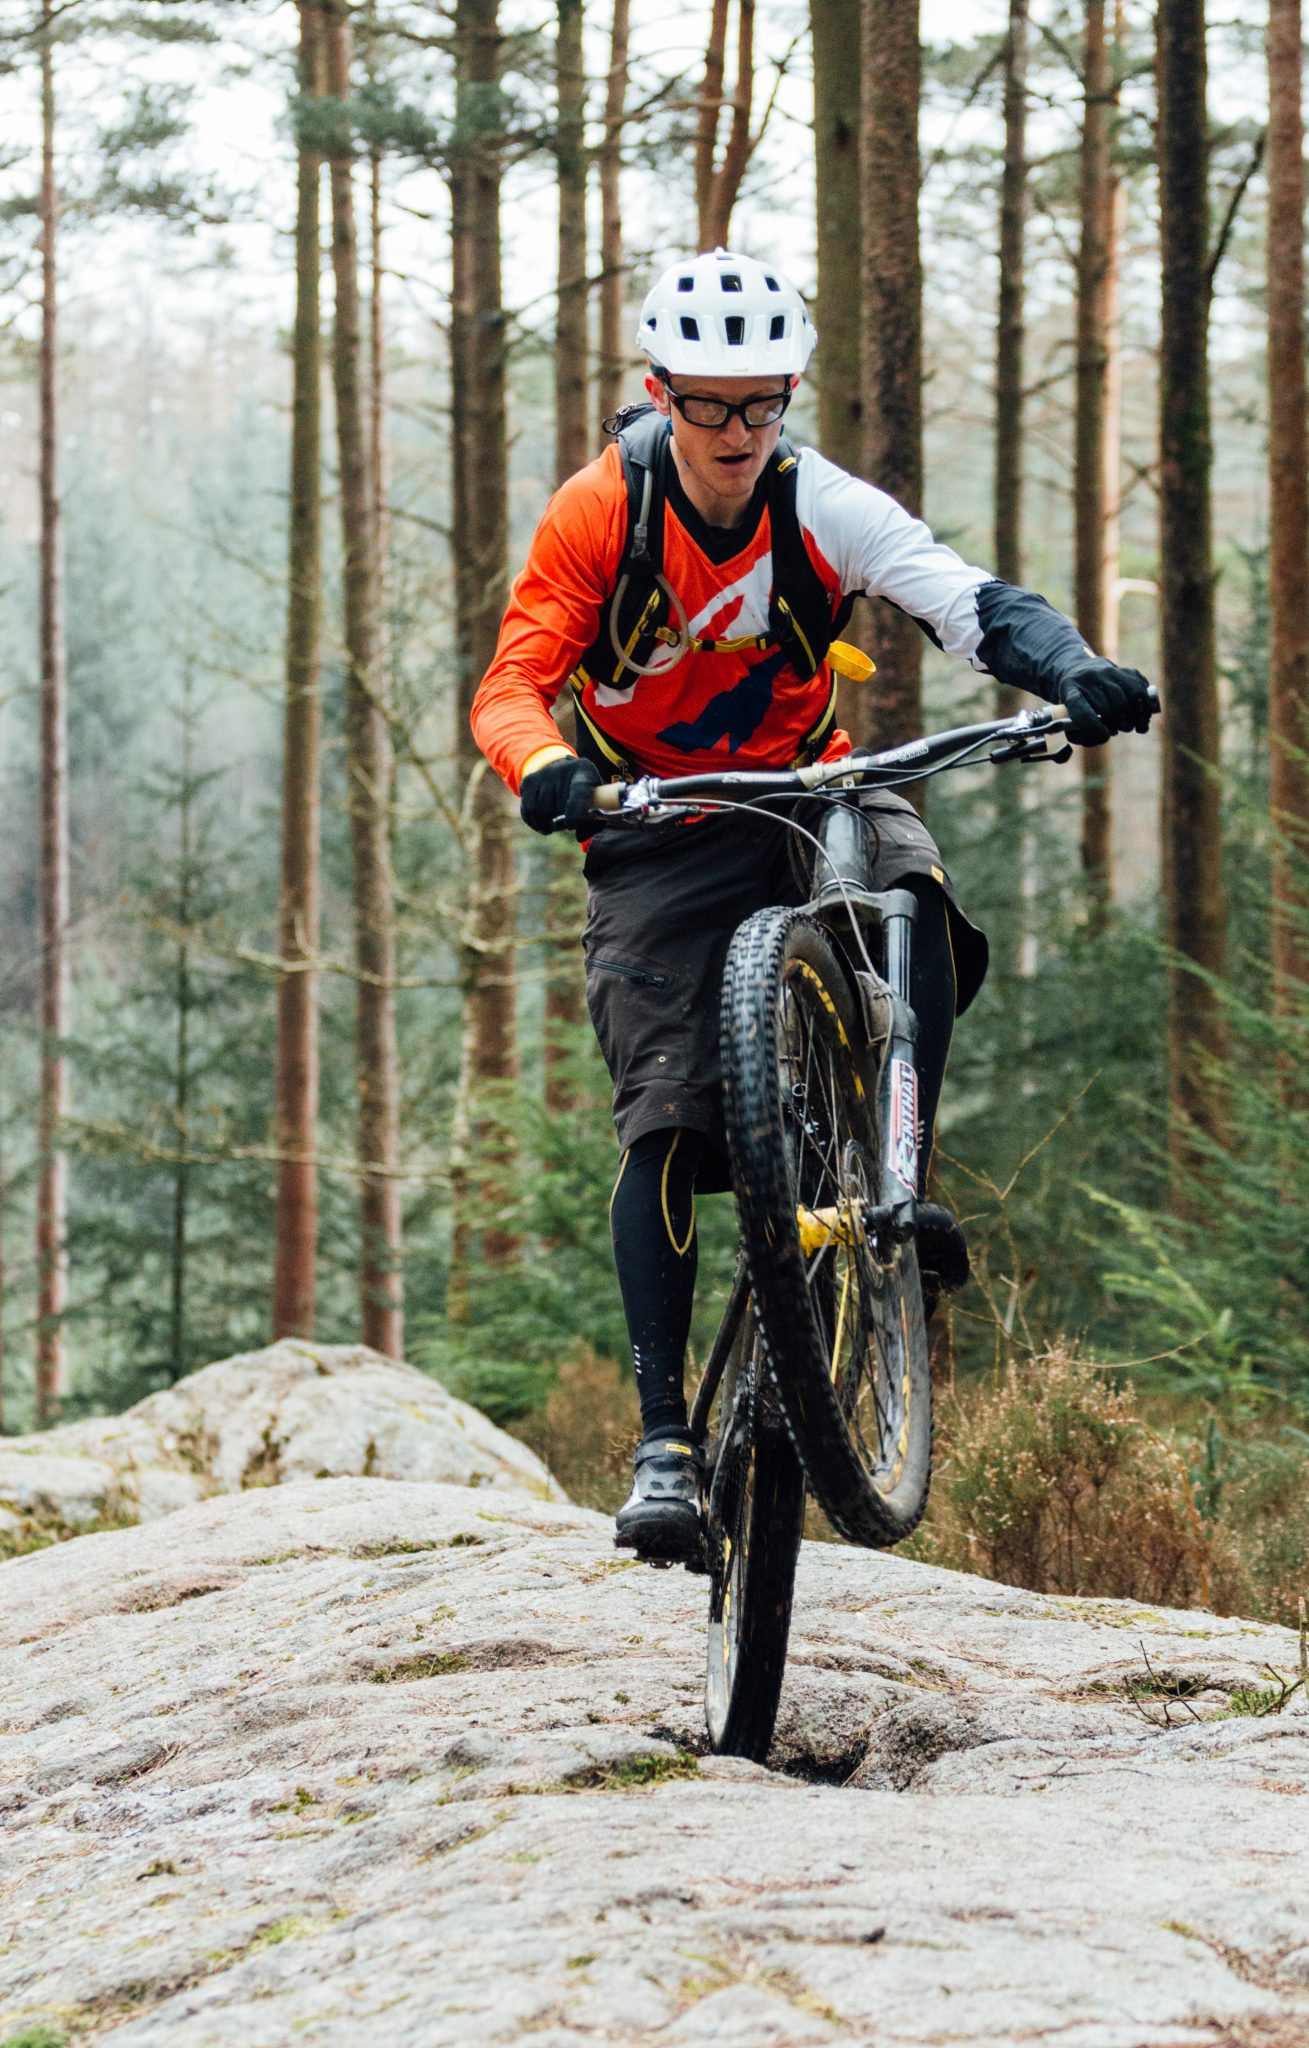
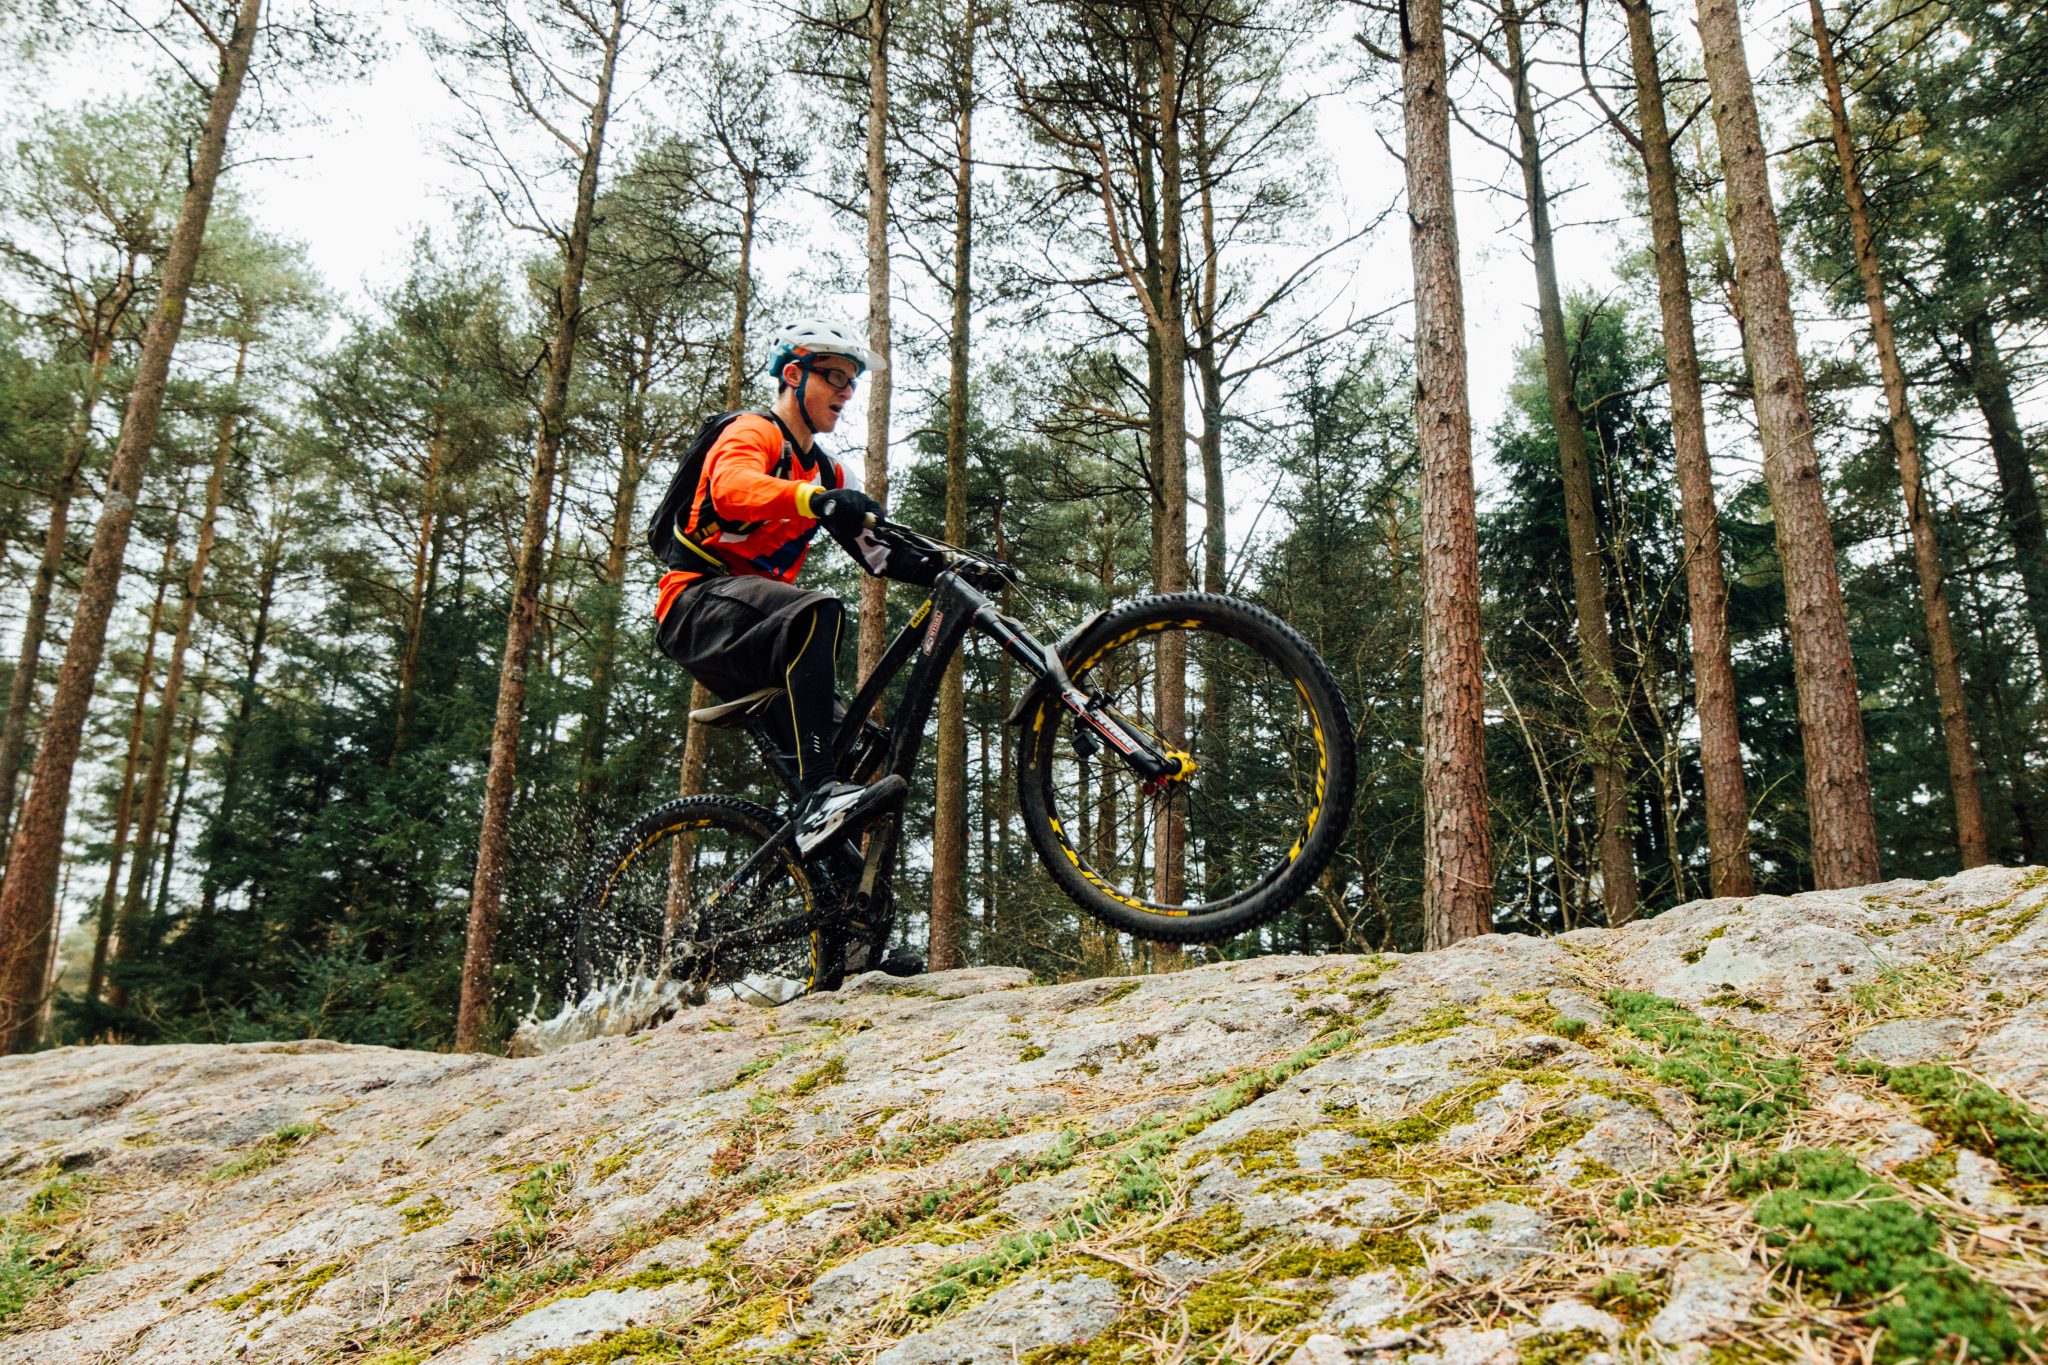
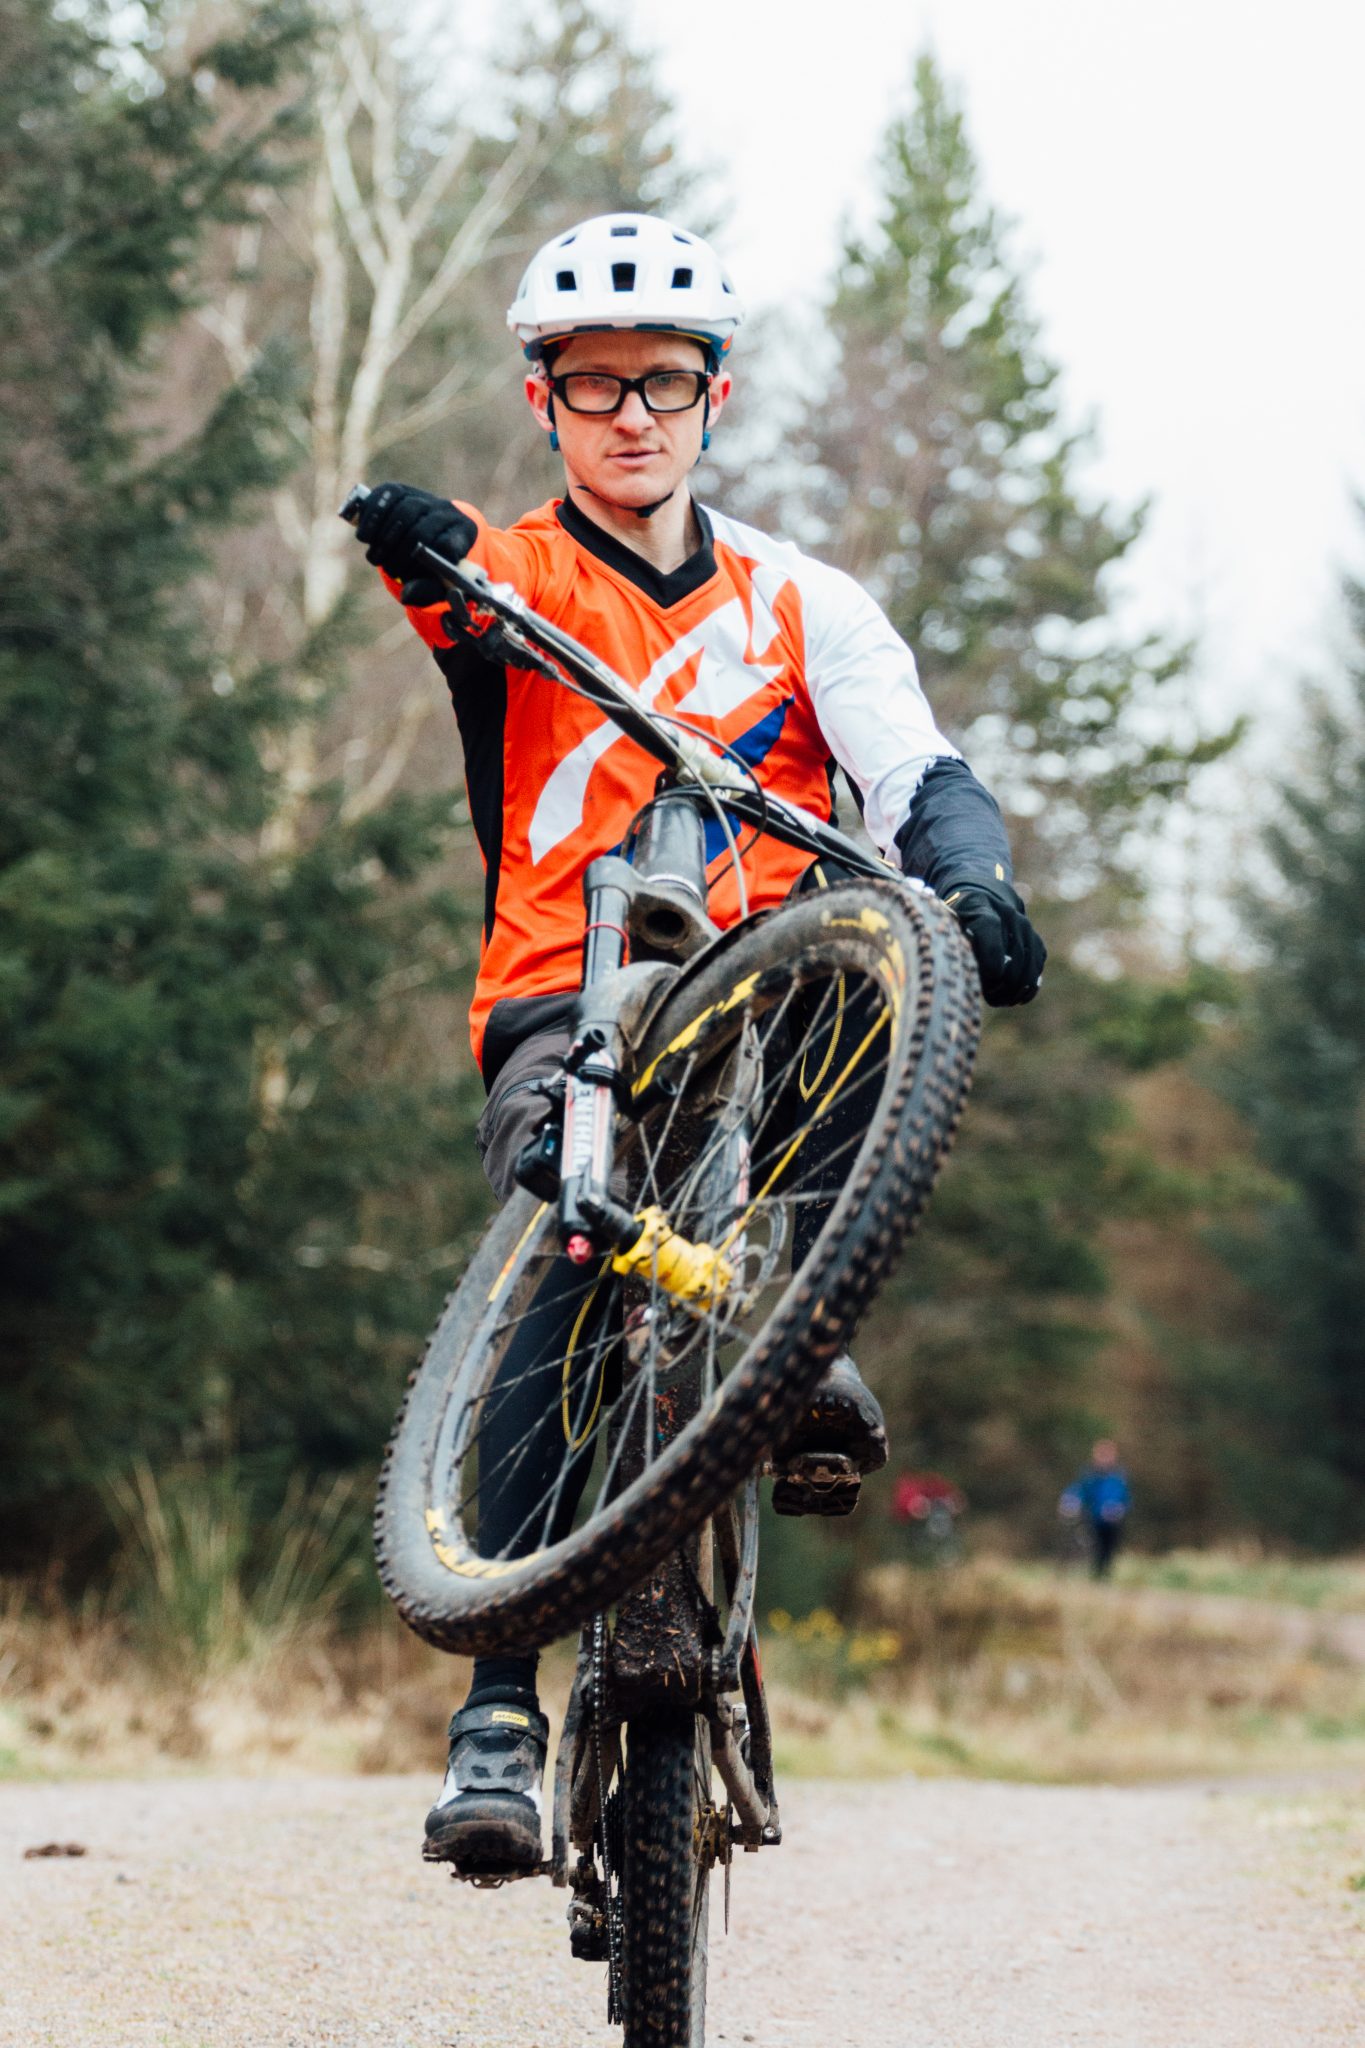
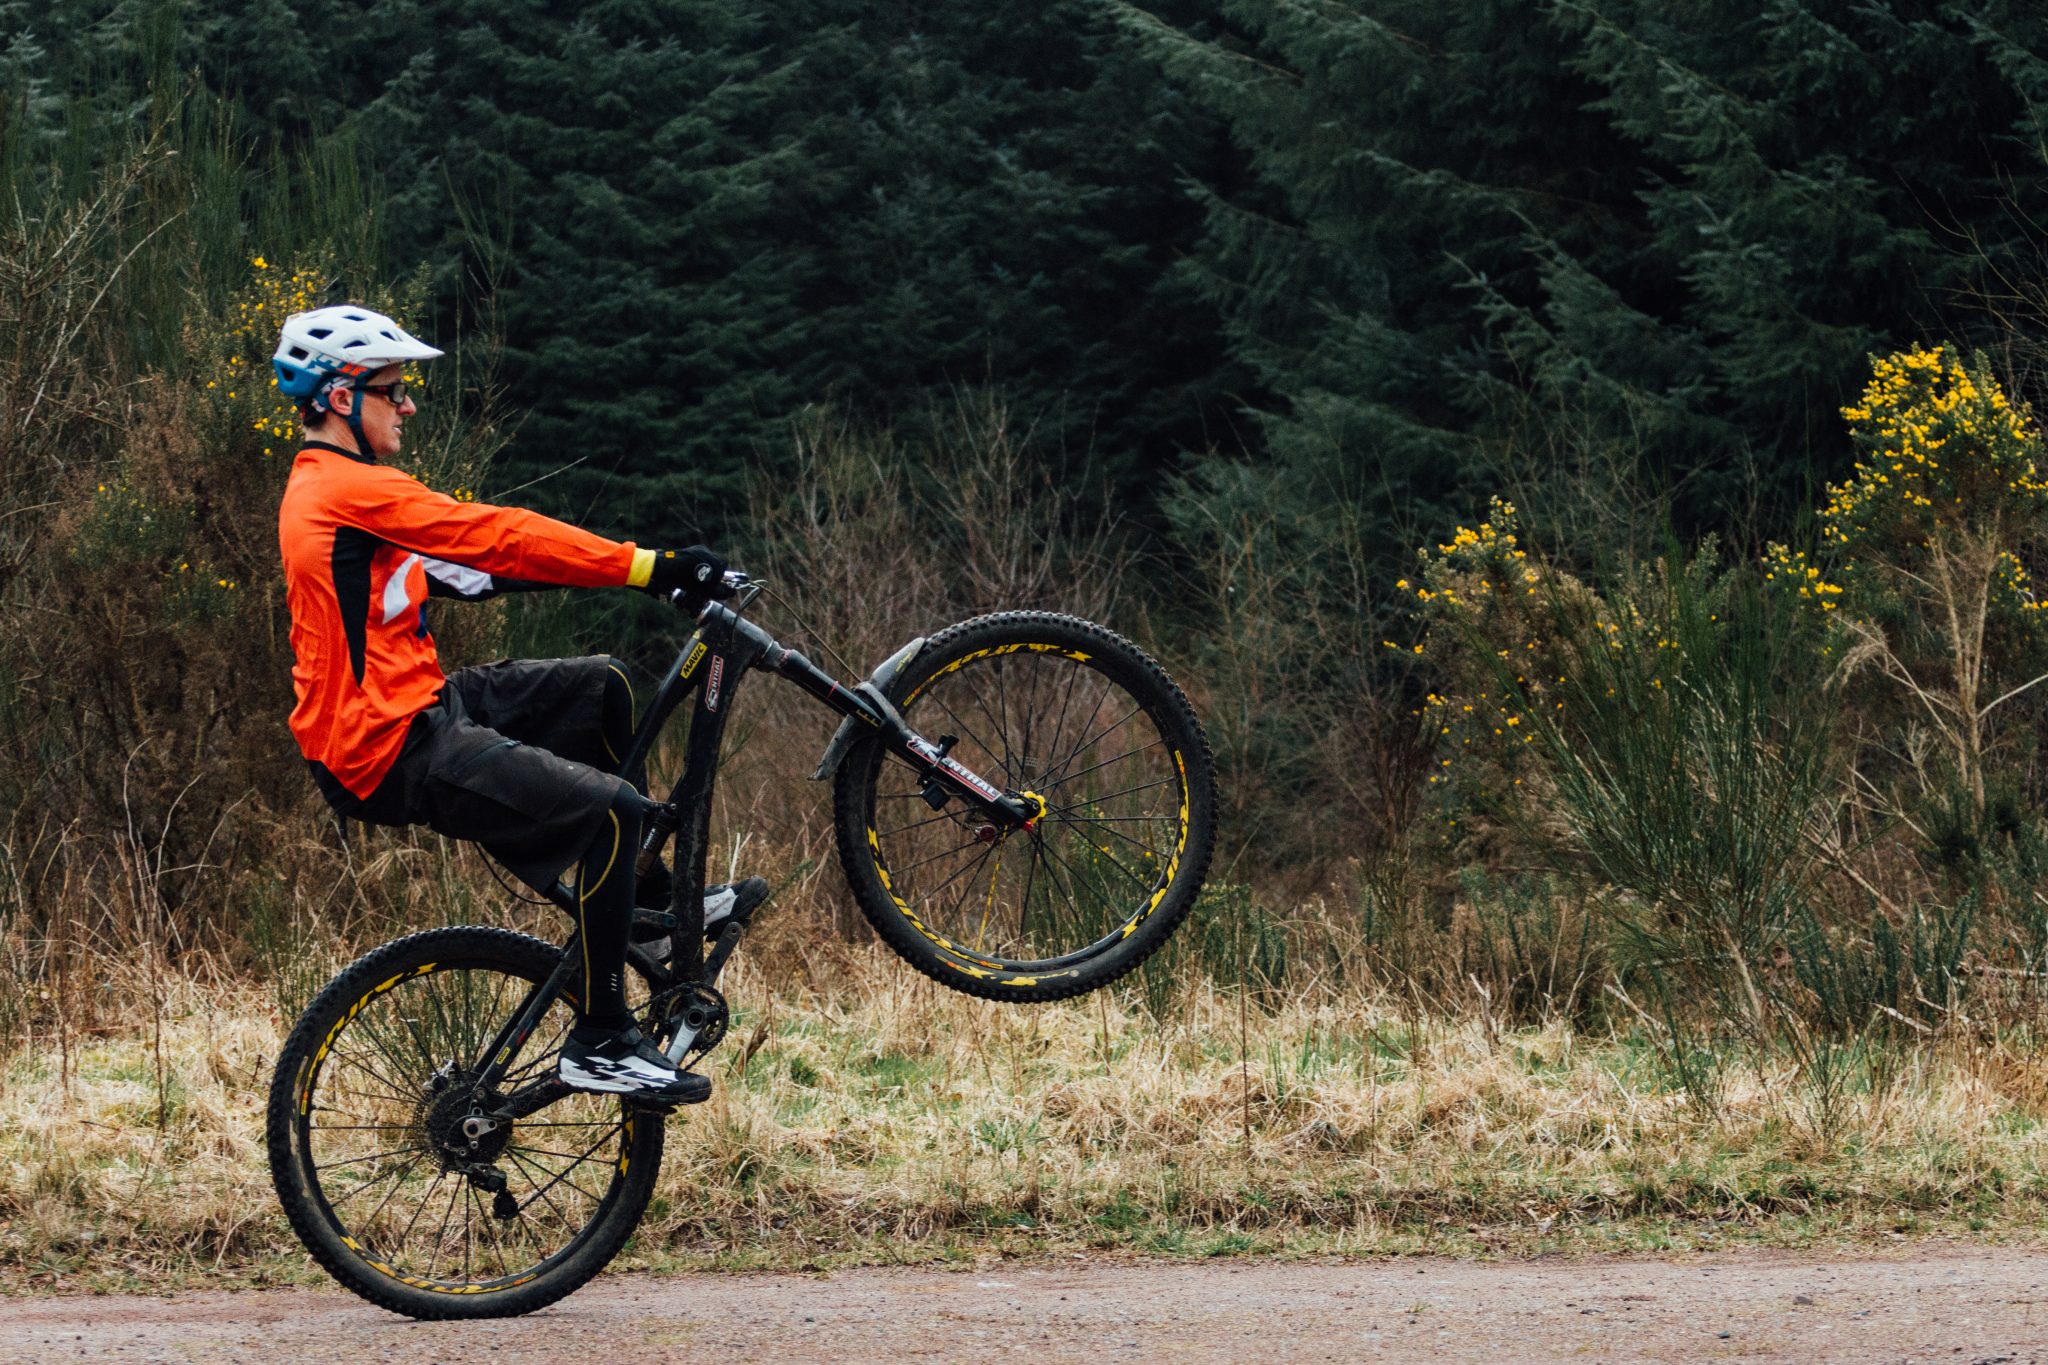
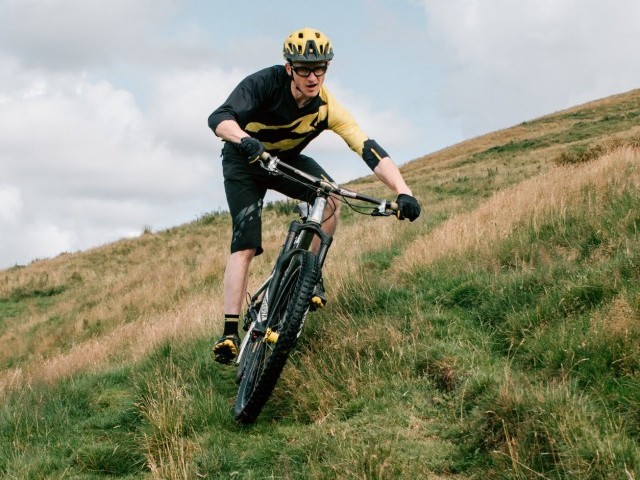
Whether performing a wheelie seated or in the standing position we need to combine fast acceleration with movement of the torso in order to get the bike to pop up and rotate around its back axle. The nature of the drive system on your bike means that the chain can pull you up around the rear axle without the bike moving forward. This, however, requires a sizeable amount of force and inevitably we may move slightly forwards in the process. Most of the lift is coming from the action of fast acceleration backed up by synchronised movements from the torso taking the weight of the body out of the front centre of the bike. Providing the torso moves in time as you drive your foot away from you while accelerating then the front end of the bike will become light and raise up in front of you with relative ease.

Start by pedalling along using nice slow cadence, practice pivoting at the hips by allowing your elbows to push outwards, as your favoured foot passes top dead centre, pivot from the hips allowing your arms to straighten up simultaneously as your favoured foot powers through the down stroke. Remember to keep looking ahead up the trail as you do so. Your cadence needs to be really slow, and for this exercise, you need to keep the pace around walking speed. This is a little bit like rubbing your belly and patting your head at the same time, but you’ll soon master it.
Sequencing the moves - link the torso’s movements to the cranks rotations
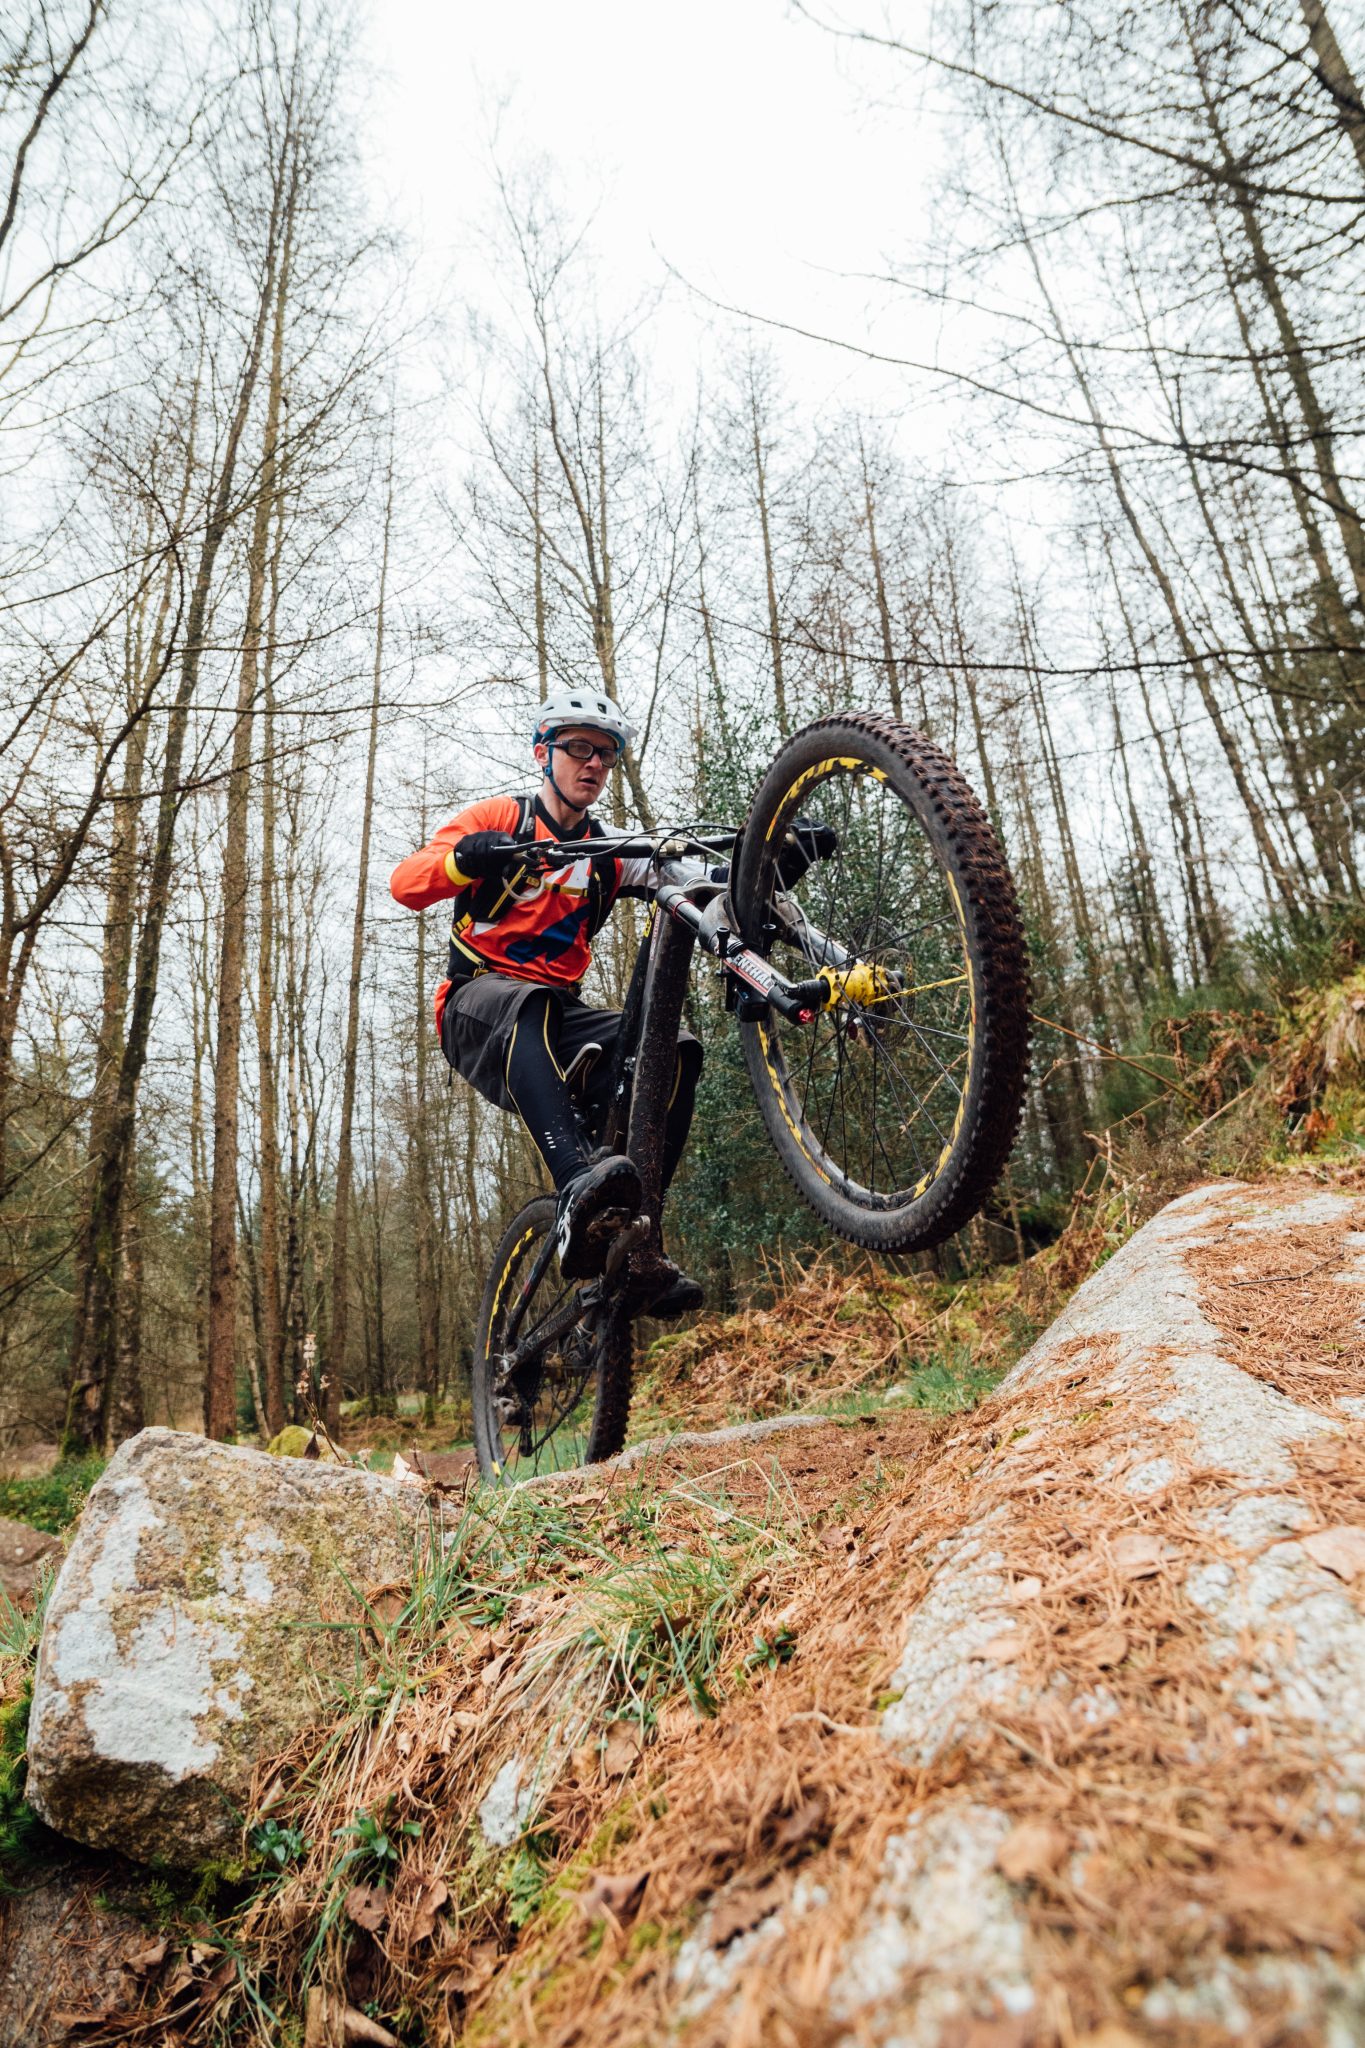
The torso will move towards the stem as your elbows push out while your favourite foot is on the backstroke, the torso then starts to return to the upright position (also in a dynamic fashion) as your favourite foot passes top-dead centre and starts to accelerate hard. The torso continues to rise upwards, and the arms will become fully extended / straight, you can see this clearly in the video.
When you feel that you have your timing right, it's time to bring in some oomph. By this, I mean really laying down some power on that downstroke. Make sure you have one finger covering the back brake, this is one of two mechanisms that will stop you from the dreaded loop-out. The other tool you have which will bring your front wheel back down to the trail is to push your elbows out. By doing this, your chest will come close to the stem making you more front weight bias thus helping to bring the front wheel back down to the ground. This is also one thing that people do which prevents them from popping the perfect wheelie (lifting the bar by bending the elbows bringing the stem closer to the chest and not allowing the torso to become upright).
Ultimately if you want to keep the bike up on its back wheel for some distance, then we are looking to get the front wheel completely up in the air and the bike in its balance point within half a pedal stroke or less. If you fail to deliver a powerful dynamic strike through the crank, you will not gain the height, and you will continue to accelerate with minimal lift and minimal air under the front wheel. On the trail, you only need to lift the front wheel a little higher than the feature you are trying to clear.
If you are afraid of looping out over the back then practice using the back brake to calculate the amount of brake tension versus your pedal tension needed to keep the loop-out in check. What I mean by this is that you should have the brake slightly binding, or on the verge of binding before you accelerate and lift the front-end. Again you can see this exercise in the video.
The arms do come into play, but the focus should be on the drive generated from your legs. What we’re doing is a combination of ‘sitting up’ by pivoting from the hips combined with flicking the bike out in front of us. Initially the arms lift up towards the body getting under the handlebar with the hook of the thumb, then as the front rises up (thanks to the dynamic aggressive peddle stroke we just delivered) we allow the torso to fall backwards over the rear wheel. We then take the weight of the bike through the fingertips to pull it up to full tilt with the arms now straight. The torso is upright, and the head is up looking along the trail.
Take It To The Trail
All of our core skills need to be hardwired into our muscle memory so that when the time comes, we no longer have to think about making these moves we can simply perform them. There is a slightly delayed reaction in the process (brain connecting to spinal column - connecting to nerves -connecting to muscles etc.), thinking of the sequence of movements is not quite the same as actually doing them. It is, however, all practice and thinking things through is the first port of call for your destination skill. This nanosecond delay is referred to as the gun-slinger effect. The outcome of responding versus initiating an action. This is an area that has been studied in great detail.
What this means in real terms for gun-slingers is the person who consciously decides to shoot will be the person who dies, the victor has acted from sub-conscious memory ‘instinctively’. The opponent who is just waiting and watching sees the slight twitch of a hand going for the gun, they move instinctively, draws, shoots wins. When rolling along the trail if the moves are not hard-wired in the system then by the time you have thought about responding to the monster stopper you are already hitting it!

To respond instinctively requires the muscles to have memory so that they make the necessary shapes without cognitive thought. The brain processes the fastest thing known to mankind, light. Having registered the feature ahead (this is why it is so important to look up and forward to read the terrain) without delay, your nervous system sends the right signals to the right muscles, which in turn twitch moving the bike below you. Naturally, the faster you’re moving, the faster they need to respond, and therefore it is imperative to start slow and build up the pace.
We also need to develop a sixth sense and pre-empt things on the trail. This comes with years of capturing trail data by being exposed to it, you read, register and record and can draw upon the memory bank in an instant to deploy shapes as and when required at any given speed in ‘blind riding’ situations. A very satisfying thing is cleaning, at speed, trails you have never seen or ridden.
As part of our personal development, we need to develop both slow twitch ‘ power/strength moves’ and fast twitch dynamic moves in order to move the REAL weight - the bike below you. Try not to get tricked into the language of weight shifts, think of yourself as weight-less, floating on two cushions of air (your tyres); it’s through muscular movements and movements of your limbs that you move the weight below you.
Watch any elite rider, and it appears effortless and easy, like they are floating across the terrain. They are not thrashing around all around over the top of the bike; they look almost motionless in the torso and head. The arms and legs are throwing shapes like a B-Boy break-dancer (elbows and knees as my friends used to say to me) and the bike is making all kinds of funky shapes below them. Limber up folks and be supple.
We get this deep-rooted muscle memory through repetition, just look at any sport performed at a high level, athletes train day in day out bagging hours and hours using the exact muscles required to perform the task. The problem with just riding trails is you are exposed to features very infrequently. Just take a moment to contemplate your average trail ride and think about how many times you really need to perform skills such as wheelies, manuals, bunny hops, drops and jumps.
These fleeting moments barely last seconds, and yet you may be out on your bike for a few hours. The cumulative exposure and repetition of these exact muscle movements is bare minimal. This is why we session features and more specifically session the skills that enable you to get over those features, this is key to progress your technical riding.
With all our core skills I encourage you to find somewhere safe to practice, preferably forgiving in its nature should you have a fall, this is all about building control which will give you that confidence to commit once on the trail, the last thing we want to do is knock the confidence levels. I always recommend somewhere with grass and preferably a slight gradient. Perfect your wheelies in this safe environment before taking it to the trail.
On The Trail
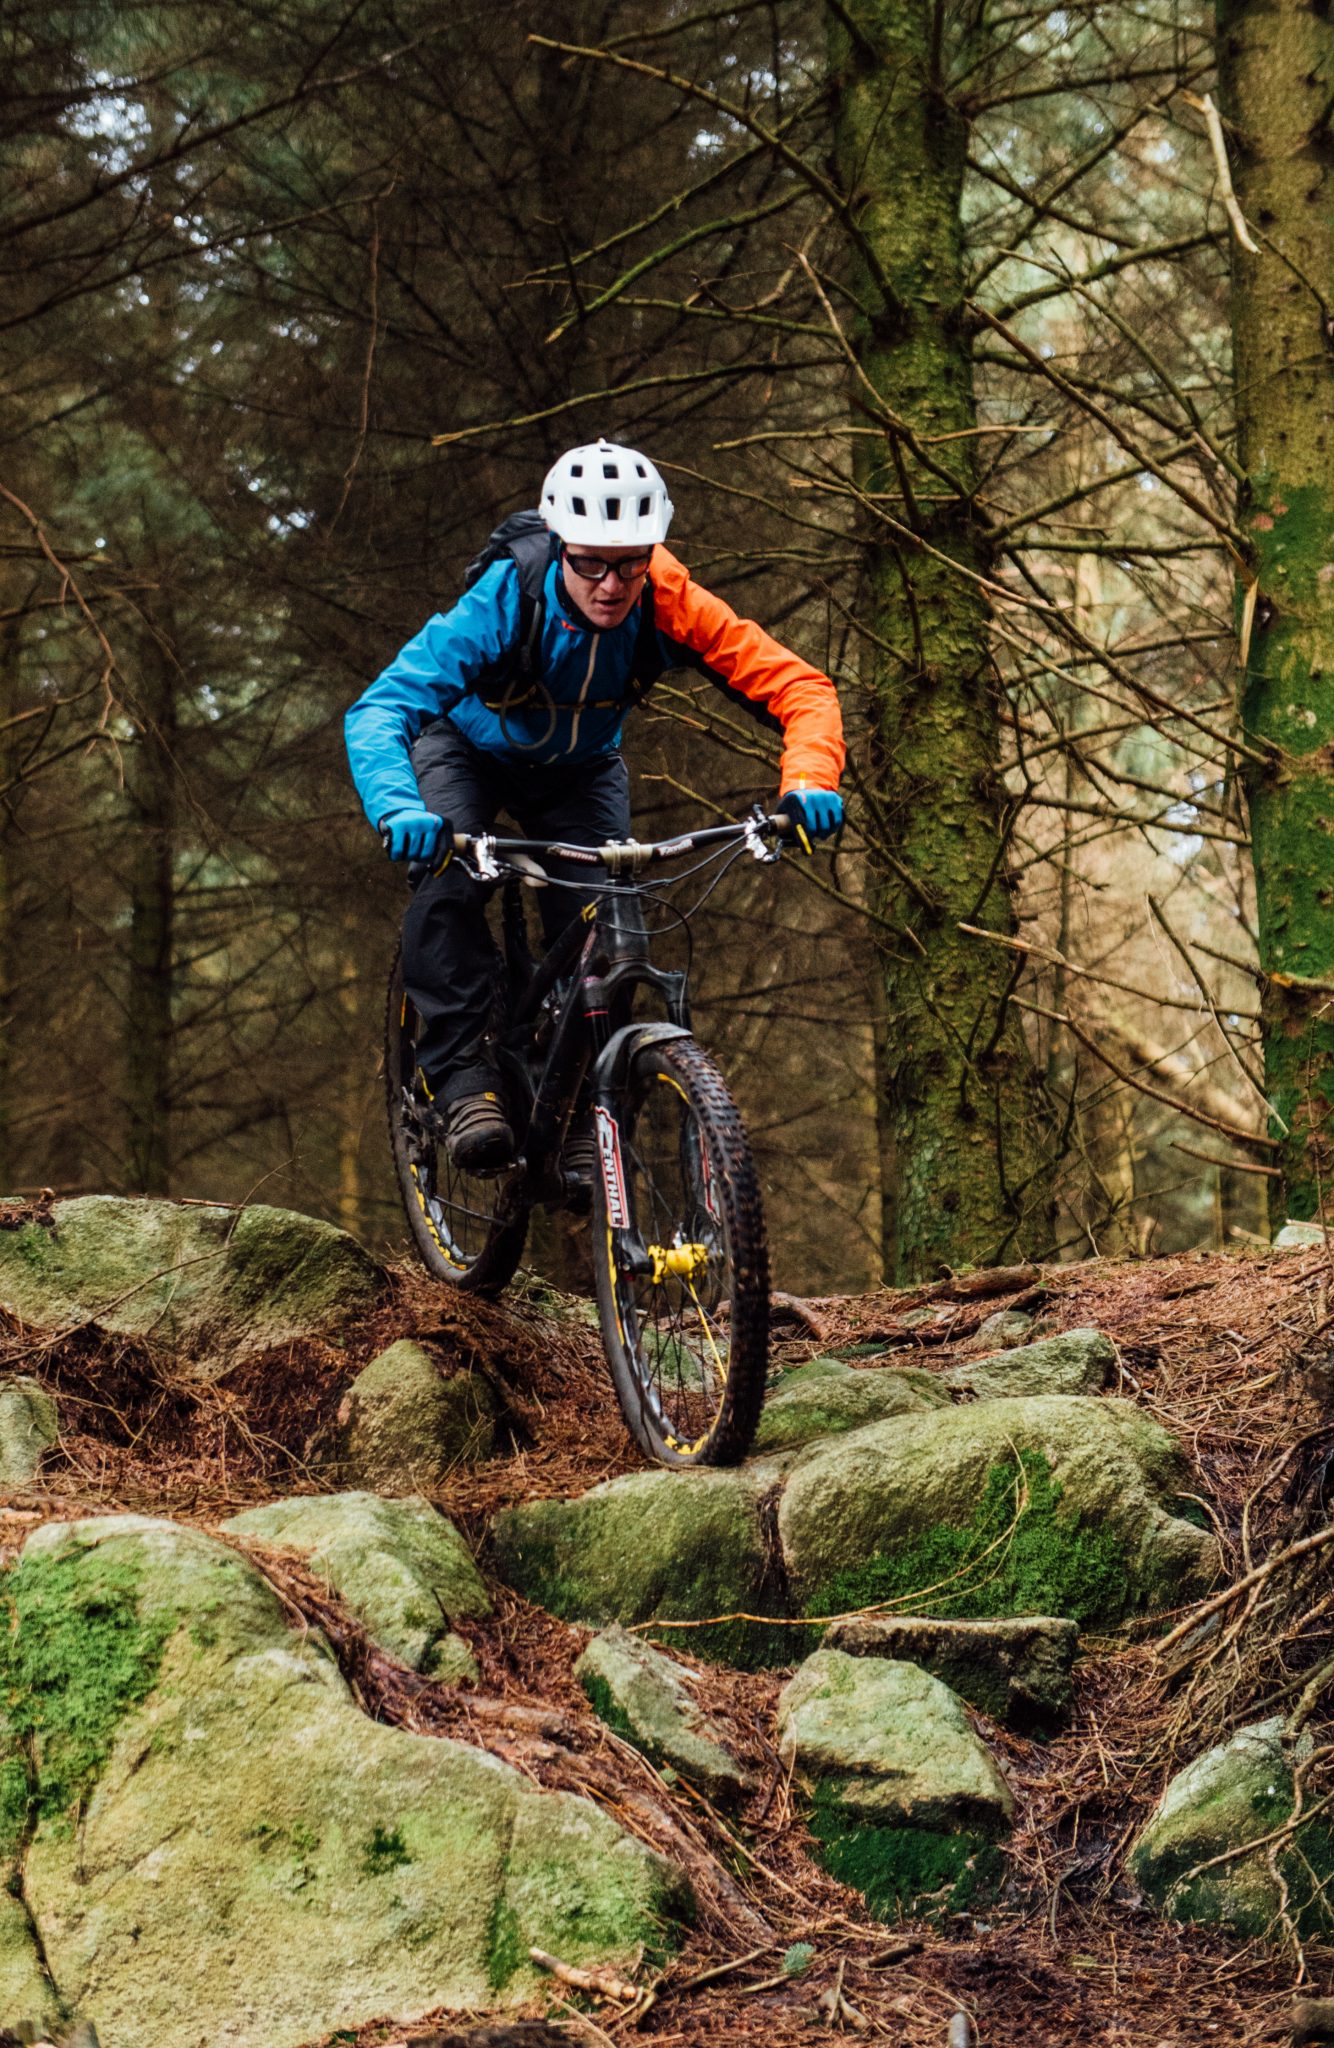
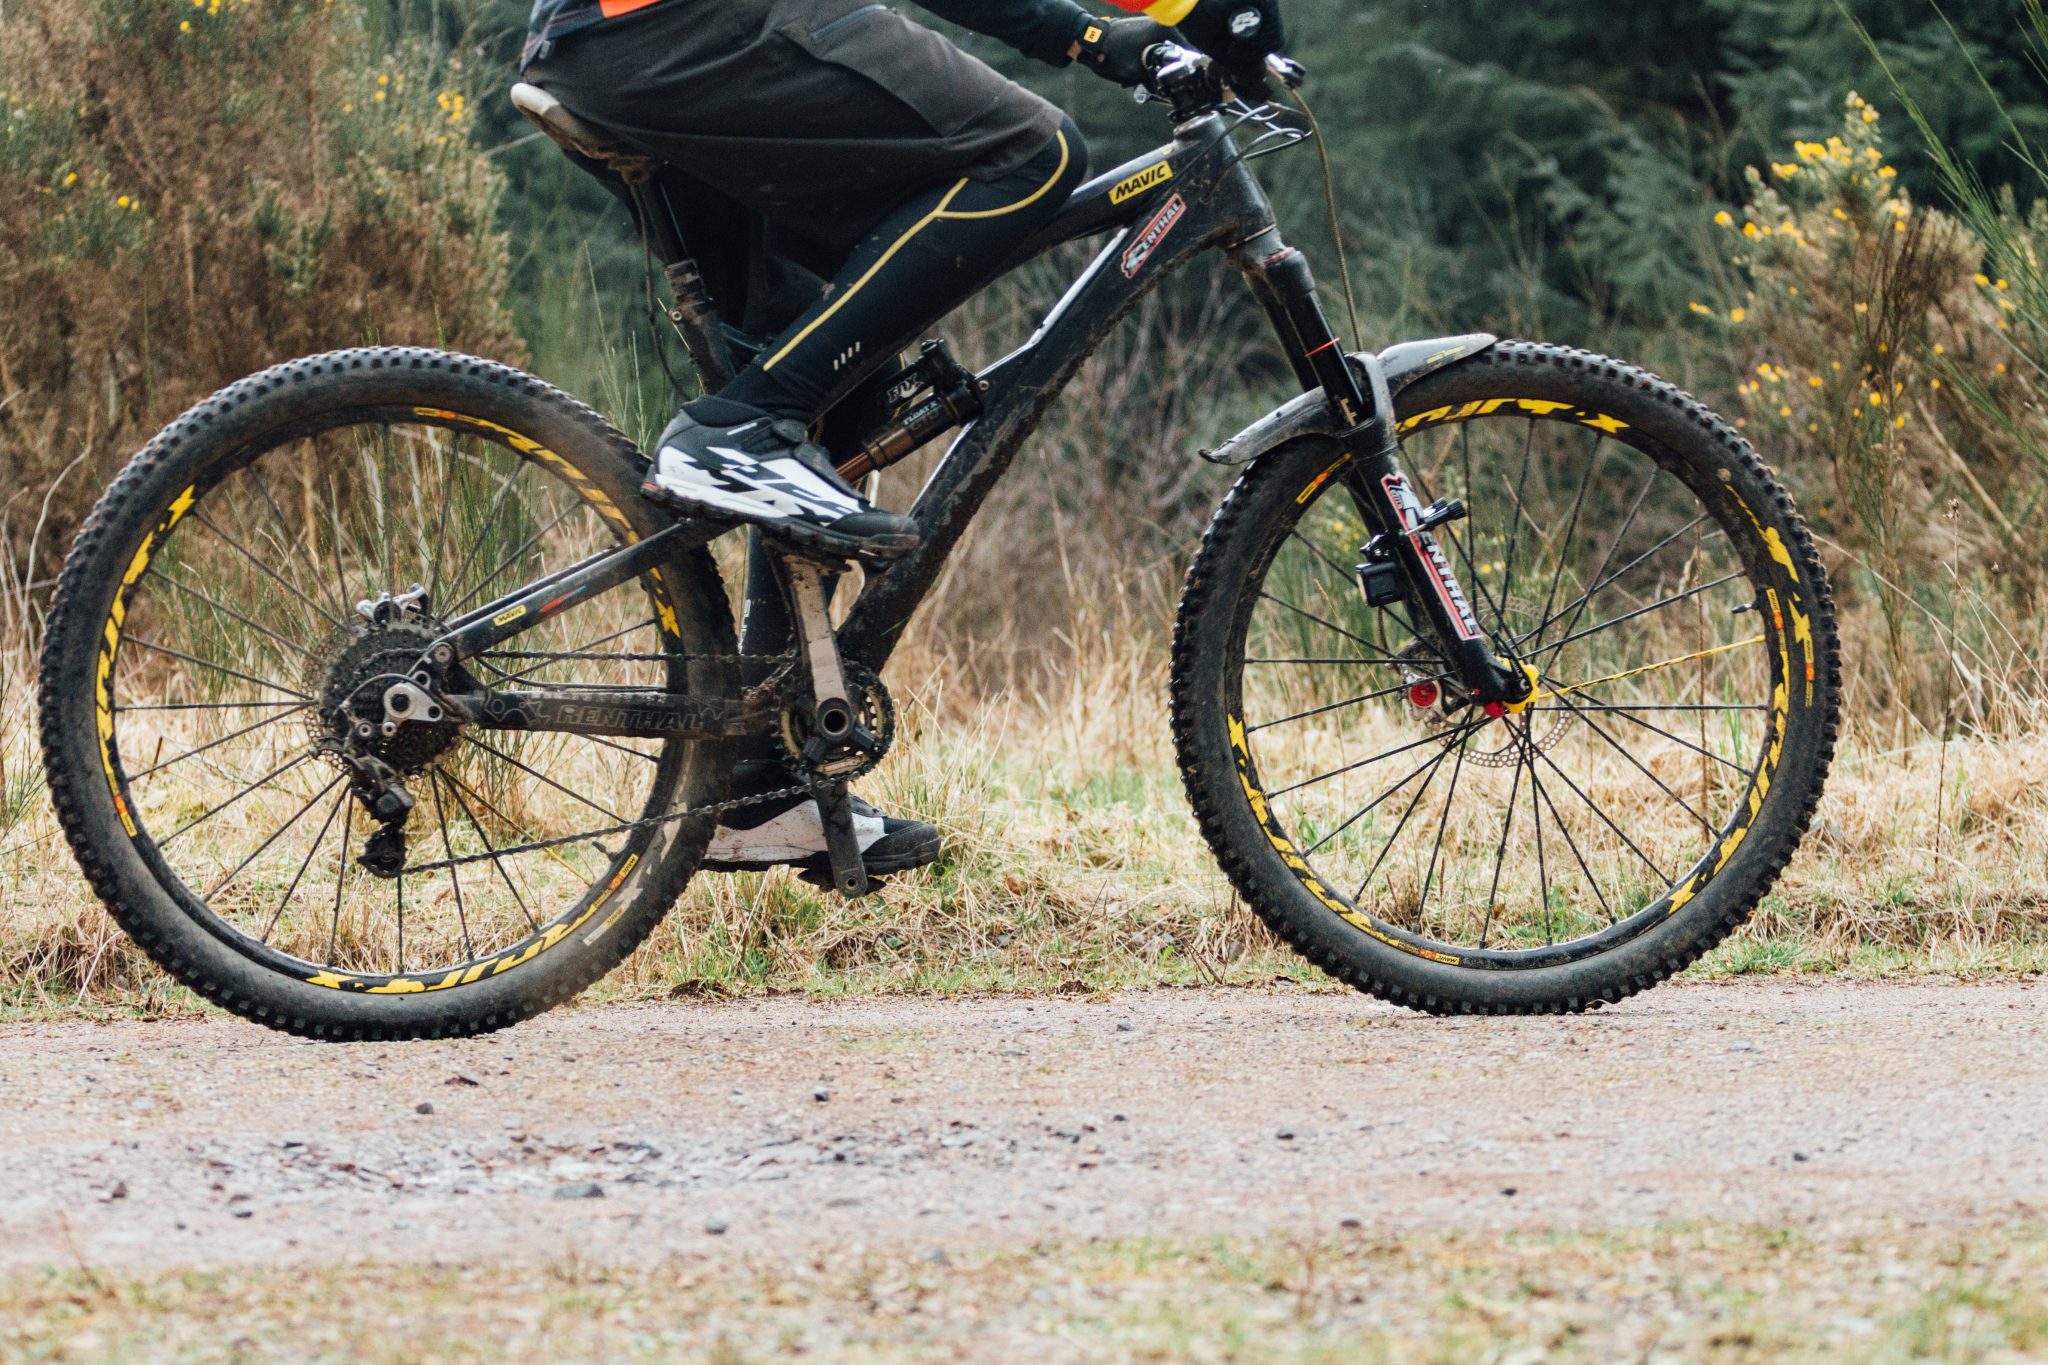
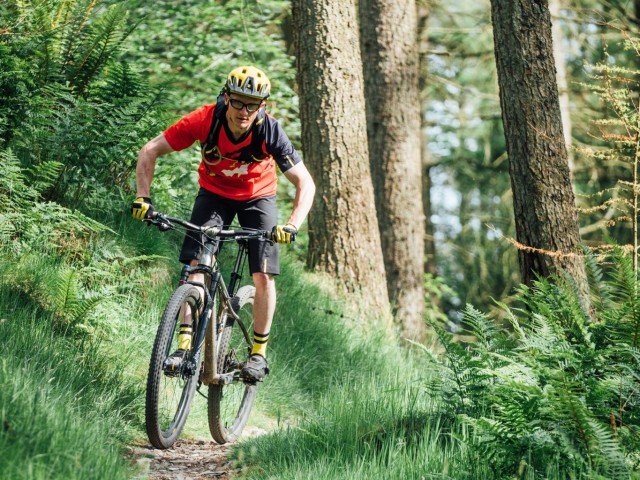
Once you have developed an element of consistency, you can start to bring in timing. You can use various things to bring timing in before taking it to single-tracks and trails (things such as small sticks, white lines, manhole covers, puddles and so on). When you're on the trail there is so much more to think about, so much more white noise around you. You may have stumps and rocks to navigate your cranks around which will mess with your timing. The art of learning gear inches (how far forward the bike moves through one rotation of the crankset in a given gear) and being in just the right gear so that cranks line up just when you need them to. There may be other small lumps and bumps which hang the wheels up slightly, enough making it a little harder to pull off a wheelie.
Undulating terrain will create a few different scenarios not dissimilar to this; if you have developed that finger muscle memory which will enable you to feather the back brake controlling the movements (or apply more power to compensate), then you're more likely to come out on top and arrive alive.
Snagging
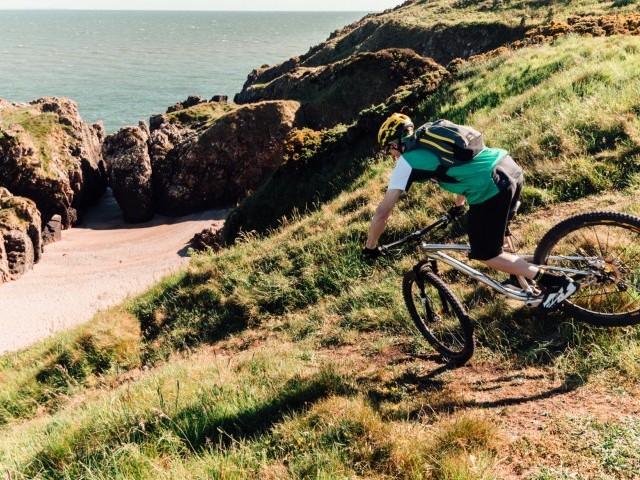
Moving away from level ground you will encounter undulating terrain offering varying levels of grip. You will also meet obstacles of various sizes, to put it simply we are looking at shapes that come up from a virtual flat trail (humps, bumps, lumps, rocks, groups, stumps) and shapes the go down from our virtual flat trail (holes, ditches, water bars).
There are a few different issues you may encounter which could include:
- Lifting too early and not holding a wheelie for long enough
- Lifting too late dropping the wheel into a hole or hitting the obstacle
- Striking pedals having lifted the front wheel up onto a feature
- Spinning up the back wheel as it claws at the lip of a feature you are going up onto
- Not lifting the wheel high enough and colliding with the feature.
Being able to evaluate your own riding and look at what went well and what didn't go so well is a real key to progressing. Try your best to look at what may be considered ‘failures’ as opportunities to learn, try to not beat yourself up and get frustrated when things don't pan out as you'd hoped. Recognise when the quality of your session is deteriorating, put it down and come back another day. Remember practice makes permanent.

If you can recognise where you went wrong, then you can implement the changes required to get the desired outcome. Working on stand-alone features is one thing, linking features together is a whole new ballgame. With patience and persistence, you can and will develop the timing required to make the right shapes in order to move the bike through the trail.
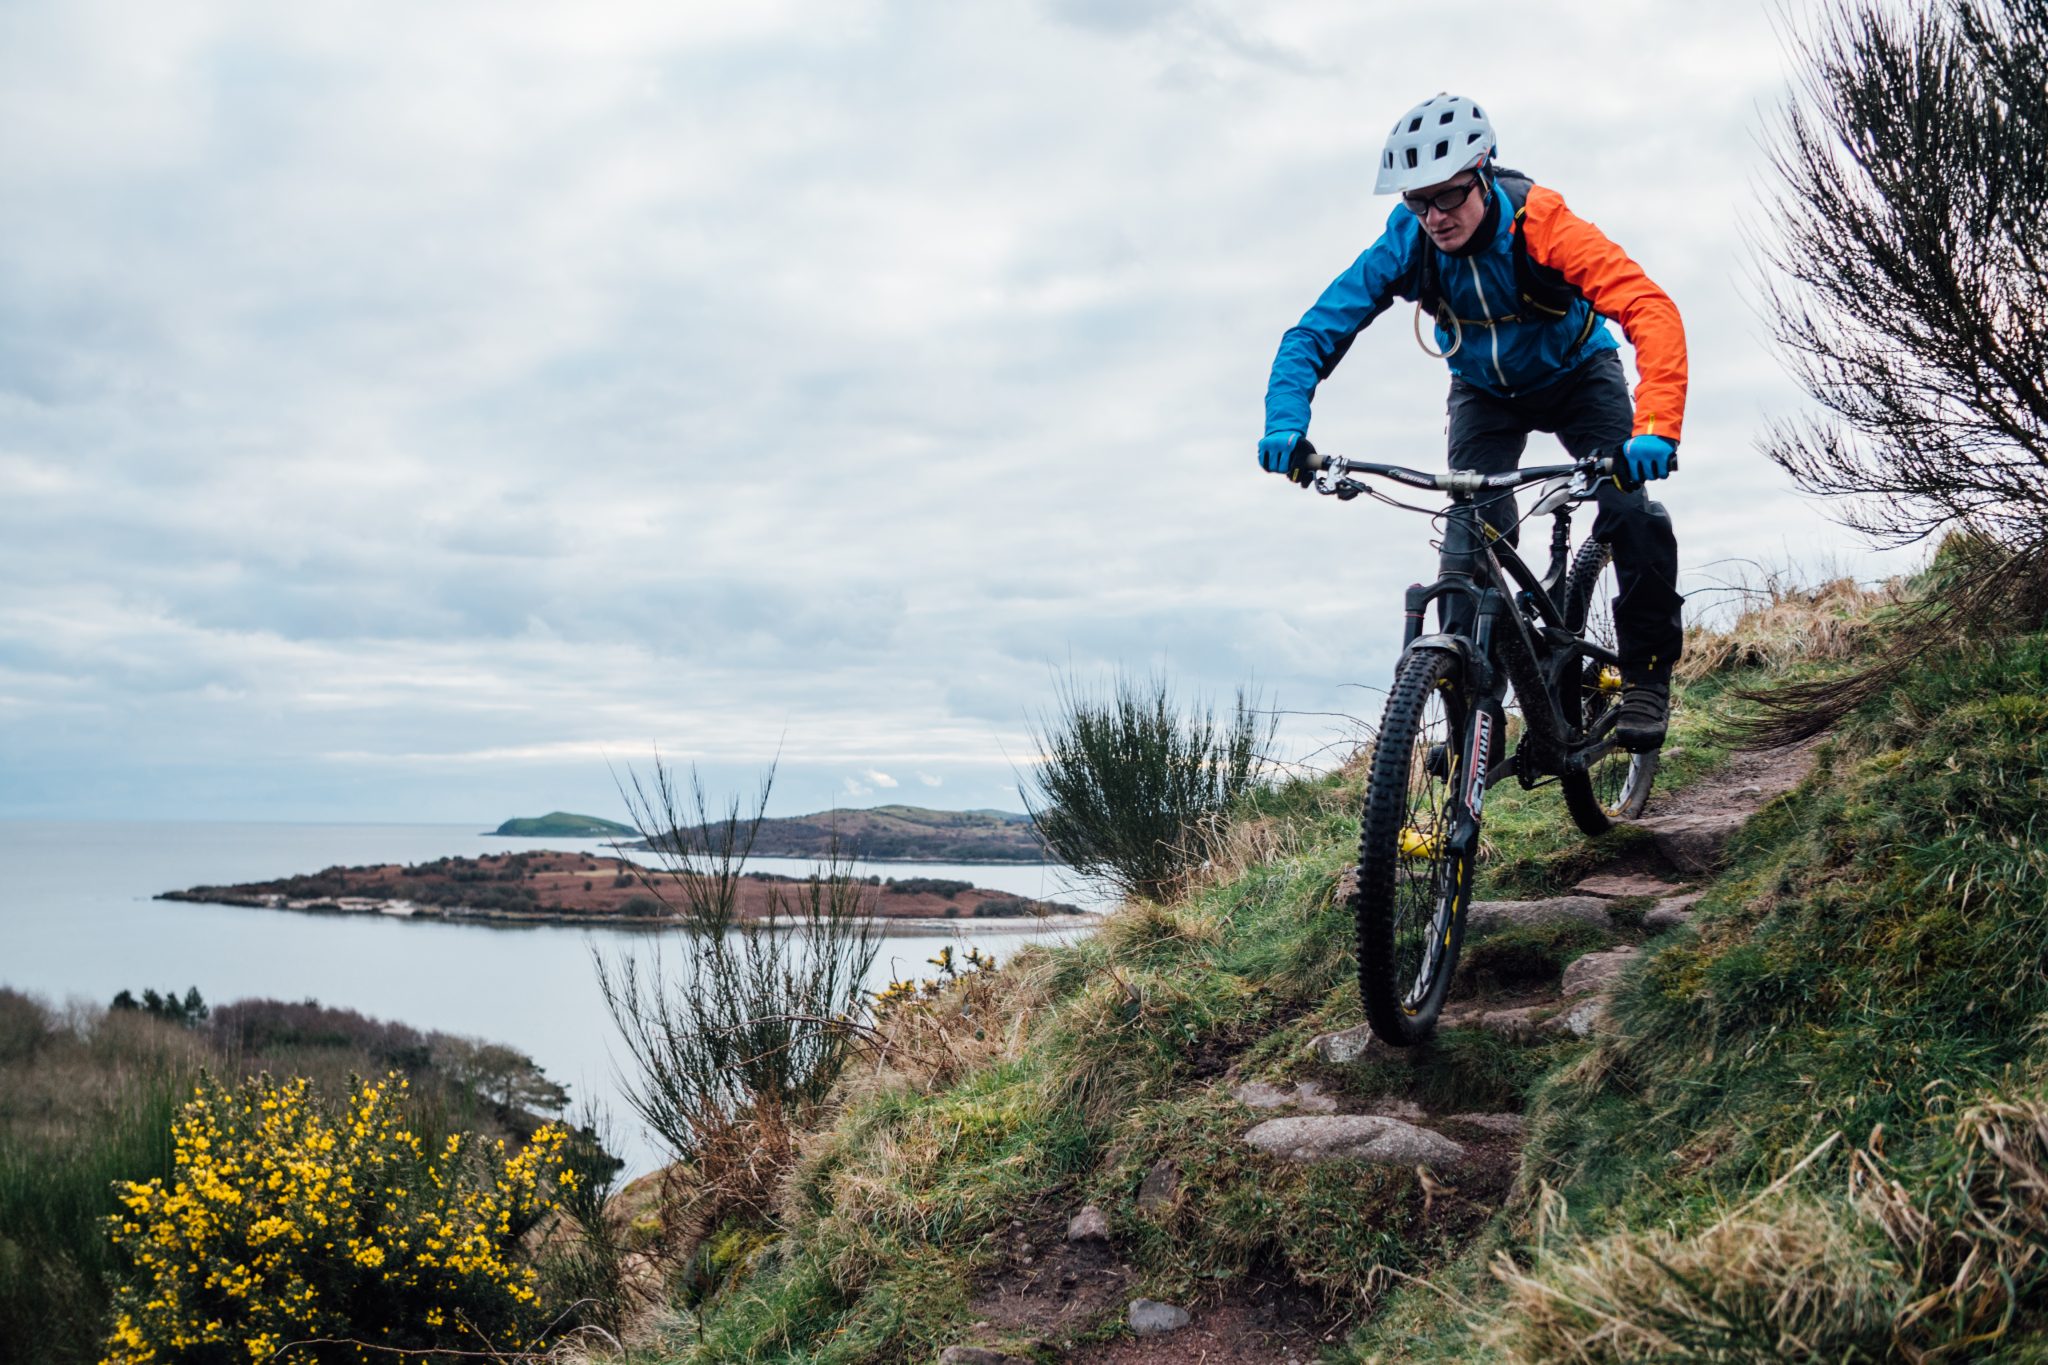
Typically wheelies are associated with climbing, for this reason, more often than not you will be seated while climbing unless the terrain is really severe in which case you will be stood. I recommend you start out by learning to wheelie in a seated position with your saddle fully extended. For those of you running dropper posts, you have the option to easily lower your post slightly to give you a little bit more confidence in case you loop-out and need to put your feet down. If you don't have a dropper post, then it may be worth dropping your saddle slightly for practice sessions.
With your seat fully extended you have a greater leverage ratio for both the legs as well as the weight of your torso being out over the back axle, this should mean that lifting the front end up is that little easier with your saddle at full height.
If you're having confidence issues and you really are fearing the loop-out then make sure you put some extra practising training your first finger to modulate the back brake. If you're not already running flat pedals, then this is also highly recommended as it makes stepping away from the bike much easier.
A good way to become confident with the neutral balance point is to lower the saddle and sit with the bike static on its back wheel. Keep the bike up by holding the back brake while keeping the cranks level, applying gentle pressure through one foot (your lead foot) and feel the bike want to pull up and move away from underneath you. Let the bike ‘hang’ from the fingertips with the arms straight.
If you try to mount the bike from this point and push your elbows out at the same time, you will feel the front end drop back to the trail. Likewise in the same position with arms extended and the weight of the bike in the fingertips you can try to mount the bike, by allowing the weight of the torso to fall back over the rear axle and applying slight pressure through that lead for you will feel the bike head towards its loop-out point. Play with this balance point for a while and become confident with just how far up and high the front wheel is, then you can rescale this and come to the obvious conclusion that you will rarely get anywhere near the loop-out point when we get up onto features along the trail.
If your timing is poor, it may be that you are continuing to look down at the feature you're trying to wheelie up onto or over. In which case, as you start to pull a wheelie raise the head at the same time that the front rises up from the trail. Remember to keep looking ahead up the trail preparing yourself for the next feature, look down to spot trail with the eyeballs not by dropping the head.
If you are struggling to wheelie far enough to clear a low point (hole) in the trail, then you probably haven't lifted the front wheel high enough initially, or you have spun through the gear too fast. Slow the cadence, try a slightly larger gear don't be shy about using a bit more power.
Learning confidence in the neutral balance point will enable you to perform really good manuals, this, in turn, will enable you to perform really high bunny hops. If you are afraid of looping-out, you will limit the height to which you will lift the front wheel when performing a manual; this has the knock-on effect of limiting the height of your bunny hop. Join us in the next issue as we tackle the manual, a key skill to smoothing out gravity fed sections of trail.
Until next time, keep it rubber side down.
This technique article was in Issue 53 of IMB.
Related


By Clive Forth
Clive Forth is a rider who has been there, done that, got the t-shirt and cleaned his bike with it. He has grown with the UK scene and technological developments for the last 30 years and has competed at all levels in all disciplines riding for some prestigious brands along the way. Always looking for that extra edge with endless passion and drive he is geared up to bring you the inside line on all aspects of mountain biking skills and technique.