Cornering – Round The Bend
Technique / Skills

Curvaceous, bodacious
Have you a craving for carving cool curves and cruising through trails with uninterrupted flow? Well if so stay tuned and read on as we embark on a crusade of cornering bliss with this edition of our core technique.
Demanding trails are filled with technical features, of which, some of the most innocuous can cause the most harm to our flow and flesh. Corner speed is everything for a racer who’s up against the clock and the same principals of efficiency and ‘flow’ are equally important to any rider, whether they are wanting to save thousands of a second or just hang onto their mates wheel there is huge saving or loss to be had in the turns. One of our biggest energy expulsions on the bike is when turning the cranks from zero; think of the fuel efficiency in a car. Combustion engines burn lots of fuel when accelerating from a standstill and so do we.


However, it's not all about speed, proper cornering technique can be the difference between making it through a corner or not, demanding conditions including excess speed require a rider to be on their ‘A’ game. To get the grip and traction in a multitude of conditions and surfaces tip-top technique is required and I’m here to show you how it’s done.
The Nitty Gritty
Cornering really does pull on the key lingo we bang on about all the time in these features; I’m talking vision, speed control, body position and footwork. All this has to be spot on at the extreme, but thanks to the forgiving nature of modern tyres and bikes somewhere close will often suffice for average scenarios. On the trail, we are applying these elements to the entry, section and exit to each corner, through multiple corners the final exit point is overlapped with the entry to the next corner.
Let’s walk through these parts step by step.
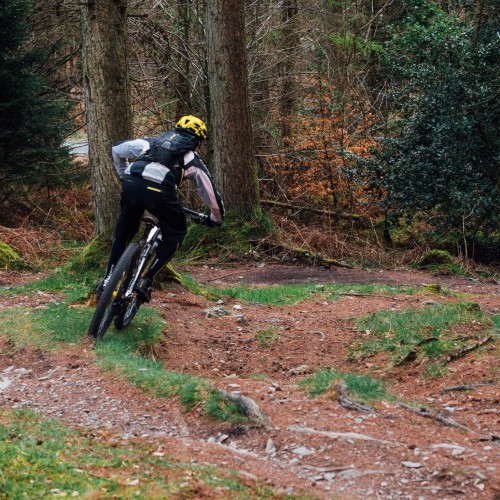
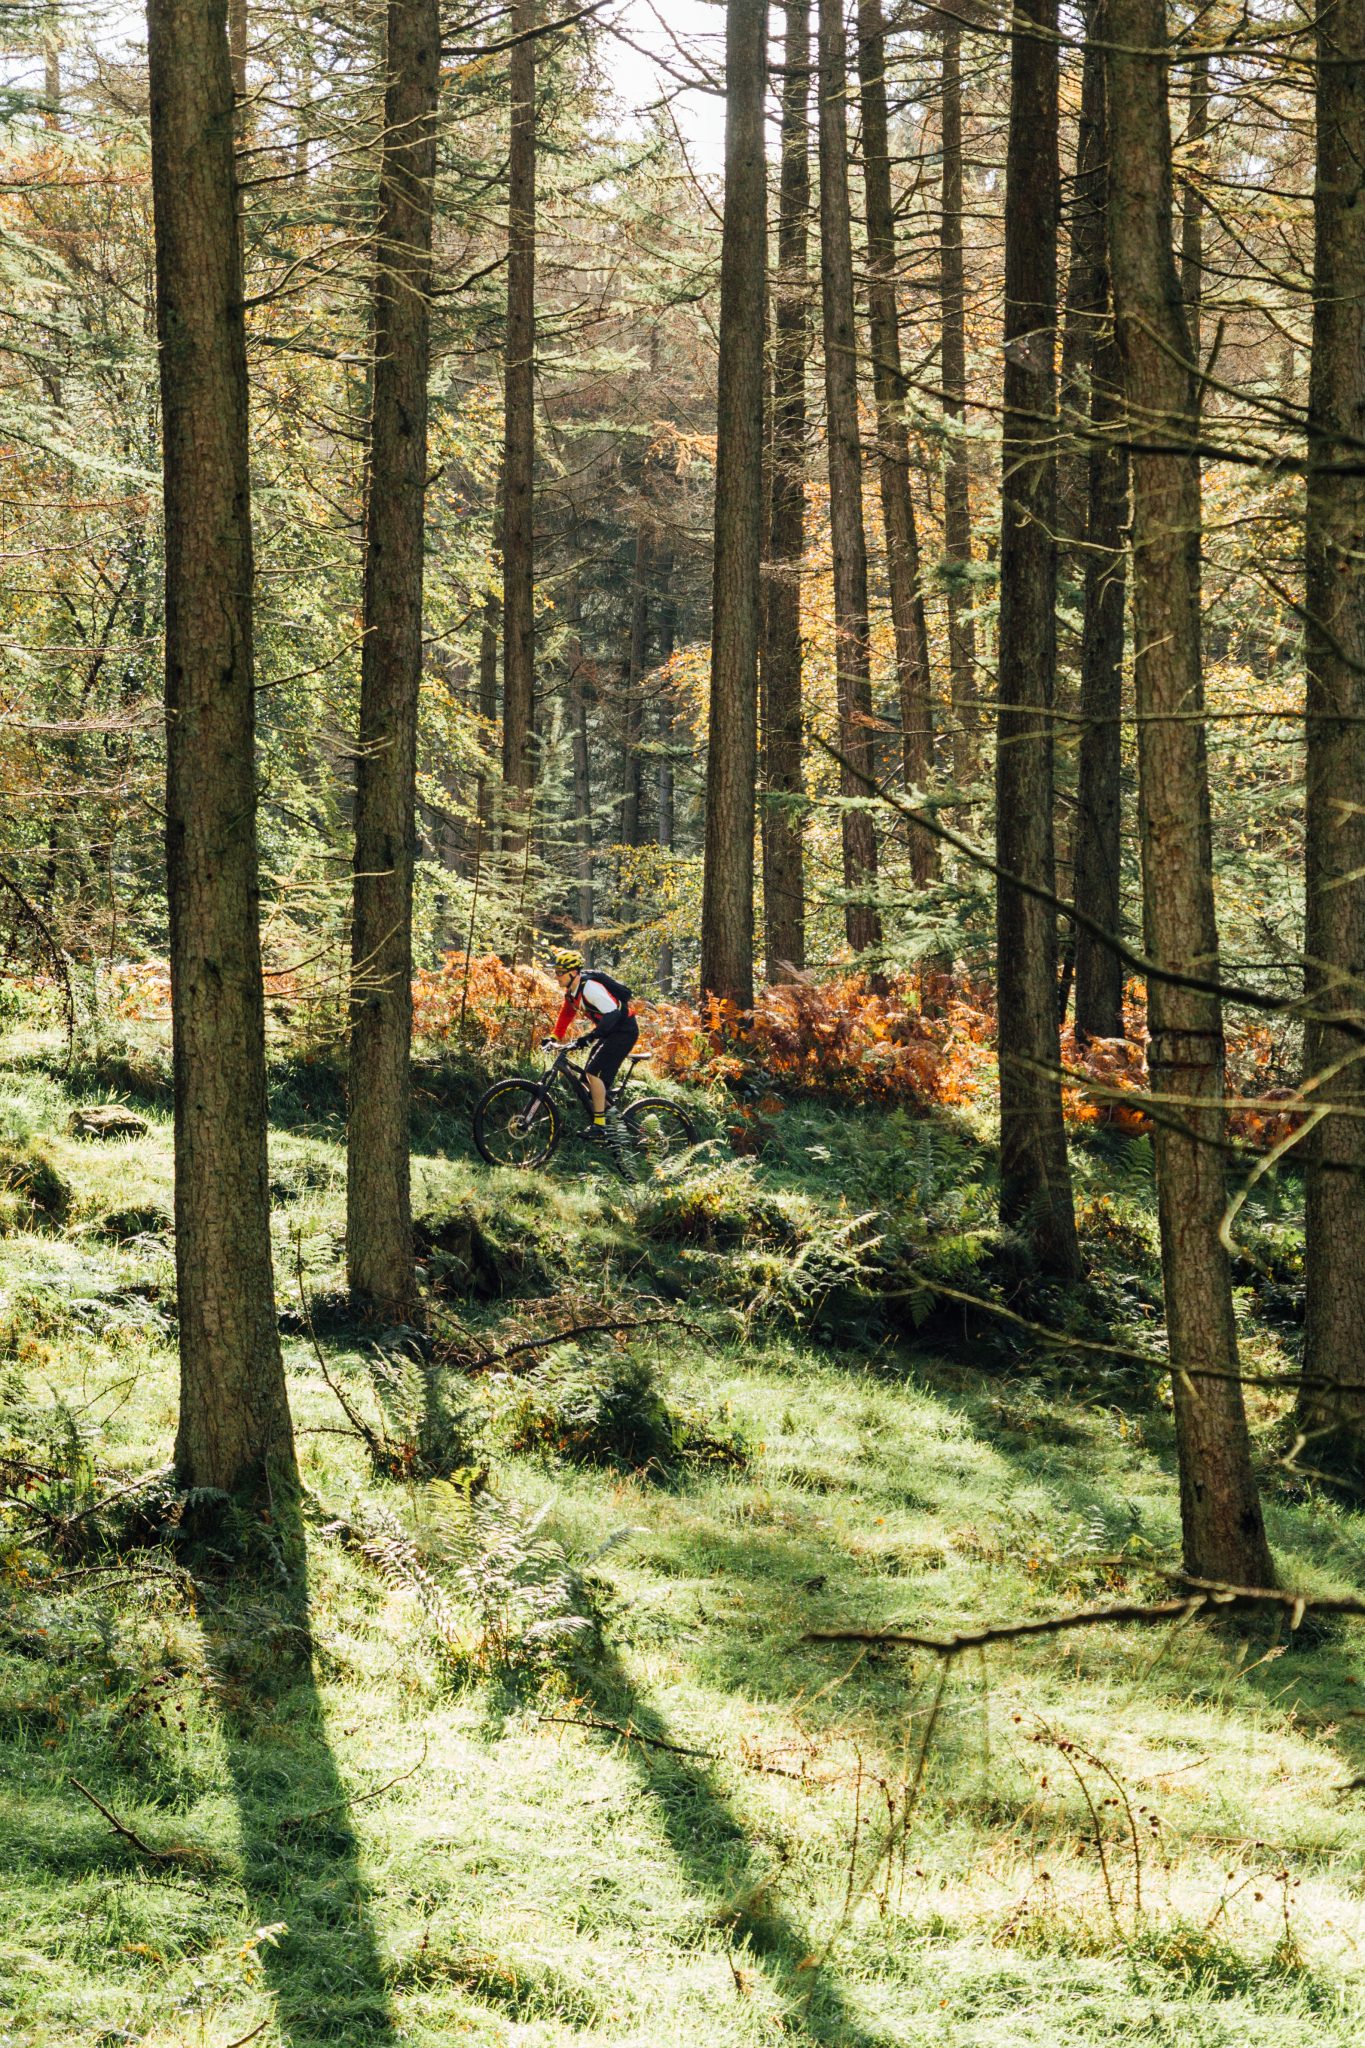
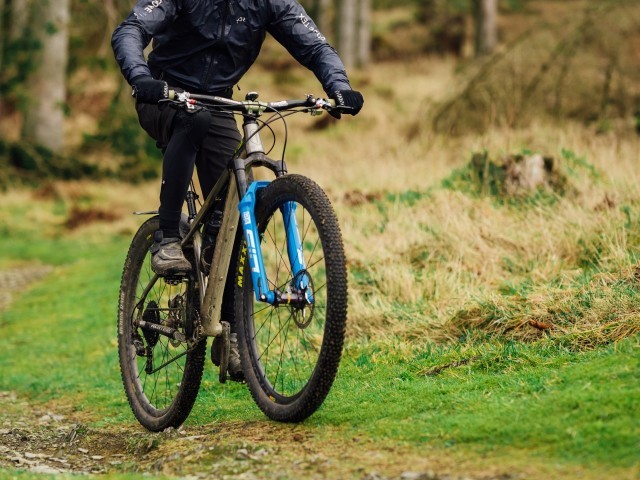
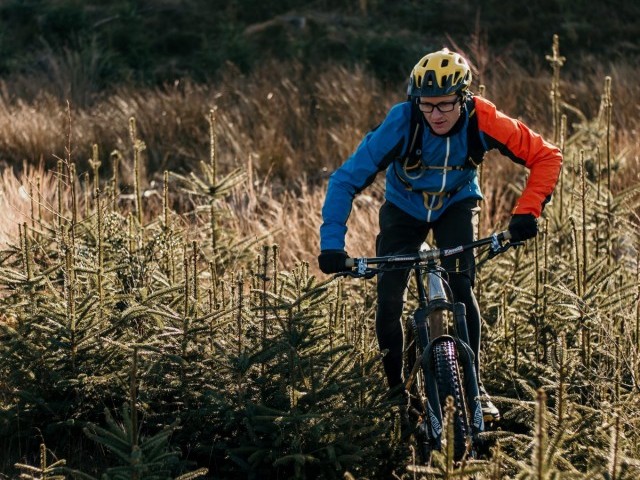
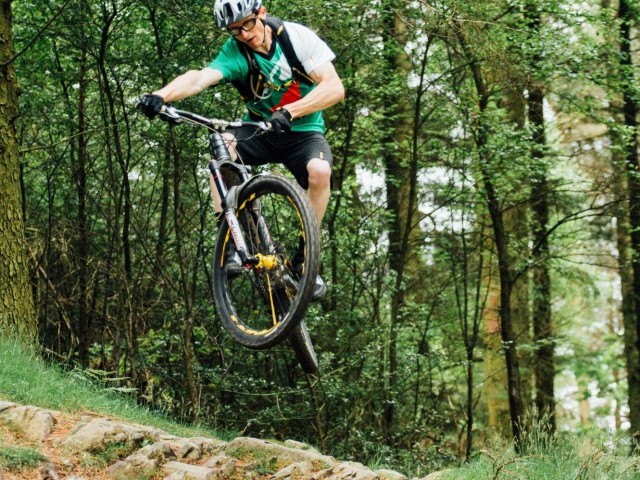
On the entry to the corner, we are looking ahead spotting our line, try and get on the outside edge of the trail to enable you to look ‘deep’ through the corner, sometimes this is not possible due to trail ‘furniture’, trees, stumps, boulders etc. In the entry, we need to be running cranks level stood tall and proud with relaxed limbs.
All of our deceleration braking (if required) needs to be done on the approach and preferably while the bike is straight and upright (this, however, is where we start to defy the textbook style and cheat the system when you're getting a move on). We can use excess braking force (front brake to lighten the rear wheel and rear brake to induce slide) and bring our hips and legs into the equation to drift the bike on the way in. Not a skid in the kid sense of the term (grabbing a massive handful of back brake) but a ‘trail braking’ manoeuvre reminiscent of the type deployed in front wheel drive racing cars.
The braking force is sufficient to get the wheel to lock momentarily but gentle enough that the skid isn’t hard and abrupt. We can add a ‘scandi flick’ (Scandinavian flick) from the rally world to further induce drift. We do this by making a little “S” curve on the way into a corner, the momentum gathered from this pendulum-like motion/movement really helps to get the back of the bike around. You may also find cambers, roots and lips in the trail surface to play with. Some will offer support for added traction and others (those off-camber opposing shapes) will help enable drifts and slides.

Back to our body position.
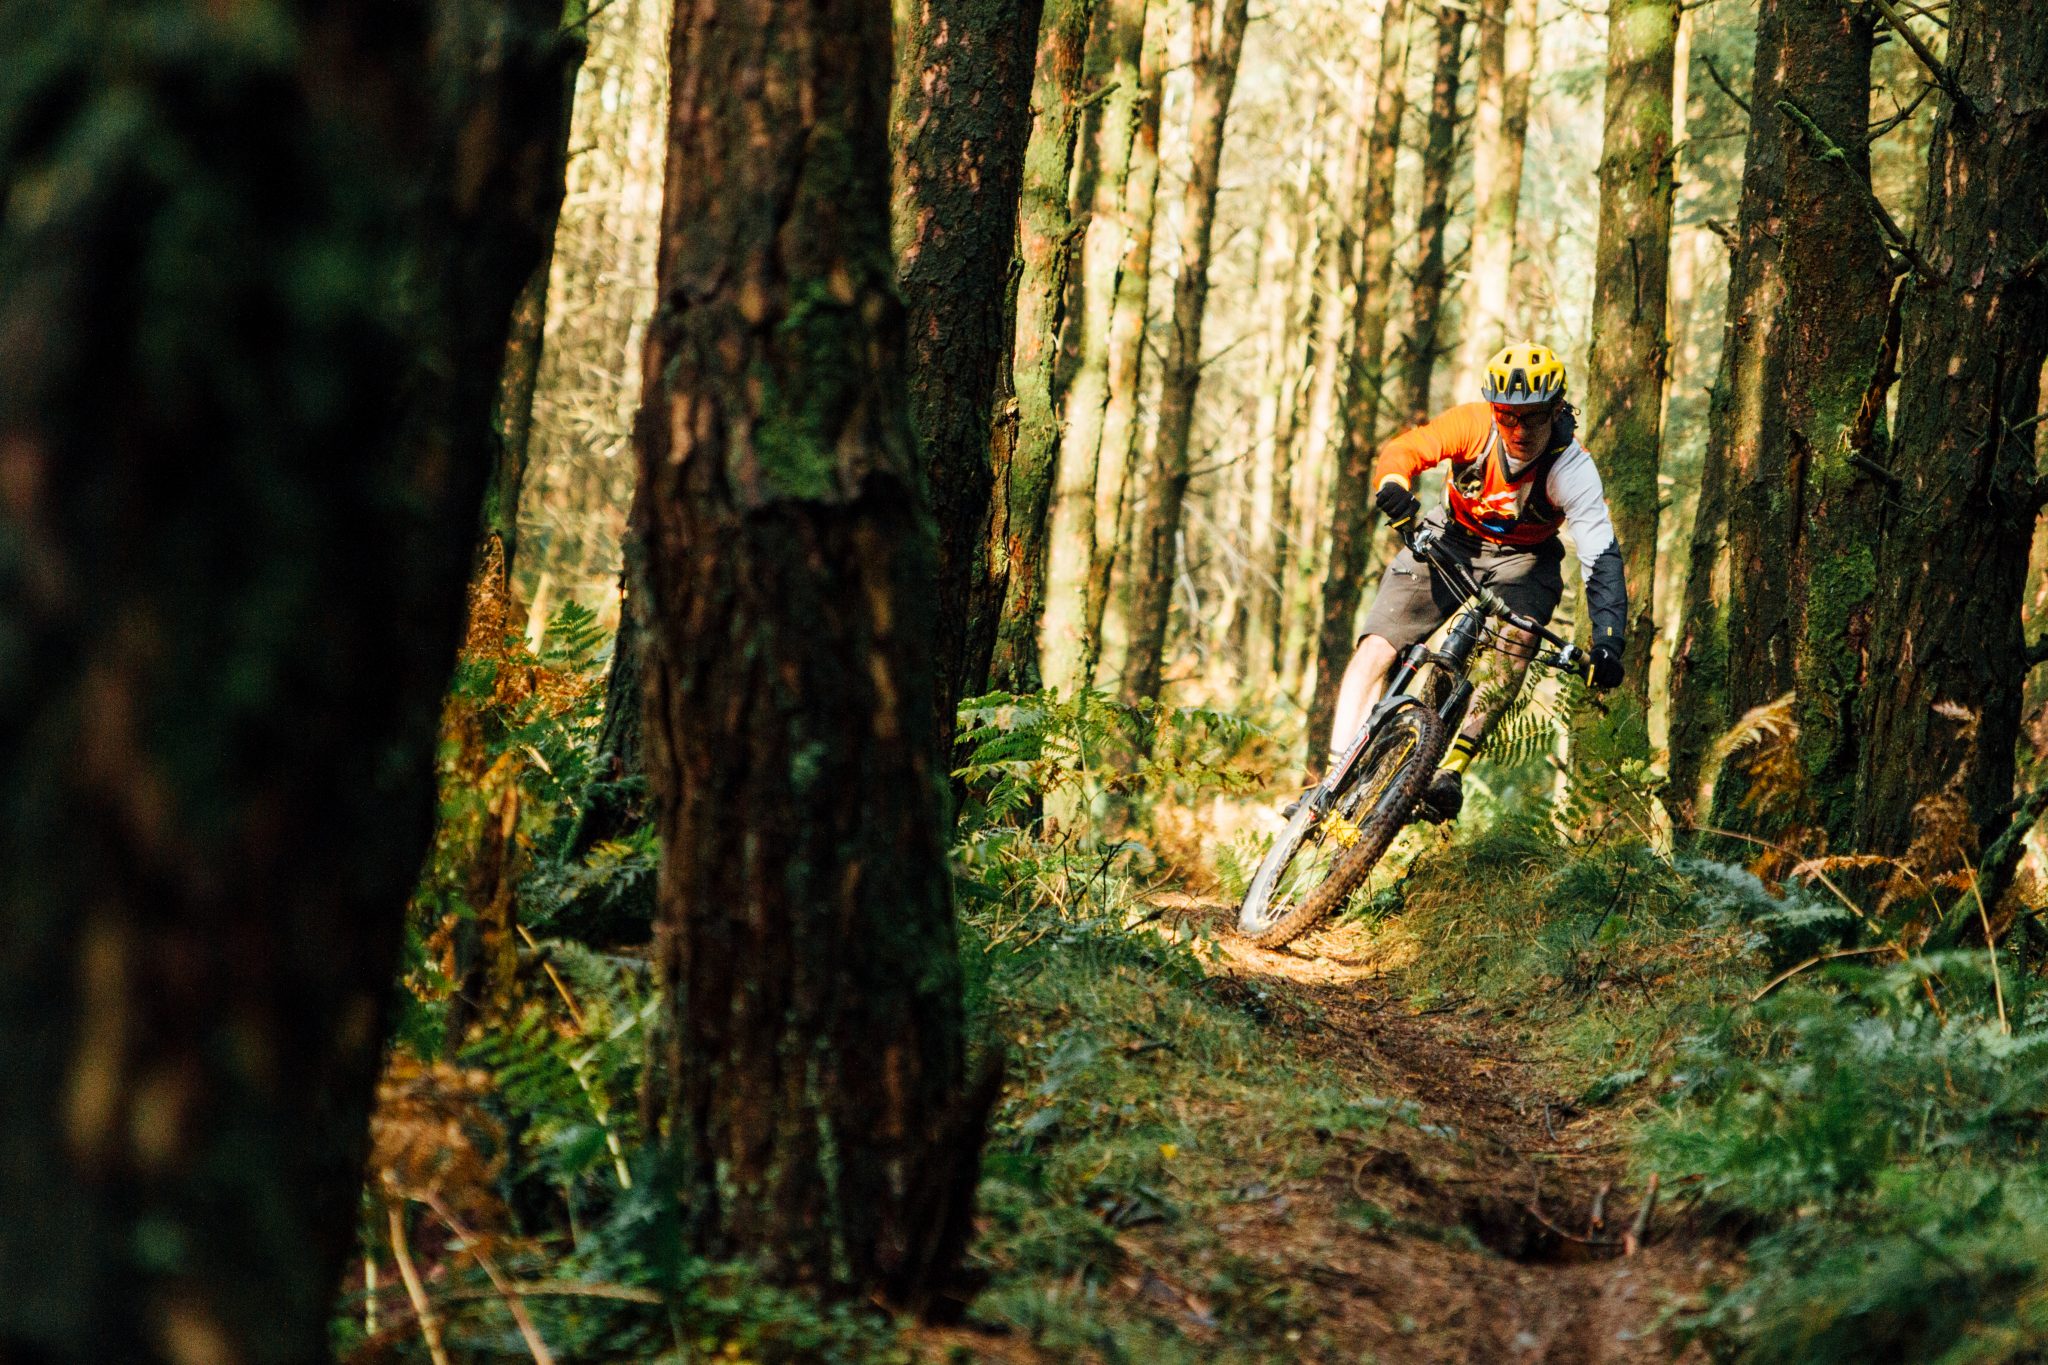
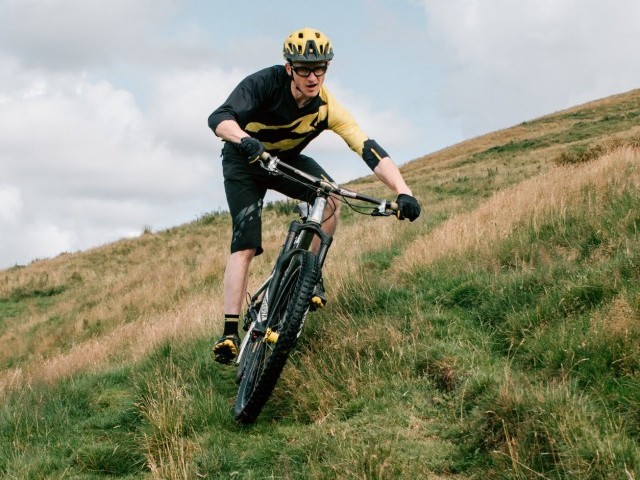
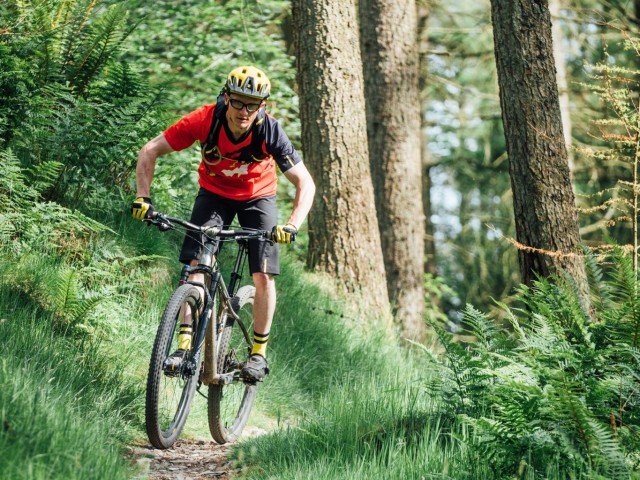
We may want to push the elbows out and lower our back (by pivoting at the hips) to become slightly more front weight bias to get additional front wheel traction on the turn in, this becomes more important, and the difference is noticeable on bikes with slacker head angles and longer front centres. With the head up looking through the corner be mindful of the outer edge of the trail and inner edge of the trial. Try and visualise these as solid painted lines. If they converge, then the corner has not finished/is tightening up. You will need to maintain speed (or introduce some control braking in a steep descending situation). When these virtual lines are parting you can then get off the brakes and back on the gas. The key points with vision and the heads position is that the head remains up and pointing the eye sockets in the direction you want to go, the eyeballs can wonder to spot down on the trail surface to monitor the ‘am I on target lines’ in more detail. These are the features and line selections that are more immediately in front of us. The eyes then track the trail and line back up centred in the eye socket to look up and as far down the trail as possible. The eyes can then wonder back scanning the ground to somewhere closer to the front wheel for the detail before this process repeats again. However, IT IS KEY THAT THE HEAD REMAINS UP AND POINTING WHERE YOU WANT TO GO!
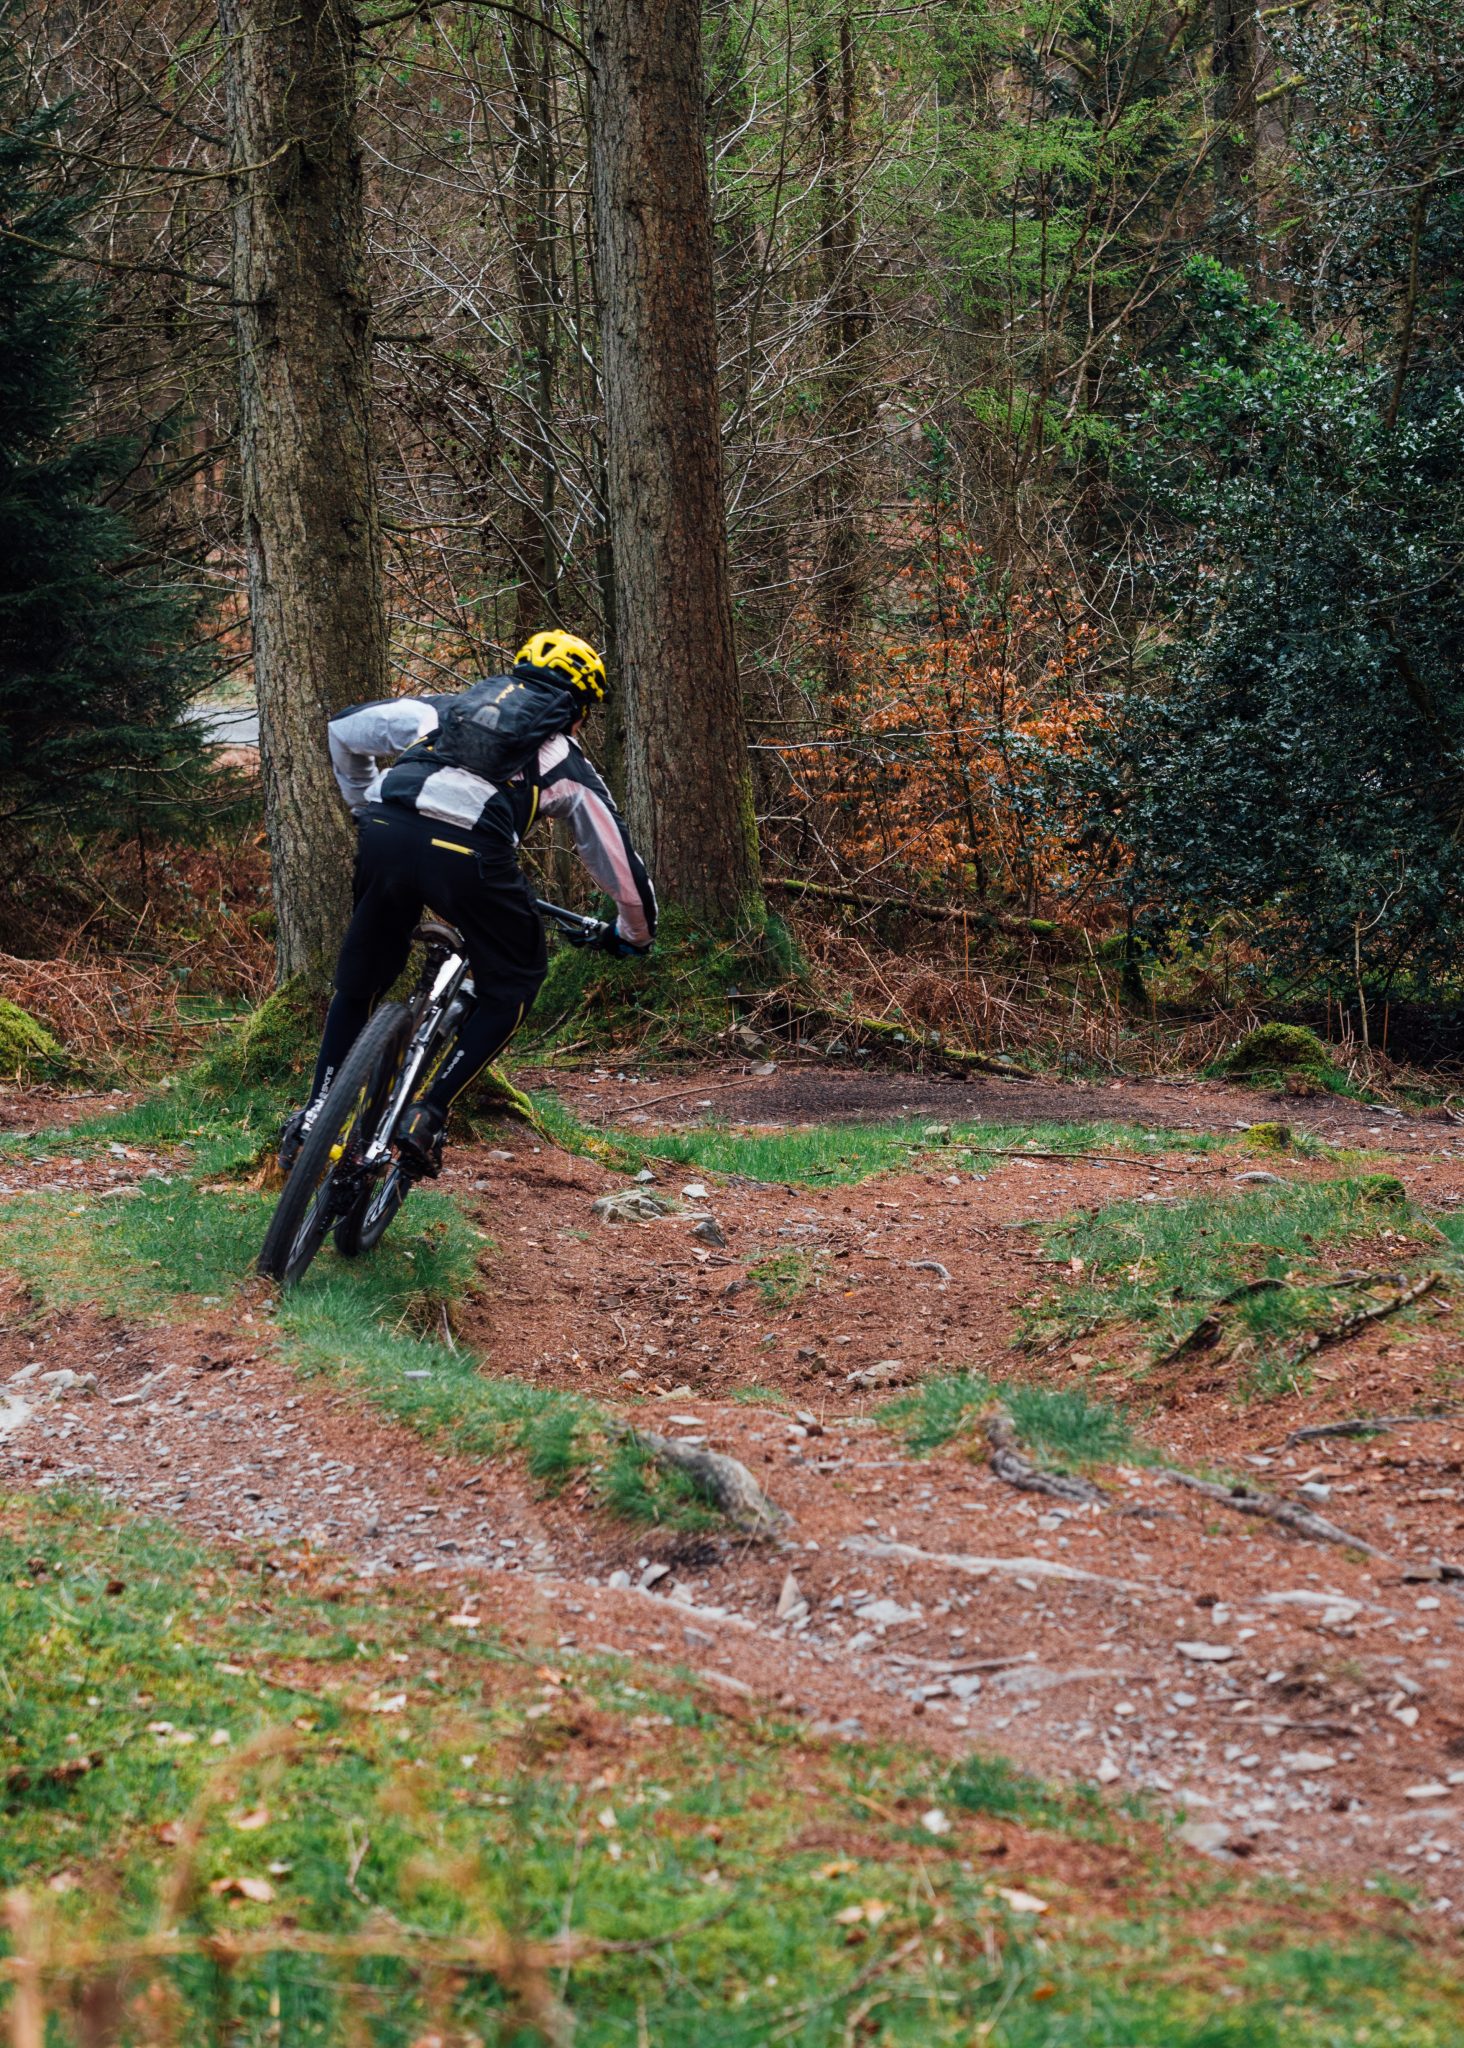
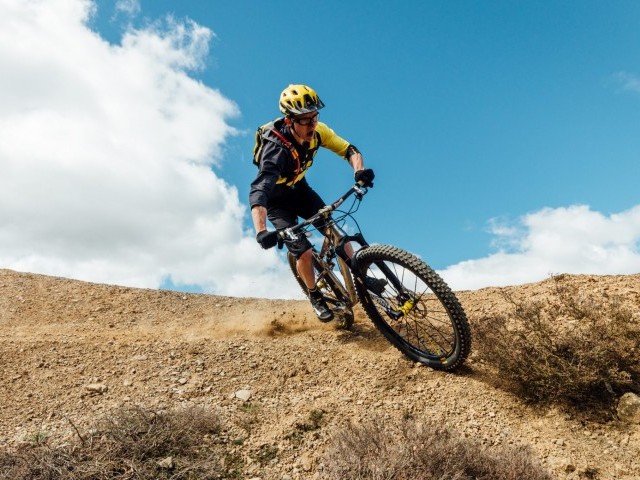
Shallow turns can be mostly ridden with cranks level, the head moves less accordingly, and the bike isn’t leant over as much. The tighter corners may require the outside foot to drop to the bottom of the pedal stroke for added traction and to allow room to lean the bike (dropper posts also enable us to move the bike below the body far better in these situations). Remember to lean the bike and not move the torso across, our steering input comes from a combo of leaning the bike (to get the tyre on edge) with some input from the arms to ‘turn’ and steer the bars.

Push on the outer part of the bar (away from the body) and avoid pulling towards the torso on the inside edge. This drops the elbow and consequently pulls the torso downwards to the inside edge, the head follows, and the eye sockets end up looking at the ground below you where you often find yourself laying shortly after, with the added possibility of skin loss and associated suffering. Obviously sharp corners (slow speeds) and tight switchbacks require more bar/steering input and less leaning, you will still need to tip or drop the bike in towards the direction of travel by leaning it to make the corner but just not as pronounced.
Fast and open corners are more about leaning and less about ‘steering’.
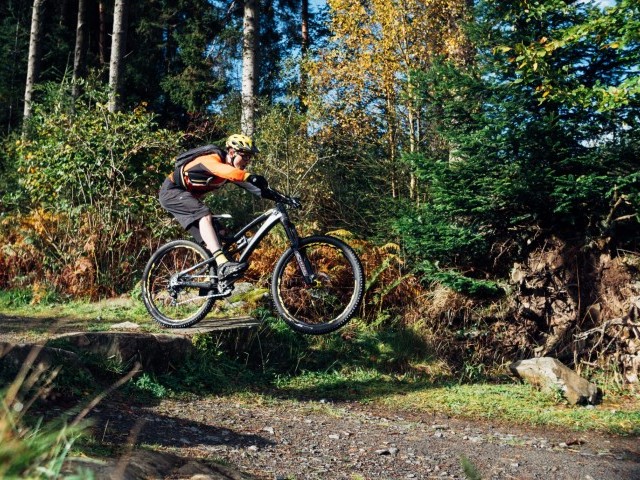
If we go back a few features and look at pumping technique, we can get some added traction by pumping turns. Unweighting on the entry allows us to then compress and load up in the corner, get the timing right so this dropping down and loading up happens where all the direction change and requirement for grip is needed. You can spring up out of the corner using your compression and rebound from the un-weighted part transitioning into the next corner, squashing down and weighting the bike again.
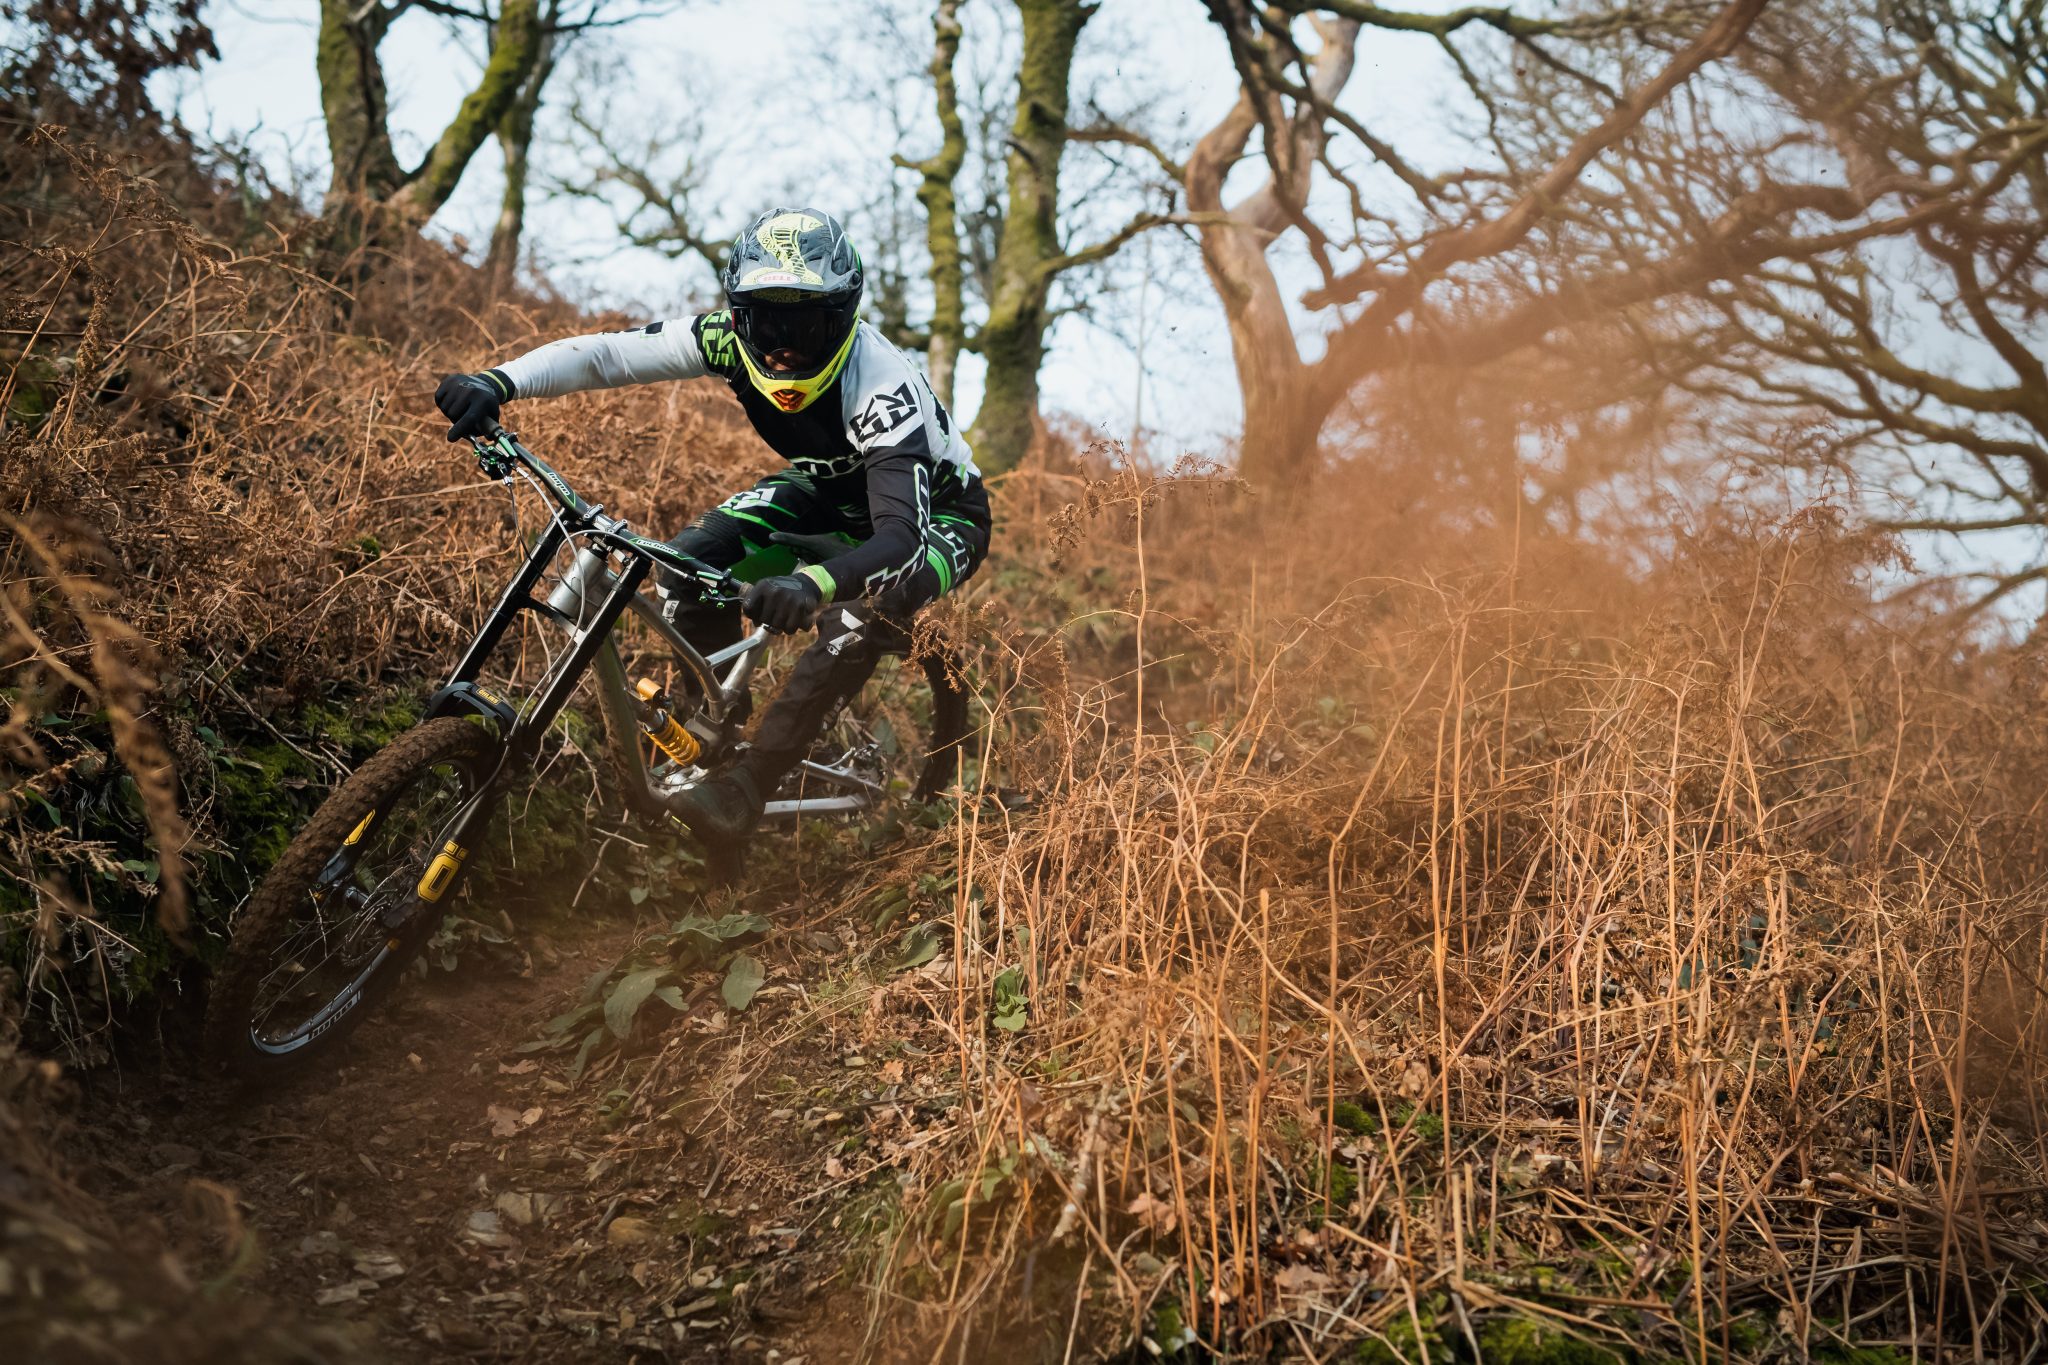
More can come into play from the body, the outer foot can roll in towards the crank arm (big toe), if you add to this a dropped heel on that outer foot grip levels will go through the roof (or trail). You can also use the hips by twisting and rotating them in the desired direction of travel (around the corner). Bring that pumping shape in by accelerating the bike below you driving it through under the body as you pass the apex of the corner. This technique is clearly evident in many of the latest video edits where riders are slamming rutted turns in wet or loamy ground. They appear to steer from the rear as they use their legs to turn, making a shape more reminiscent of doing a manual than carving a corner.
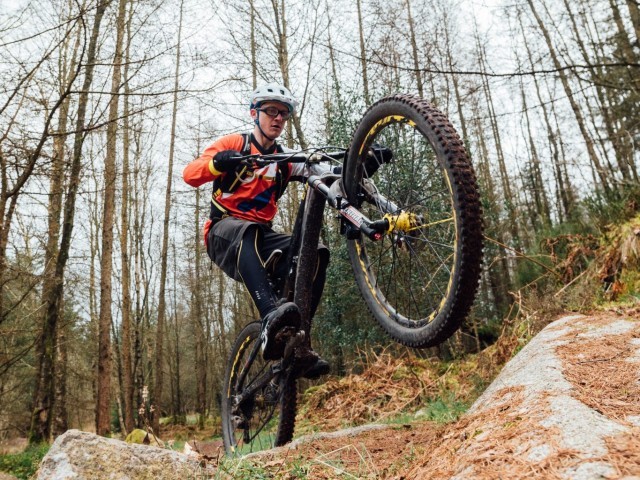
Foot Out, Flat Out
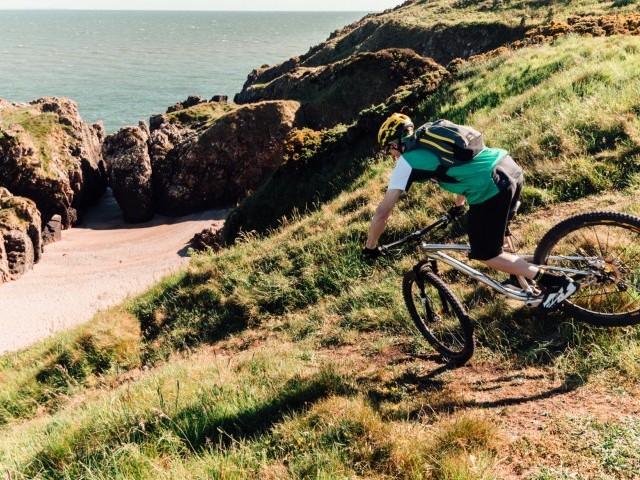
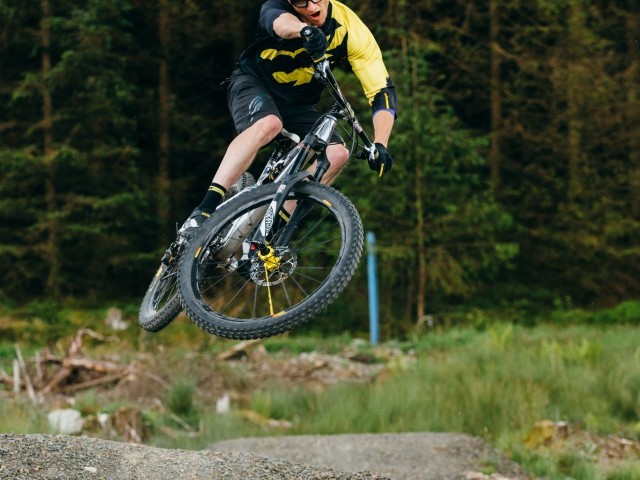
Anticipating the drift and the front wheel slide are all part of pushing the limits of your ability and available grip. If you are suspecting a slide, then there is no harm in getting that inside foot off the pedal and pointing forwards like the MX riders do (if you have not witnessed this then go search some MX action on a popular search engine). In this stance, you can still transfer the majority of your bodies mass through the outside pedal (it actually really forces you to do so) while counterbalancing the lean of the bike with your outstretched leg. Keep the toes pointing up away from the trail to avoid stubbing toes and be prepared to ‘scooter’ and touch the foot down to kick away from the ground should the front wheel want to tuck under or the rear wash out.
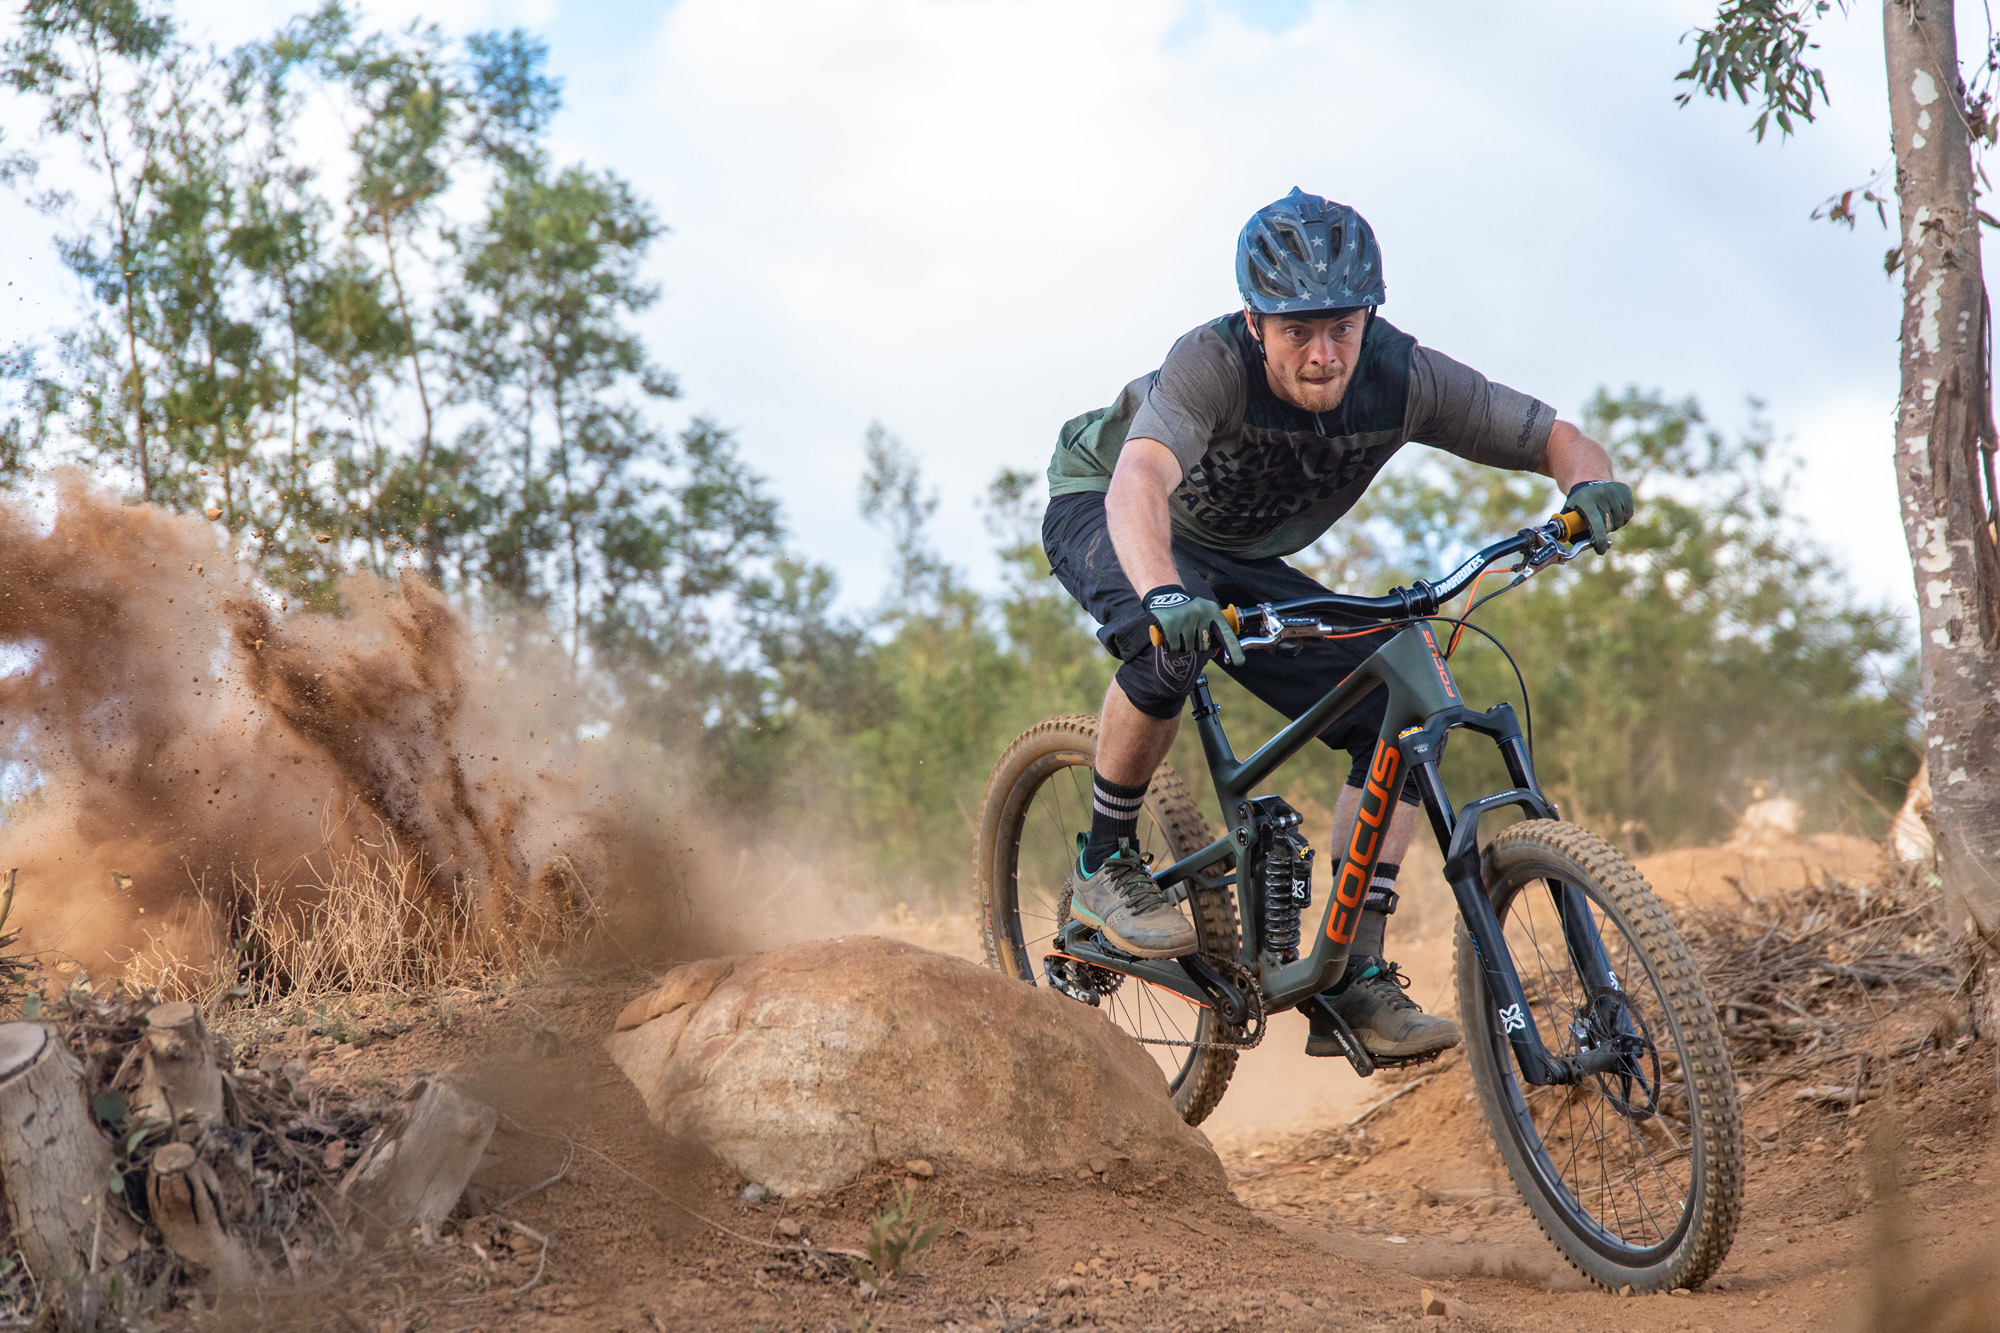
If the front does want to slide or wash out then straighten the handlebar (ease up on the steering input) then lean the bike back in and start turning the bar in again. Small movements forwards or pushing the elbows out to get that chest low can also help find some front traction. If the back end steps out counter steer in the opposite direction and let it slide. To keep the bike drifting at a constant speed you need to be mindful of the ‘high side’, this is where the rear wheel digs in and pitches you up and over. Ultimately to slide and drift you will either need some slippery or loose surfaces and a certain amount of speed, the more grip on offer the faster you will have to hit the turns.
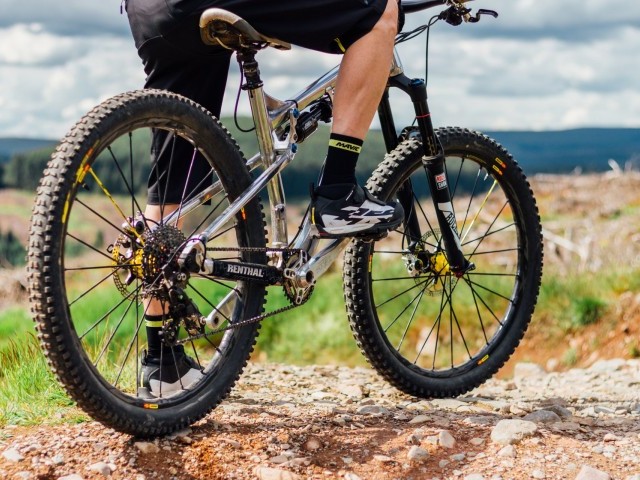
Tyre choice is crucial, and we are all faced with that inevitable compromise between traction, weight and rolling resistance. Tyres with an even number of shoulder and side knobs will offer consistent feel; blocks that are low and or off-set have a tendency to be less supportive when the bike is banked over on its side. The downside to a tyre with a blocky square edge is that when they let go (lose traction), it happens very suddenly. Tyre pressure can make a significant difference, low pressures work well in loose and soft ground at slow speeds, but the forces generated in higher speed corners (especially berms) mean that the tyre deforms and the bike yaws. This can also lead to tubeless systems ‘burping’.
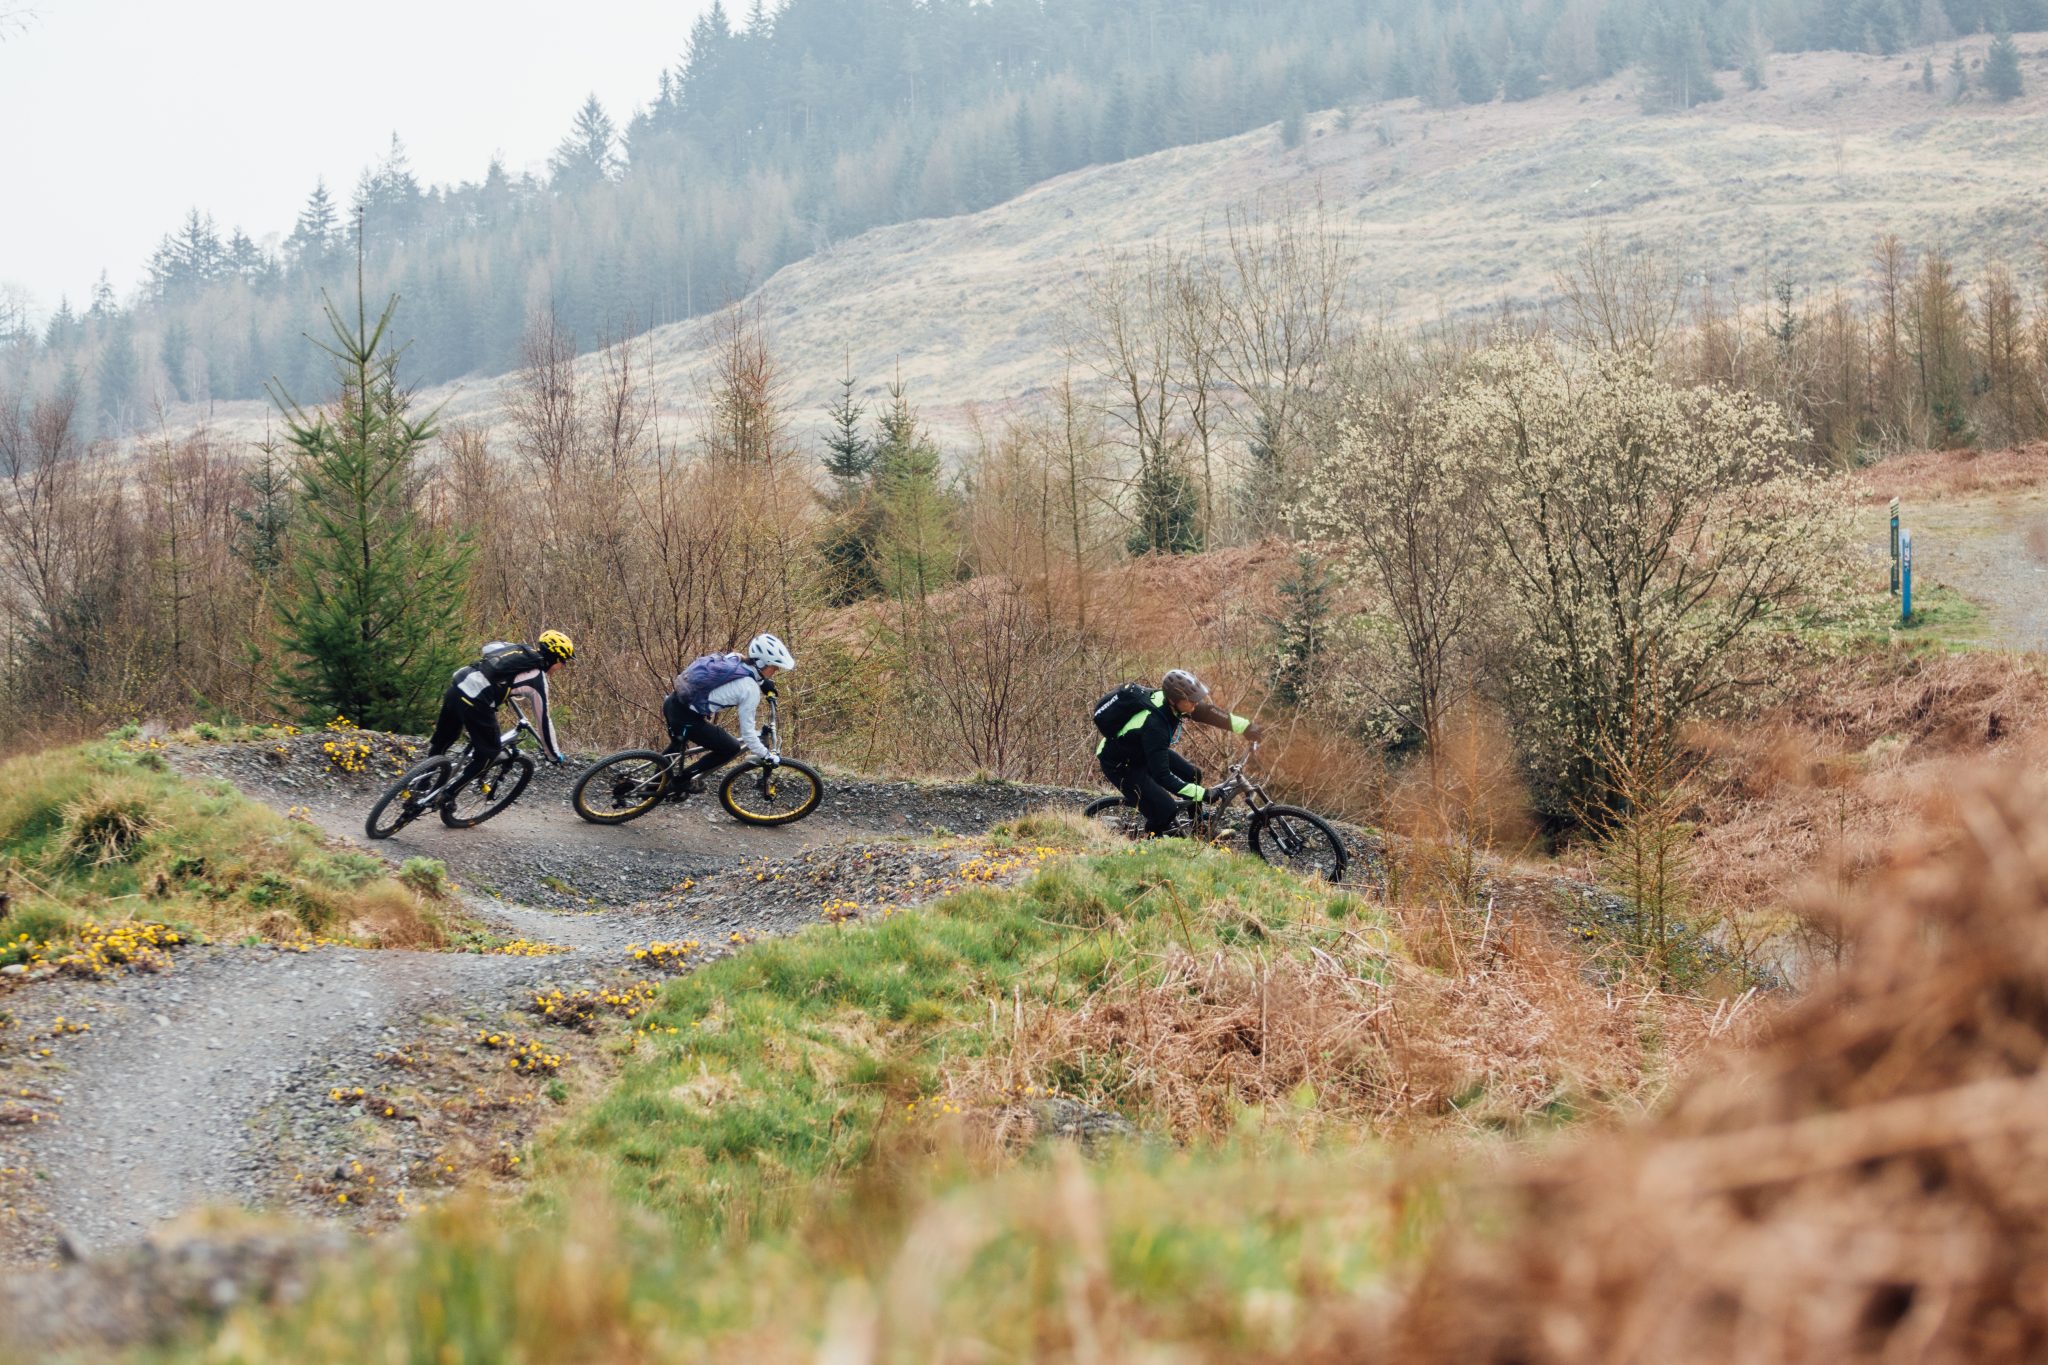
With all our core skills practice makes permanent, get out and find some corners to play on and build your confidence and grip levels. Next issue we conclude our core skills by looking at jumps. Stay tuned and keep it upright.


This technique article was in Issue 58 of IMB.
Related

By Clive Forth
Clive Forth is a rider who has been there, done that, got the t-shirt and cleaned his bike with it. He has grown with the UK scene and technological developments for the last 30 years and has competed at all levels in all disciplines riding for some prestigious brands along the way. Always looking for that extra edge with endless passion and drive he is geared up to bring you the inside line on all aspects of mountain biking skills and technique.