Crank it Up – Dial in that fancy footwork
Technique / Skills
Introduction
In the last issue we looked at our contact patches on the bike and gave you some insight into the micro techniques used to get that bike just where you want, and that got me thinking, specifically about crank position, crank timing, and just how important they are for all areas of skills and techniques.
Having observed many things related to this subject I thought it was high time I got around to writing something about it. To be honest, it is one thing that bewilders me and gets my blood pressure up. Not wanting to step in the shoes of IMB’s Angry Insider, but let me share a snapshot of my frustration and bewilderment on this topic.


I see strange rock strikes and claw marks when I’m out working on the trails, and then there are the little crank socks that you can also throw your hard-earned money at, made to pre-empt that all too often failed crank timing moment. Why are people so unaware of where their own feet are, and why so precious about the very seldom and odd knock on the bike?
Now I’m not suggesting for a moment that I have never clipped a pedal or scuffed a crank, sure I have, especially as I prefer bikes with very low-slung BB, but this is something that is so extremely rare that I’m not off to get another set of pedals or cranks (or even a new frame with a higher BB). My other observation that has led to this edition's feature is watching riders mess up sections as a consequence of their pedal timing being incorrect. This can often be put down to one of two things:
Poor gear selection and cadence
Pedalling right up to (and sometimes through) the feature
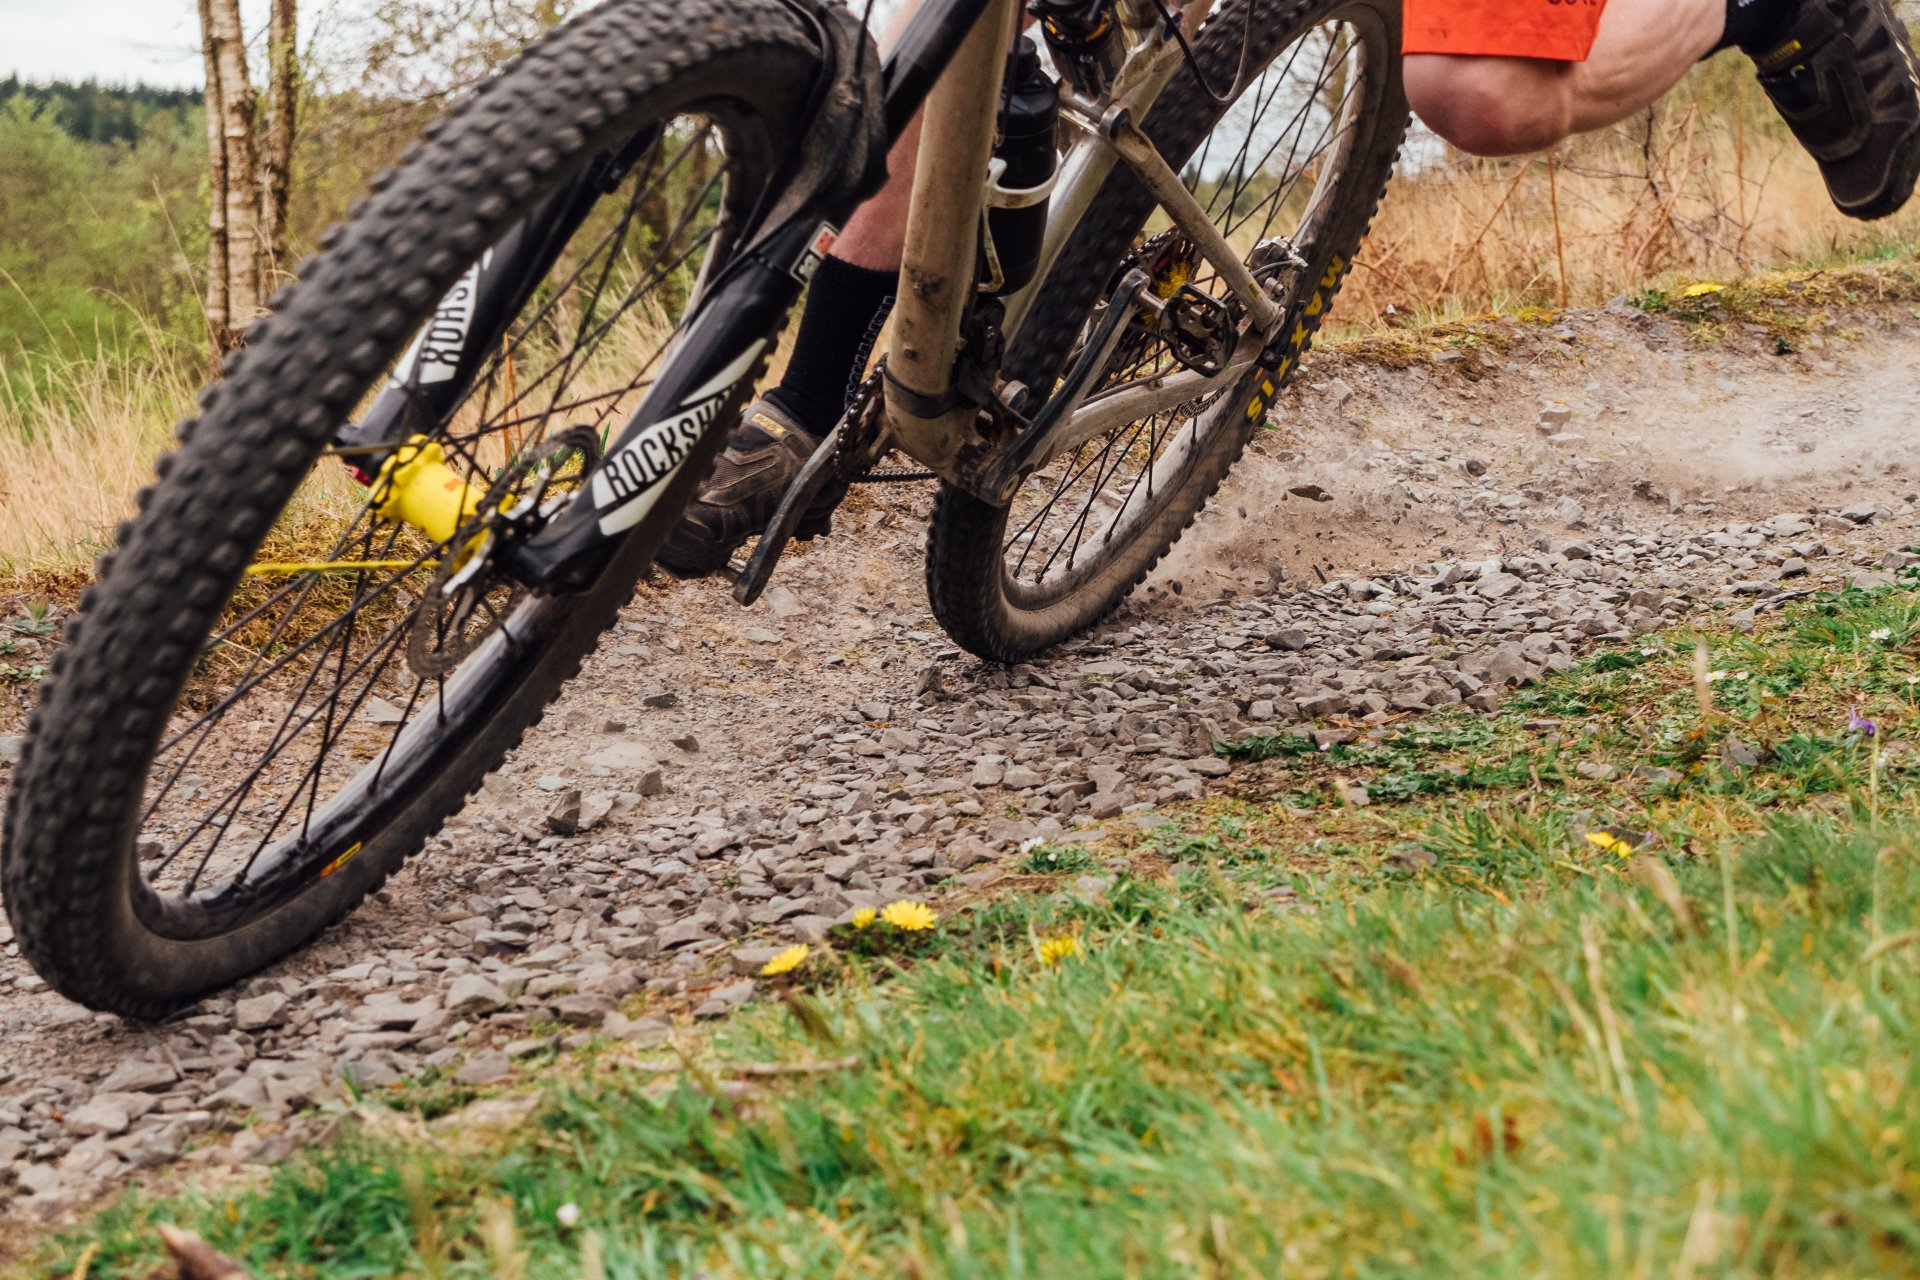
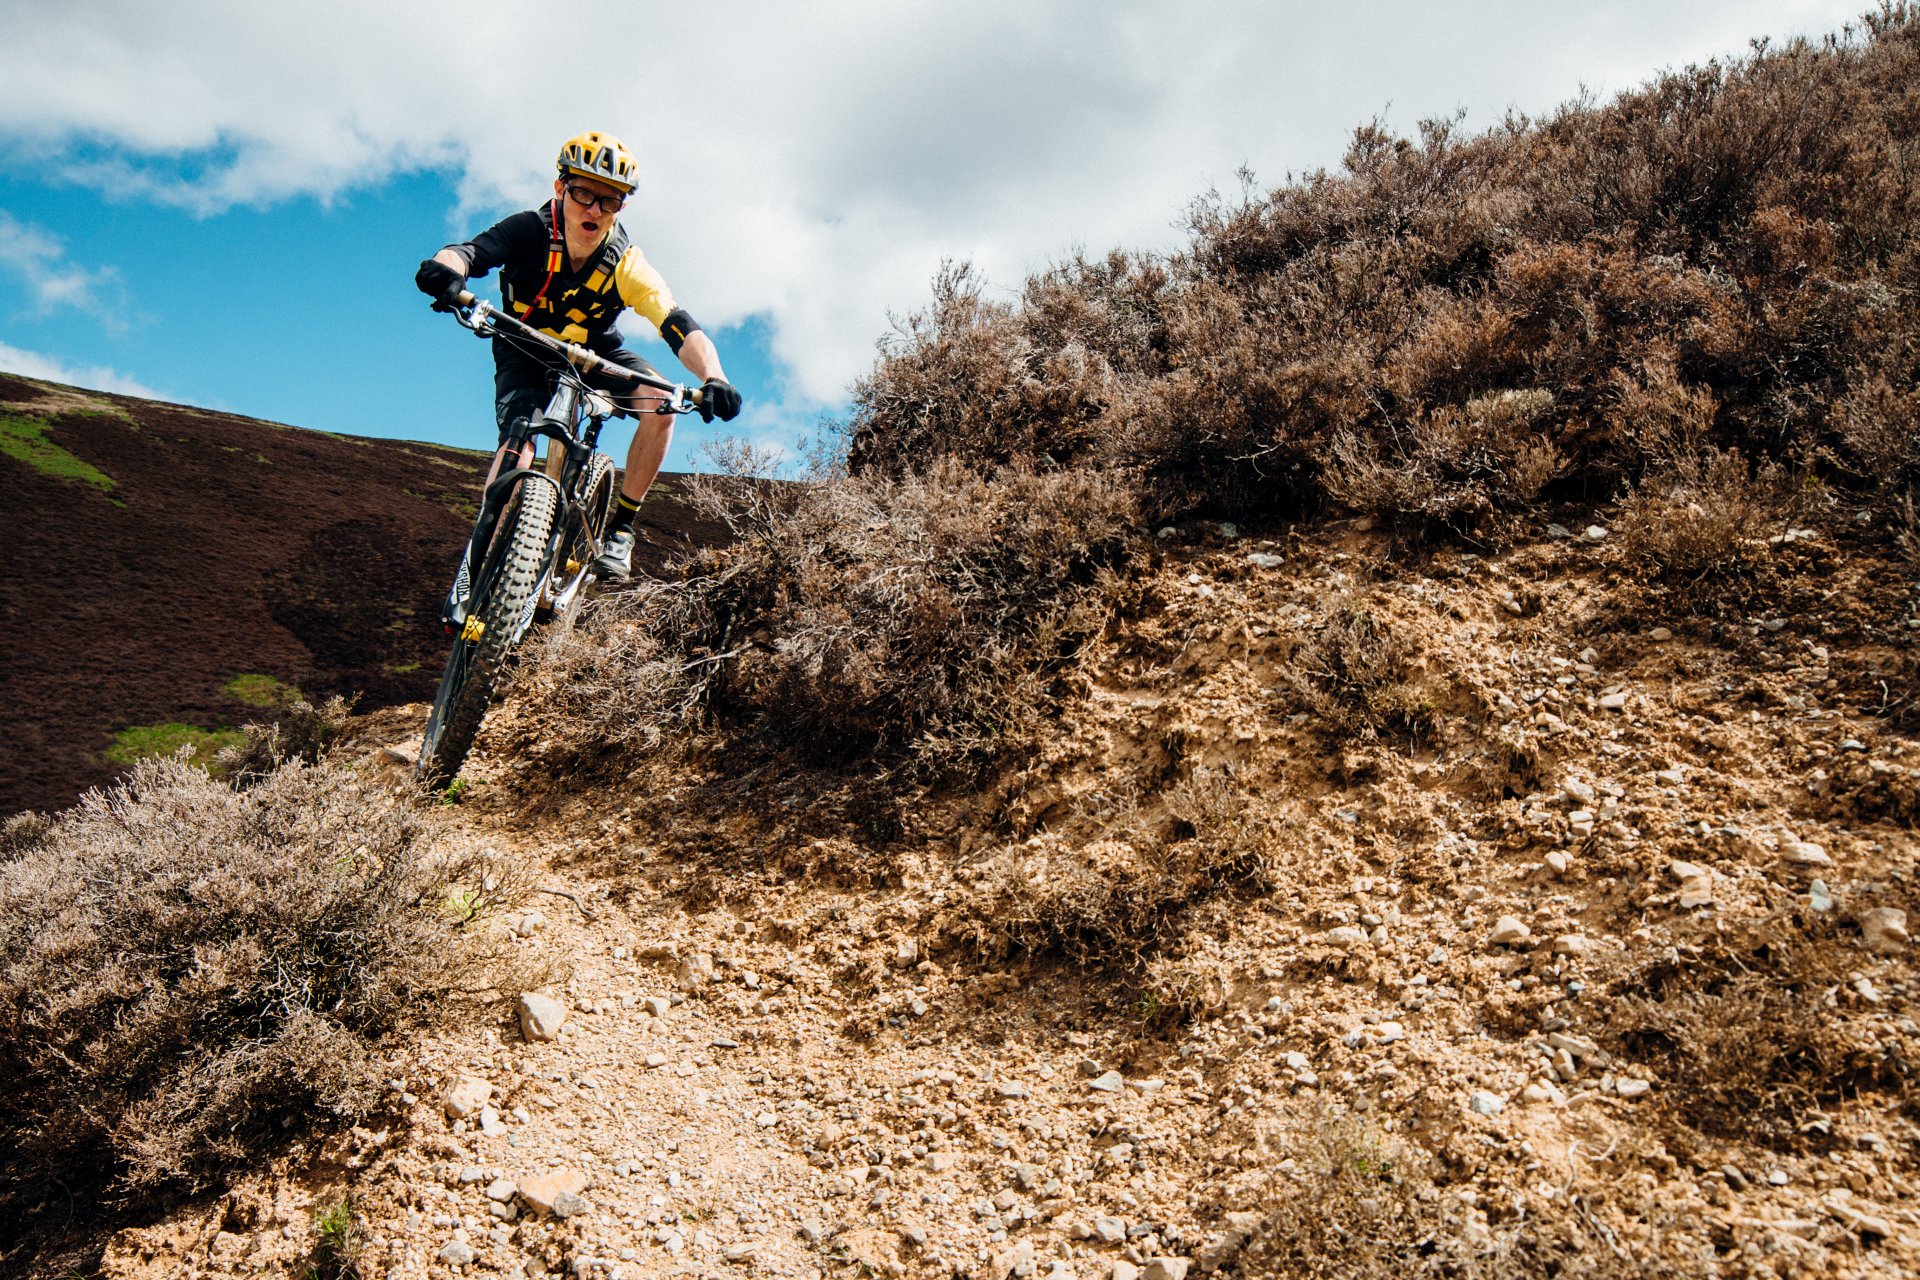
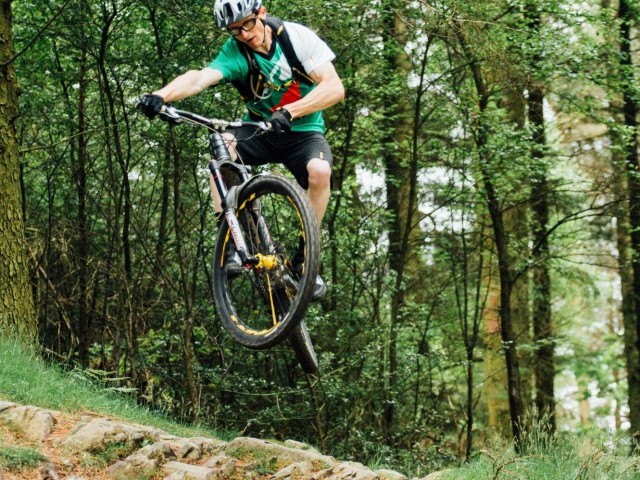
Let me shed some light on this, features that protrude in climbs need special attention, (I’ll call this the ‘crux’ move) there may be the need to re-adjust the crank timing, running in a really small gear (all too easy to opt for on modern bikes thanks to dinner plate-sized top sprockets) means that the cranks spin round faster and therefore the collision points of twelve o’clock and six o’clock occur more frequently.
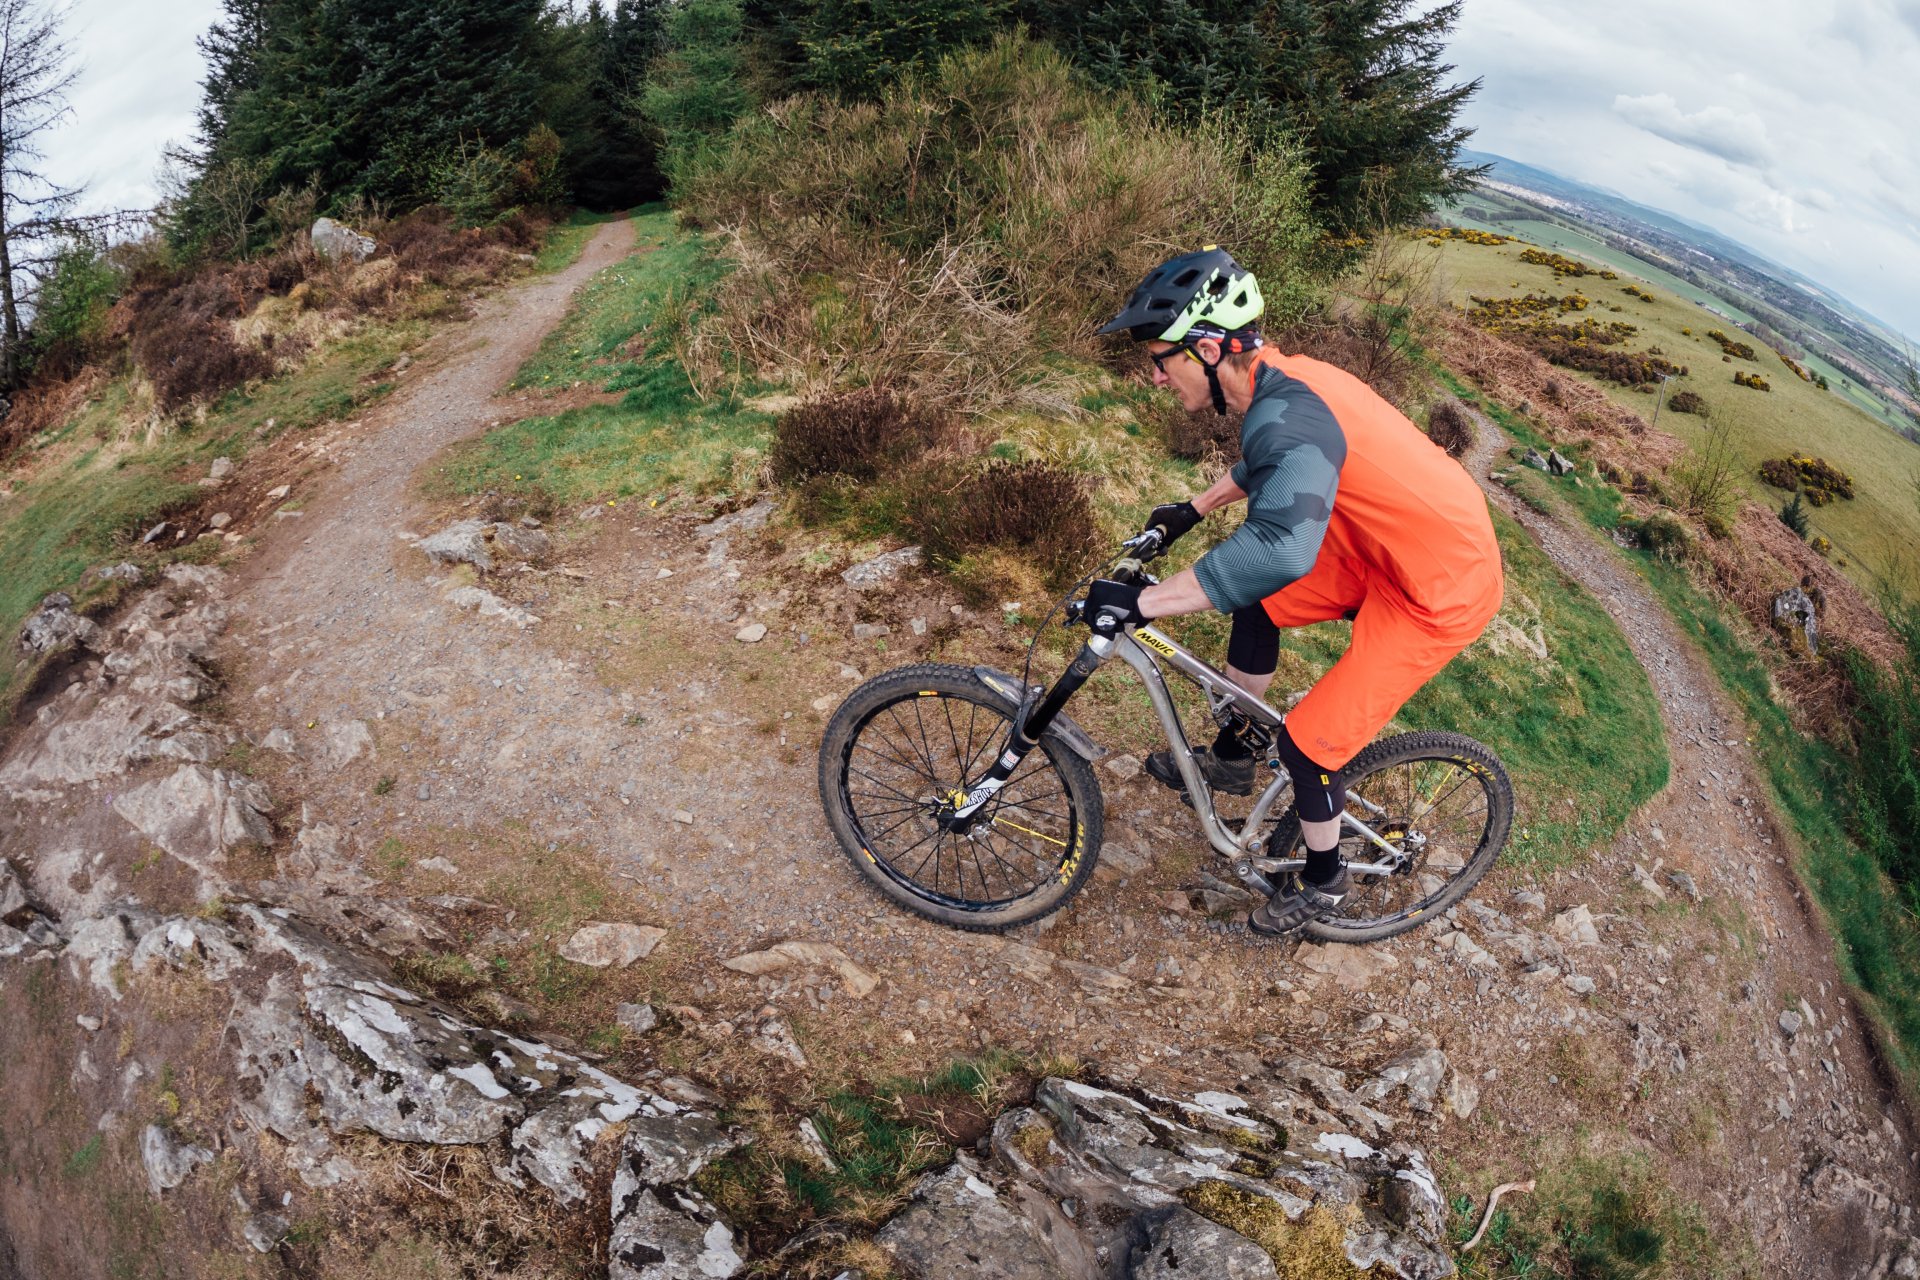
This makes it much harder to line up that window where as you pass over the crux the cranks are somewhere in the two o’clock and eight o’clock position, the other issue of the small gear selection is not just related to gear inches (how far forward you move in one 360* revolution of the cranks) but also the lack of torque being generated at a key moment when you really need traction.


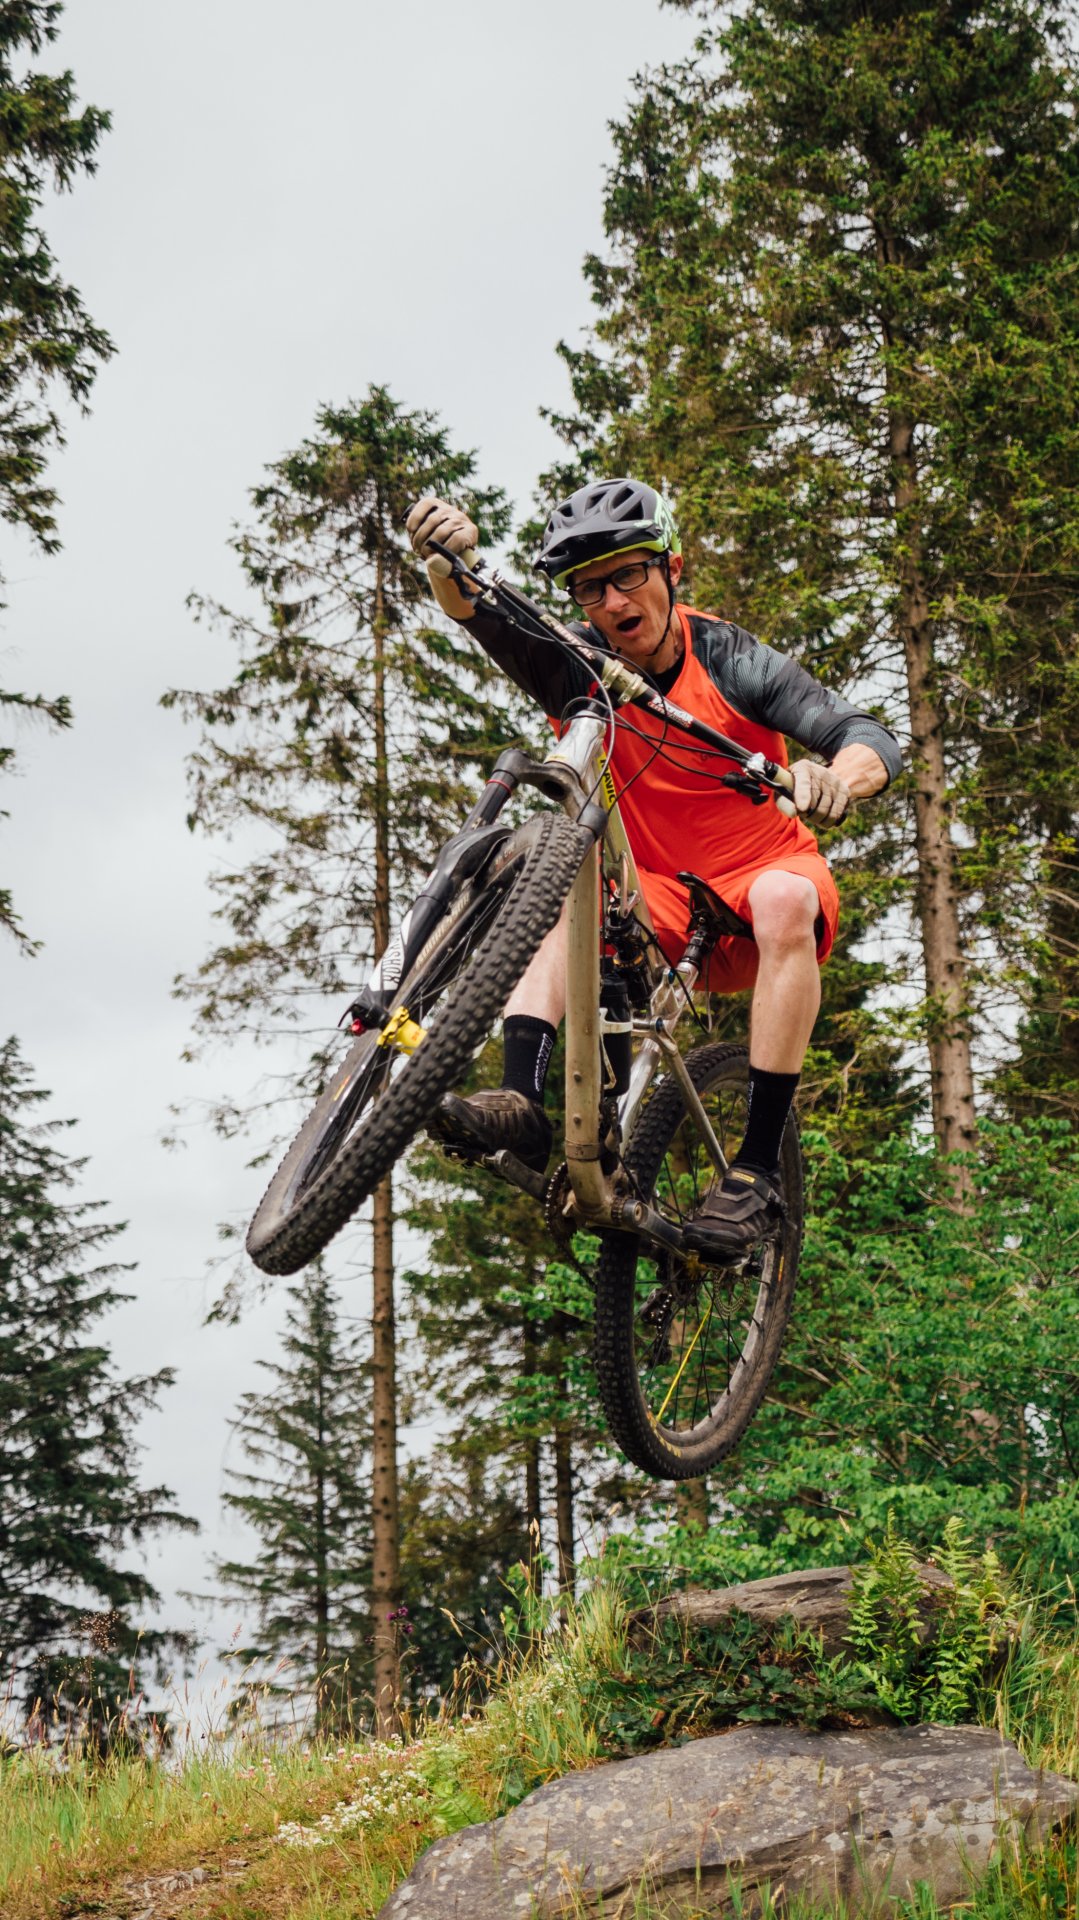
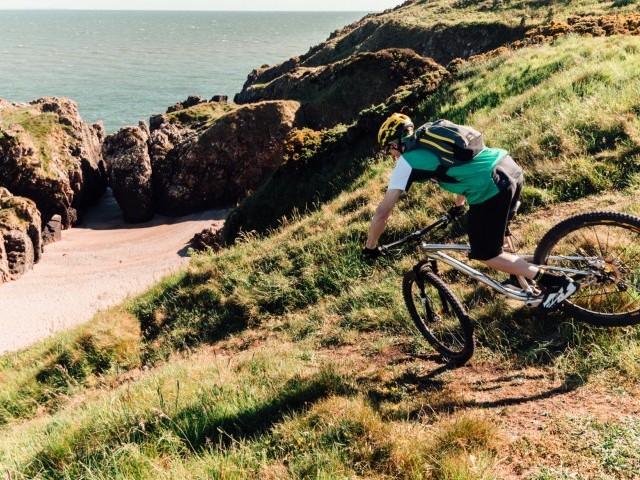
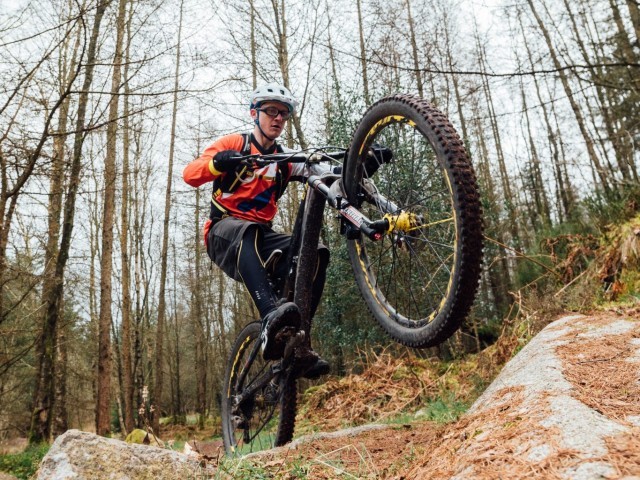
Our second common fail moment arises when a rider keeps pedalling right up until the last second before a feature such as a drop or jump, this often results in an unsavoury flight path with the body in an unbalanced position on the bike. By pedalling right up to the feature not only are you unbalanced and in a poor body position you are also unsettling the bike (either through suspension movement or just the mere lean angle the bike adopts as you drive the cranks down), all these factors combined often result in an unstable moment in the air and correction required when wheels touch down.
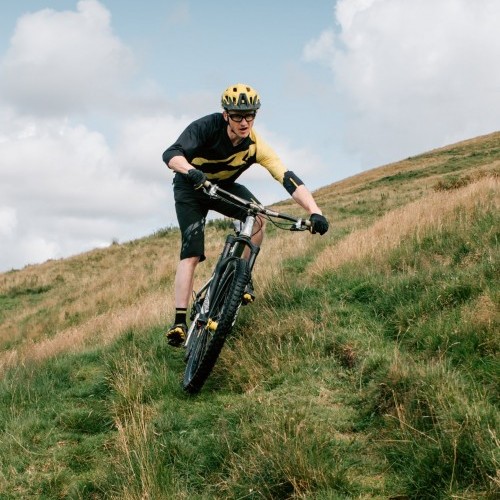
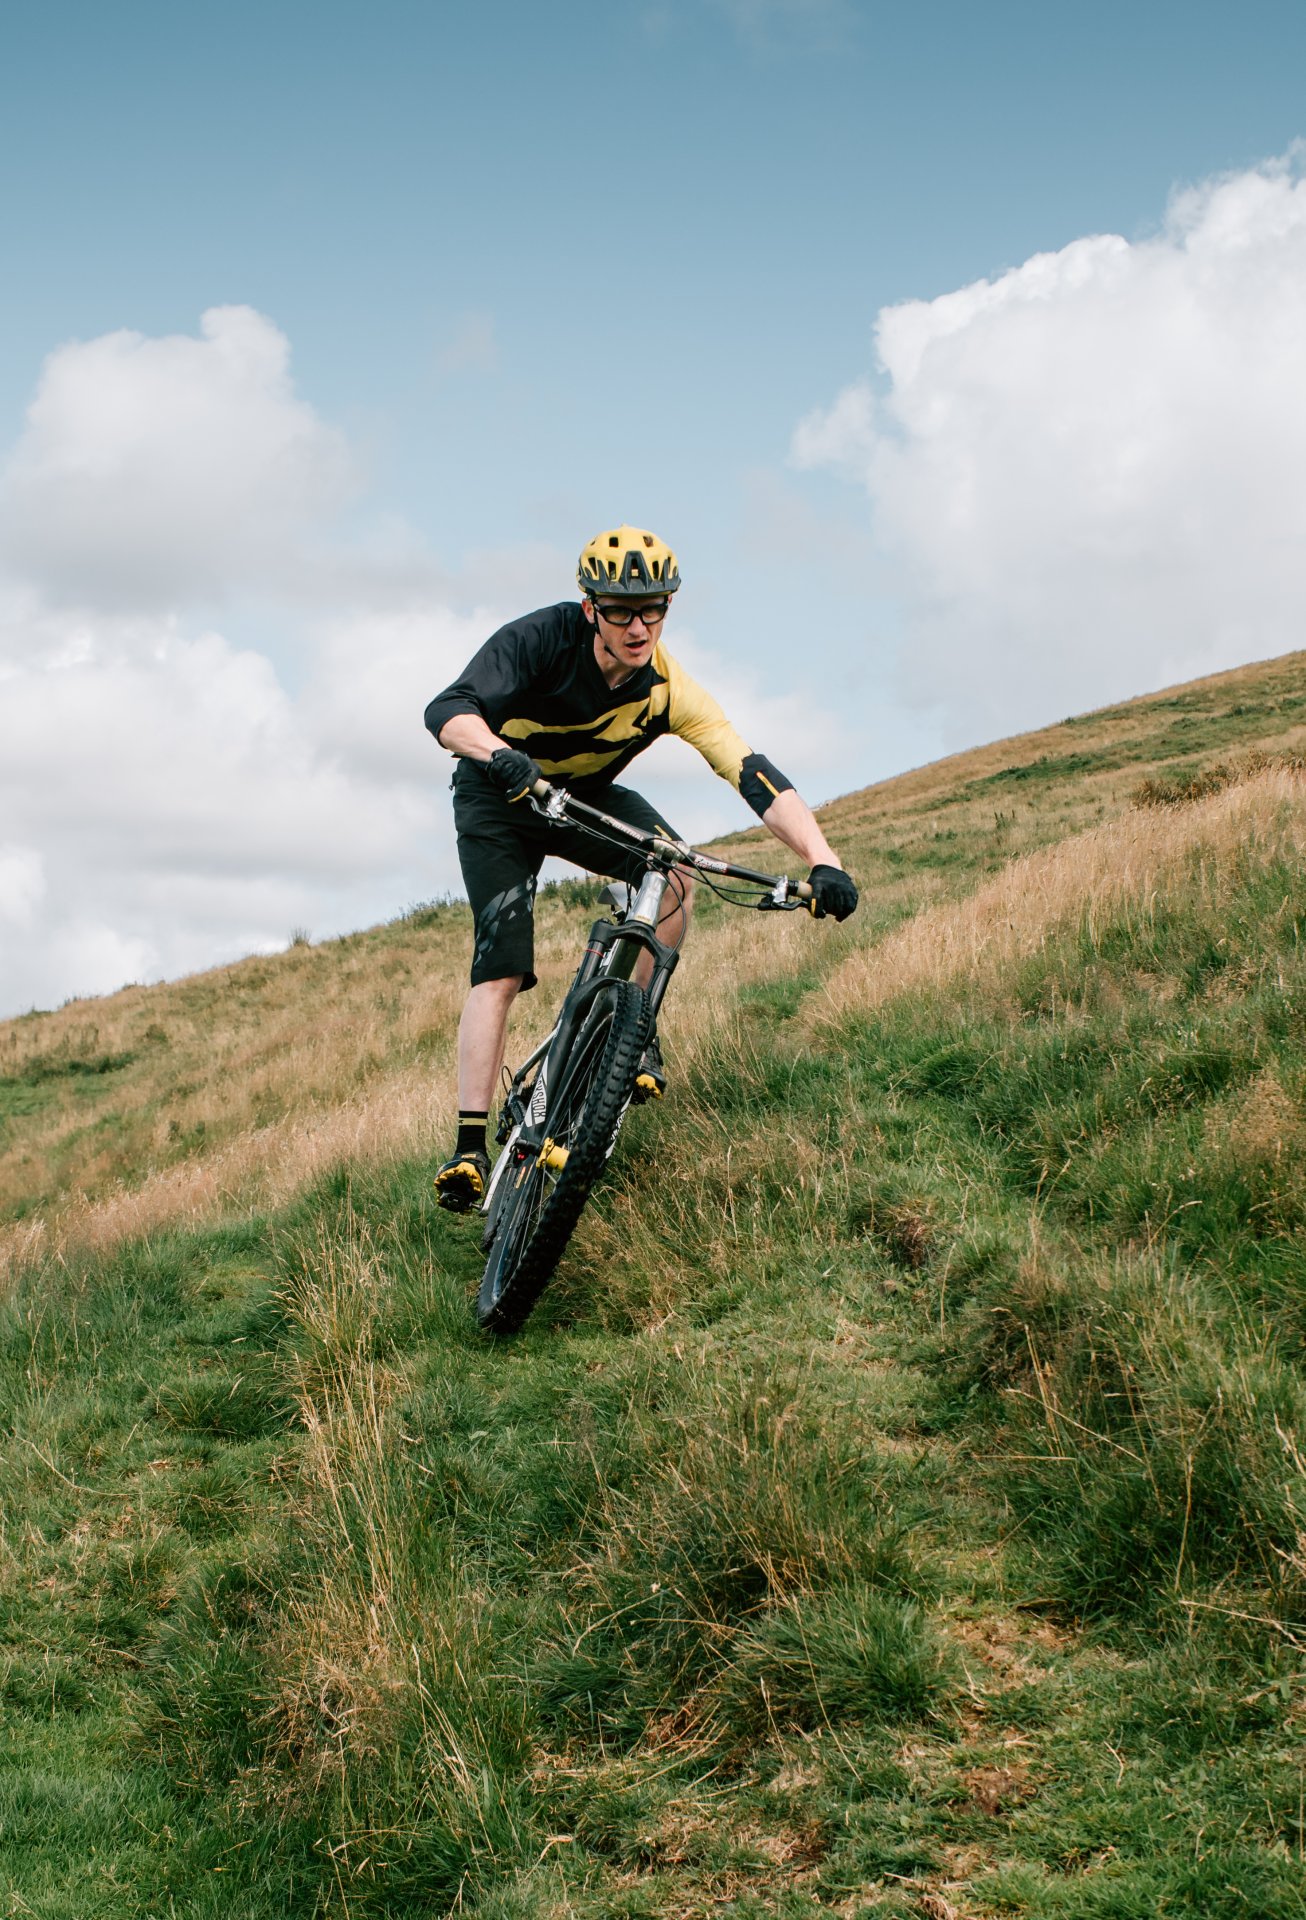
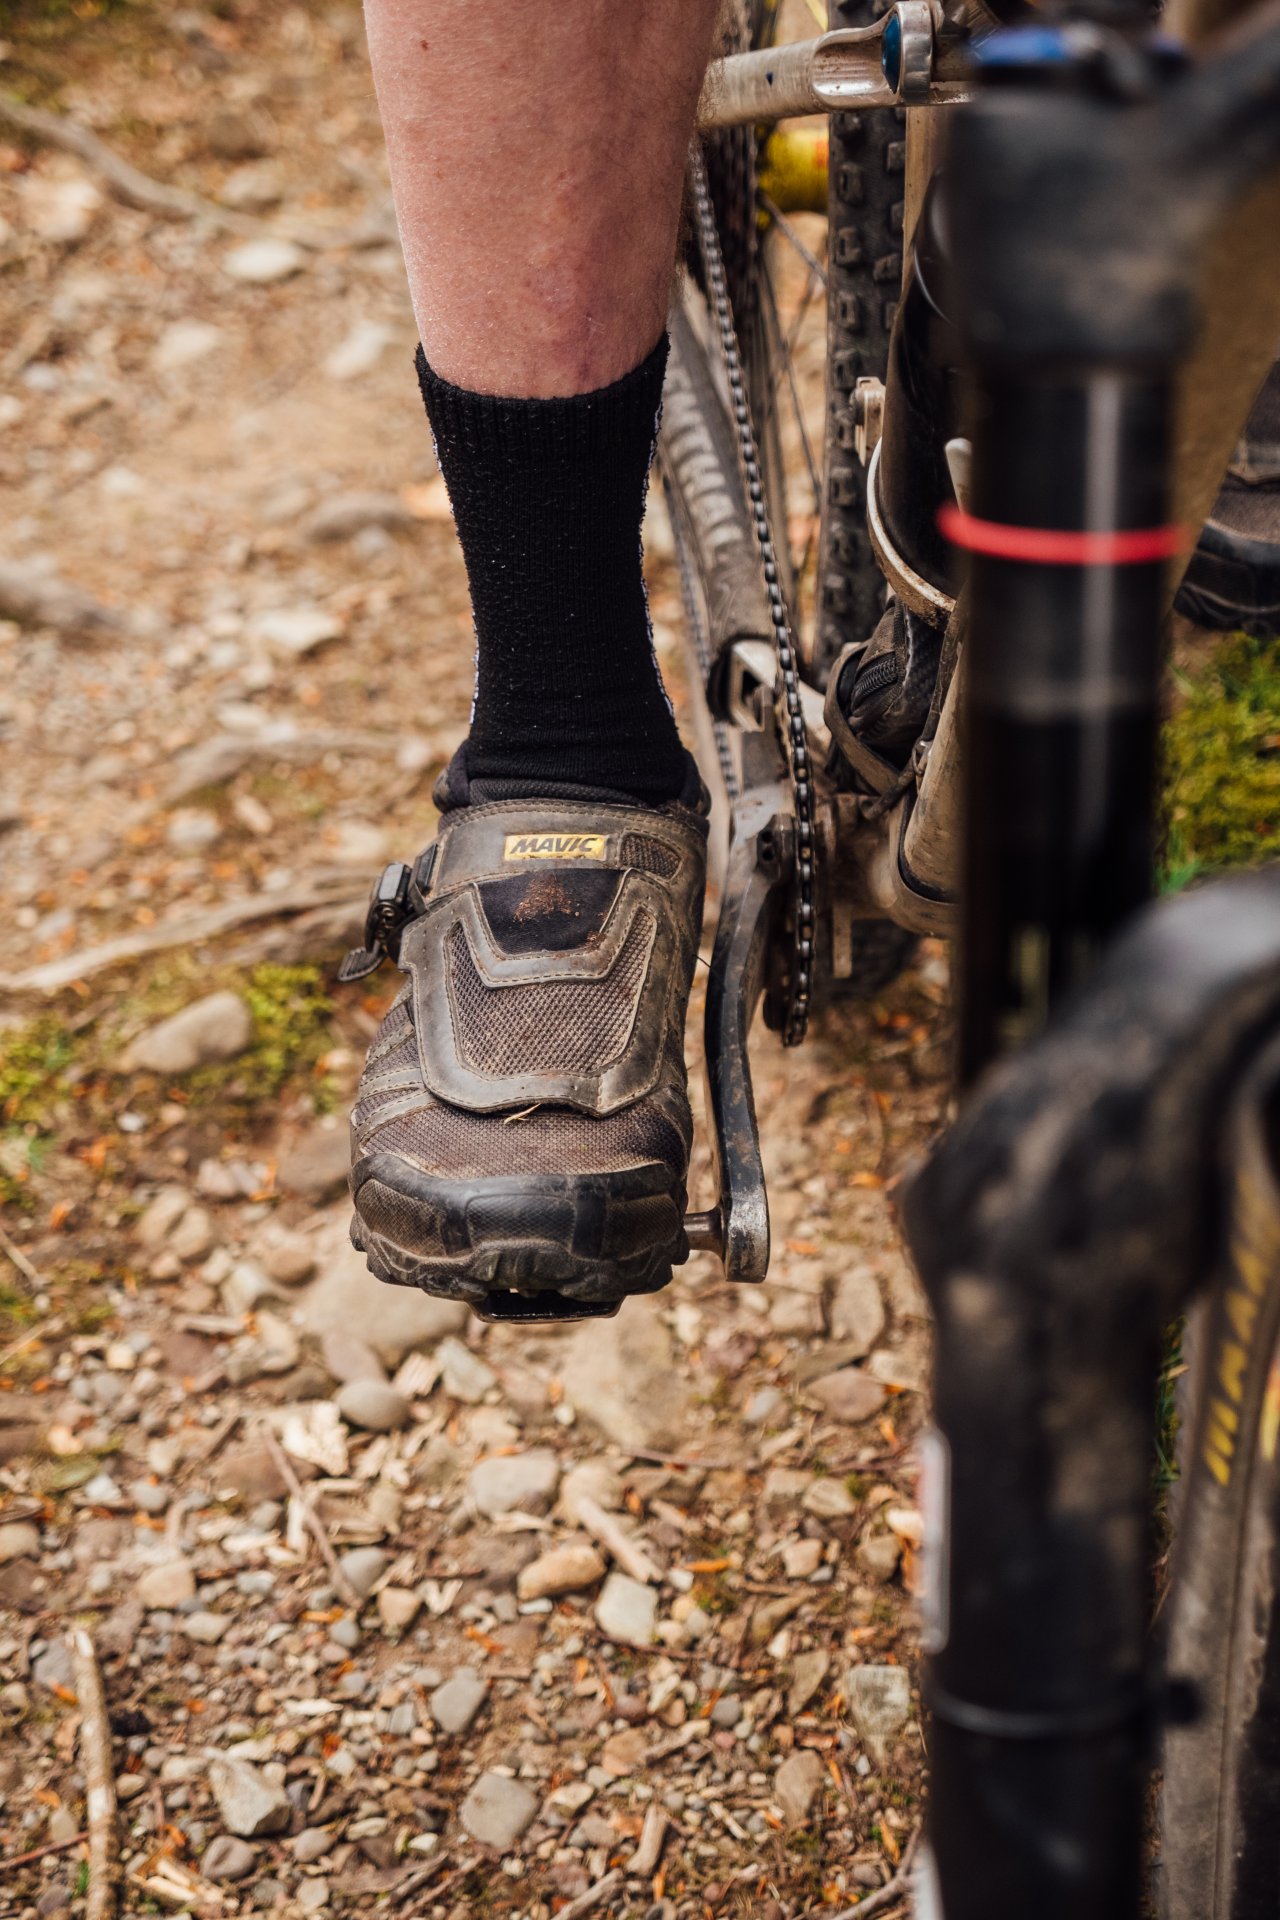
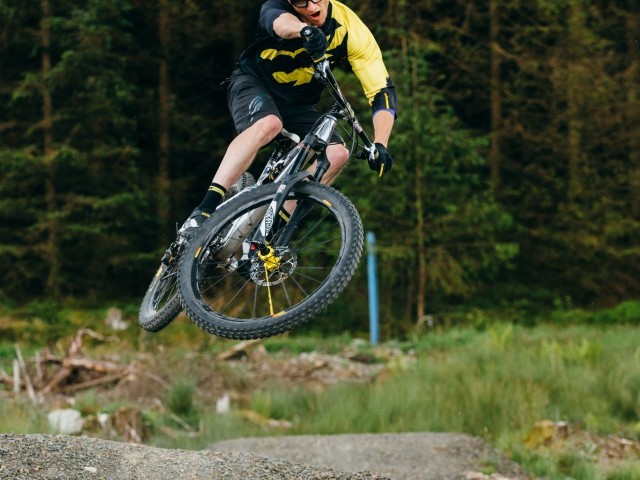
There is also another unsavoury and unbalanced moment that can occur as a result of poor crank position, and this one is to do with being weight biassed either in the front of the bike or too far out the back of the bike. If we allow the cranks to sit dead level at three o’clock and nine o’clock then the crank/pedal position is just a hair from rolling into the downstroke, consequentially moving your body slightly forward, the knock-on effect of poor ankle angle can result in being way too far to the front or back of the bike. Ankle angle and foot position (to heel drop or not?) is another thing to add here.
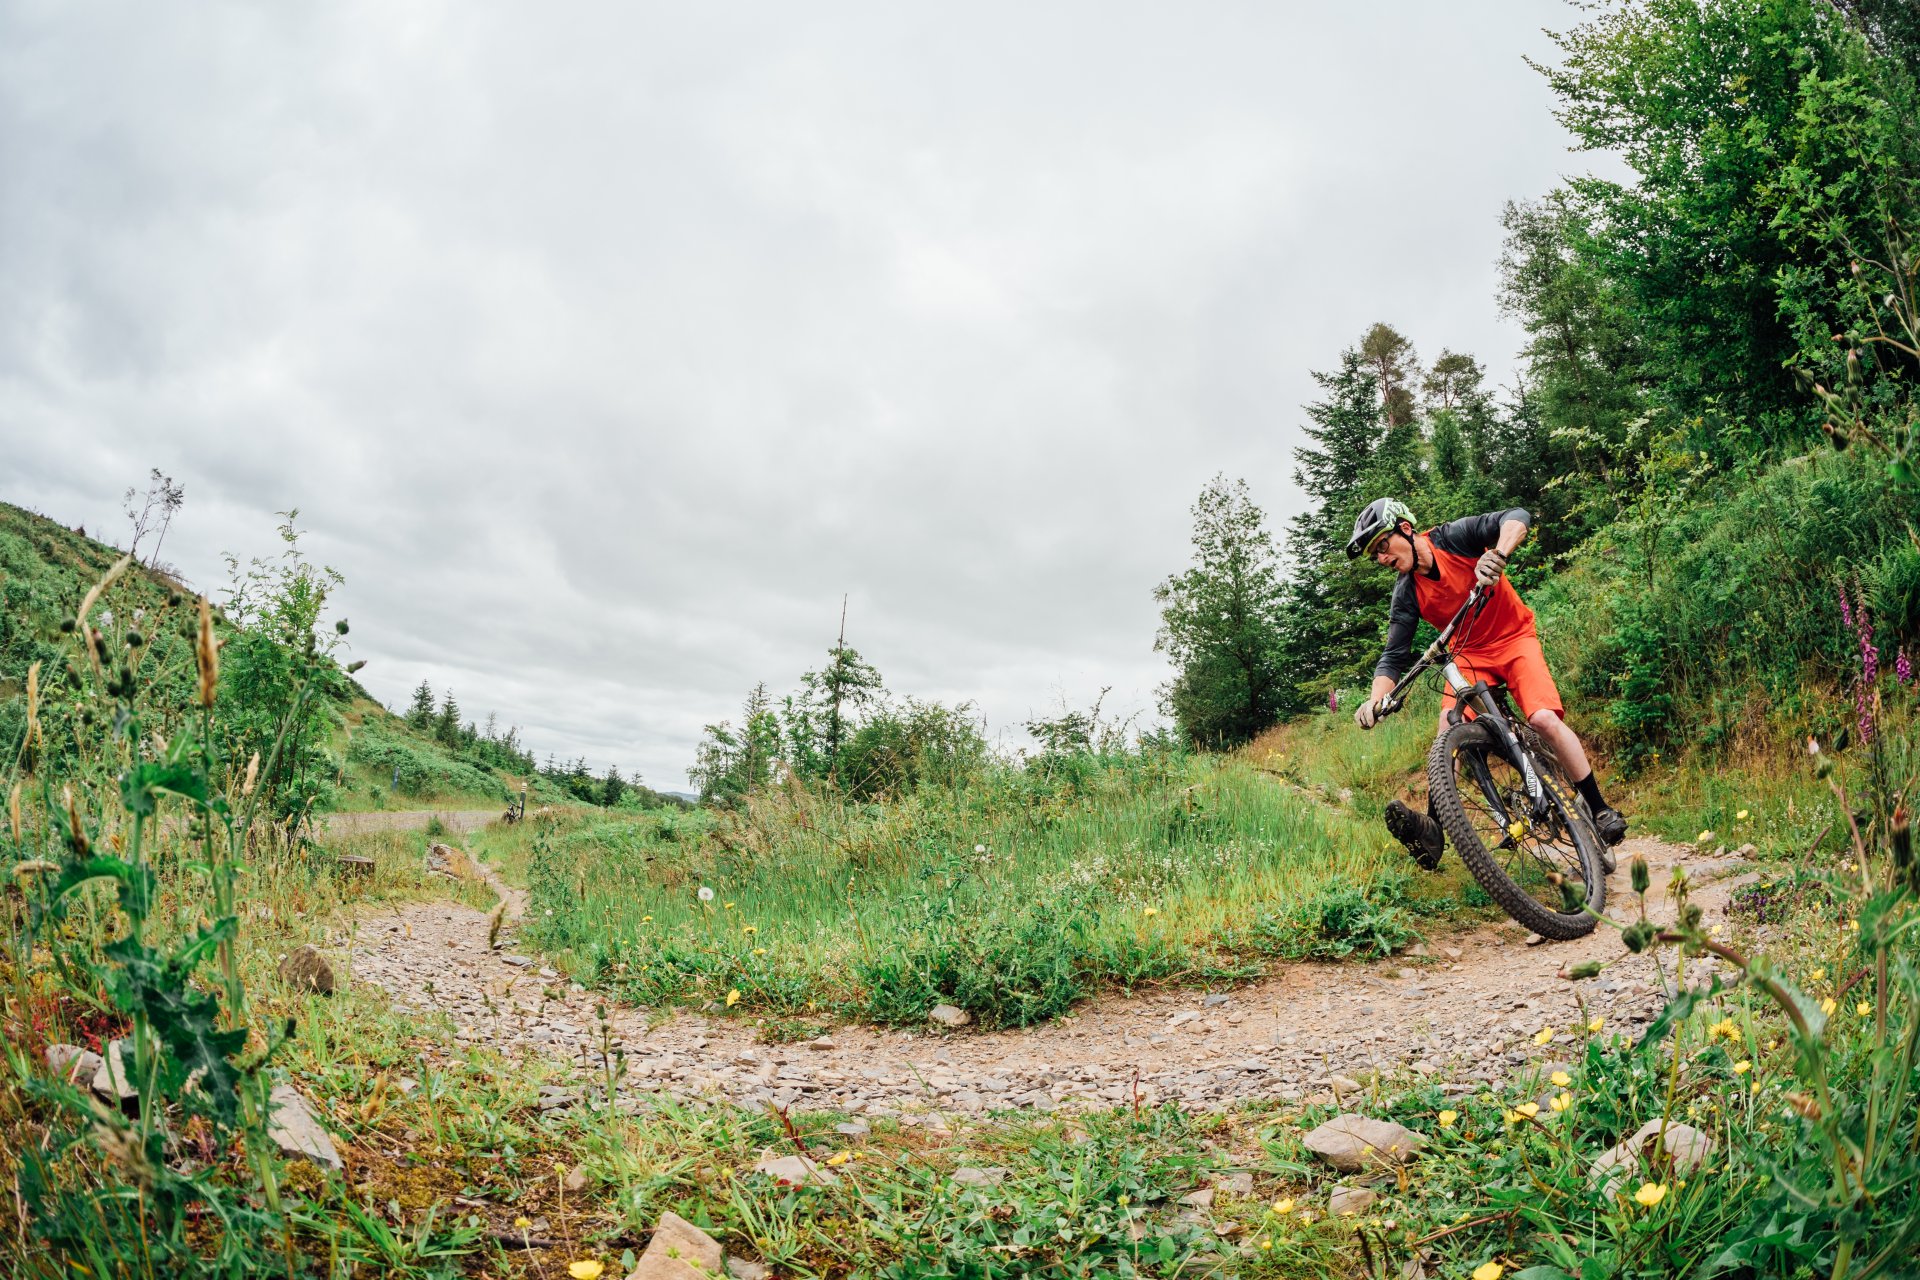
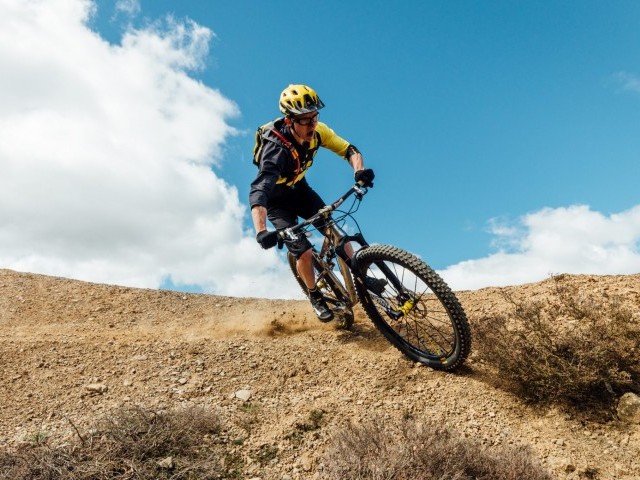
To be clear there is no ‘default’ - ‘fit all’ solution and ‘position to be in, the closest you could get for rolling along lumpy trail is a lead foot with heel drop and trailing foot slightly toe down (cranks at two and eight o’clock), this wedge-like shape from the feet is about where your body naturally ends up mid-stride (we are moving on the bike so no point drawing comparisons with a human stood stationary).
If we try and drop both heels we become rear weight biassed and put unnecessary strain on the Achilles tendon in the trailing foot, we only adopt this more aggressive stance when combating huge frontal loads and massive forces whilst braking. On the flip side if we run both pedals level then we transfer more pressure into the ball of the foot and toes, in this stance the foot can easily get blown off the pedals when the bike stalls out. The wedge stance keeps you cantered and helps keep the cranks in the tension, maintaining that two o’clock - eight o’clock position as the bike pivots around the bottom bracket below you.
Have you ever had a moment where you feel like you will loop out after a compression? This can be a result of having both heels dropped and being in the rear centre of the bike as you pass through that compression. Maybe you have had the front wheel wash out? This can also be a result of an unweighting of the bike through having both heels dropped and being again rear weight biassed.
So how can you iron out this habit and get yourself in a better stance? Simple sessions of rolling along and holding the preferred stance for around thirty seconds at a time can help your muscles gain that memory and remember the position, just watch this edition's video footage and any top rider in action to see the stance for yourself. You can get a riding partner to observe and film you on the bike so you can see for yourself exactly where you are lining up your cranks, what you feel below you, may be different from what an observer reports.
With feet at the preferred angle and cranks sitting just right you can then focus on exactly where your foot is whilst pedalling along. When I coach new riders for this I’ll roll along next to them and call out a specific point at which they need to ‘squeeze the power’ to get the front wheel up, this helps them engage their head with their feet. Strange as this may sound, many new riders will ‘tap the gas’ either too soon or too late within the pedal stroke, finding that sweet spot is all about knowing exactly where you are in the circle.
Another good way to become familiar with this is to mess around with the track stand, by balancing on the spot using a slight incline to work against you can focus on the footwork. If you try to balance with your lead foot below level you will discover you are more unbalanced than when the cranks are in the two o’clock - eight o’clock position, as I have highlighted above is because you are moved into the front of the bike. For affirmative crank alignment when rolling along the simple slalom is a great way to feel your way into corners and correct crank position.
With time comes timing, judging cadence and distance to a crux point may take a while to become hard-wired in your muscle memory. Have you ever made a mental note of how far one full 360* pedal stroke in a given gear will take you? Use a slight uphill gradient and select an easy gear to pedal, mark the front wheel/tire and line up that mark with your start line mark on the ground, pedal forward one full revolution of the crank, and stop, mark the spot where the wheel stopped. Repeat the process using different gears and make a mental note of how far you travelled each time, this will help you judge distances as you approach a crux.
Once you have done this then find a small feature (crux point) on a gentle gradient (something you won't smash a pedal on or stall out on). Estimate a start line for a chosen gear ratio and from that start point (and with the crank in the same position each time) pedal up towards the crux point and make a mental note of where your feet are as you pass over the crux. Try shifting gear and do the same again with higher or lower cadence, then try again and put a slight pause in the pedalling or use a slight back-pedal so that you pass the crux (whilst still pedalling) with cranks in the sweet spot. Change the run-up accordingly to match the crank timing. Combining these simple skills drills will help you draw from muscle memory on the trail, no more pedal scrapes, and crank smashing, smashing!
This technique article was in Issue 71 of IMB.
Related


By Clive Forth
Clive Forth is a rider who has been there, done that, got the t-shirt and cleaned his bike with it. He has grown with the UK scene and technological developments for the last 30 years and has competed at all levels in all disciplines riding for some prestigious brands along the way. Always looking for that extra edge with endless passion and drive he is geared up to bring you the inside line on all aspects of mountain biking skills and technique.