Drop and Roll
Technique / Skills

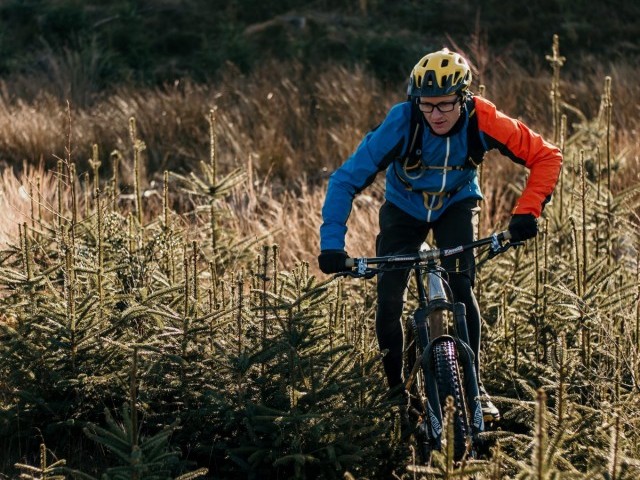
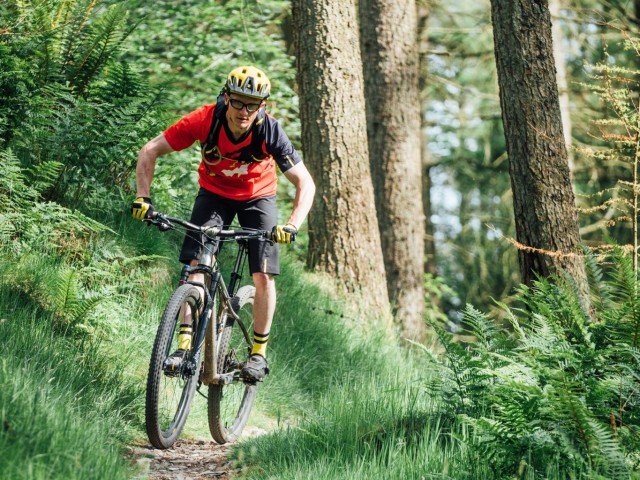
Welcome to another instalment of our core skills and techniques feature, and as we enter autumn here in the UK it's time to tackle the subject of drop-offs.
Dropping and jumping are two areas where the penalty for failure can be life-changing. When it goes wrong the classic outcome is an OTB (over the bars), here the typical reaction is to protect the face and head by throwing the arms out, and the extremities take the beating. Broken wrists, forearms, collar bones, shoulders etcetera are all symptoms of an OTB. The worst-case scenarios occur when the arms are not there to absorb a fall, and the rider takes the impact directly to the head. So how can we prevent an OTB and take drops safe and in style?


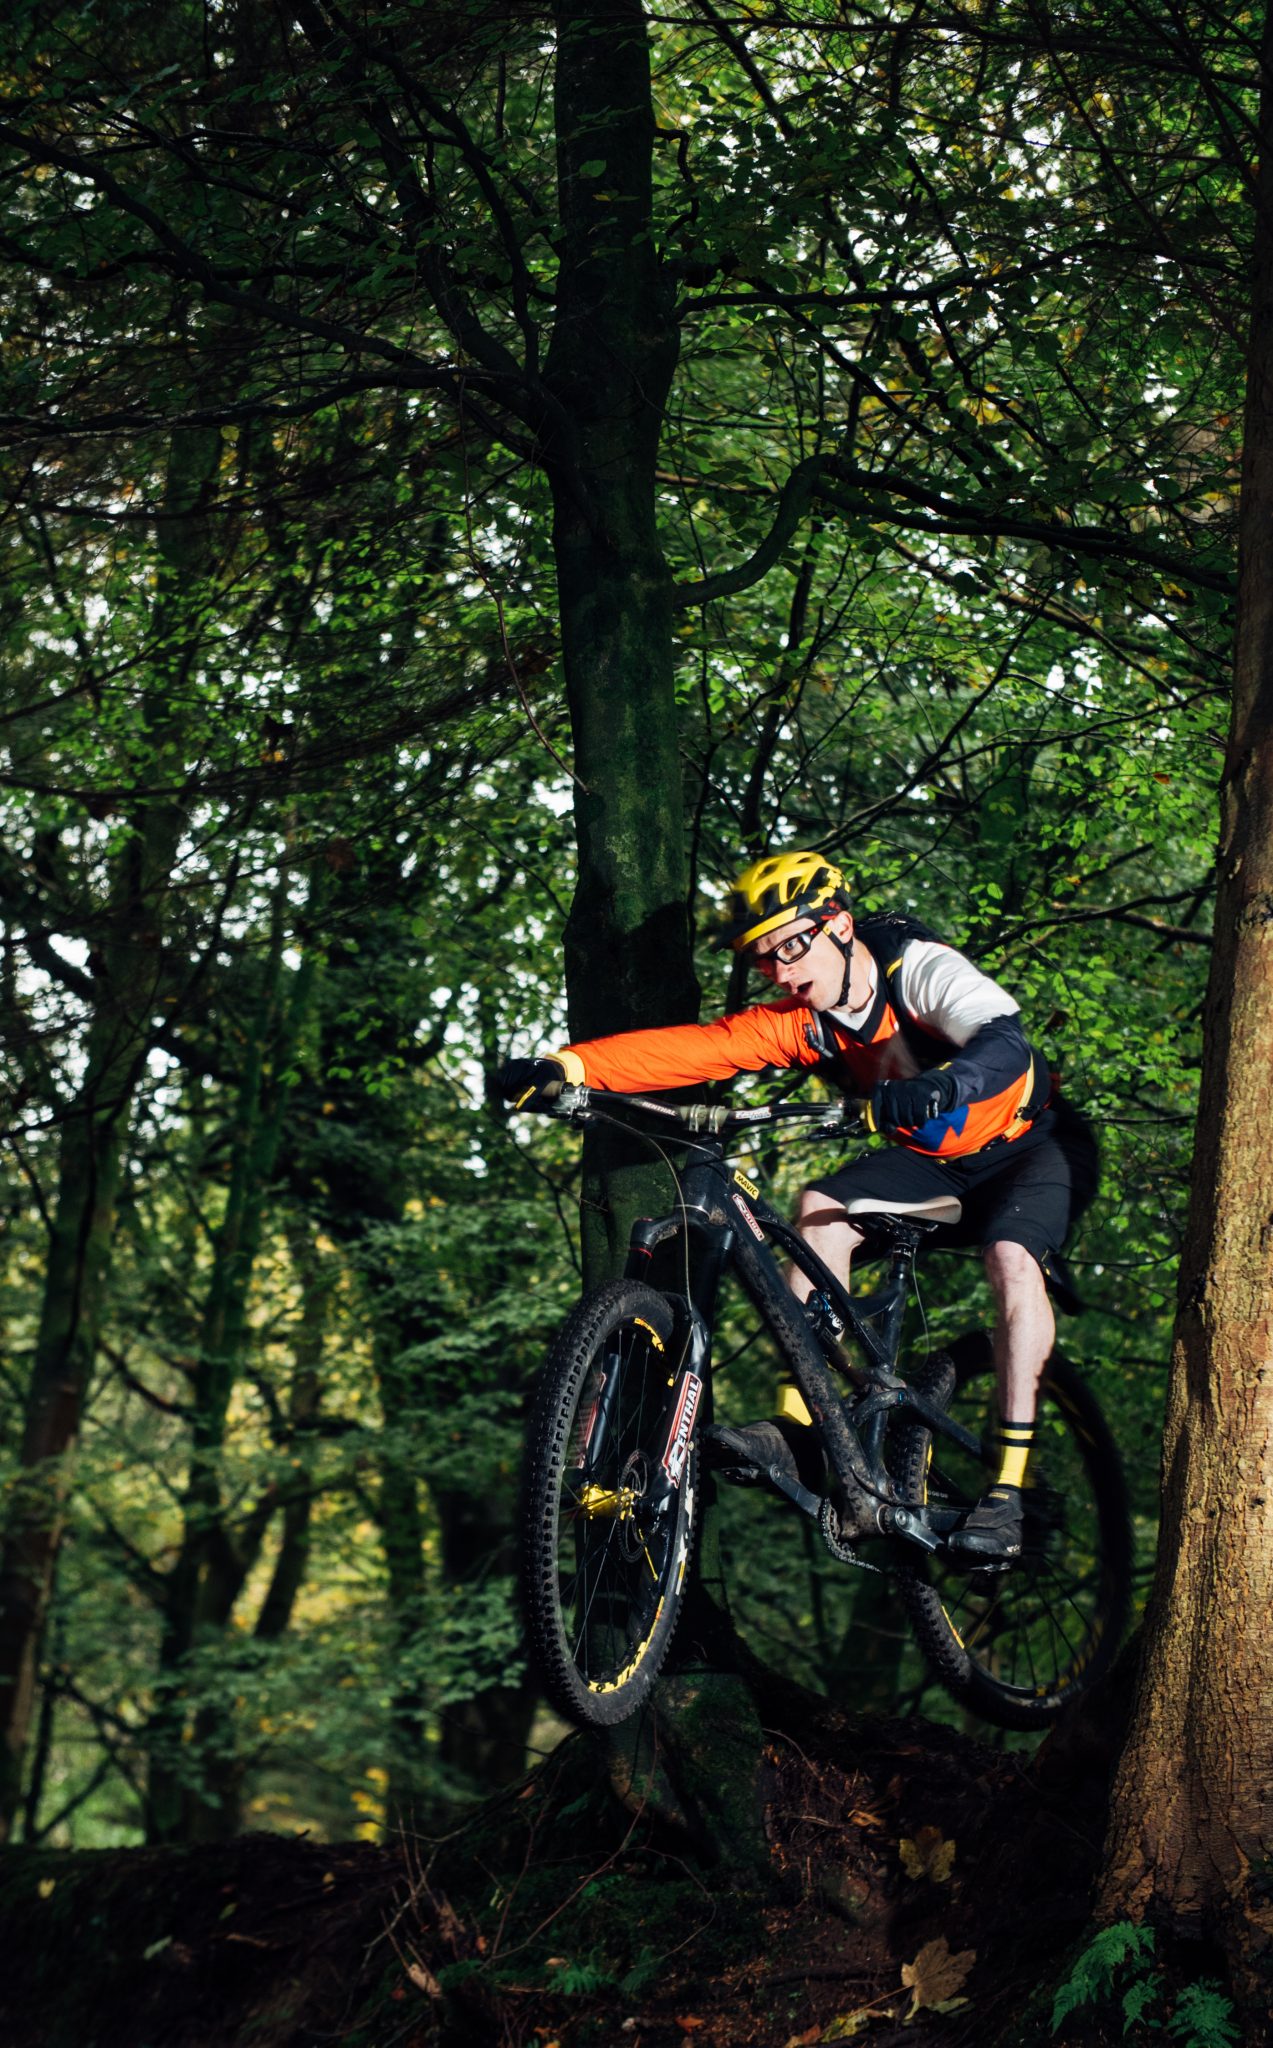
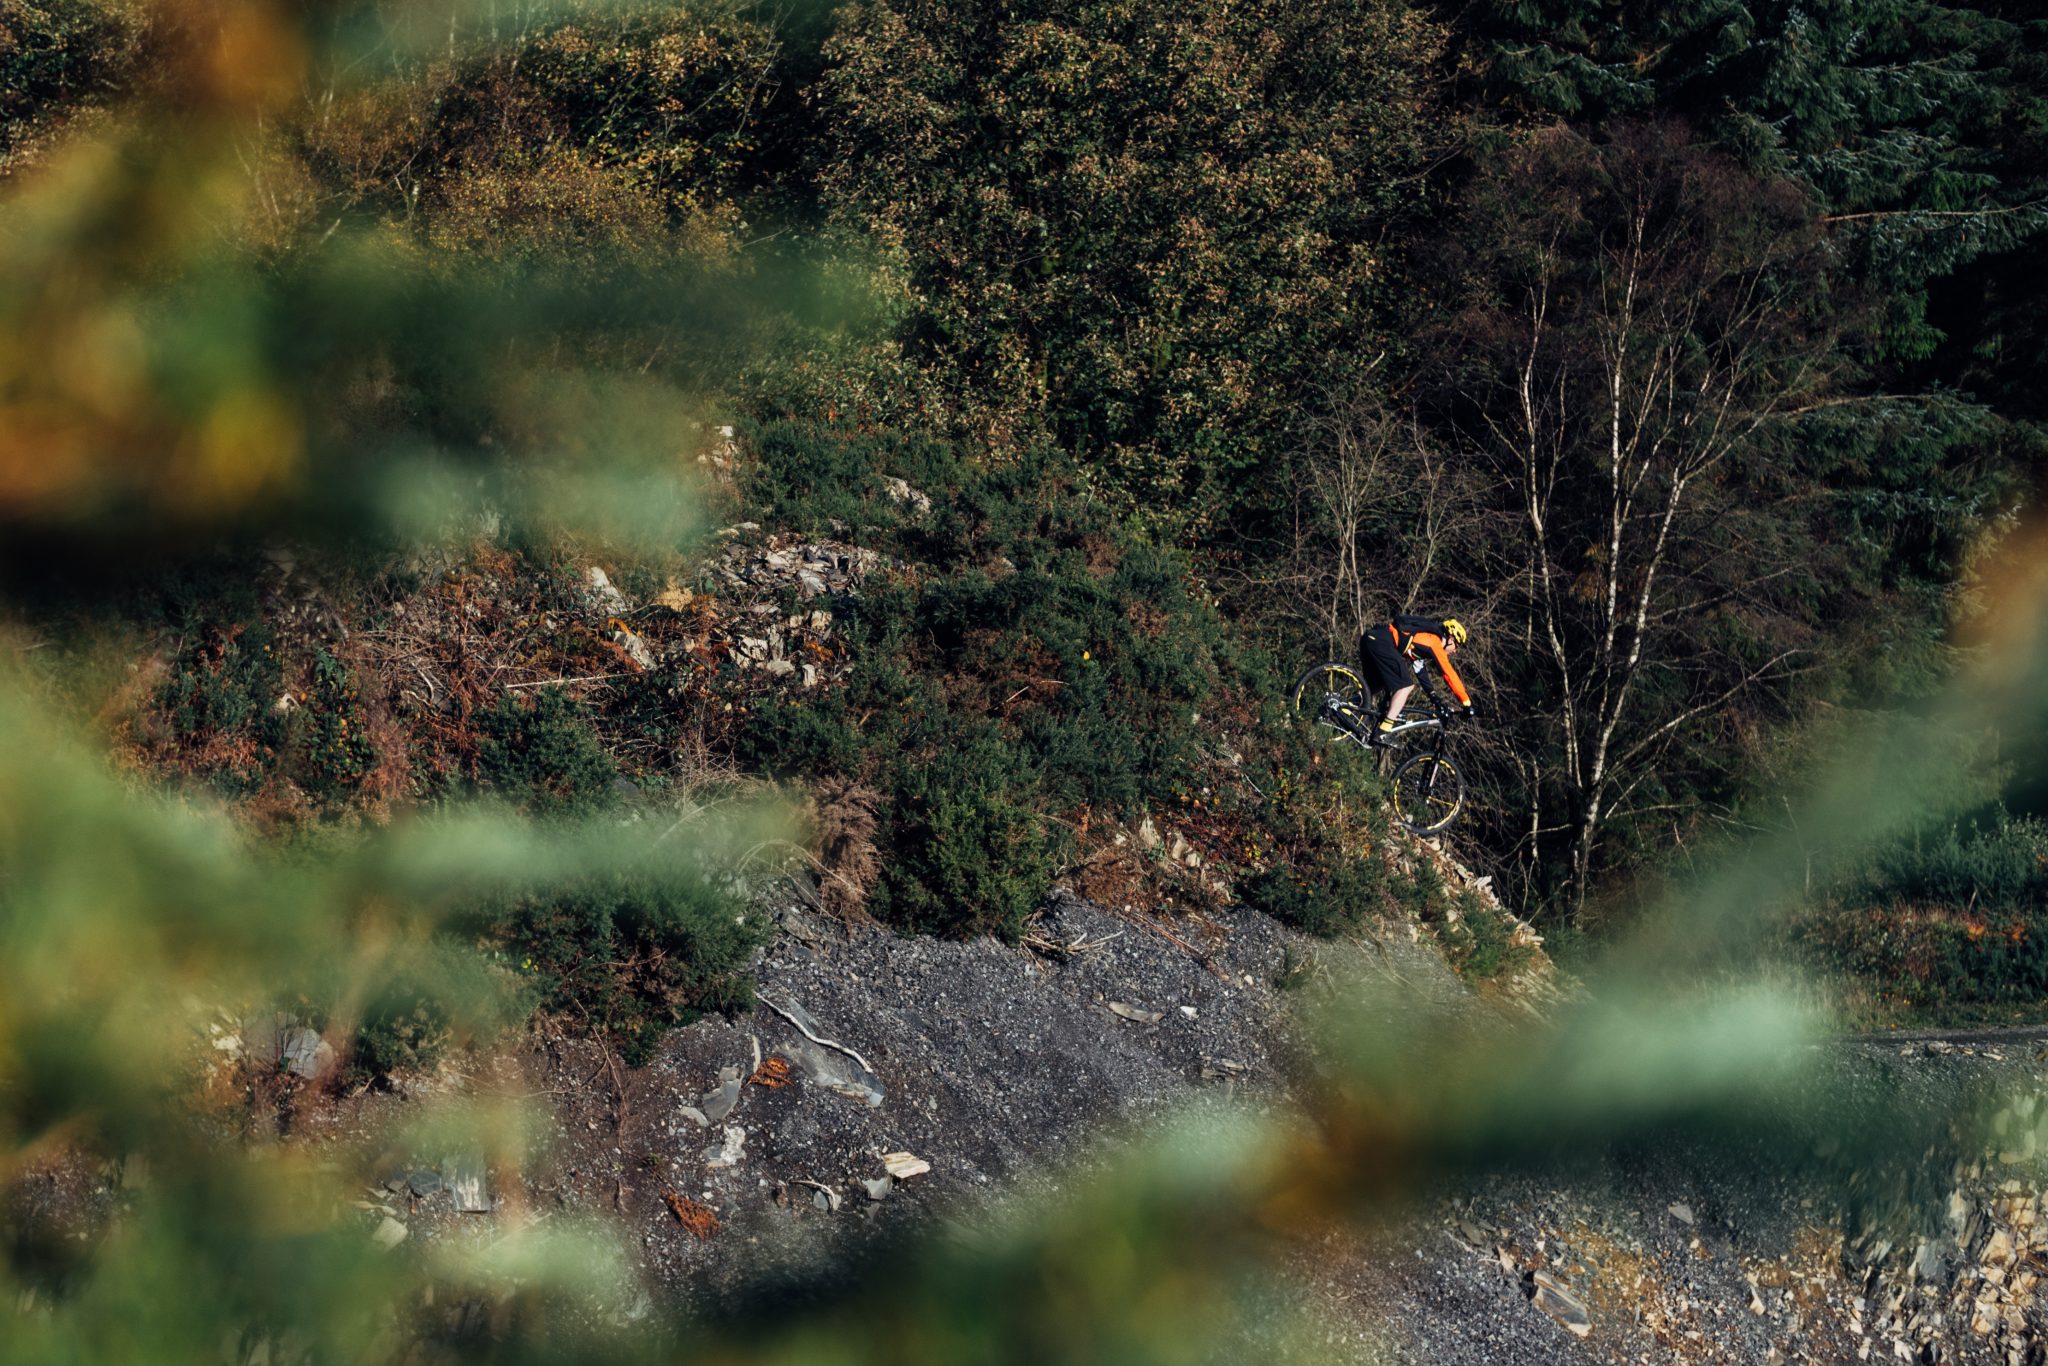
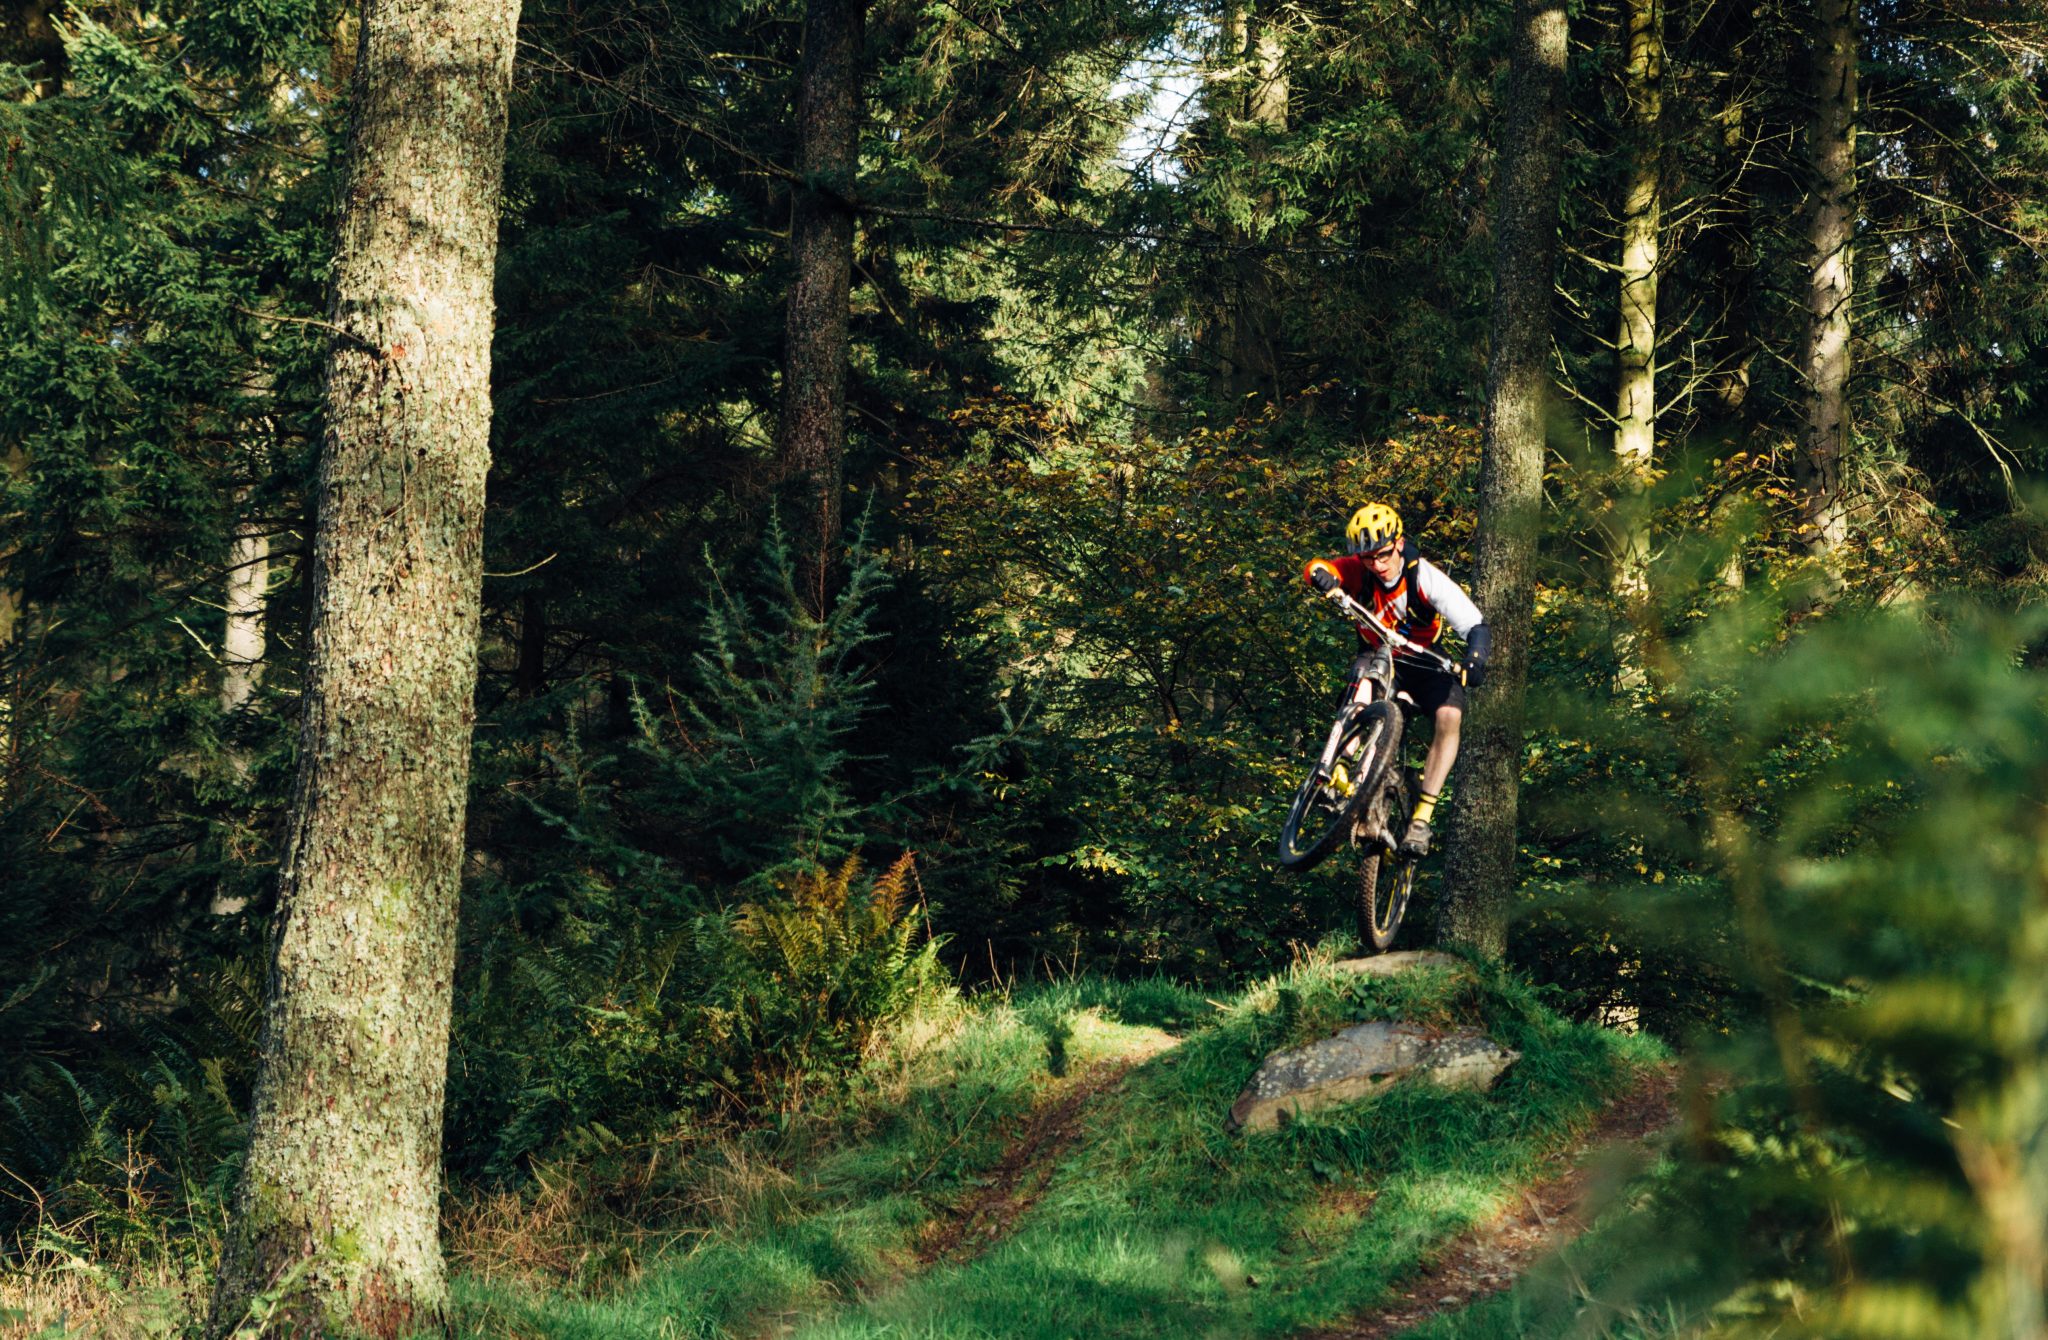
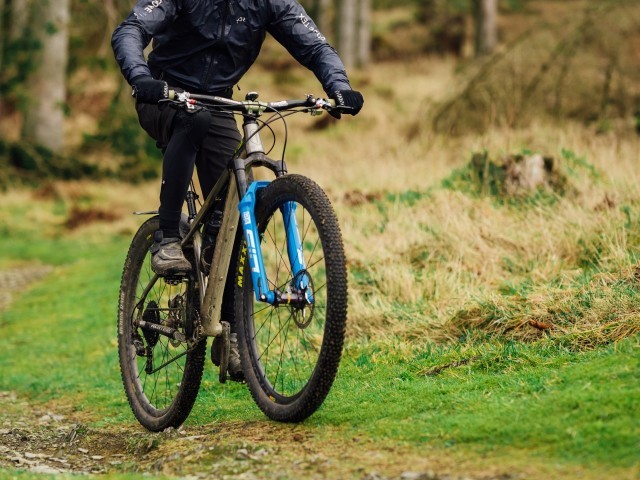
First up let's look at the various drop-off types, from large sender drops to small rolling drops I consider any section of trail that drops down a relatively square edge and offers the potential for air to appear under the front wheel a drop-off. Small rolling drops may be taken at a slower speed as the drop height allows clearance for the chainring to pass over. When drops become that bit bigger, we now need both wheels to exit the edge (lip) of the drop-off clean, so the chainring does not hang up and scrape the lip.
There are a few key elements to consider also, these help you make the dynamic decision as to what technique should be deployed to deal with the drop. These are:
- The entry space and speed on approach
- The exit space and predicted speed on exit (drops that fall away with steep downslope landings will see a massive speed increase from entry to exit point)
- The severity of the terrain under the wheel
- The scale/height of the drop
Having weighed up the drop ahead you can select the most suited technique, the techniques are:
- Rolling Press Drop
- Punch Drop
- Wheelie Drop
In situations where a drop links into a downslope you can also “pre-hop” eliminating the drop-off part, setting the bike up to match the slope below.
Rolling Press Drop
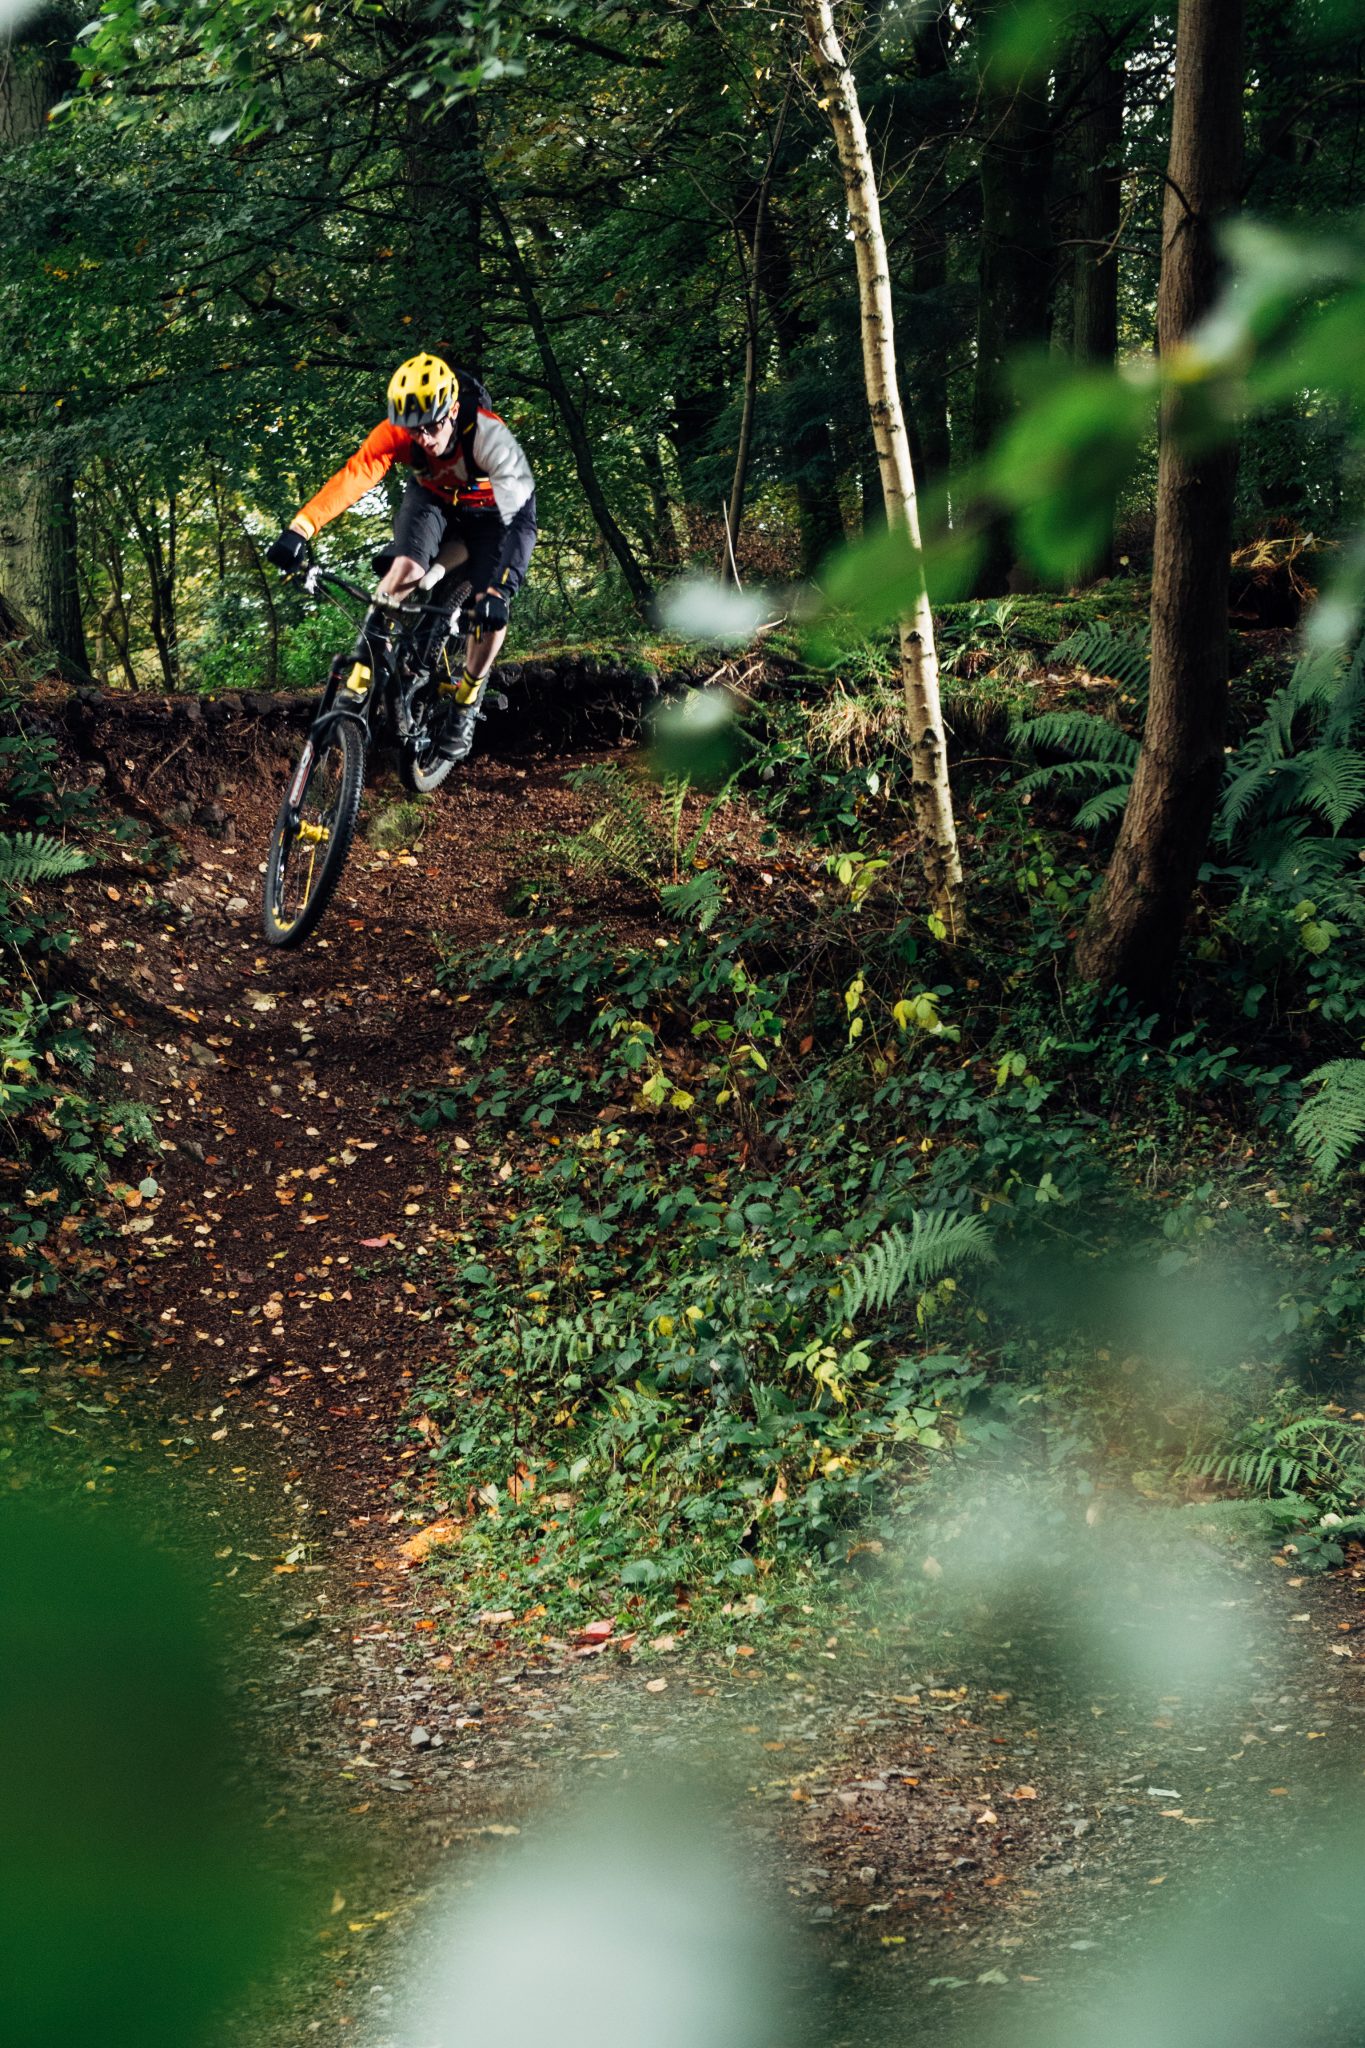
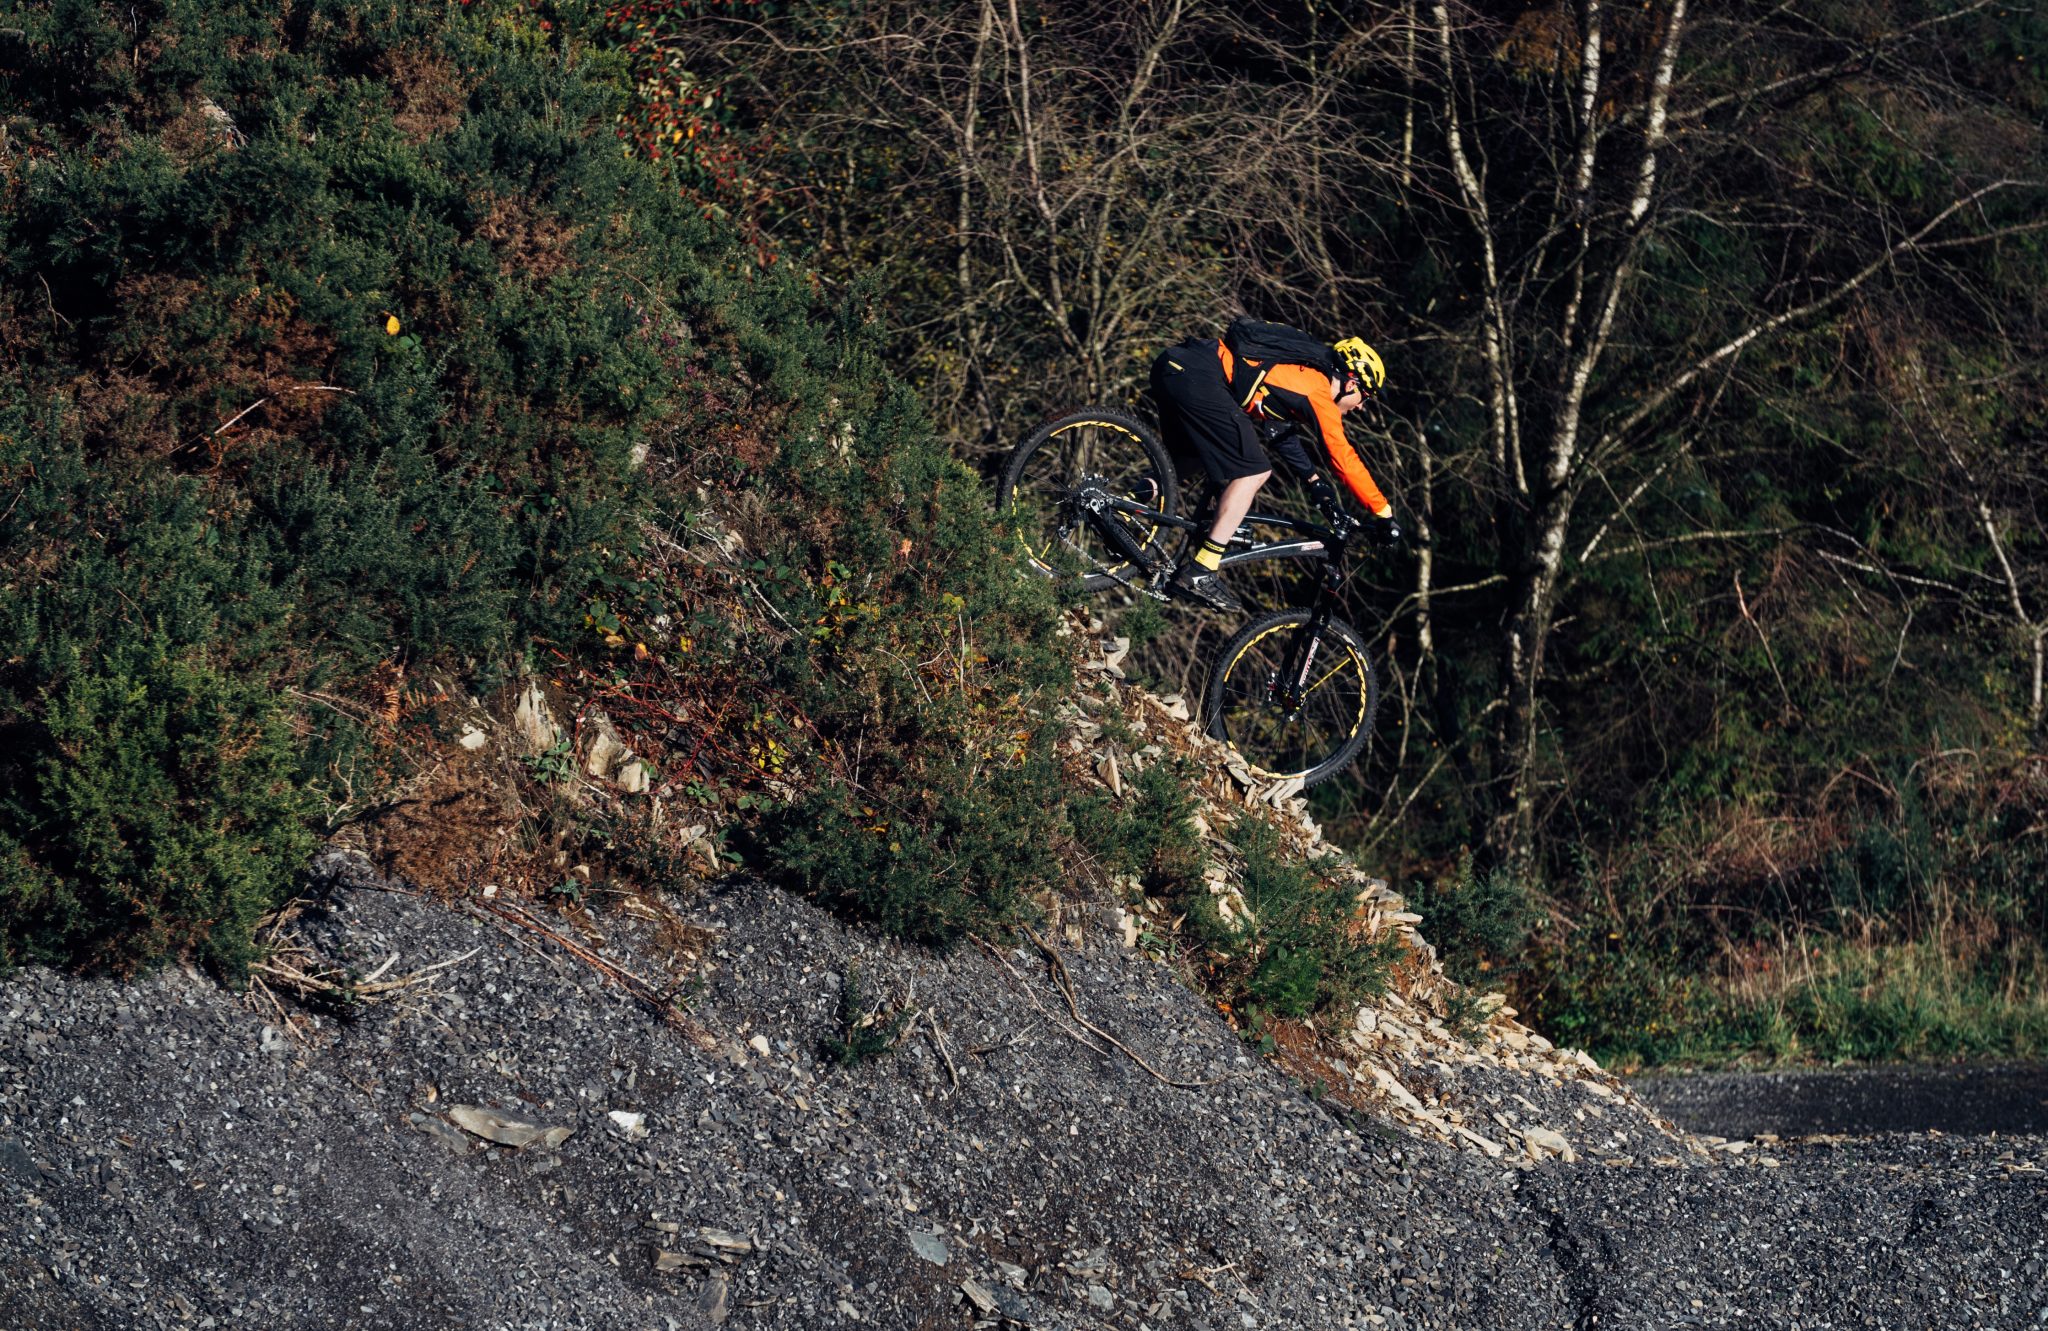
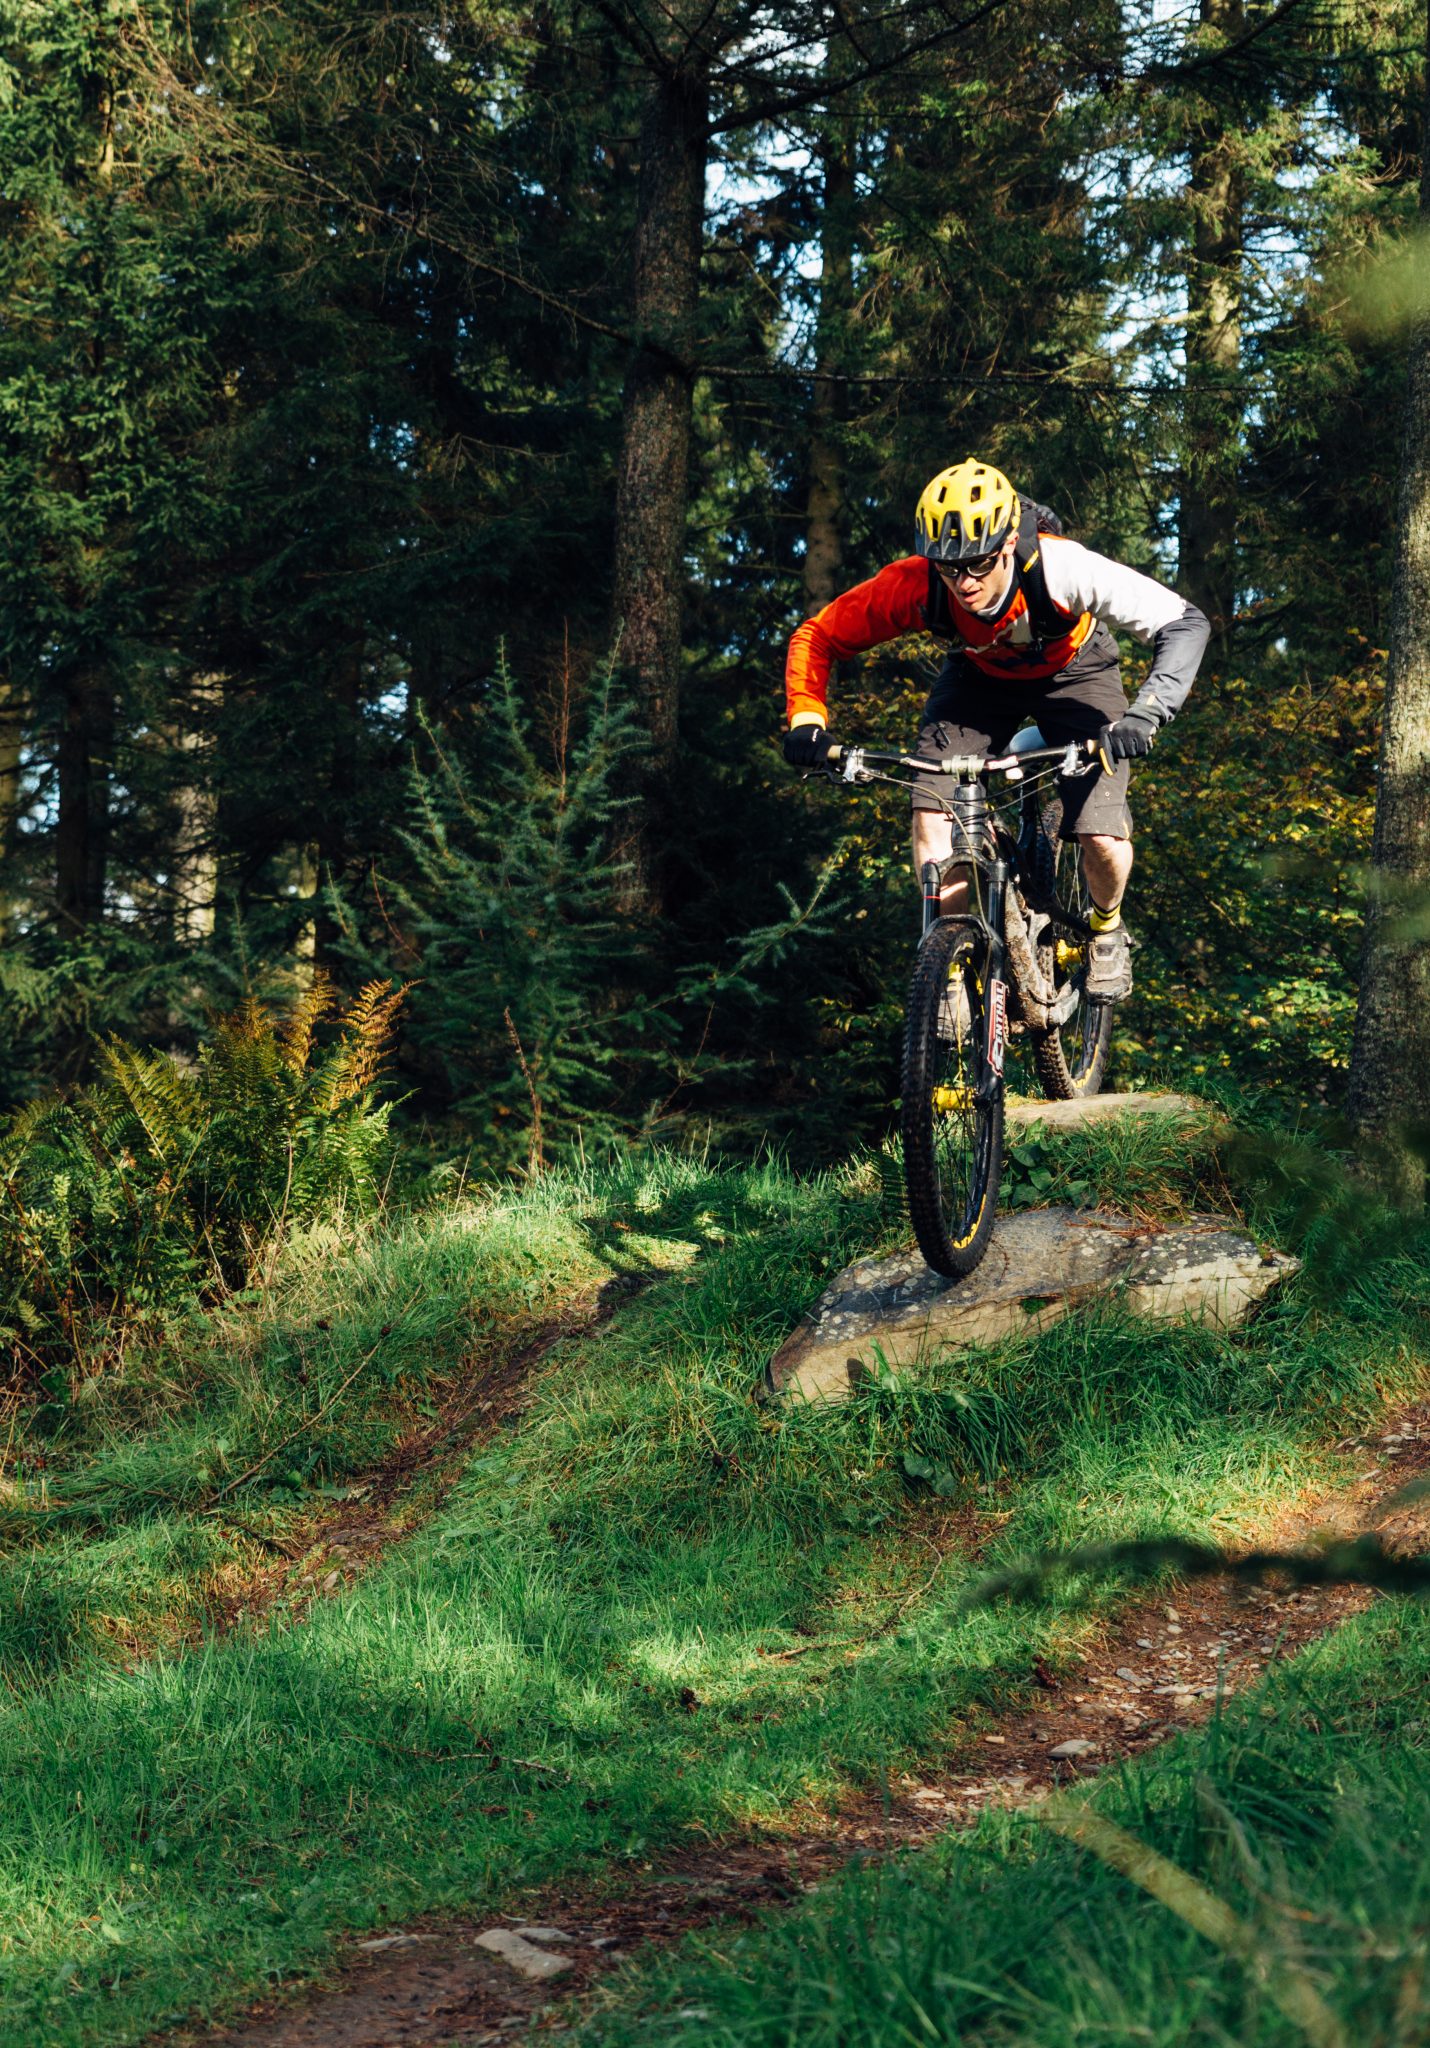
The rolling press drop is the most frequently used shape we make, you're probably doing this already but without conscious thought. This technique is all about taking the bike to the terrain below rather than doing the ‘dead sailor’ where the rider falls down on top of the bike once it has fallen off the drop. The rolling press drop can be used on drops up to a height where the chainrings want to then grind out, if you hunt out a square edge drop of this nature you will find it's a reasonable height and, with practice these more sizeable drops can be taken with speed.

The advantage to the technique is that we get the front wheel back on the ground real fast, this helps with steering to change direction through series of drops or where the trail deviates, and it helps us to maintain or decrease speed through front wheel braking. When combined with very active legs the rear wheel can also be used for direction change and speed control, being able to trigger the legs to drive that rear wheel down is key when it comes to avoiding the front wheel manual to OTB. Let's get a look at this technique in more detail.
As we approach the edge of a drop-off the body lowers allowing the elbows and knees to bend, think about the body posture of someone jumping down from a high wall. Any speed control (deceleration) is done on the entry to the drop. As the front wheel rolls over the lip (edge), we extend the arms ‘pressing’ the front wheel down so as to reduce any airtime that may arise from our forwards motion. As the front wheel impacts, the surface below the extended arms can then act like shock absorbers to stop the torso from moving forward over the handlebar / front axle. The key is that the body remains behind the bar.
As the back wheel rolls over the lip, the bent legs can extend driving the back wheel down, again reducing any airtime and free fall. All movements and motion must flow seamlessly, it is key to avoid any stalling points, these occur from digital stop-start like movements from the rider and snatchy braking. If through the section you are having to maintain speed with control braking (common on a series of rocky or rooty drops) then avoiding the ‘stall’ by using smooth movement of the body and braking force are key.
To build up your muscle memory and help you move instinctively find a small drop you can roll down, approach at walking pace and slow the bike to almost zero. Get low on the bike bending the elbows and knees, try and avoid jerky motions and grabbing the brakes, let the wheels roll steadily and maintain speed as the front wheel crests the edge. When the wheel goes light ease the pressure on the front brake, your contact patch is reduced at this point, and the wheel may want to skid, use more back brake pressure to try and compensate. Ready to absorb the landing as the front wheel impacts the trail below, keep rolling steady and now increase the pressure in the front brake to help maintain control.
As the rear wheel approaches the edge, get ready to drive the legs down simultaneously easing the pressure through the back brake to avoid locking up. Remember to keep looking up the trail, we spot the lip/edge of the drop-off by moving the eyes not the whole head. In this instance for practice try and bring the bike to a stop as soon as possible having rolled off the drop-off. This practice technique helps with building muscle memory to not only absorb the landing but also for the braking control element. You gain that important feeling of where the contact patch of each tyre/wheel lies and the amount of grip available from your tyre/drop-off combo.
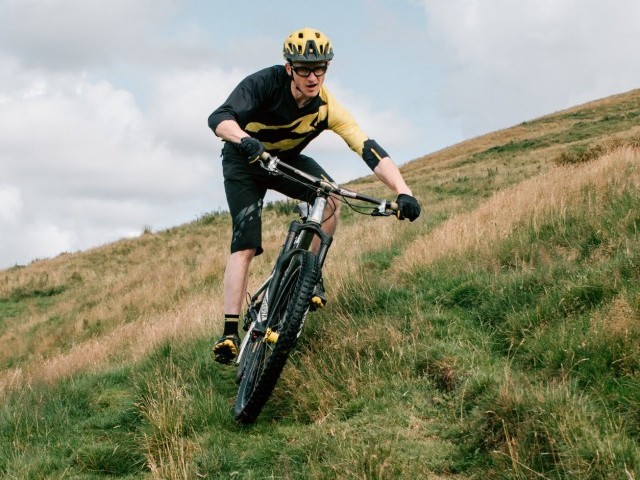
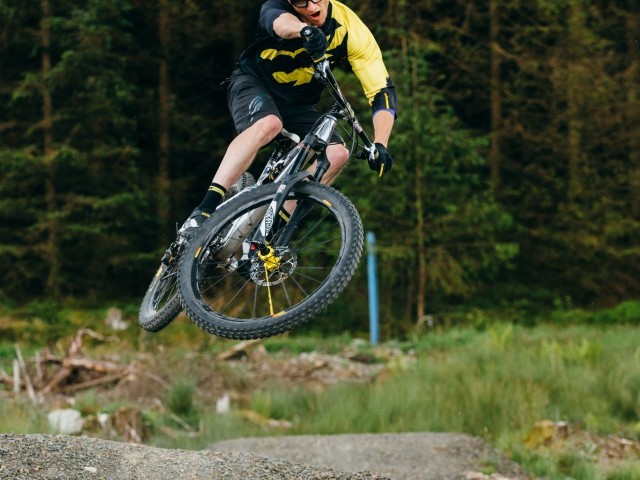
When the speed increases (beyond running pace) we start to feel and see more airtime under the wheels, in these situations we need to be more dynamic and powerful in our movements if we are to keep the wheels on the deck(an inevitable small amount of airtime is unavoidable). It's at this speed range that we can deploy either a rolling press drop or move on to a punch drop.
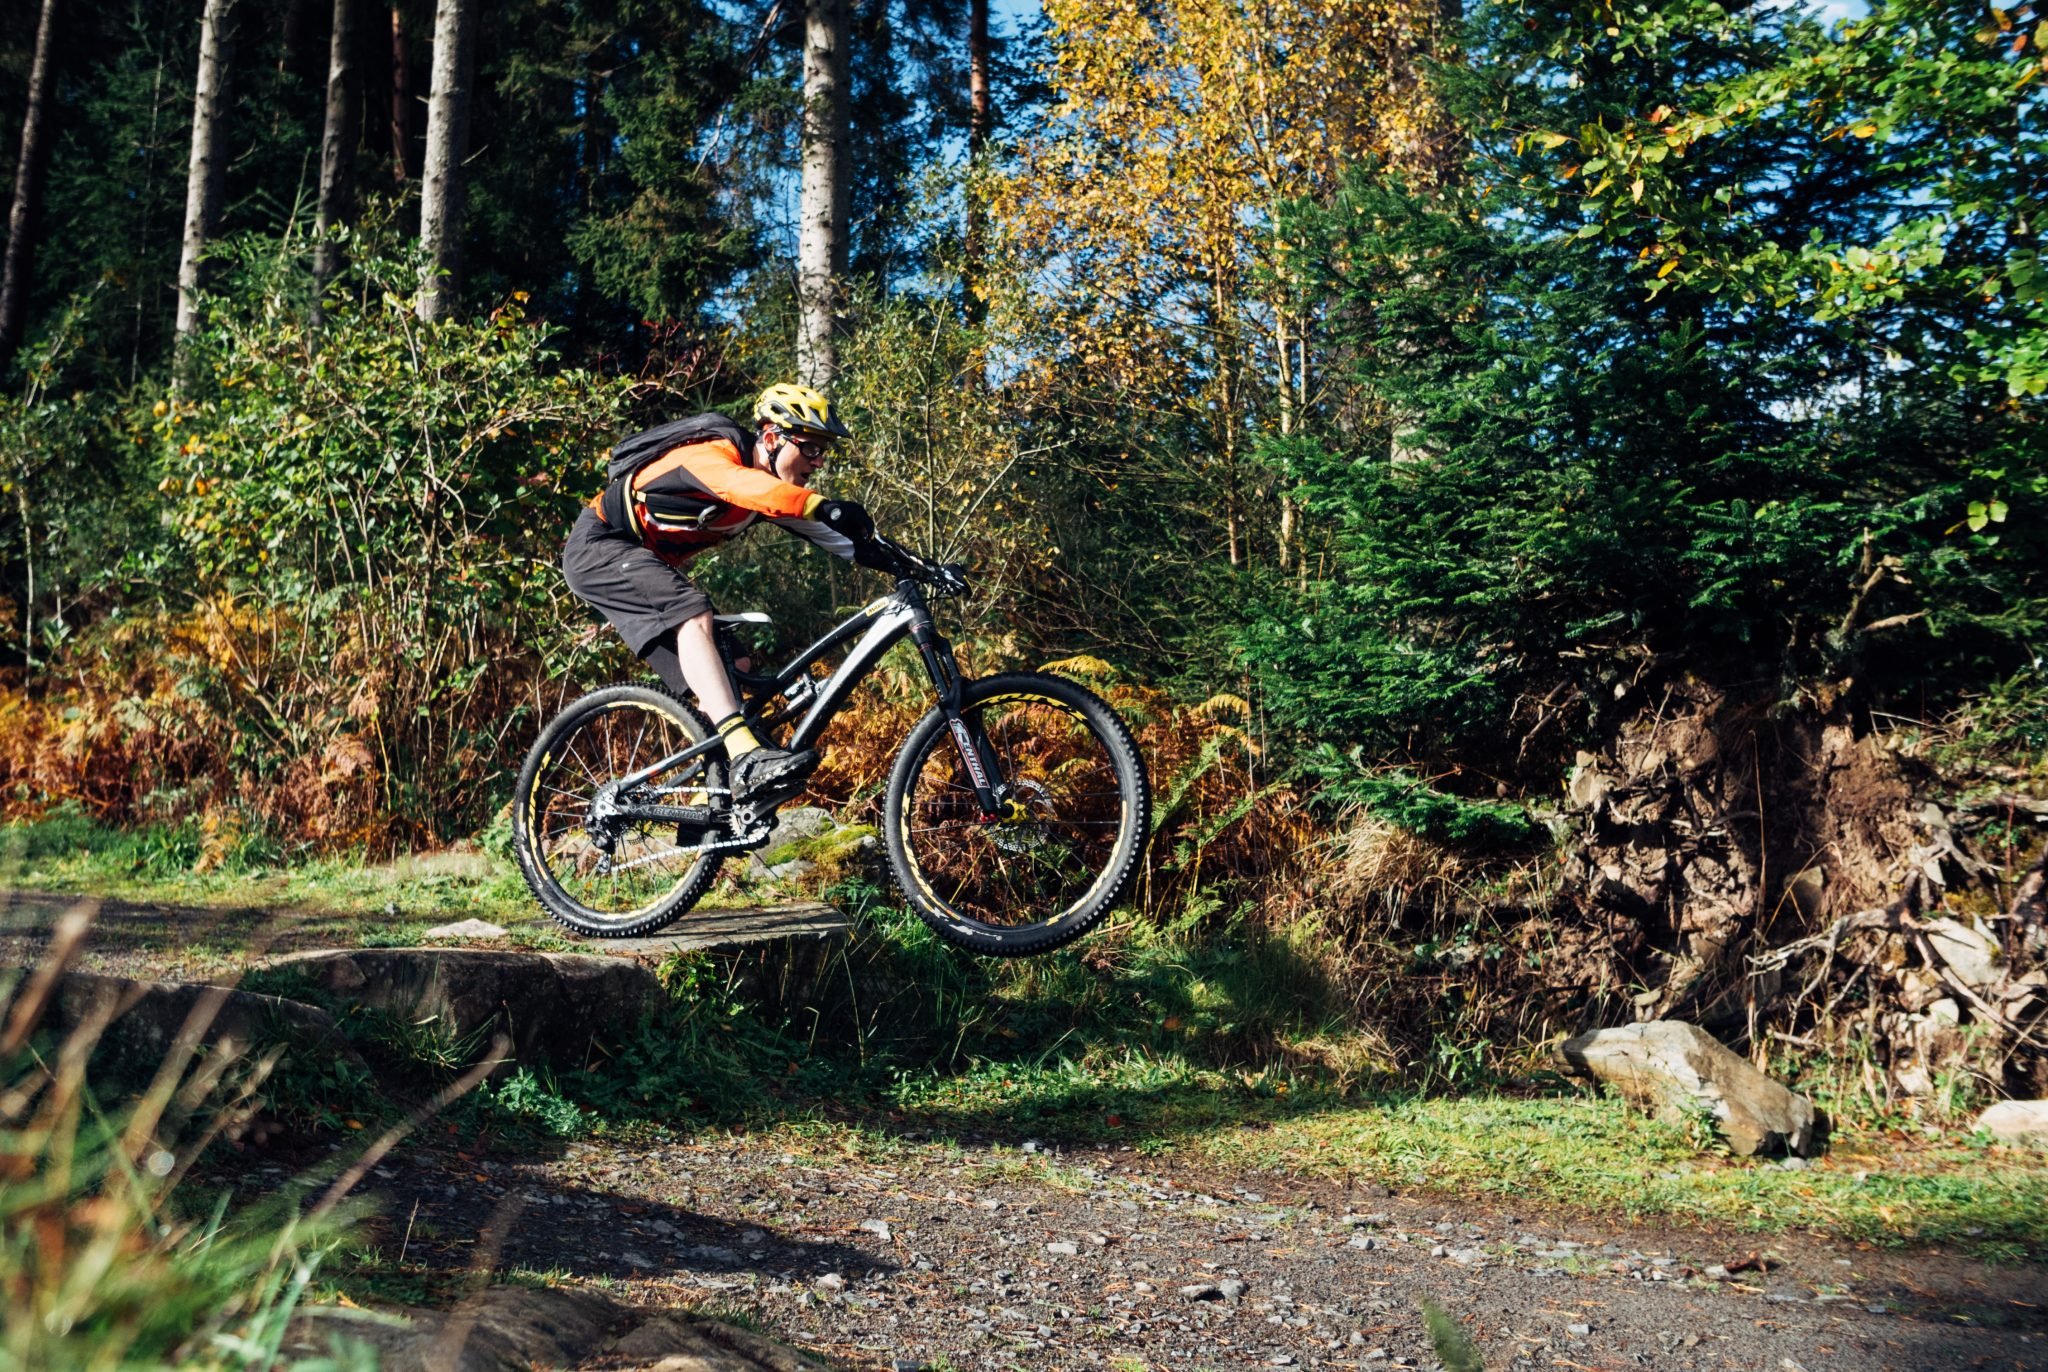
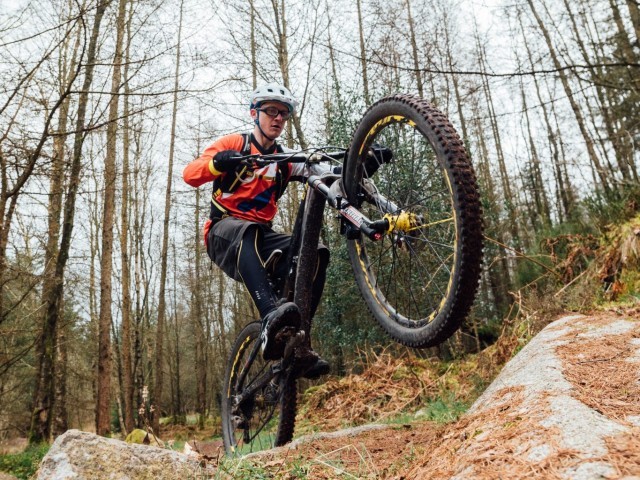
The Punch Drop Technique
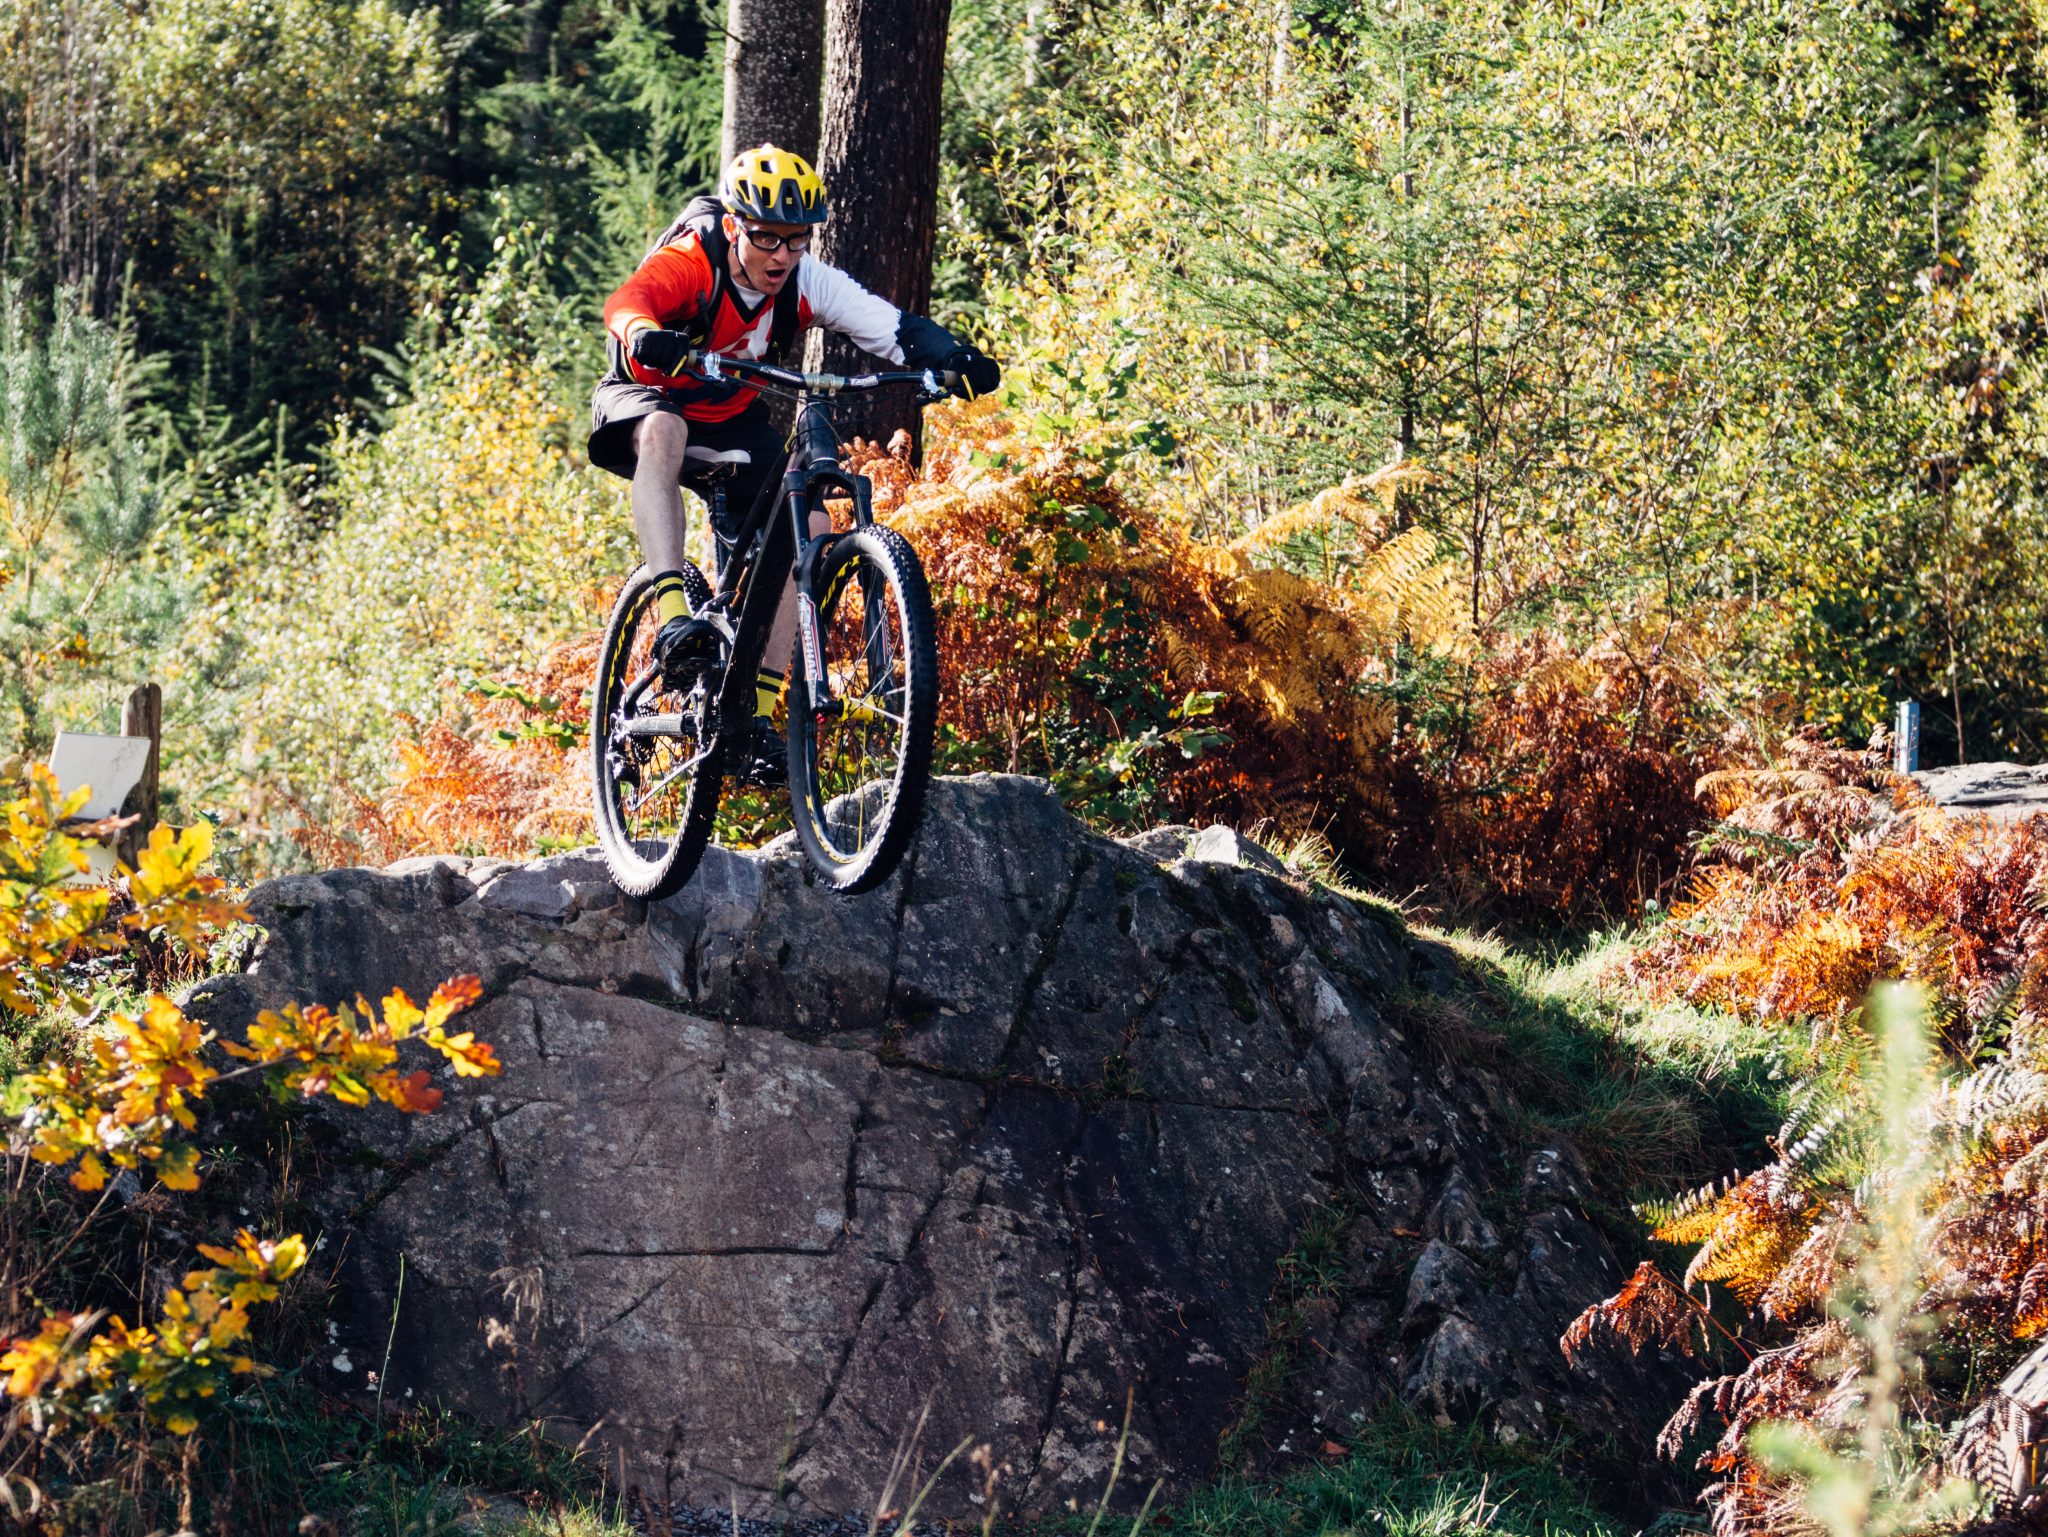
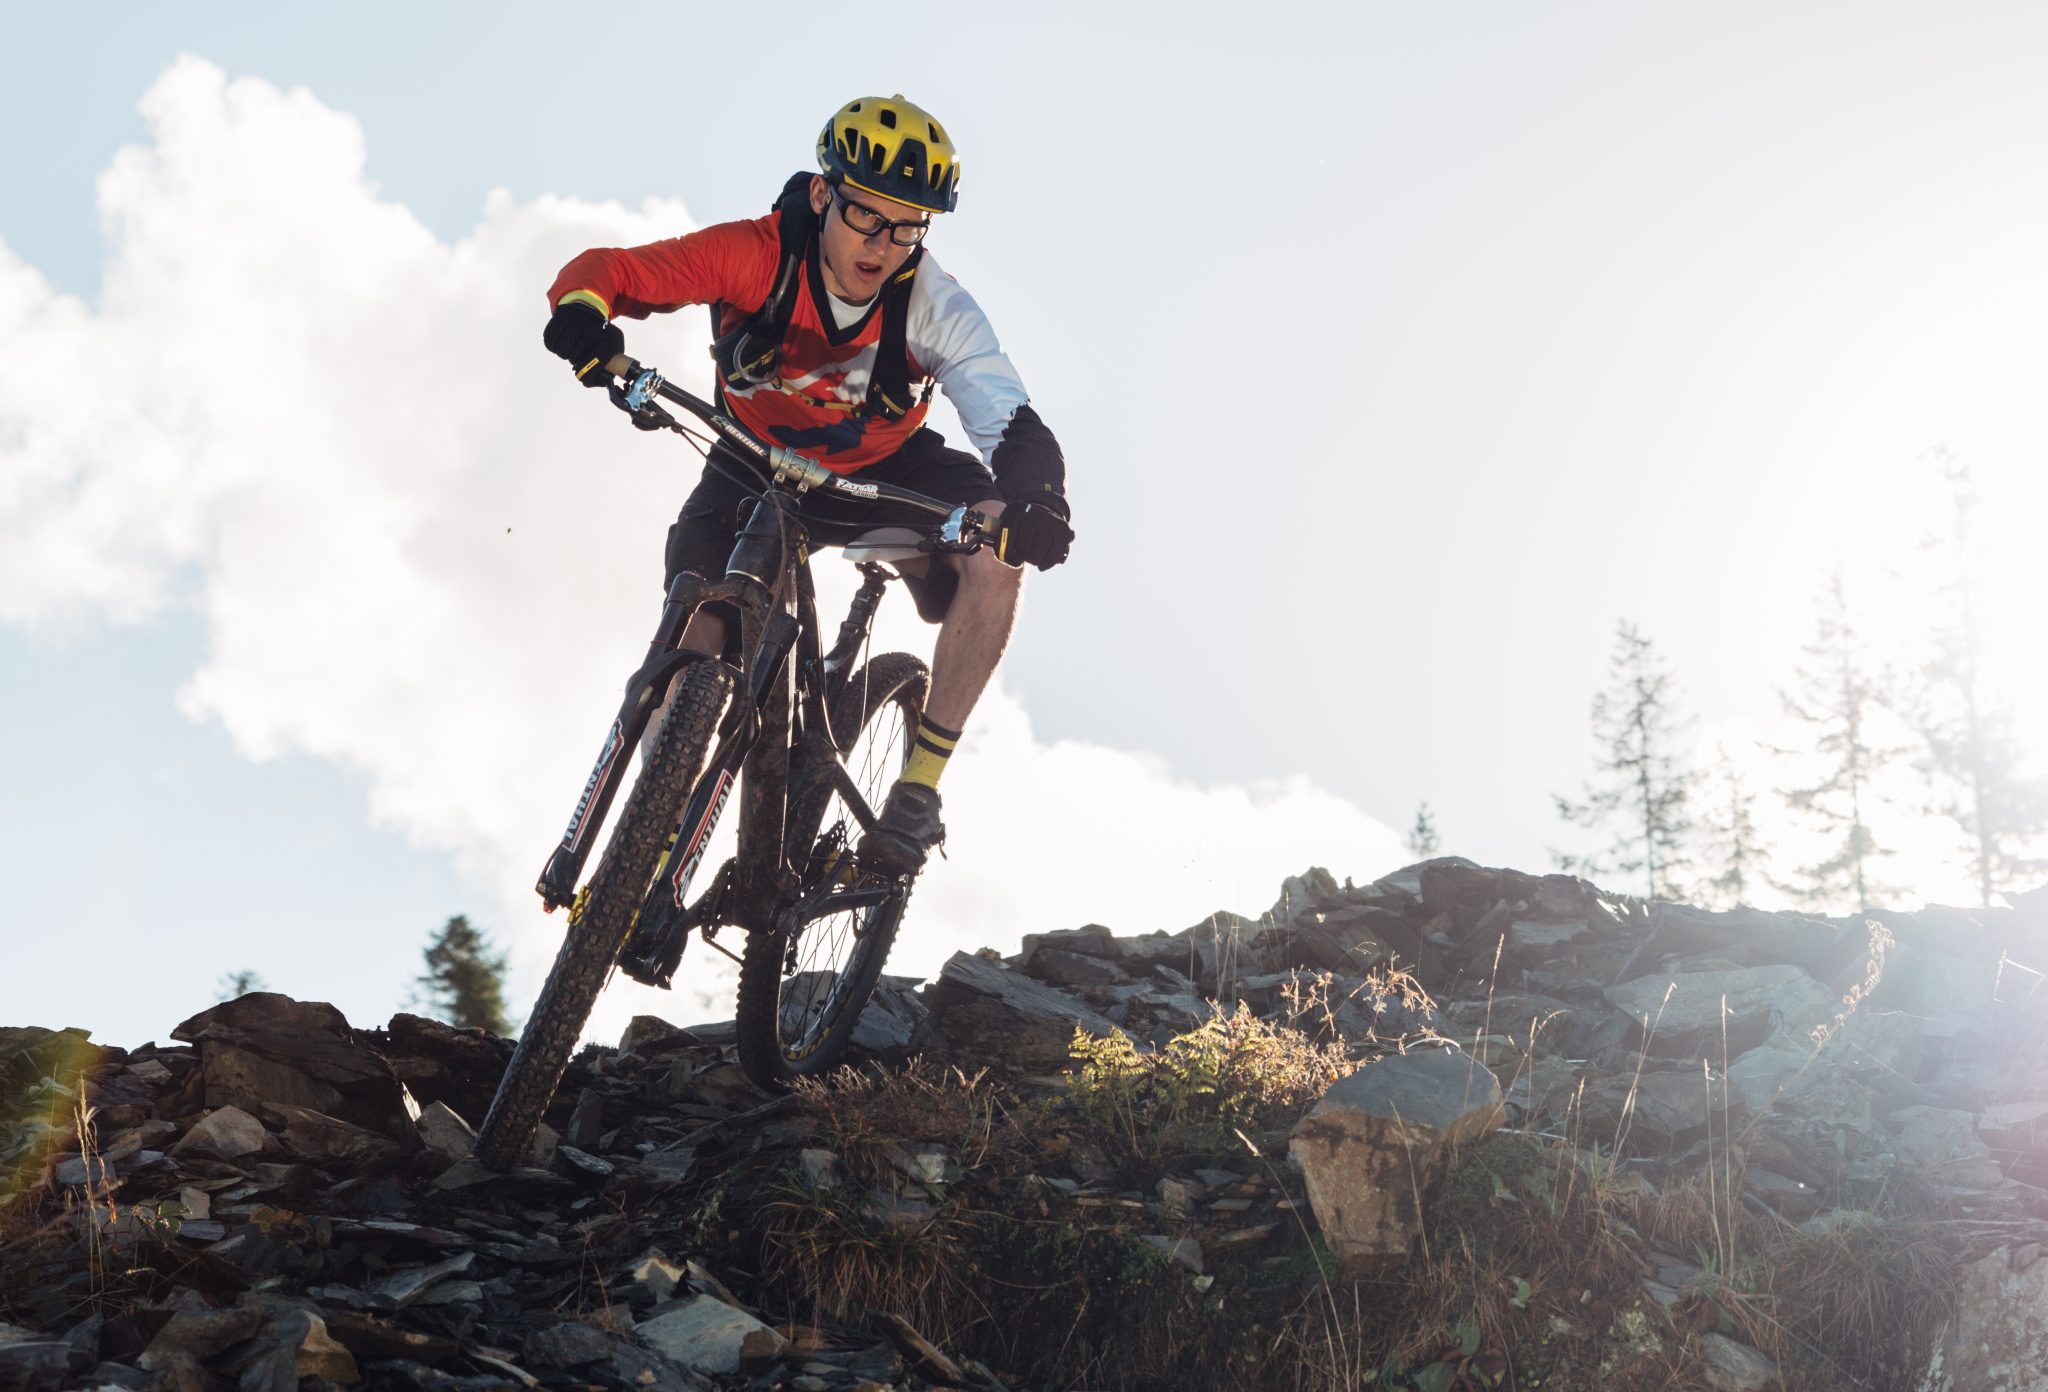
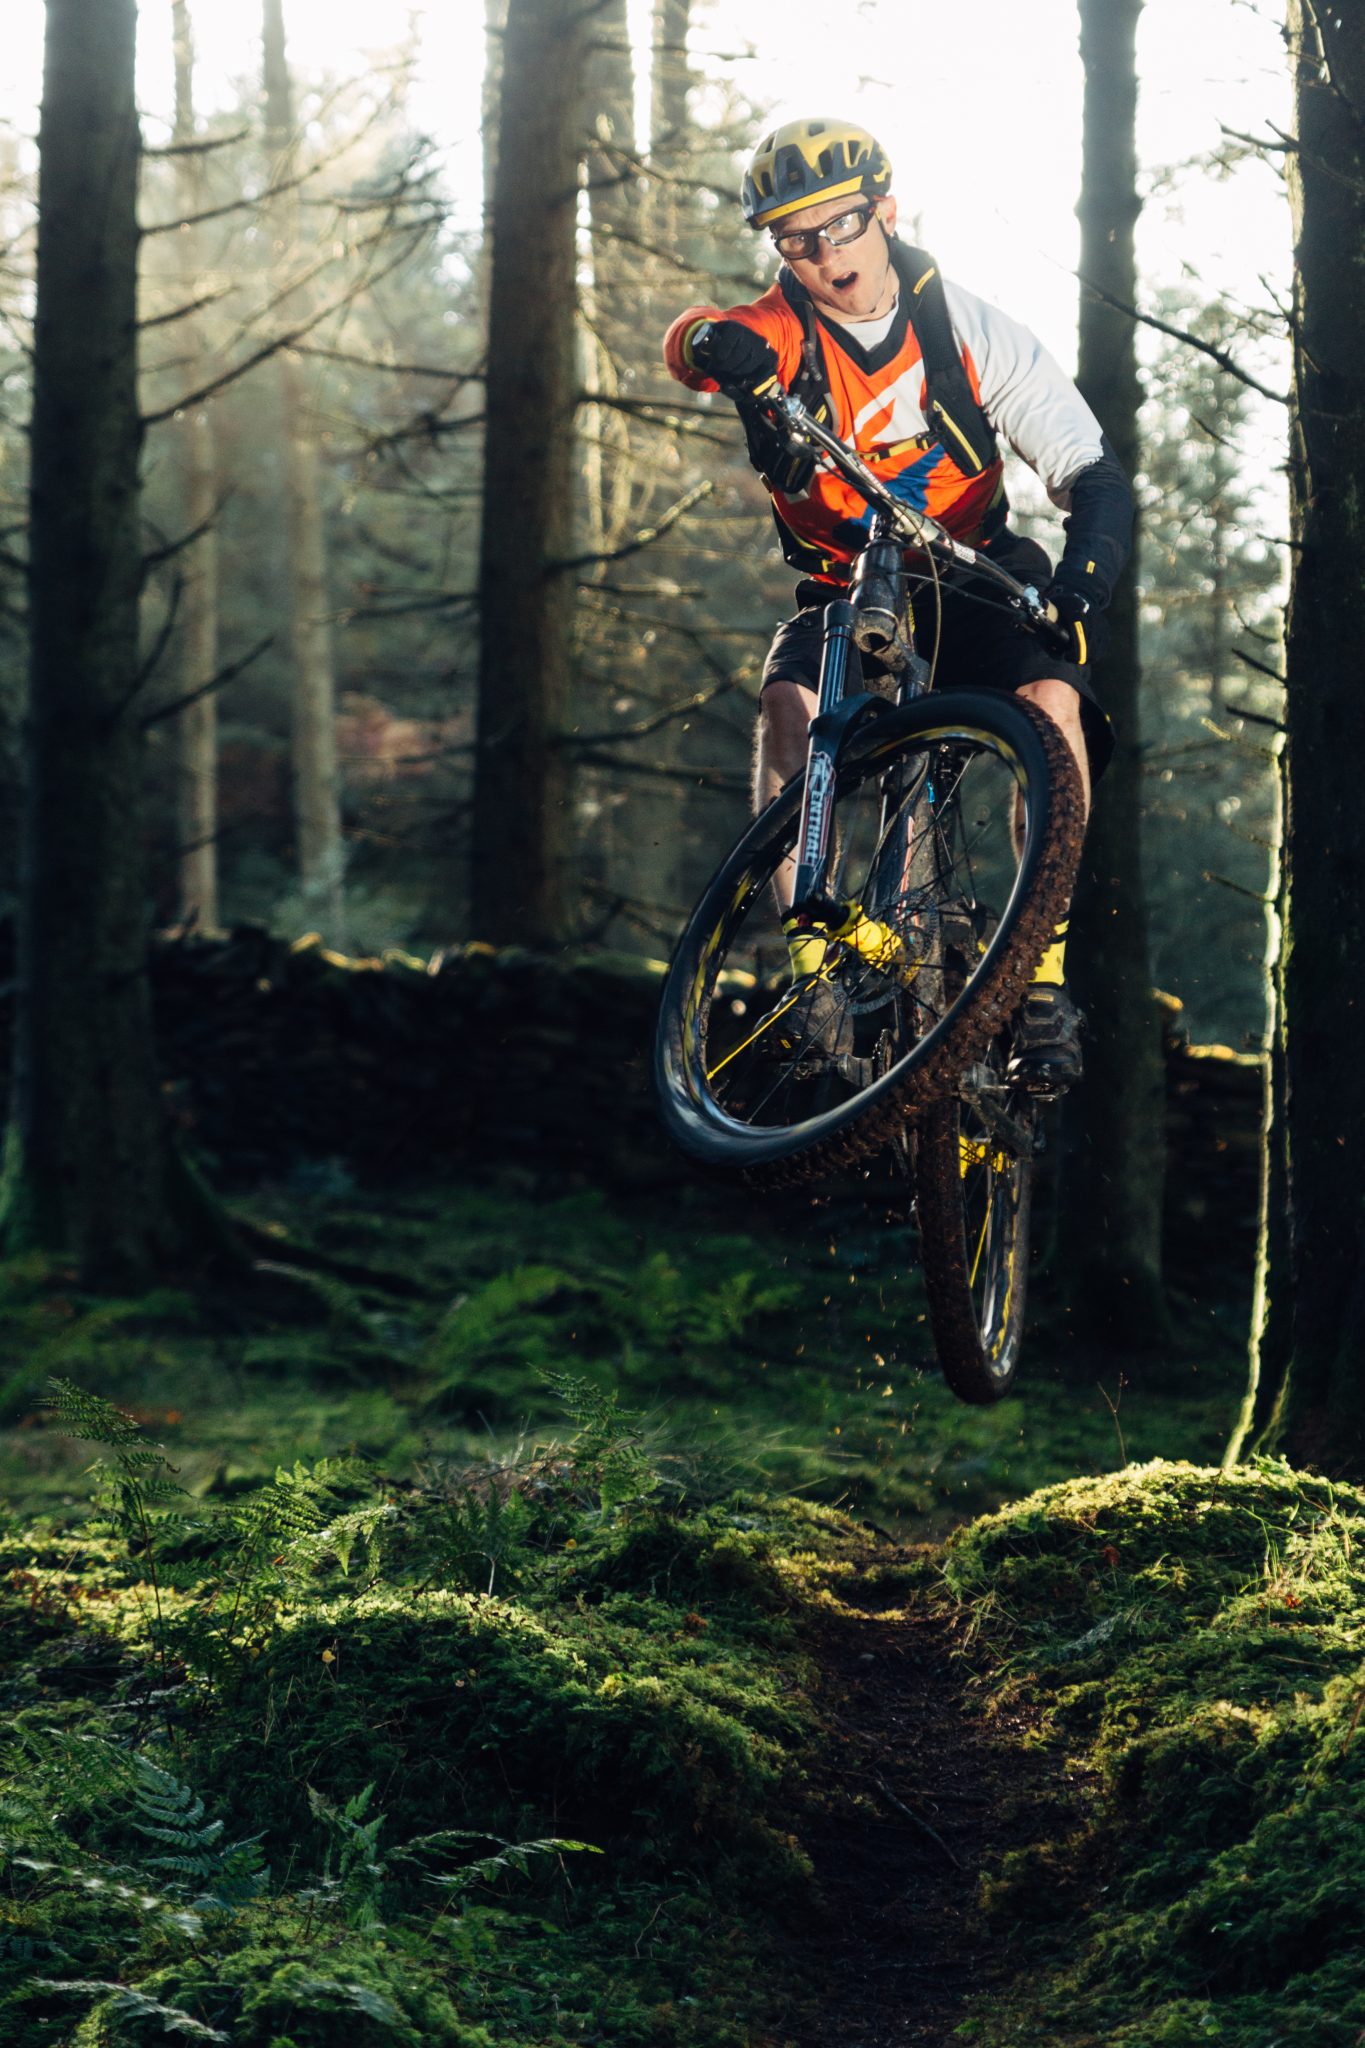
Moving faster and presented with bigger higher drops it's time to deploy the punch drop, the Jackie Chan of dropping techniques. As before we sight and spot the lip/edge of the drop-off by using the eyes to look and not the head, we lower on the bike, bending elbows and knees, as the front wheel gets to the lip we punch the bike forward avoiding lifting the front wheel upwards. The trajectory should match a virtual horizontal line. There may be interference at the lip that wants to ‘donk’ the wheels upwards, we need to punch through these shapes and allow the fork and shock as well as the arms and legs to absorb this interference so as to not interfere with the flight path.
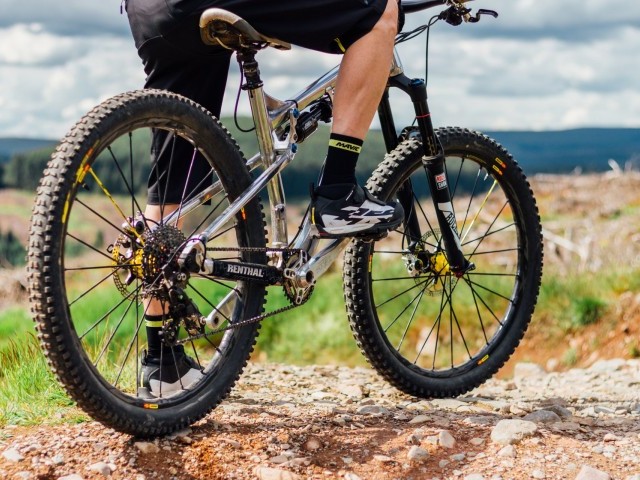
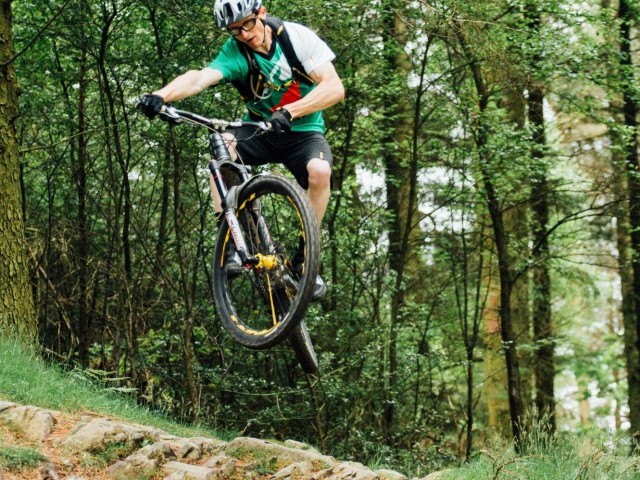
With the bike punched out in front of you as the rear wheel is passing the lip it's time to use your fingertip grip to bring the back below you, so you are centred over the bike ready to absorb the landing (these accelerate and decelerate shapes are similar to those learnt in the manual). The arms and legs will naturally extend as the bike drops away below you leaving you in a position ready to absorb the landing. On larger drops we need to anticipate larger forces on landings, staying centred is key as landing either loaded up in the front or rear of centre can unsettle the bike and reduce your ability to take the impact through the limbs efficiently and safely.
Those of you riding bikes with bigger longer travel forks may get away with landing front wheel just before rear wheel unless the terrain is very rough in the landing zone. Always aim no matter what travel you have to touch down with both wheels contacting at the same time. On downslope landings you may naturally end up landing front wheel slightly before the rear, once again we are looking to keep the torso behind the bar to help prevent an OTB and to drive the bike ahead.
Small drop-offs require us to make these shapes exceptionally fast, it's much harder (believe it or not) to take small drop-offs really smooth compared to larger ones. If you can float off a kerbstone landing centred in a silky smooth fashion, then larger drops are a breeze. With larger drops it becomes more of a head game, the added flight time gives you way more time to get centred and ready for landing. However something that often makes drop-offs more challenging are the entry and exit zones, you may be on the turn, have sniper roots to deal with or trees and clumps of rock to navigate before you get to the drop-off.
When space on entry and exit are limited, and the drop-off height too large to roll then a wheelie drop will need to be deployed. These super slow speed severe terrain situations are uncommon for the vast majority of riders, and the trials like techniques required take that extra dedication and time to master. If you are familiar with pulling tight wheelies and lurching the bike, then this is right up your street.
Wheelie Drop
Roll in towards the lip and bring the bike to a stop as close the edge as possible, from a static track stand position wheelie up and drive the cranks round so you edge forward on the back wheel balancing the bikes pivot point through the back brake, spot your landing. Continue to drive the crank round, as the rear wheel drops off the edge ready for a rear wheel bias landing where you can control the rollout (you may need to come to a full stop on landing to change direction and or set up for the next feature). Again use the suspension in the legs and arms to help absorb the landing.
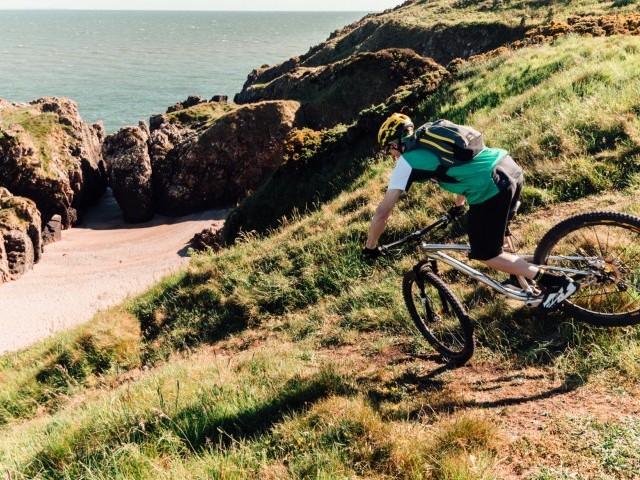
Pre Hop Technique
Some drop-offs may fade away fast with a steep and or short back slope. Here we avoid sending it to flat by bunny hopping before the edge of the drop-off and nosing the bike into the downslope. By doing so, we reduce the flight time, get back on the ground to brake and steer and more importantly avoid the ‘huck to flat’ situation.
As your rolling in towards the drop time your hop so you eliminate punching off the lip, angle the bike in flight to match the back slope and bring the bike in as close to the lip as you dare, try and avoid sending it too far down the back slope unless of course, you have a massive run out!
With this advanced skill you can also drop-off and into sections while on the turn, these are quite specific situations and deployment of techniques but certainly ones to add to your skill cv.

Remember folks - LOOK BEFORE YOU LEAP.
Size up the drop and check the run-out and landing area. If your not sure then save it for another day. Start with small drop-offs and keep it steady with the speed control, build your pace in line with your confidence and ignore your mates telling you to MTFU. Style and finesse will lead to pace, better to drive a slow car fast than a fast car slow!
Oh and one more thing… Don’t let your ego write cheques your body can’t cash.

Related


By Clive Forth
Clive Forth is a rider who has been there, done that, got the t-shirt and cleaned his bike with it. He has grown with the UK scene and technological developments for the last 30 years and has competed at all levels in all disciplines riding for some prestigious brands along the way. Always looking for that extra edge with endless passion and drive he is geared up to bring you the inside line on all aspects of mountain biking skills and technique.