Contact Points
Technique / Skills
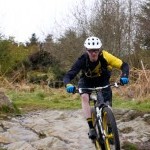
Introduction
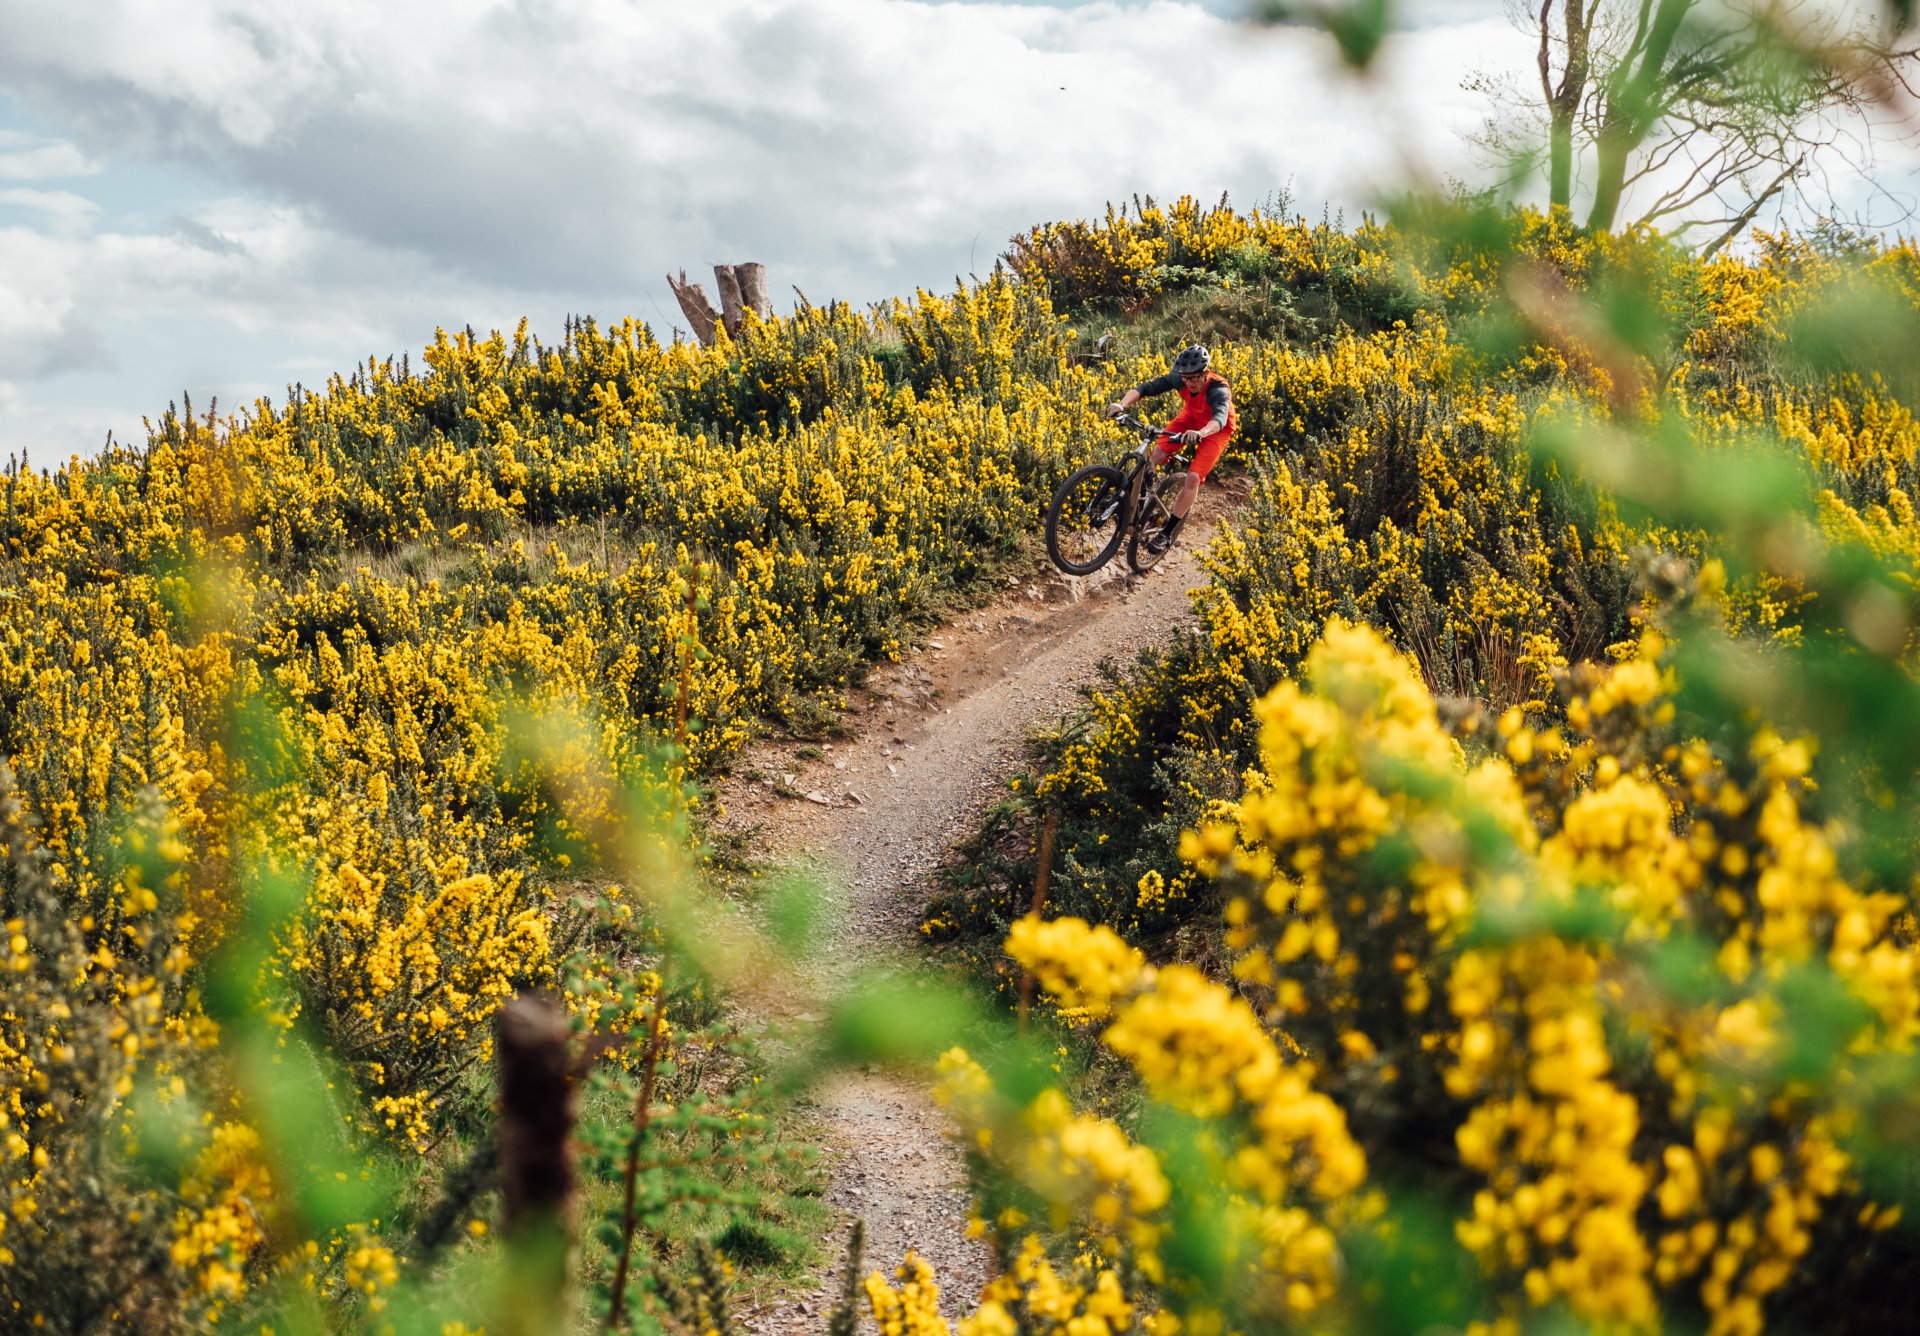
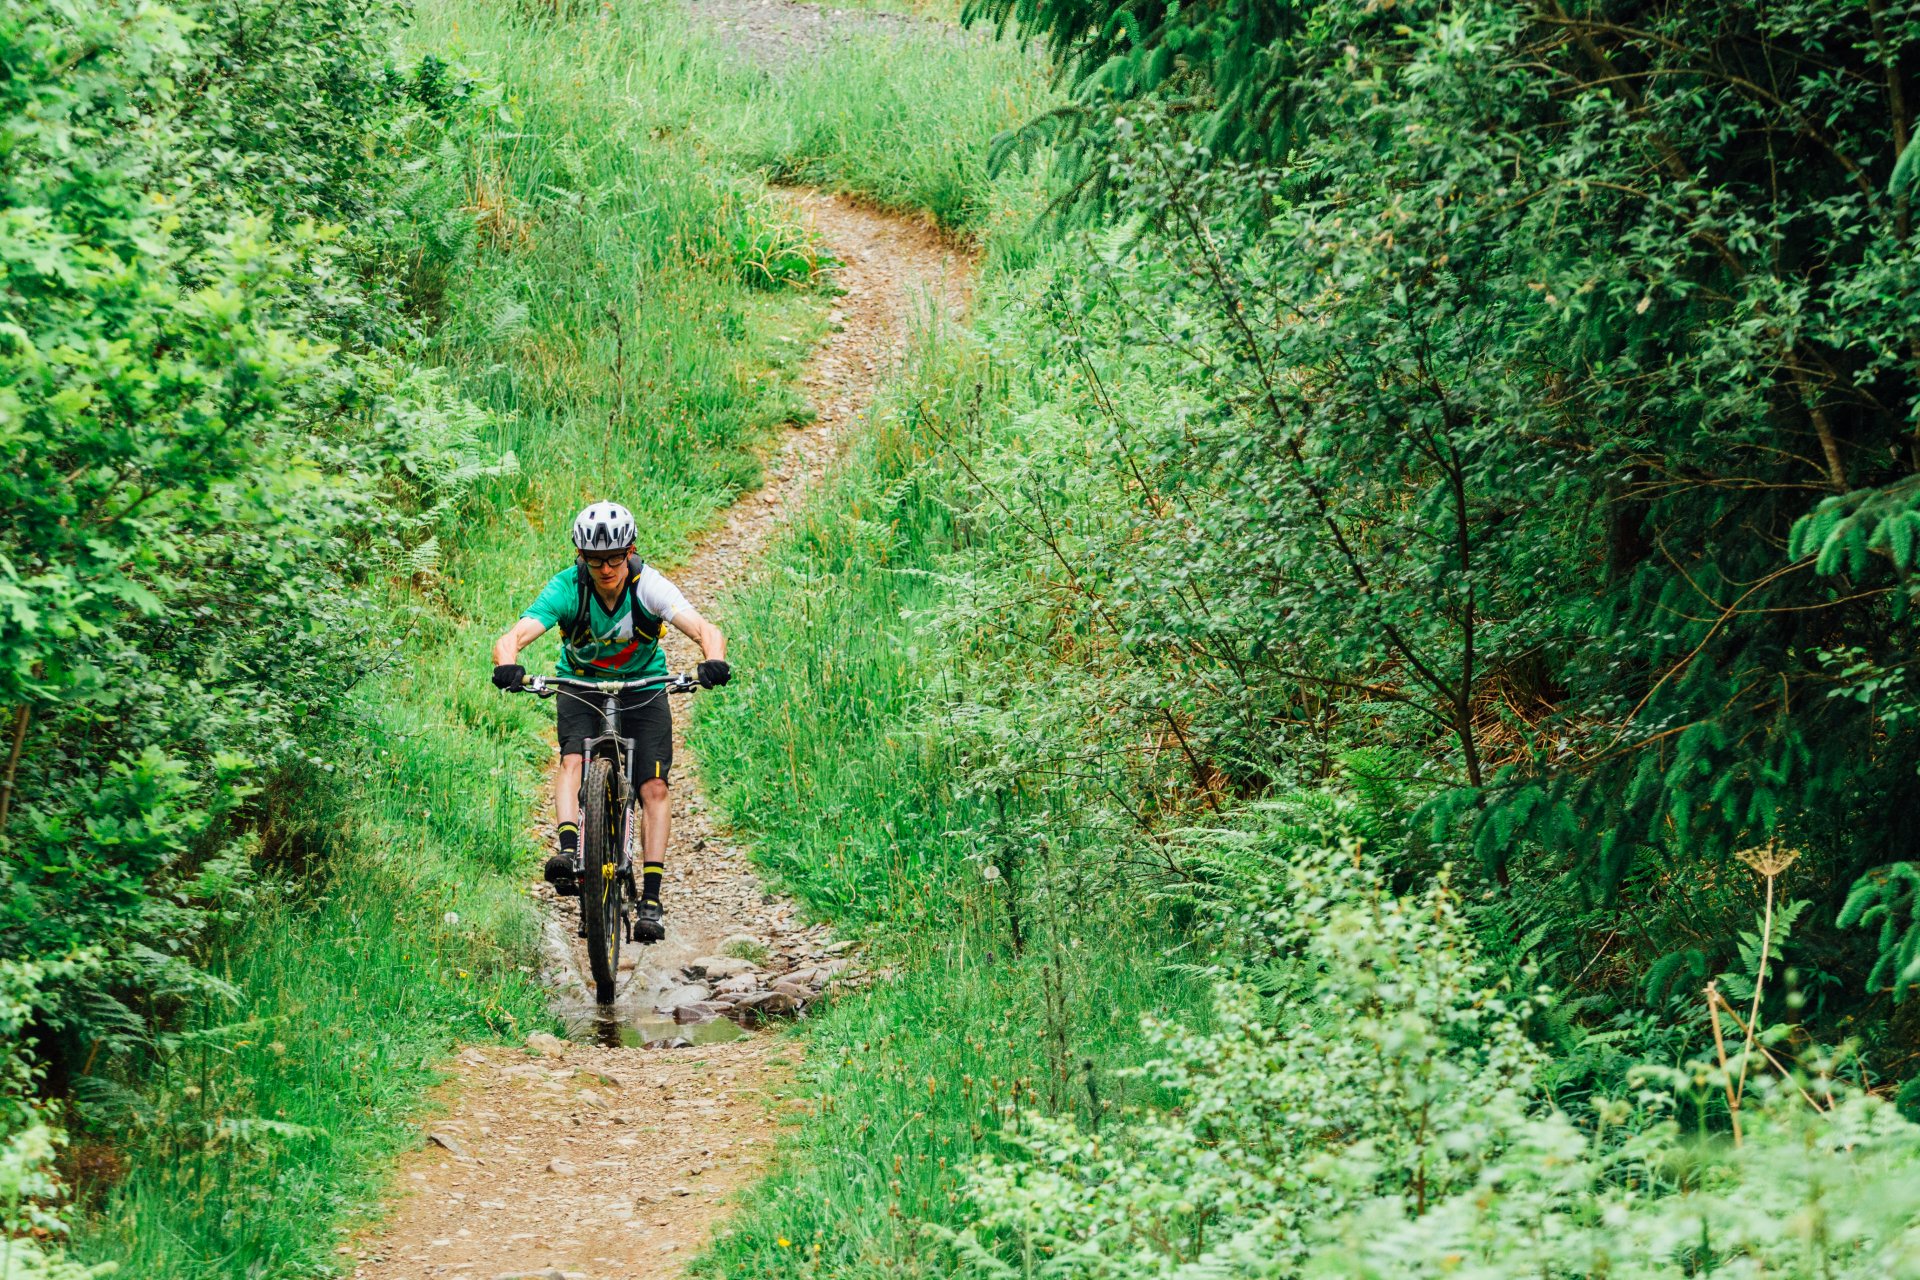
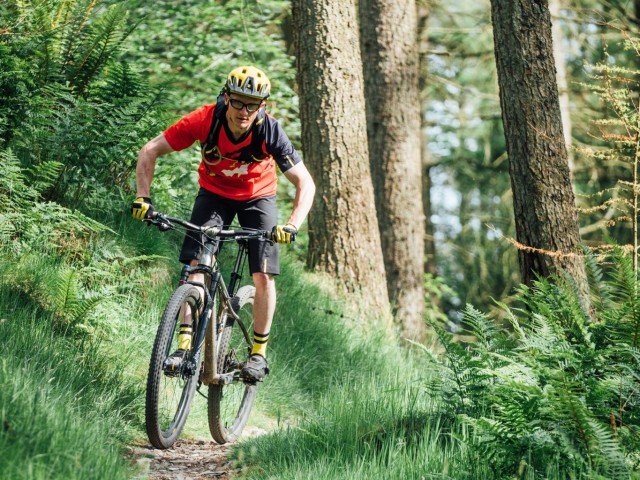
In this edition, we are getting all touchy-feely (in an appropriate manner) as we look at contact patches. No matter what we do on the bike from simply rolling along the road to ram-raiding a boulder field we have just a small amount of surface area in contact with the bike and the terrain.


We are of course talking about the hands-on grips, foot on pedal, derrière on the saddle, and the all-important tyre to terrain. So what is happening over those few centimetres squared and how can we tweak our technique to get that bit more control?
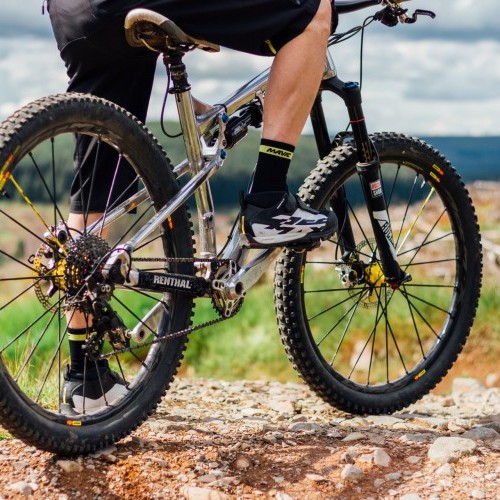
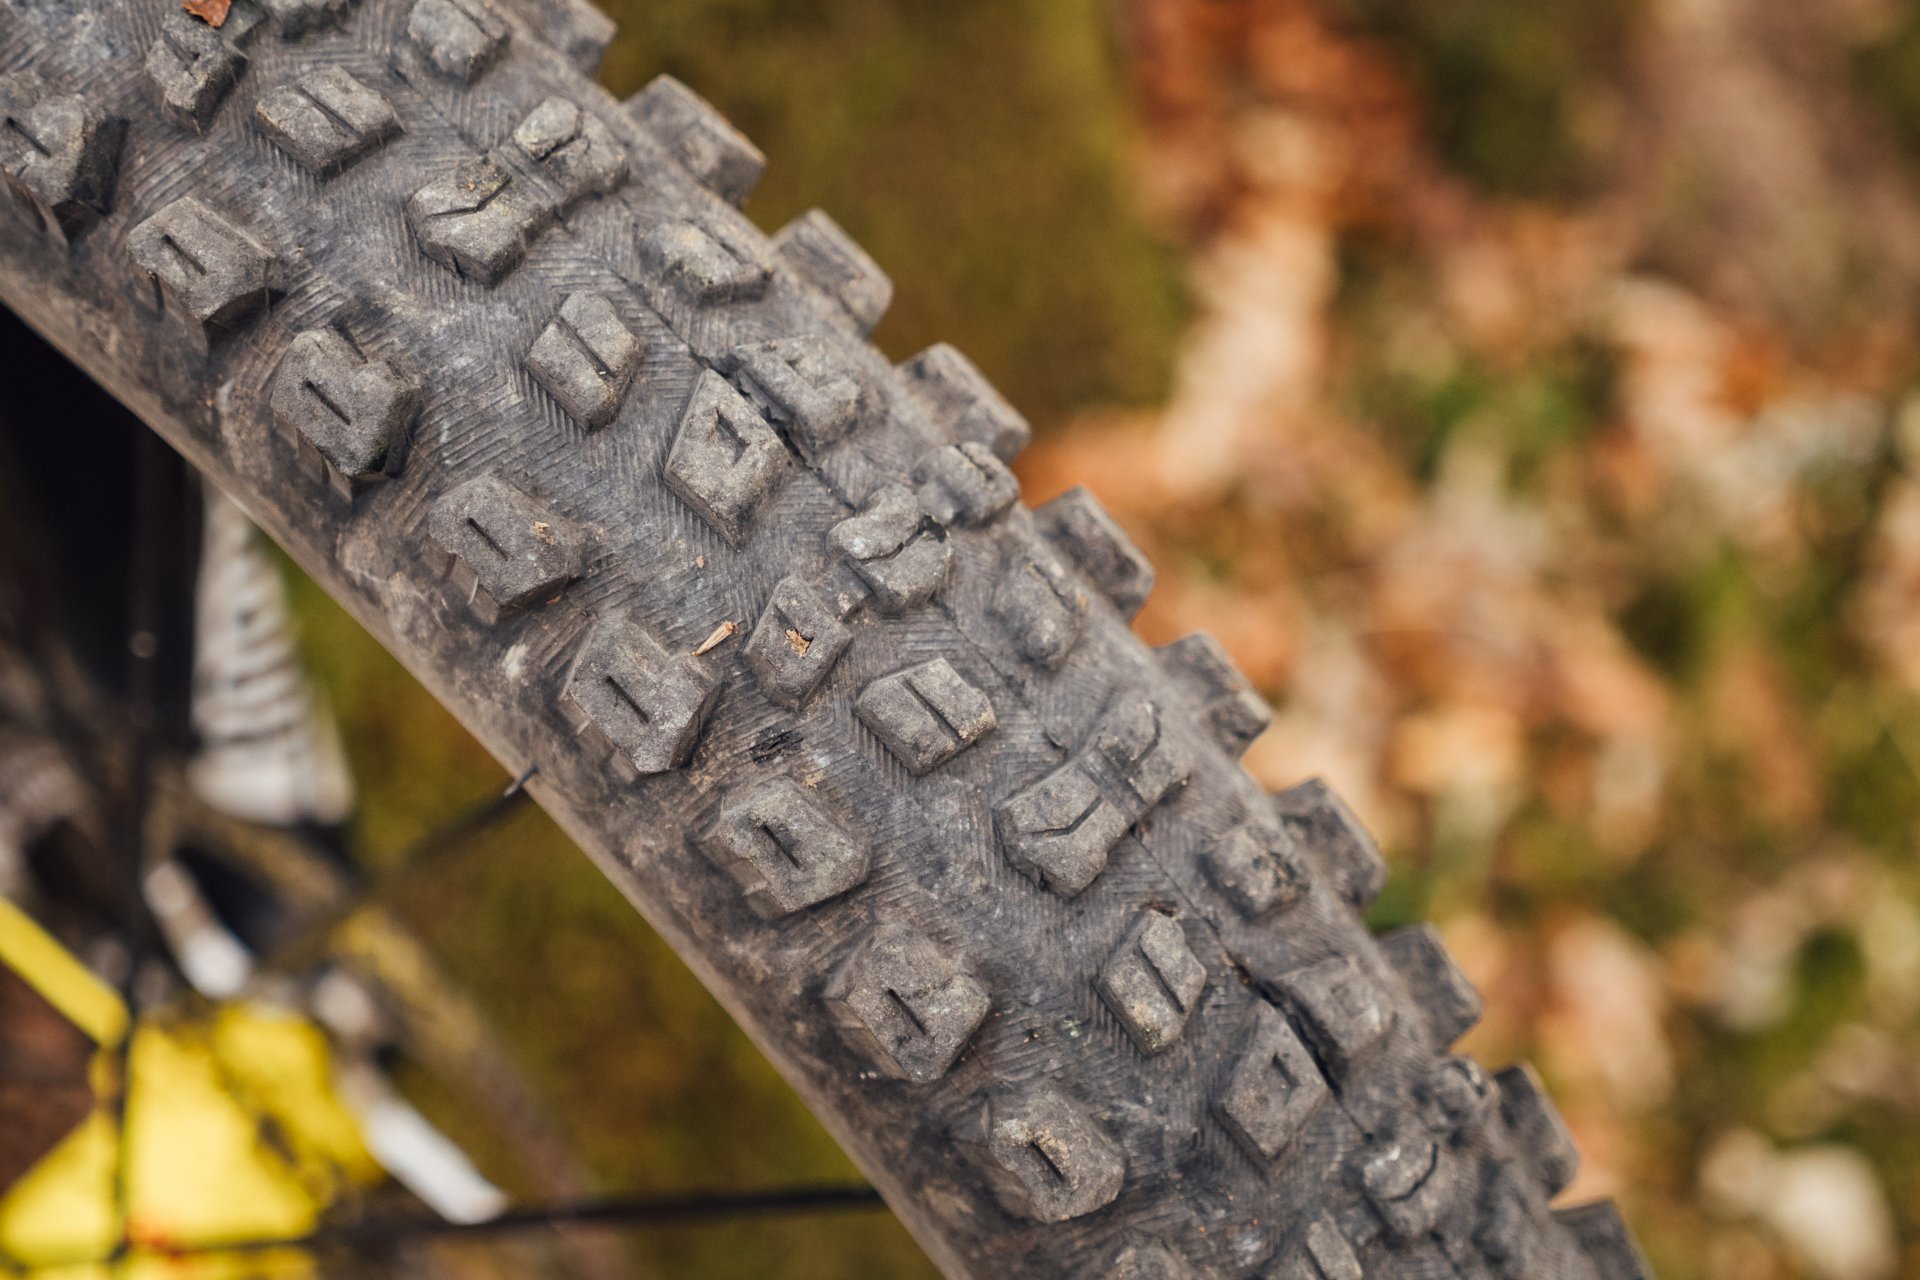
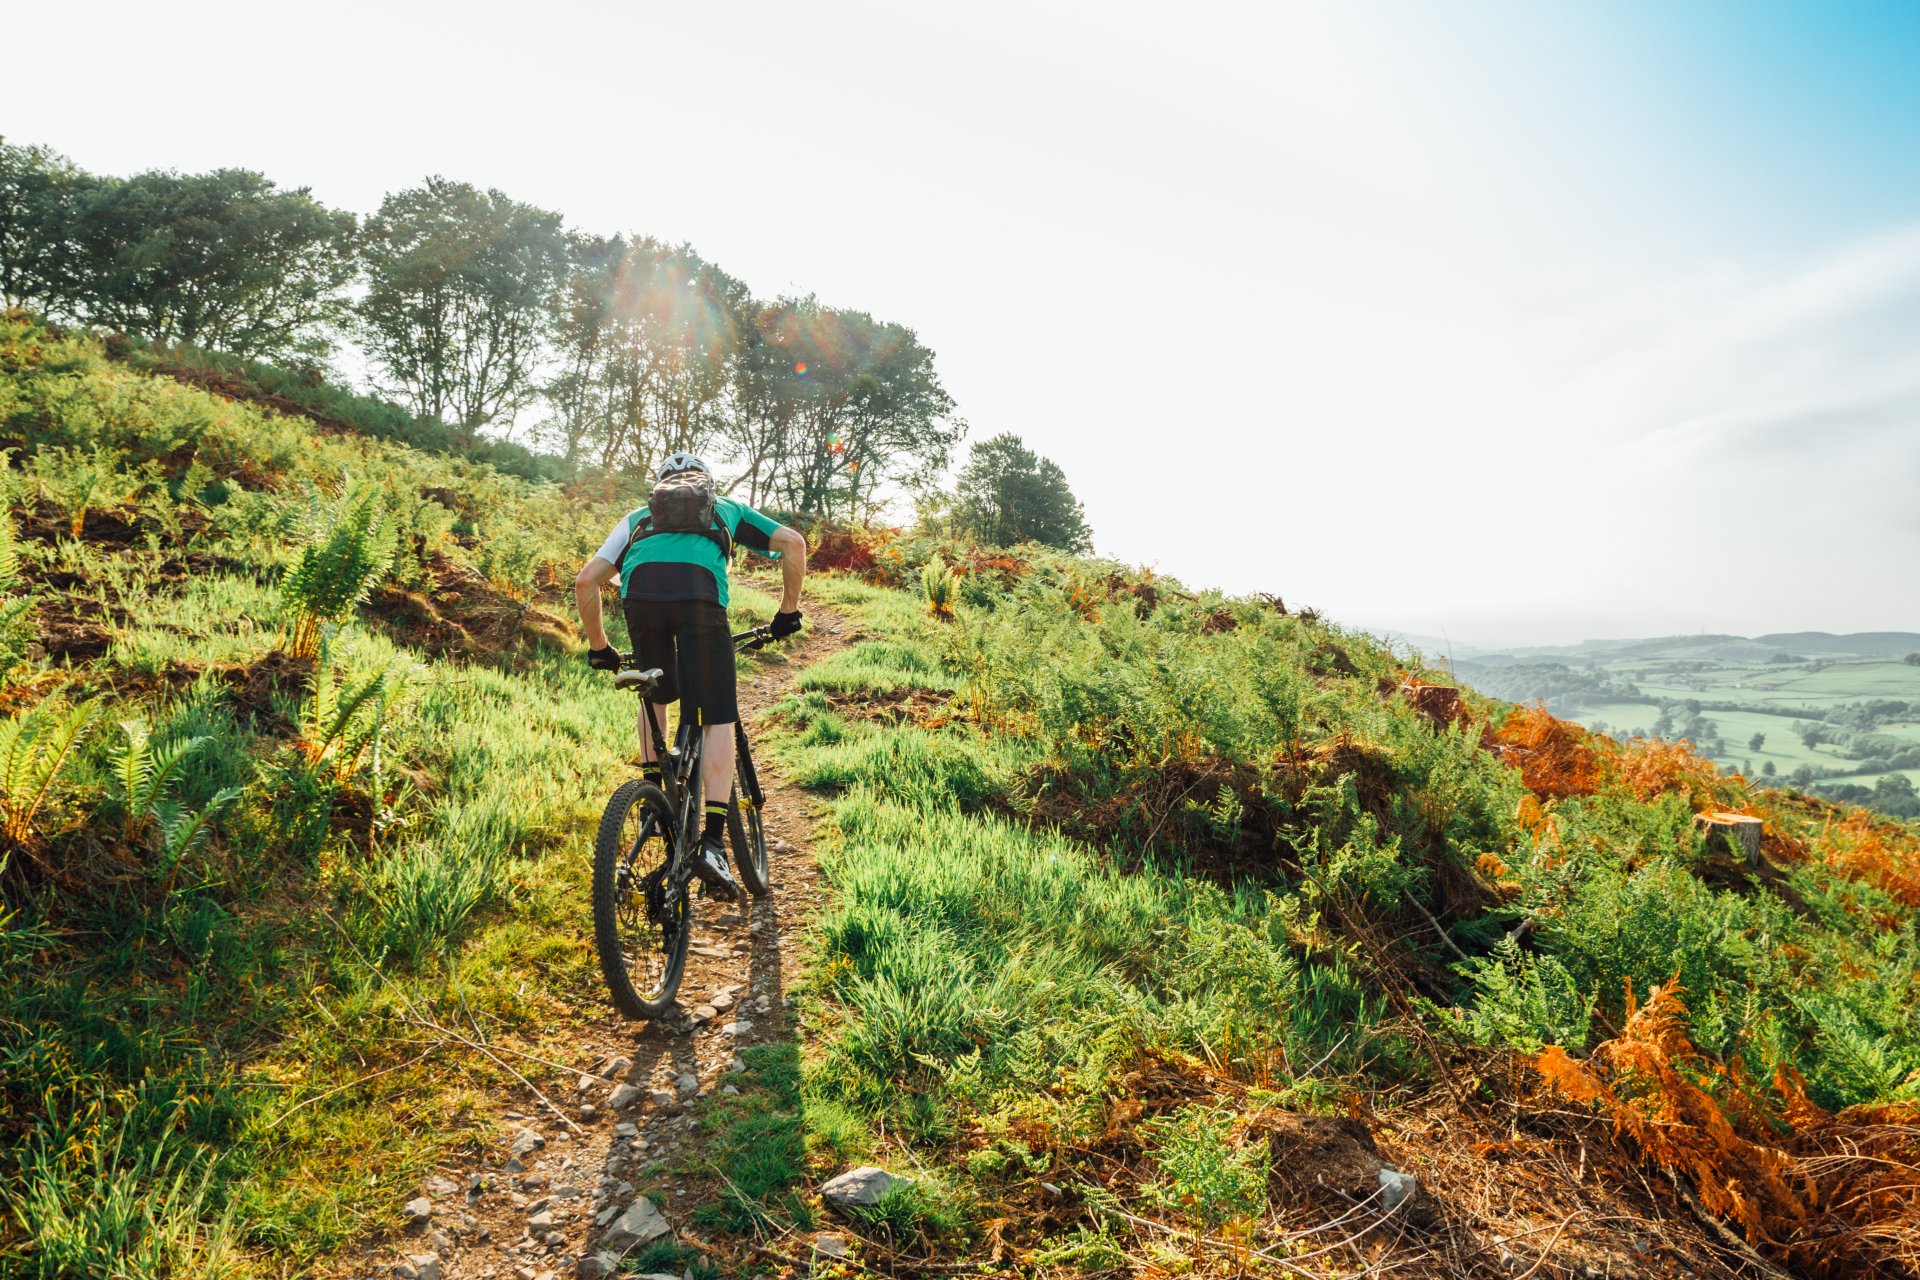
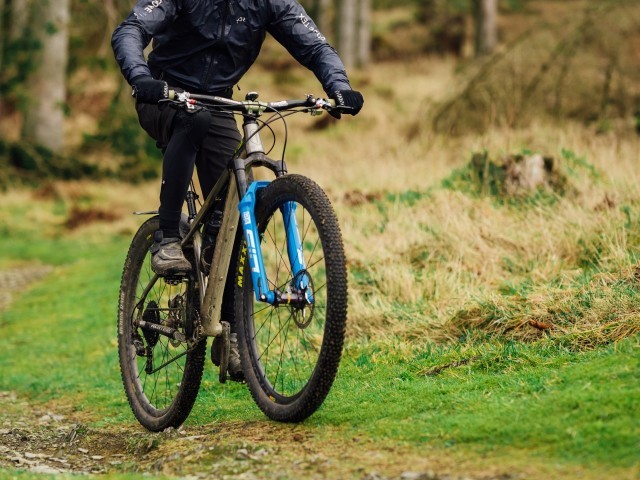
First up let's look at some basics before taking on some core skills delving deeper into how small adjustments can make a big difference on the trail. Working from the ground up we have the tyre on the trail. Tyre type, width, casing, compound, pressure, tubeless/tubes, tyre inserts, and the width of the rim they are seated on can all make a difference. Manufacturers have done a great job to help you choose the right tool for the job by creating guide tables, but here is a small summary.
Compound: The softness of the rubber, softer rubber means more grip but more rolling resistance. Some brands use multiple compounds to obtain high grip on the surface, but with a harder centre of the knob to prevent flexing.
Casing: The tyres' construction will differ between models and brands, multi-layer ‘dual ply’ casings are heavier but offer better pinch protection and will resist corner and sideways loads better than a thin sidewall.
Profile: Some tyres are very rounded while others have a more pronounced edge. A round tyre tends to be more predictable when the bike is banked over to the side, pronounced edges will bite into soft surfaces but tend to suddenly break traction.

Pressure: Softer tyres will have a larger footprint and will generate more grip, this can come at the cost of increased rolling resistance, the softer tyre may also squirm and the likelihood of impacting the rim is increased (tyre inserts reduce both these factors). Hard tyre pressures will roll with ease but with less contact patch grip in all directions is compromised. Finding the right setup can take time and there is always a compromise to be had.
Moving up we have our feet on the pedals, some of you may ride with flat pedals and soft sole shoes whilst others prefer to clip in, ride the combo that you feel most comfortable and confident in. If you are using flat pedals then use specific MTB shoes with soft compound rubber soles. gym-type trainers and outdoor shoes do not offer the same grip and support, and the profile of the sole can put the ankle at a less desirable angle than a sole with a flat bottom.
For those of you using clip-in pedals consider the sole type also, shoes with an increased curvature by the cleat area offer less control on the pedal, if you are just riding easy trails then they are fine, but as the technicality and severity in terrain increases, these style shoes are less effective.
Next up is the saddle, this is really an area of personal preference and a specialist retailer will be able to give you specific brand information relating to fit and form, your anatomy needs to fit the saddle, and visa versa. Do not sell yourself short by buying cheap, you will spend a lot of time here and a bad fit can make the most hardened hardcore rider want to quit the sport.
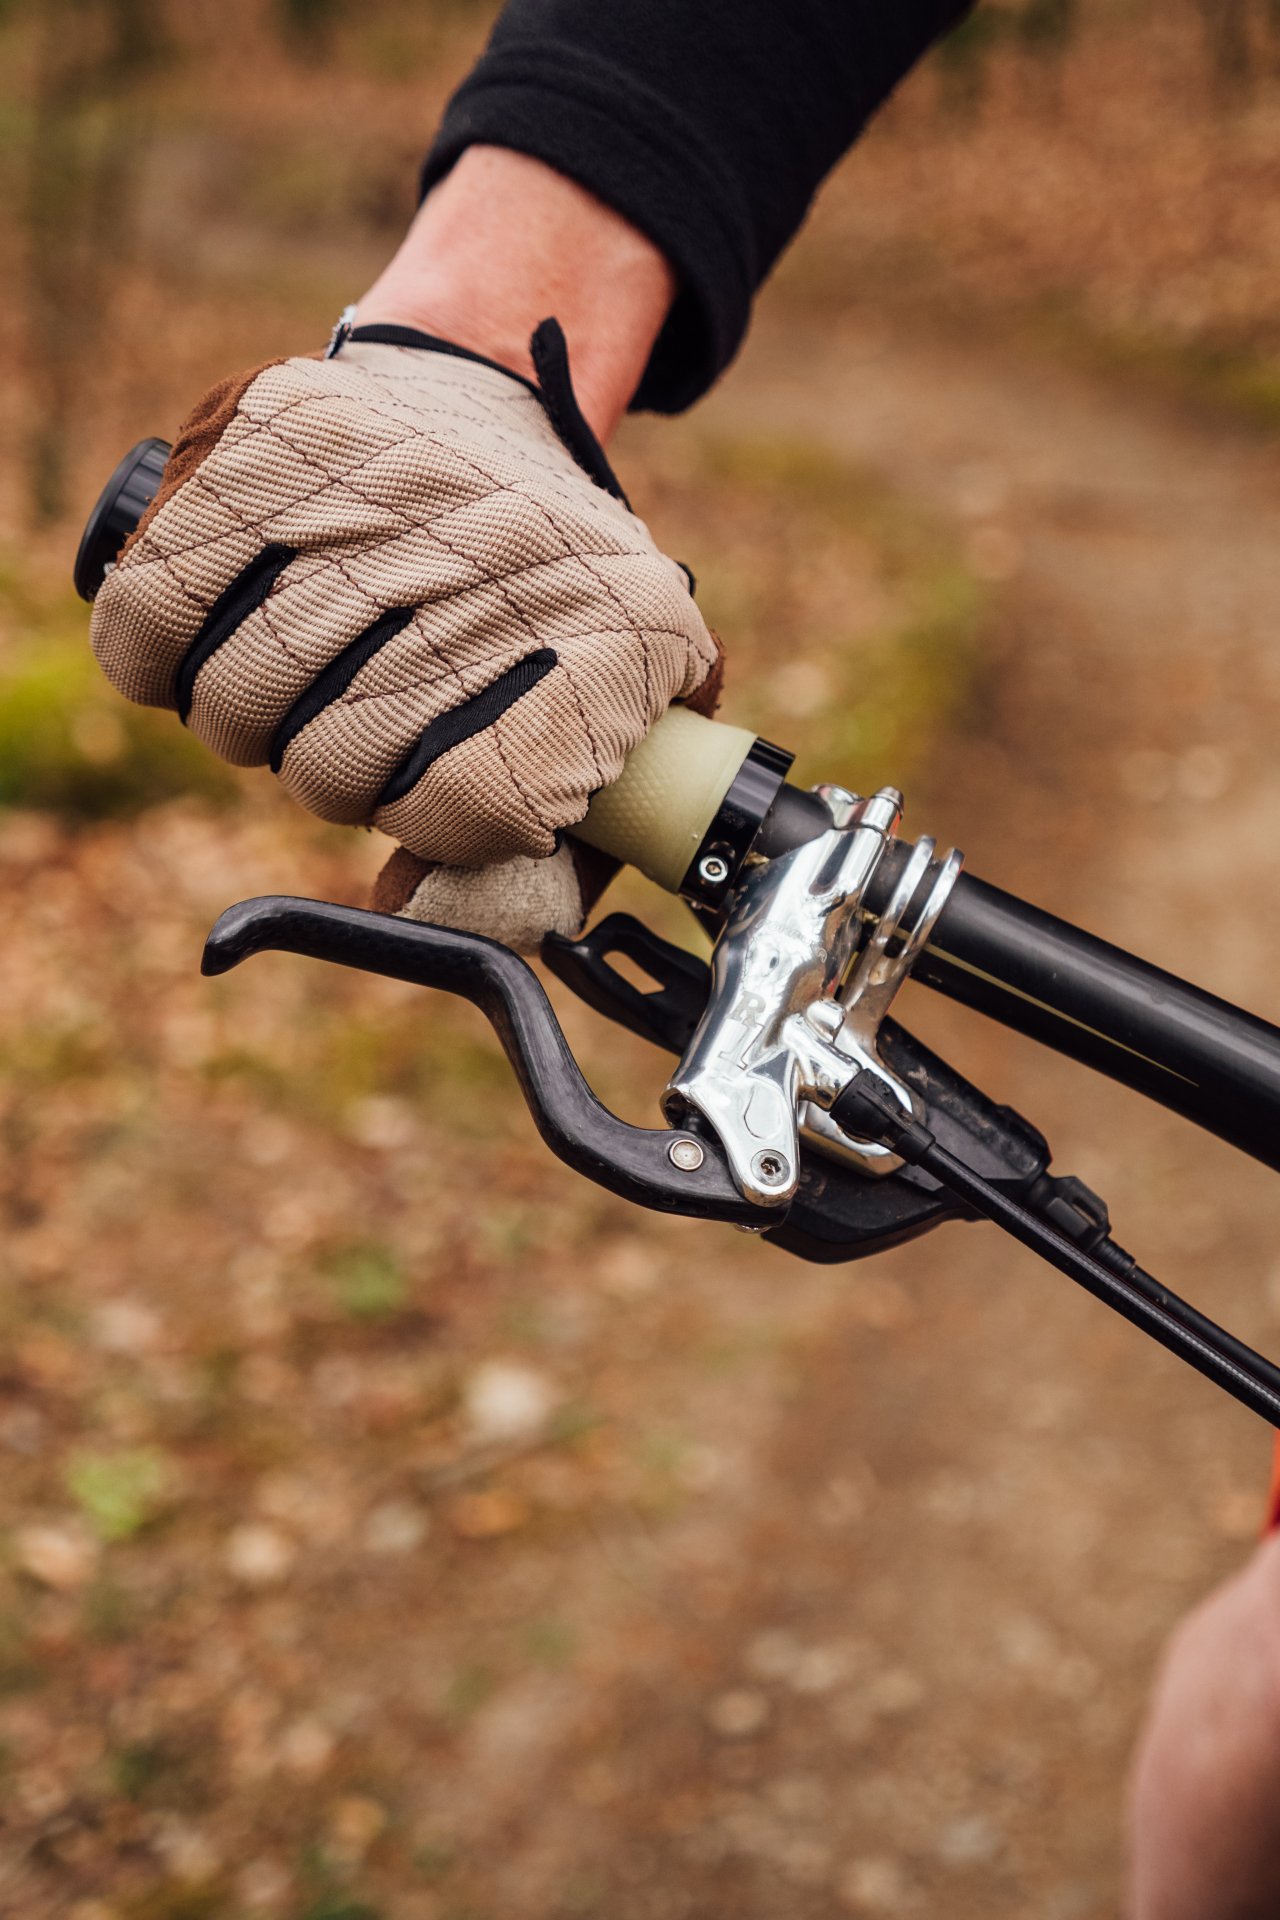
Onto the last of the contact patches, our grips. Again there is a huge amount of personal preference here so I’ll not go into too much detail relating to the variations. Most grips are parallel in their construction with a small flair at either end, options in grip pattern range from waffle shapes to combos of waffles and squares with small ridges.
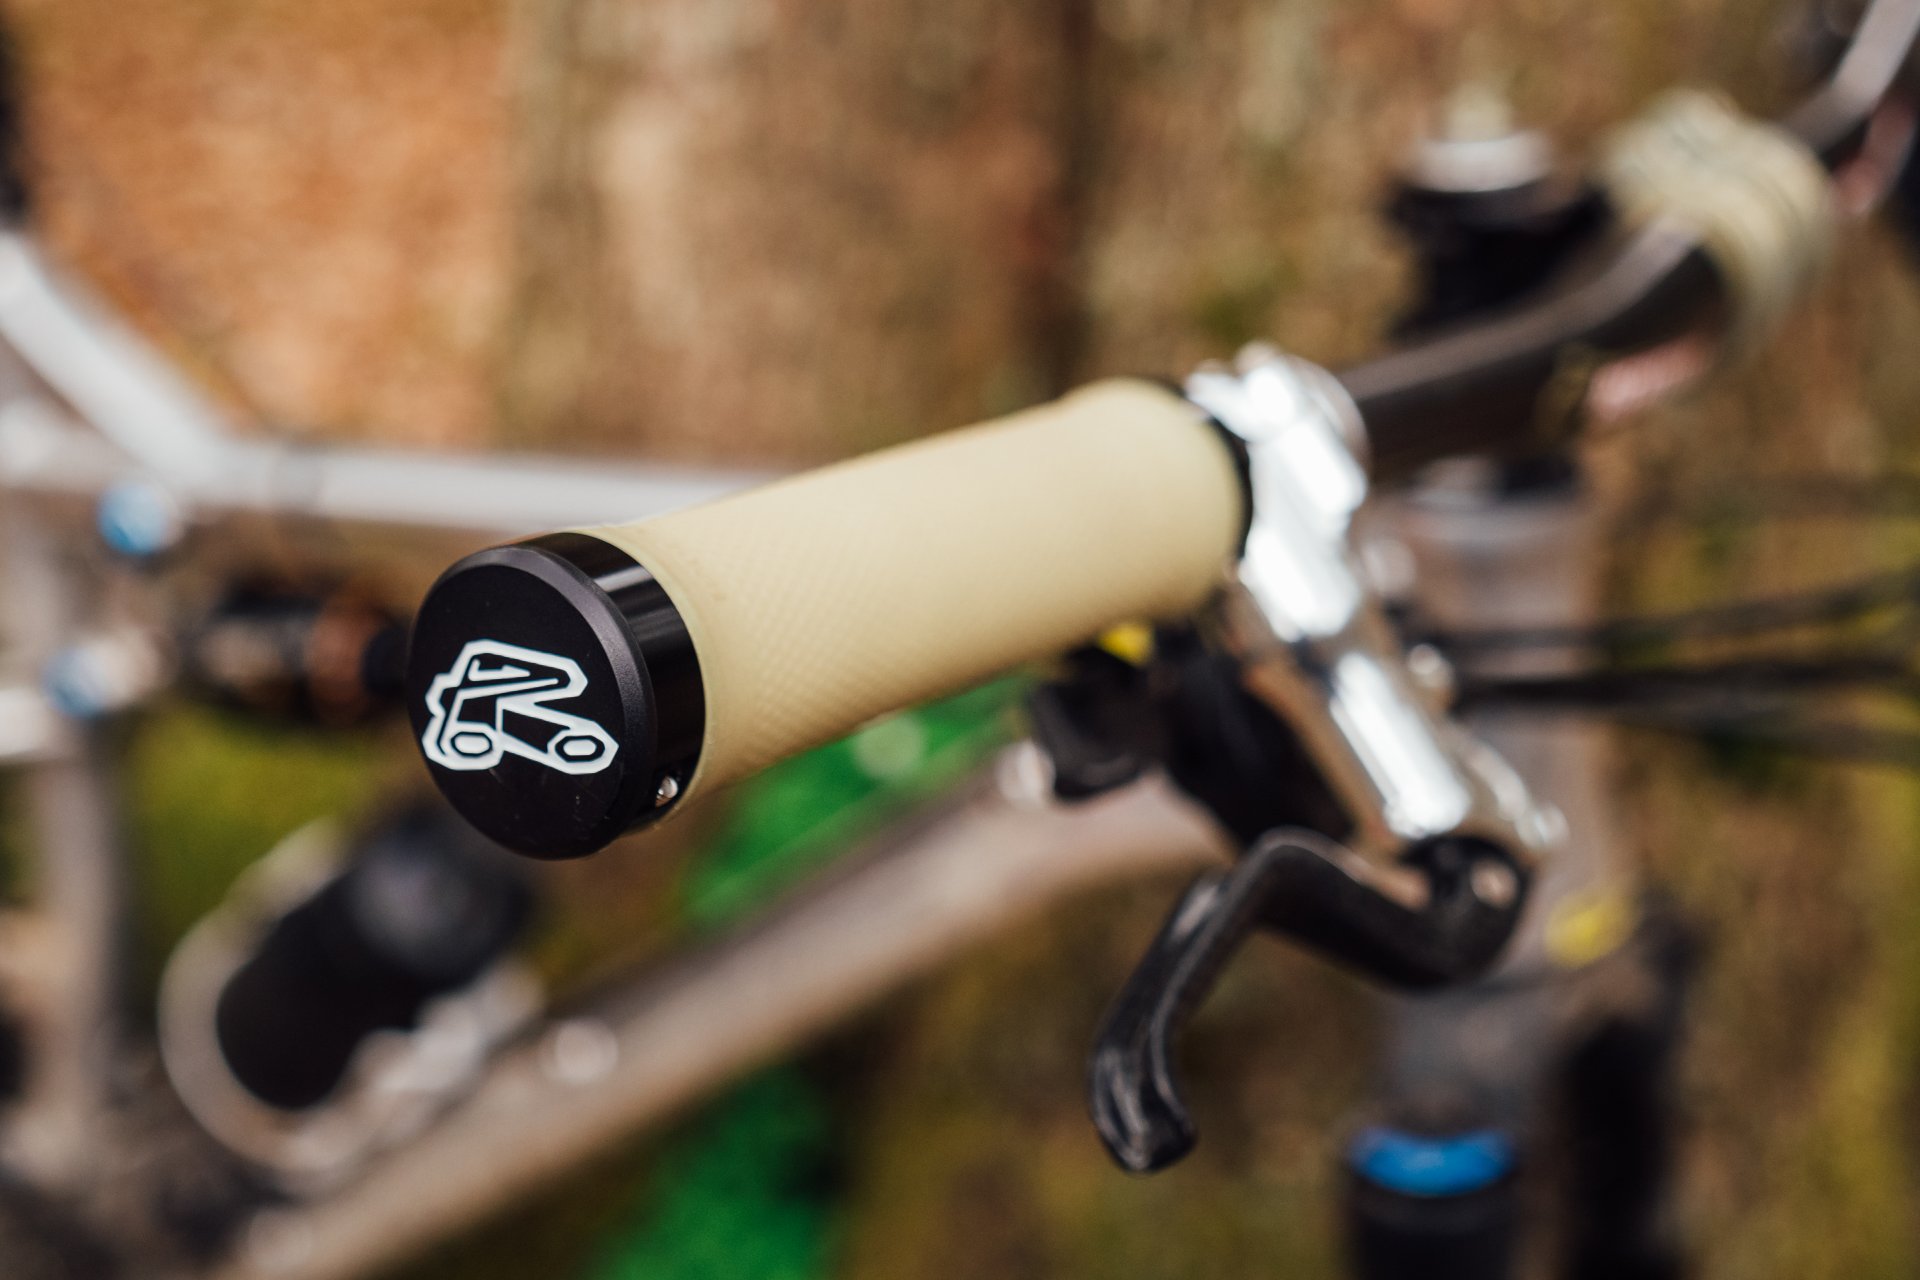
Most grips are a soft tactile rubber but some manufacturers still produce foam grips of varying density. Foam grips help damp high-frequency bumps, so if you run a stiff handlebar, high tyre pressure, and minimal suspension upfront then these can be a good option to help reduce fatigue. The ergonomic grips with ‘wings’ are less suitable for tougher terrain where lots of technique is required as their shape inhibits the ability to drop the wrist and stay behind the bar (essential in steep gradients and down drops).
Core skills and the contact patch.
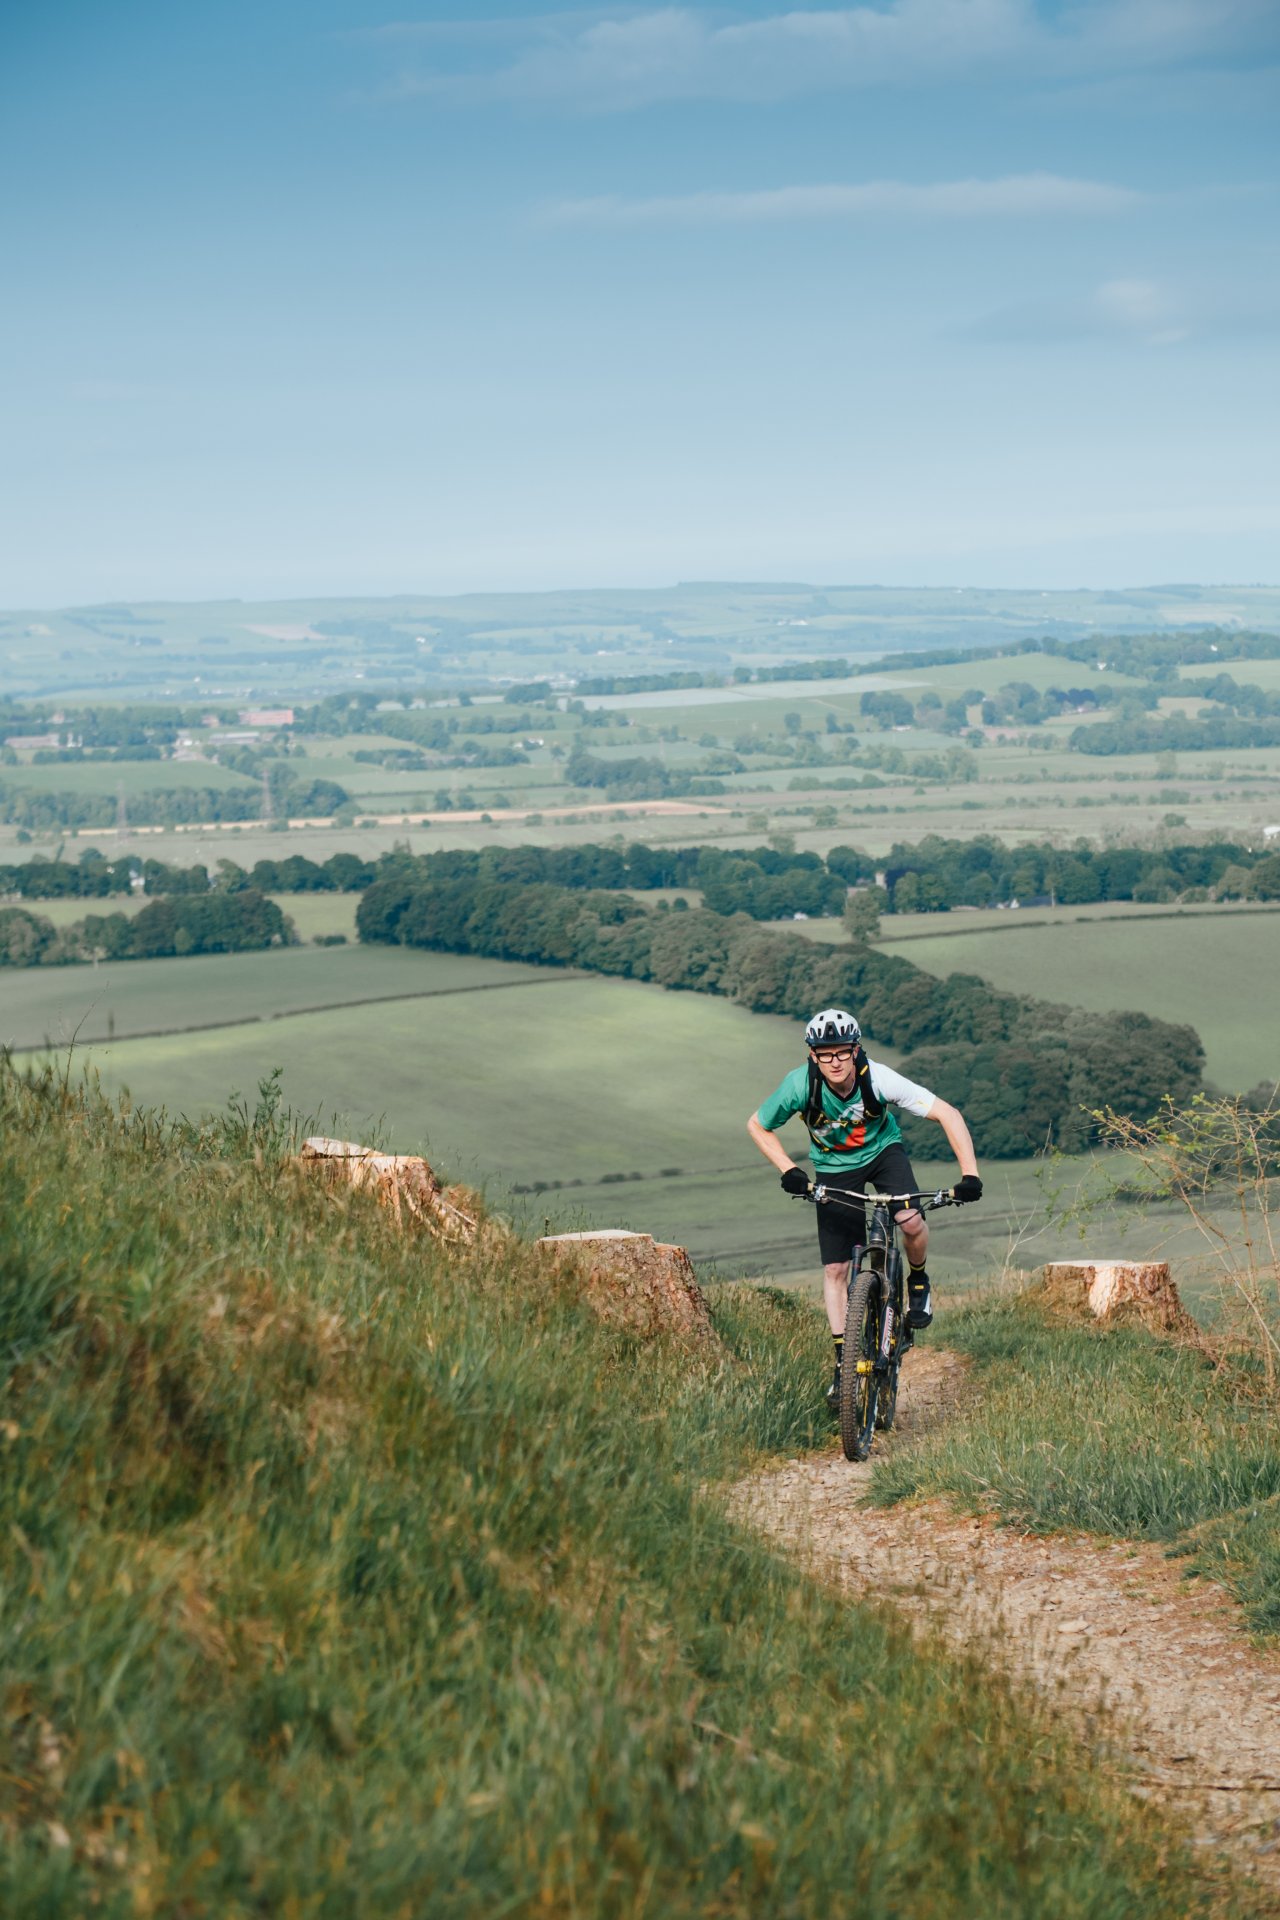
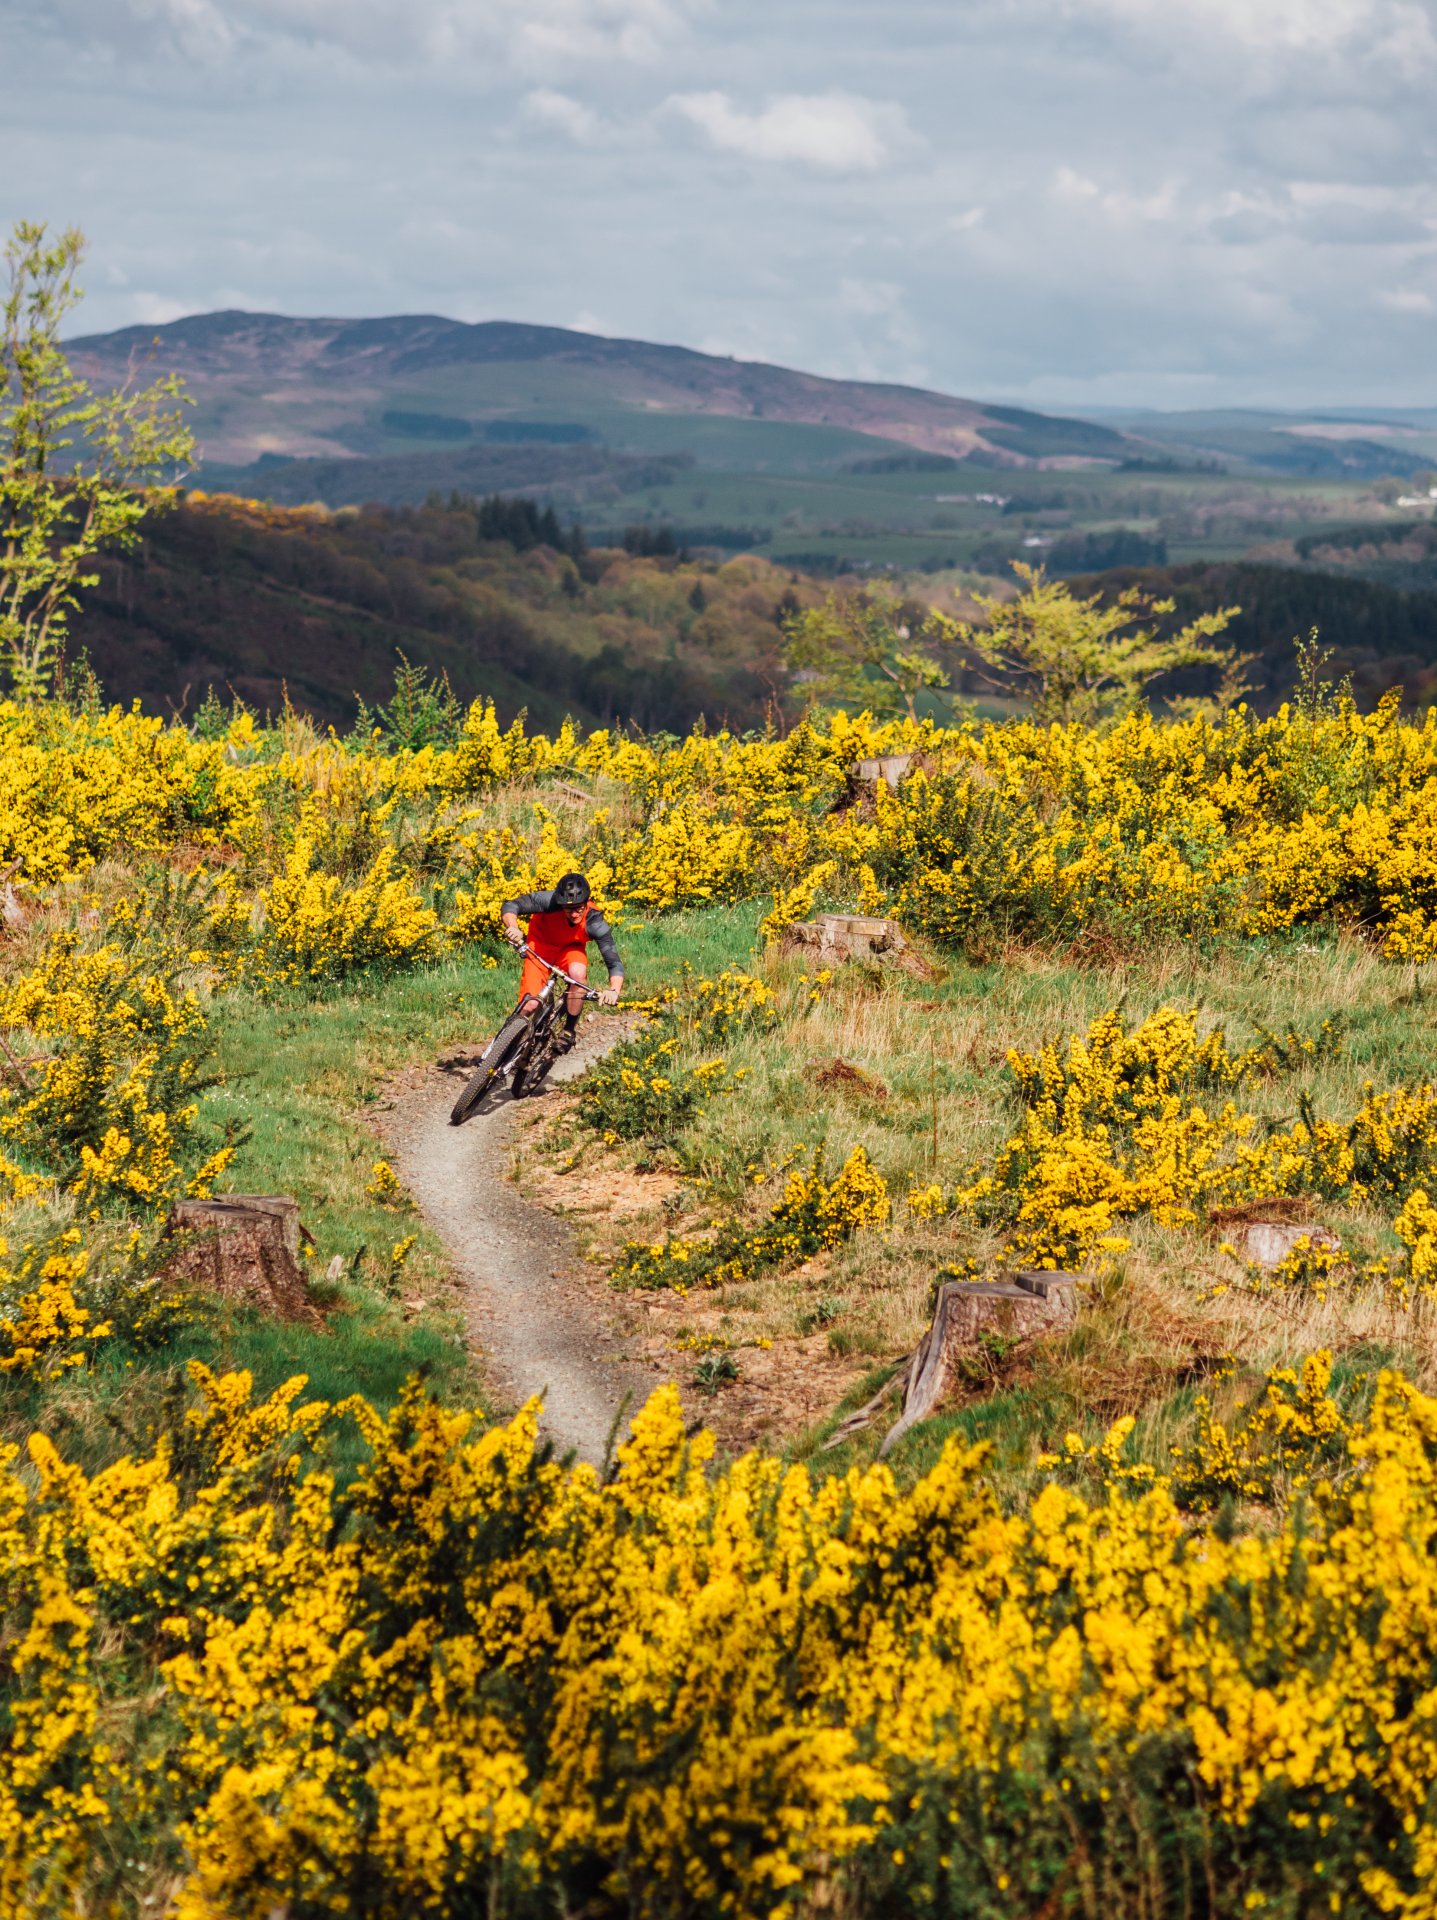
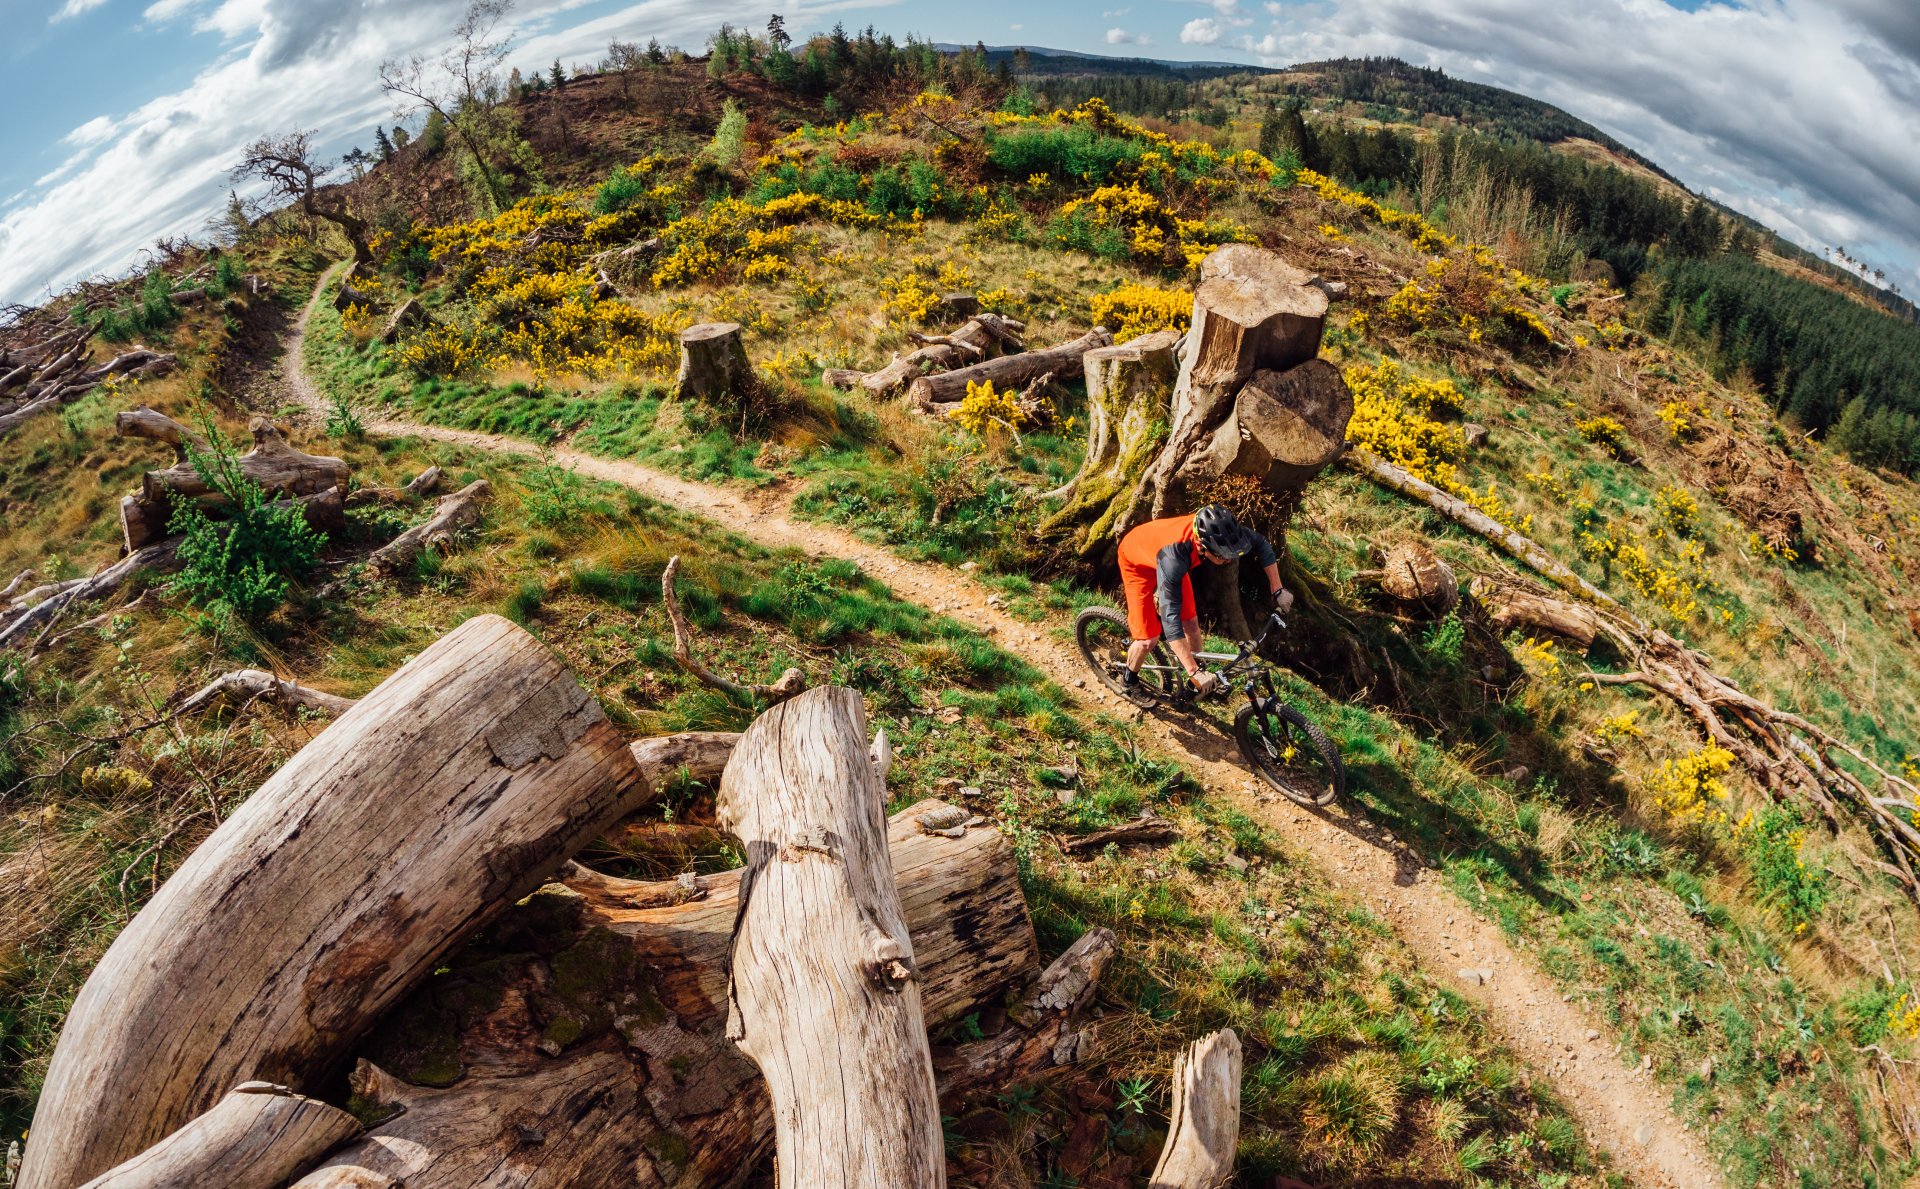
Our core skills of corner, wheelie, manual, hop, drop and jump are the ‘get out of jail free’ card in our arsenal, they help us avoid a trip to A&E and enable us to tackle more challenging technical terrain as our confidence grows. So what is going on with the contact points and what can you do to improve in each area.
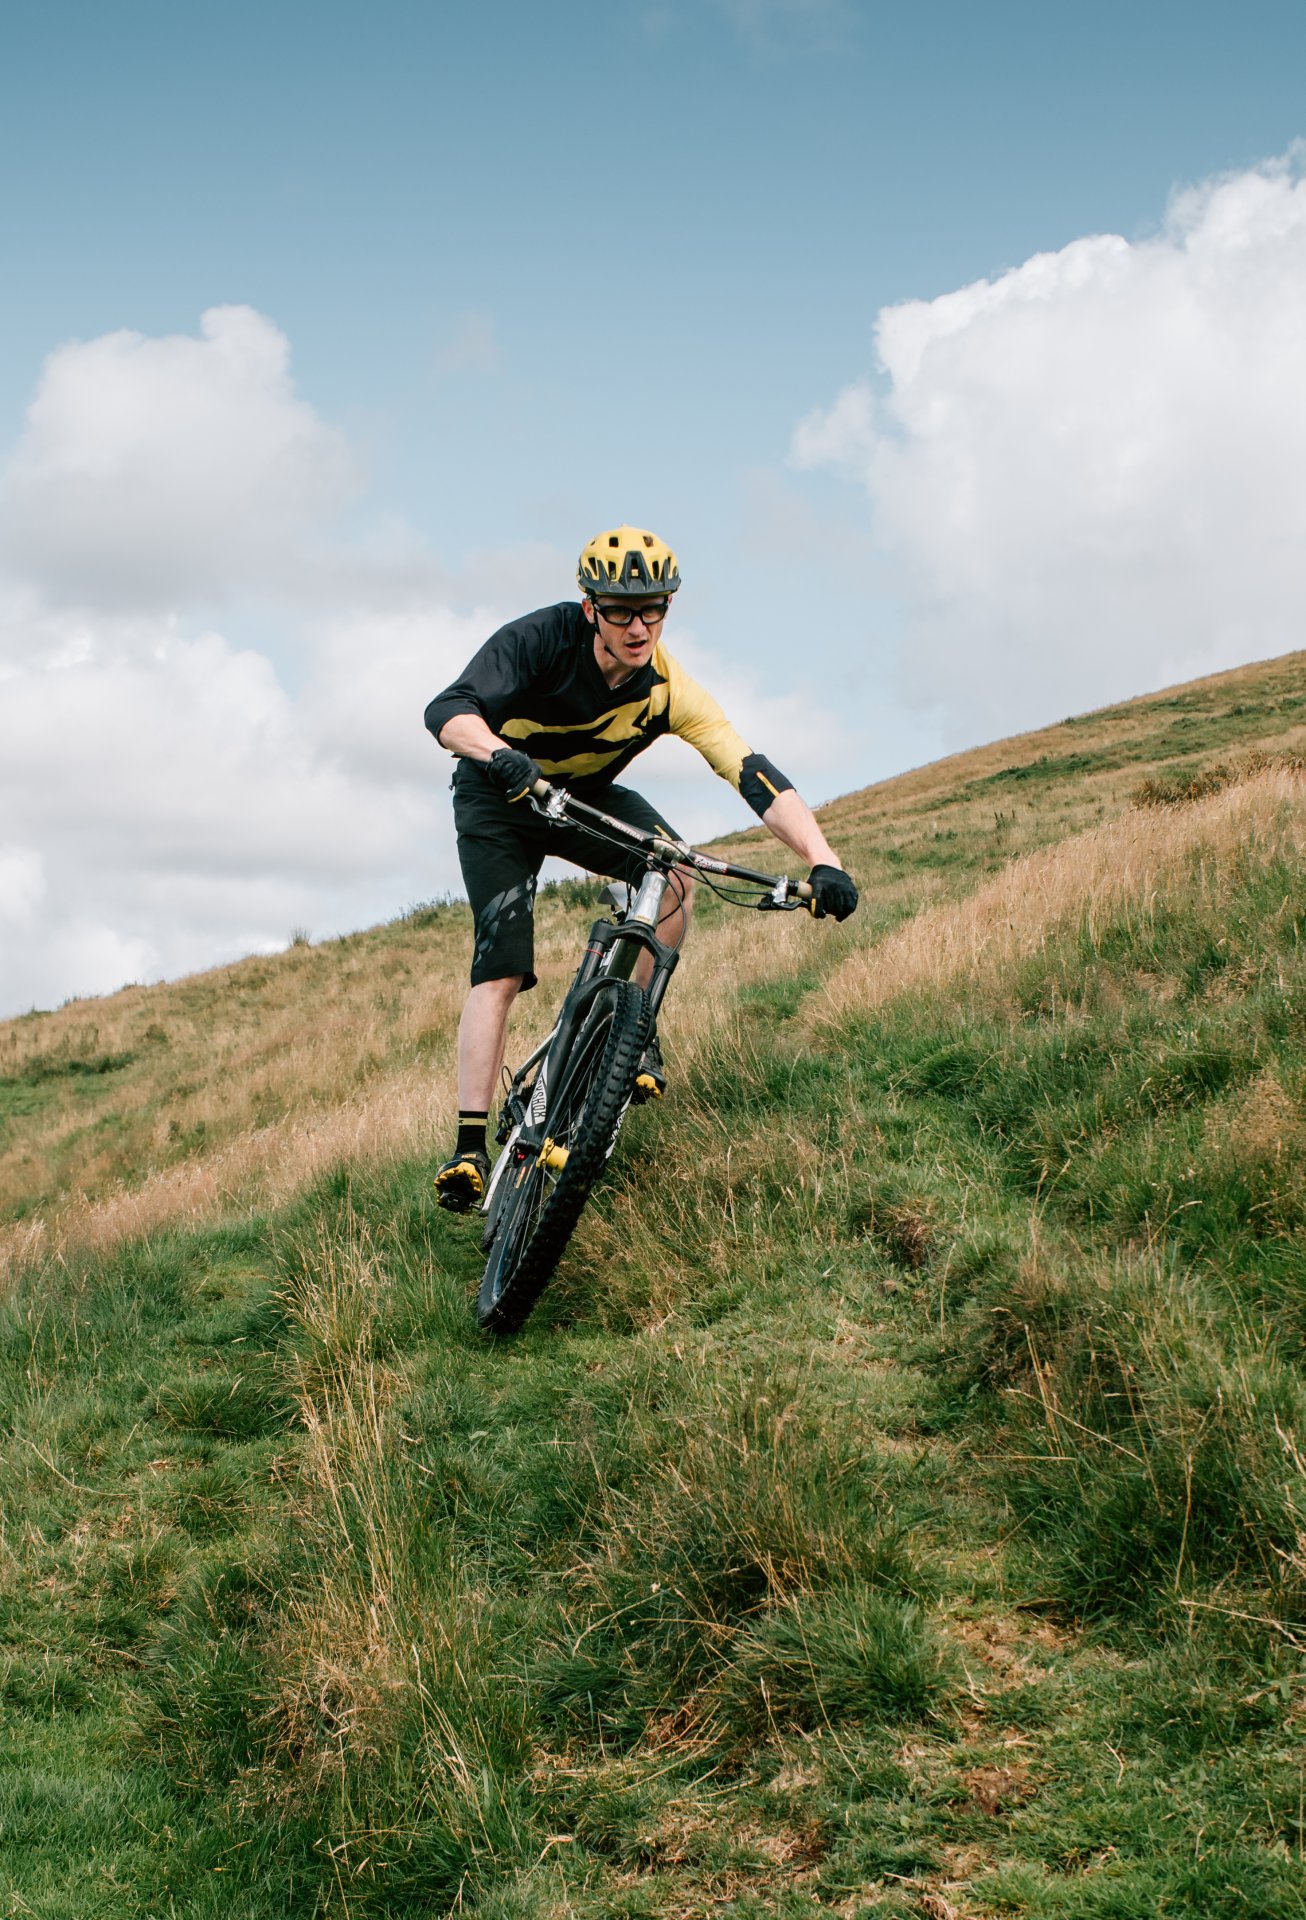
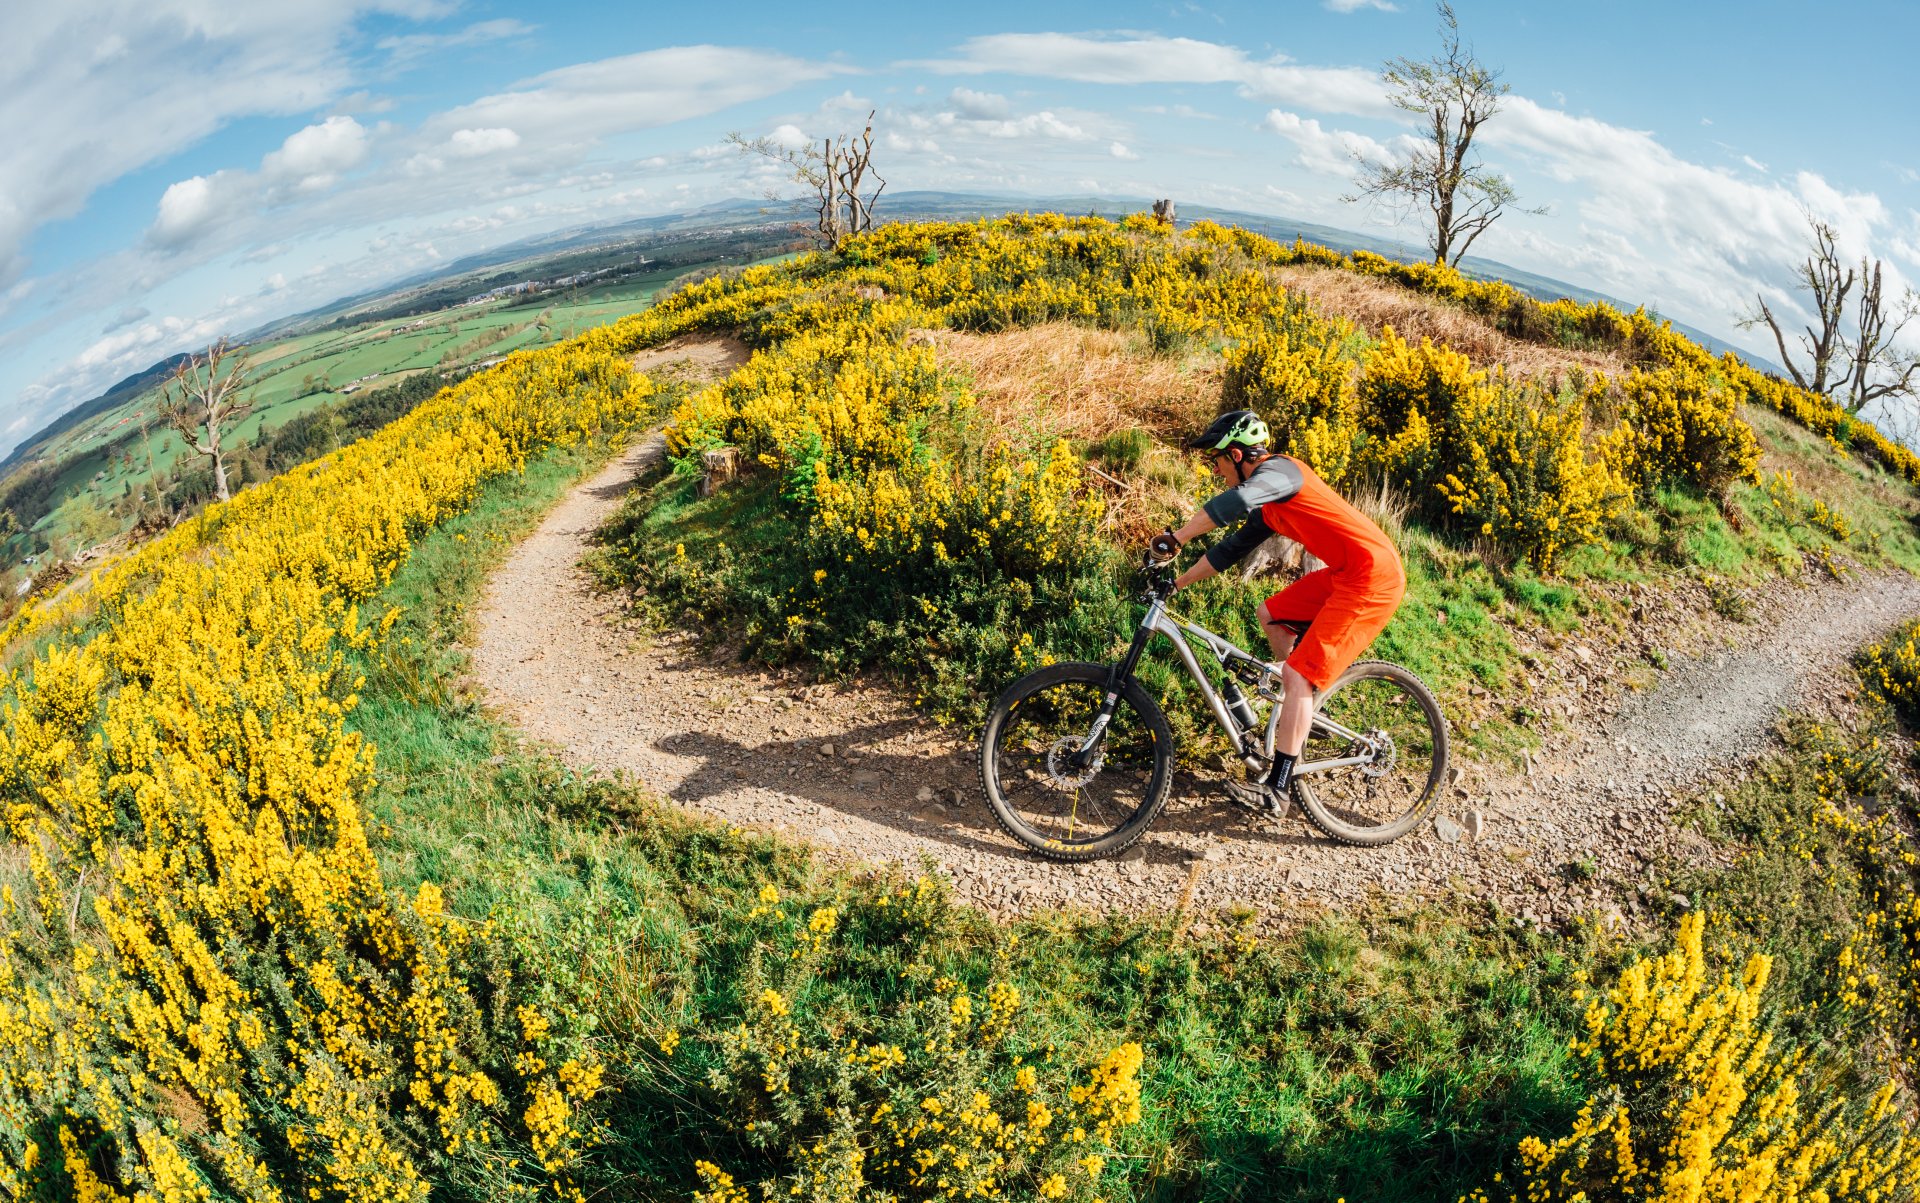
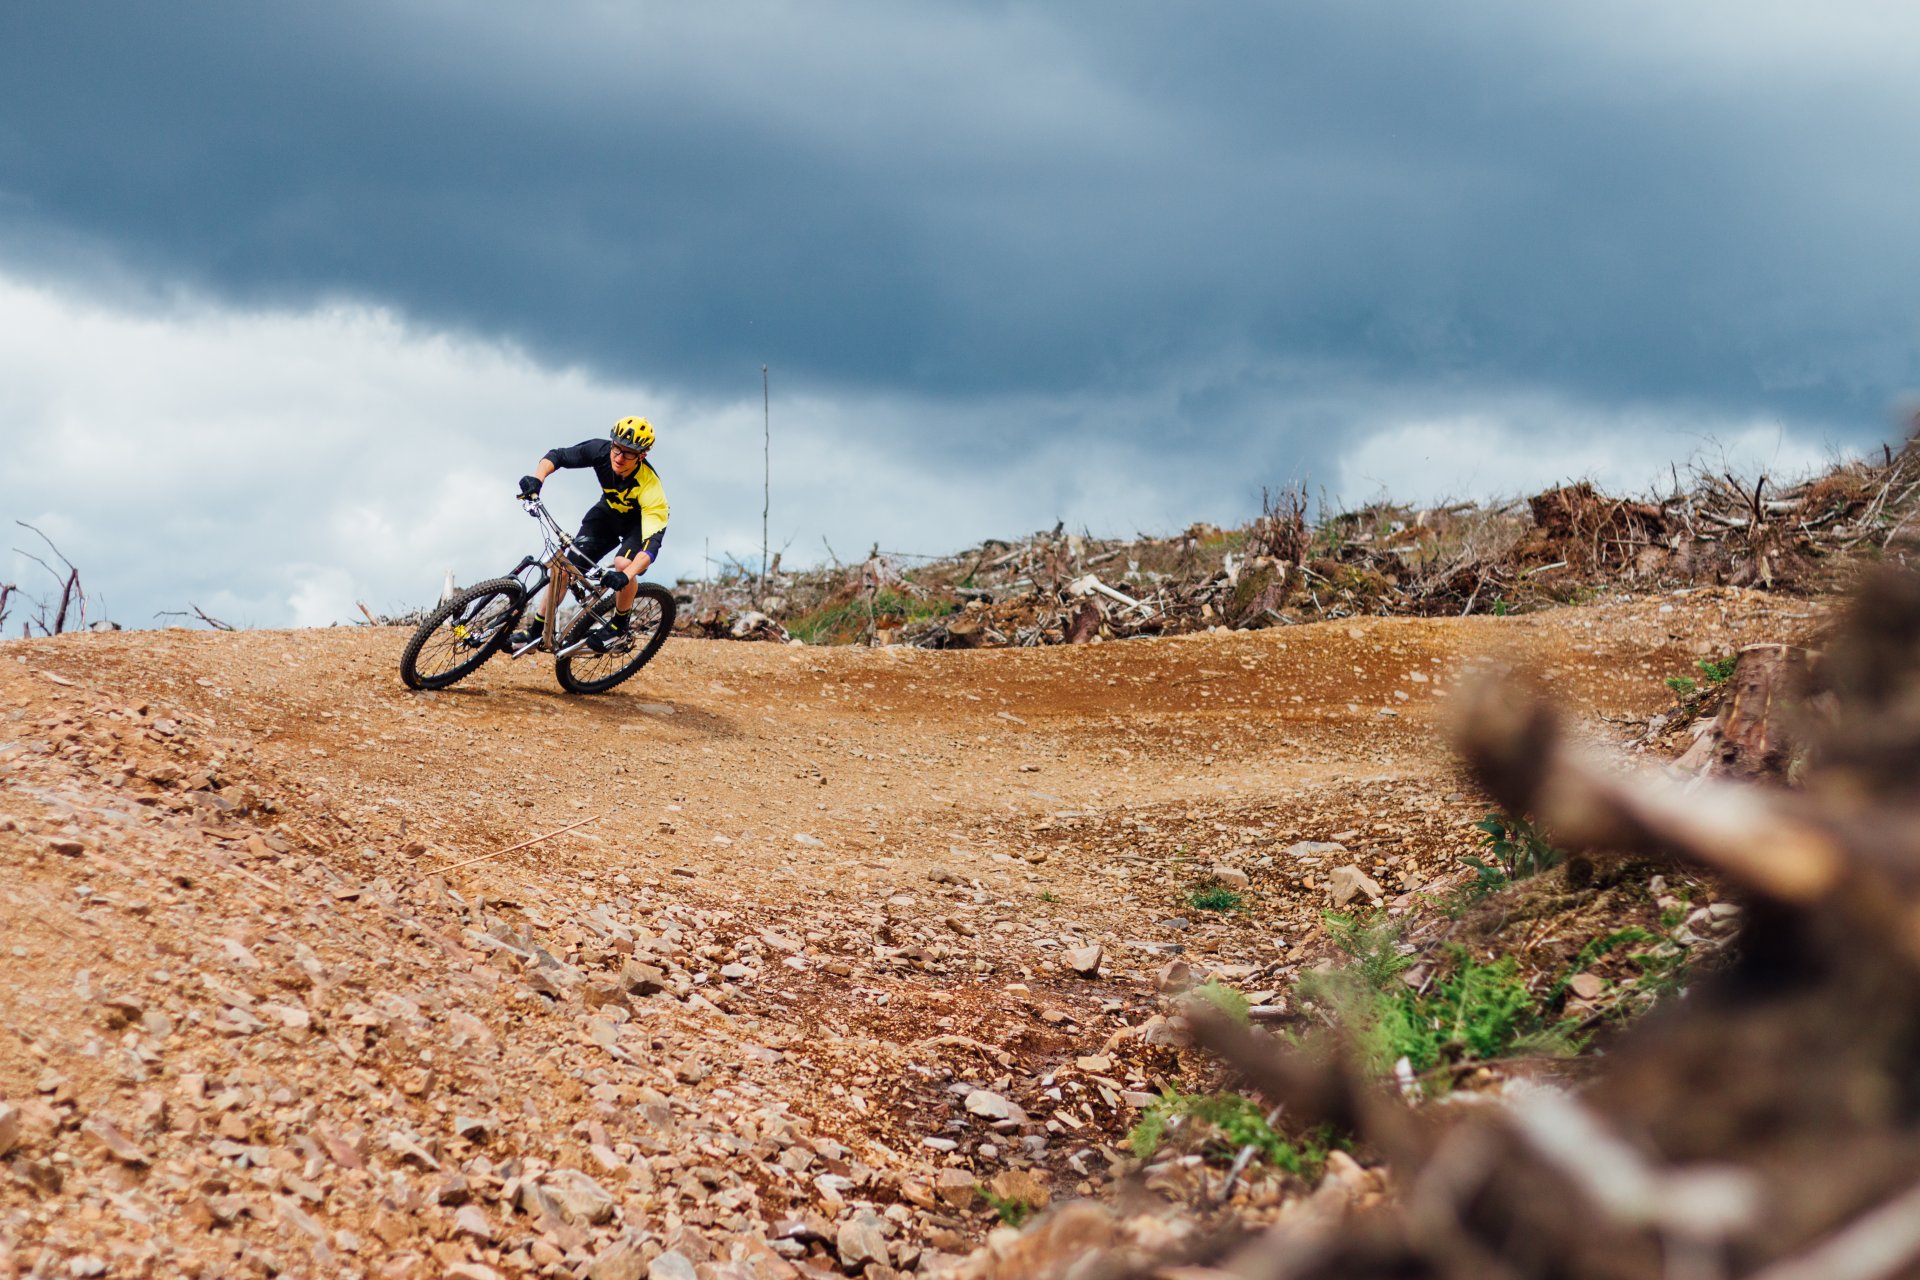
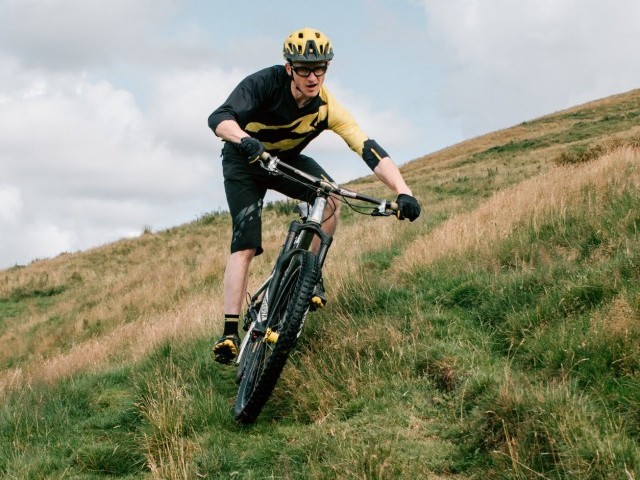
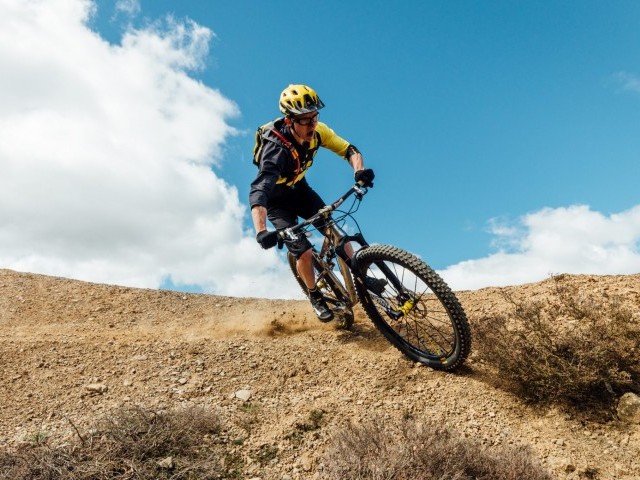
Cornering: Here we need to get the tyre on edge, using the side knobs to bite into the terrain, changing tyre profile, compound, and or pressure can all help improve grip levels. To get even more bite we move onto our footwork, the inner foot is doing little when the outer foot is lowered. This is where it can be beneficial to keep cranks level, especially true for corners with a shallow radius, with the cranks level the inner foot can also be used to transfer weight down through the bike.
When corners tighten up then the outer foot drops and load is transferred through the outer foot (via the pedal and crank) only. To increase grip roll the foot toward the crank arm, this added pressure also moves the skeleton, and you ‘twist’ into the desired direction of travel. Think about squishing something just behind the big toe, try and avoid ‘twisting’ the foot by rotating on the ball. Up above we are out of the saddle so the contact patch does not apply when using good cornering technique.

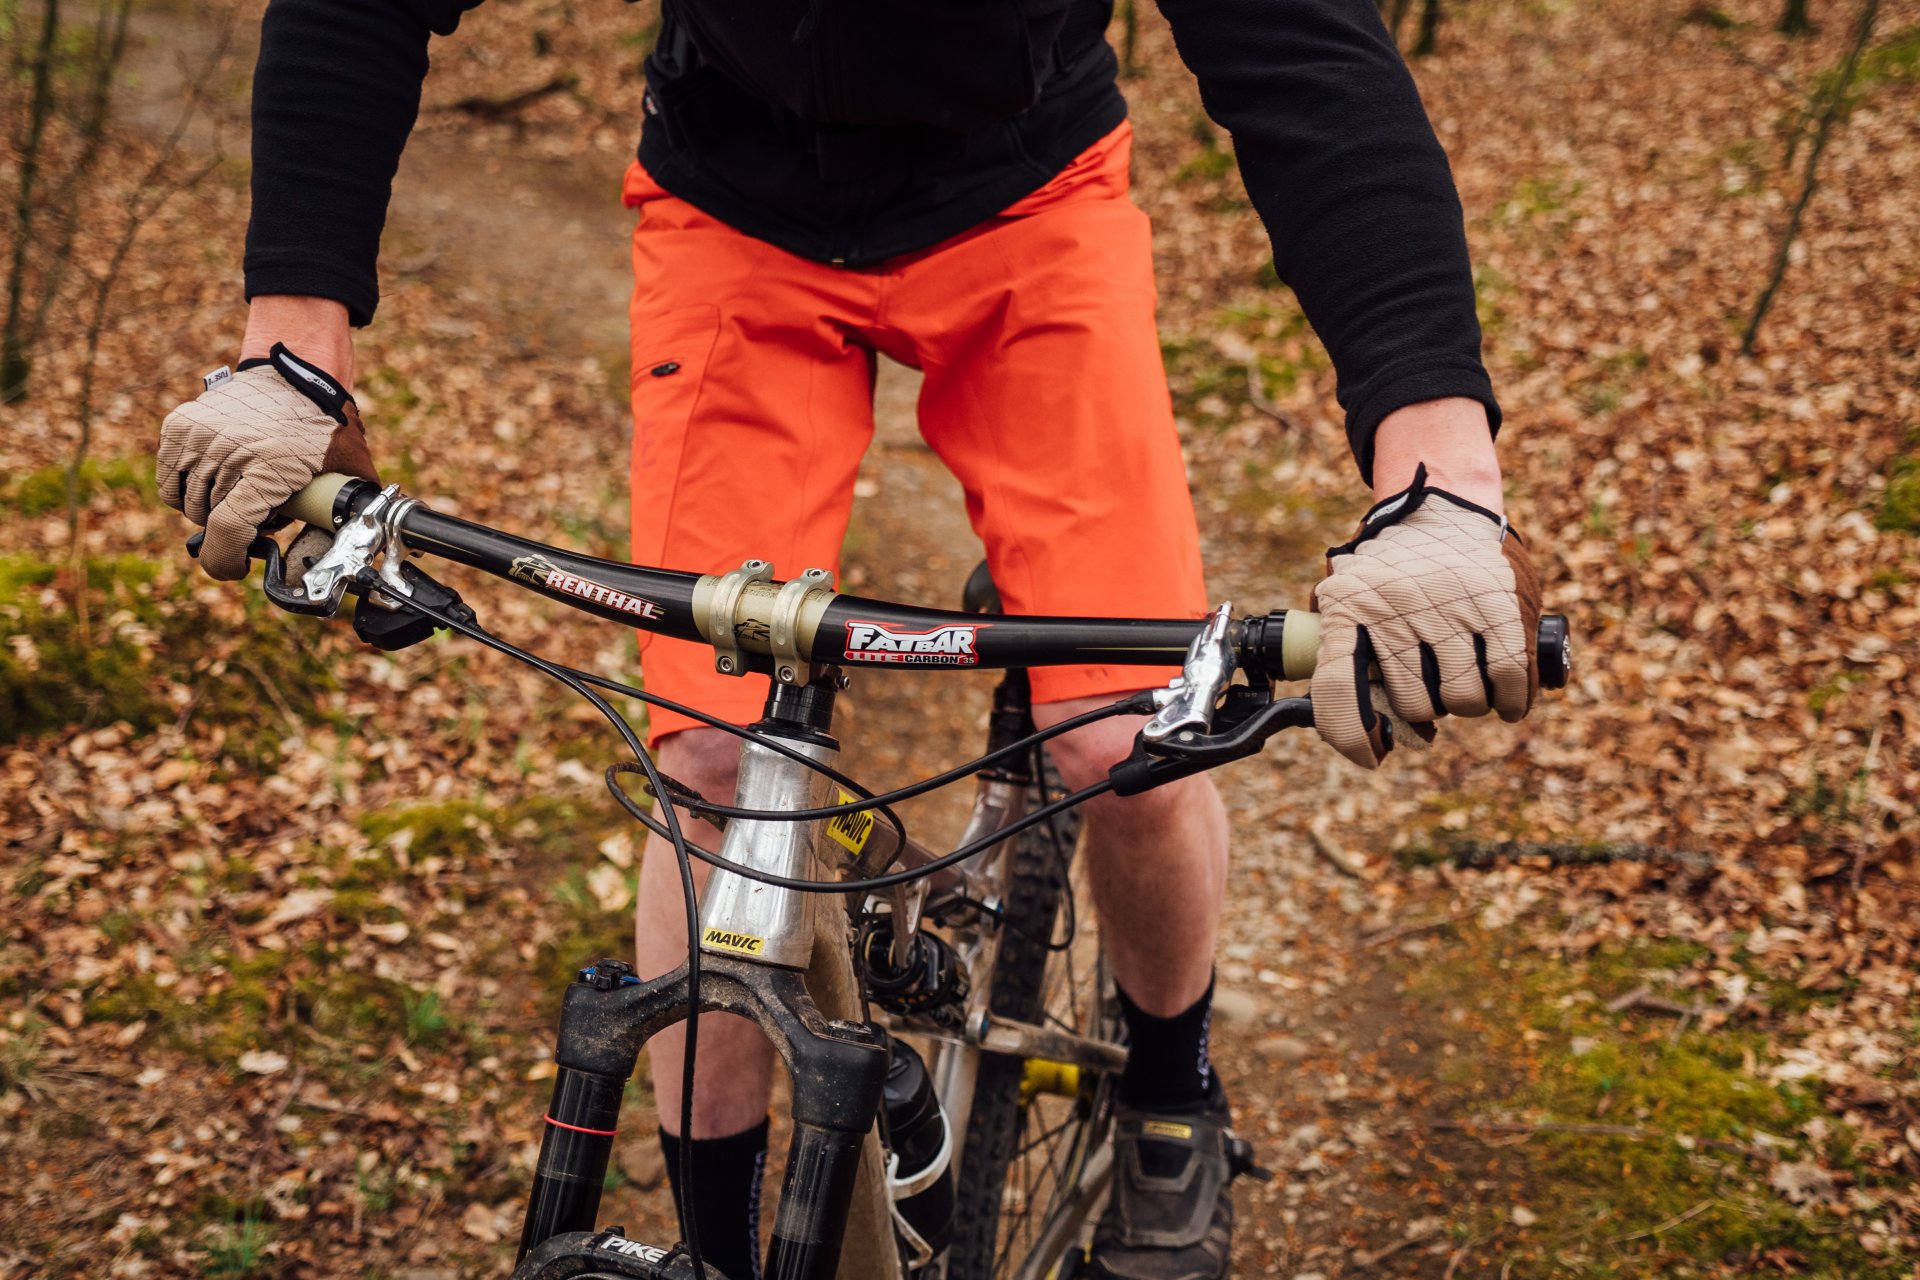
Up at the bar we are pushing the outer grip away while resisting the ‘back pressure’ in the hand that is on the inside of the corner, to help get the tyre on edge the inner hand is rotating in the opposite direction to that outer foot, think about squishing something in the area of the palm between the thumb and first finger. You are trying to push down through the forearm on through the grip and down the fork leg. This is all done by rolling the wrist towards the stem.
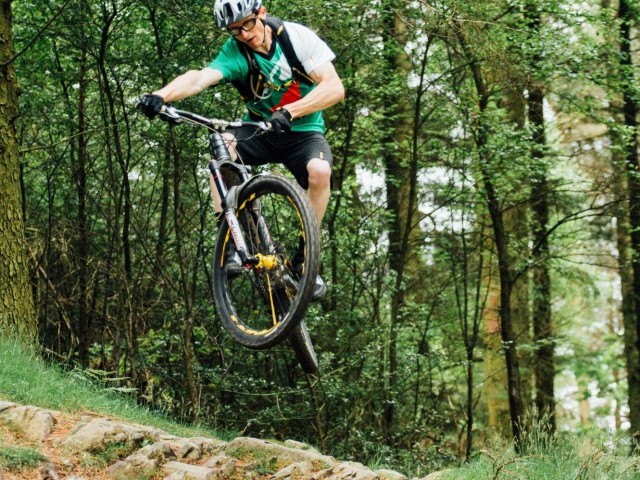
Wheelie: In this situation, the rear tyre may squirm as it contacts an edge, this may result in the bike leaning to one side. This change in direction can be countered by using the hands and feet, pulling on the bar with a fingertip grip, and using the inside and outside edge of the pedal body (along the axle) to add pressure. In the saddle we try and lift (using the fingertip grip) our body weight from the bike slightly, hovering on the saddle rather than being a dead weight on the bike. On one wheel the bike will respond to these ‘pressure’ inputs with greater effect than when on the flat.
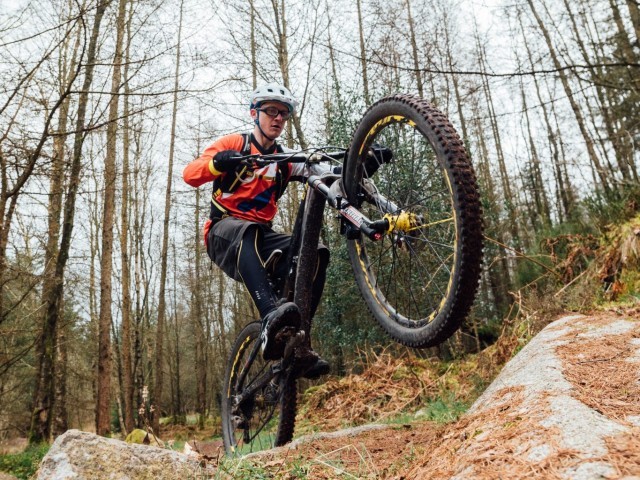
Manual: are all about accelerating the bike out in front, this starts with the grips being pulled towards the hips using a fingertip grip, next we thrust the bike out in front using the arms with equal force, driving the bar away from us with the hook of the thumb. Below us, the feet ‘kick’ the bike out in front with equal pressure across the pedal axle. When the arms are fully extended the combination of fingertip grip and hook of the thumb takes the load and lifts, snatching the bar whilst keeping the arms straight. Hold the weight of the bike up with the fingertip grip and drive the rear wheel under using the feet.
Hopping: involves the same setup as the manual, even pressure through the pedals and grips. When the manual reaches its peak the fingertip grip is used to pull the bar back up towards the chest, as this is happening we stand up on the pedals, going from a dropped heel position (kicking the bike out front) to a flat foot position (rotating around the pedal axle).
The bars are driven upwards and forwards by the hook of the thumb, and the load and pressure in the hand is equal across the palm as you punch the bar up and forwards. The feet at this stage have to have minimal to zero pressure on the pedals, any load on the pedals will keep the back of the bike on the trail.
Pressure only gets exerted through the feet when you want to put the bike back down (or to keep up with gravity as it pulls the bike back down). On landing the load is transferred across the palm and through the sole of the shoe, again the hook of the thumb will take most of the pressure from the grip whilst the foot remains spread even across the pedal to avoid slipping off.
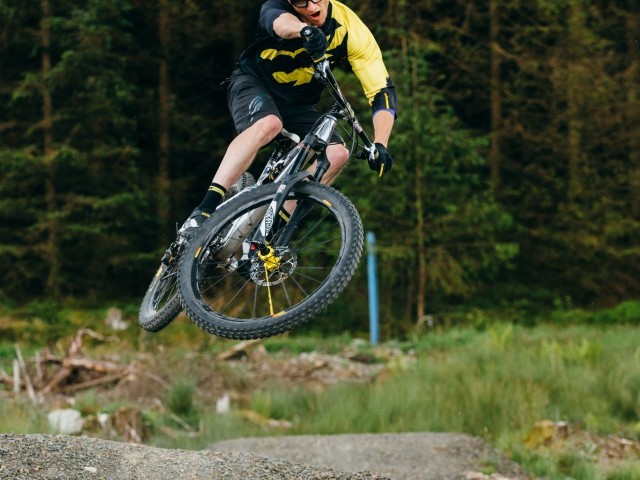
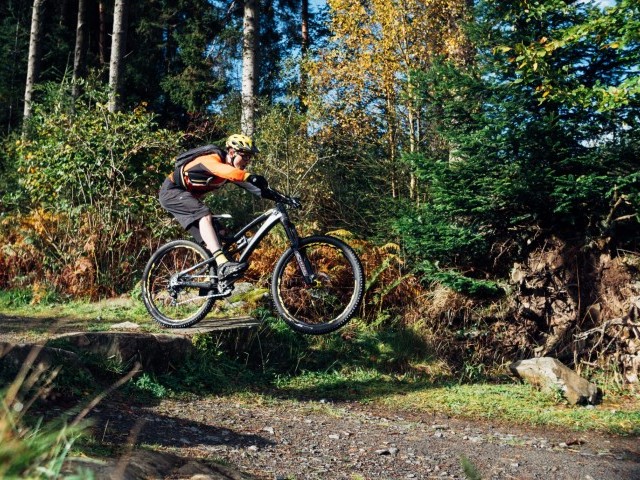
Jumping: Similar to hopping, anticipate some lateral movement on both take-off and landing, huge loads are exerted through transitions and tyres may deform which can change your trajectory. If this is happening then increase tyre pressure or opt for a tyre with a stiffer sidewall construction.
For our other contact patches, the forces in jumping and movements through the contact patches are very much the same as with the bunny hop, expect increased load from the increased height, for this reason, our grip and foot placement needs to be spot-on as the risk of blowing hands and feet off the bike are increased.
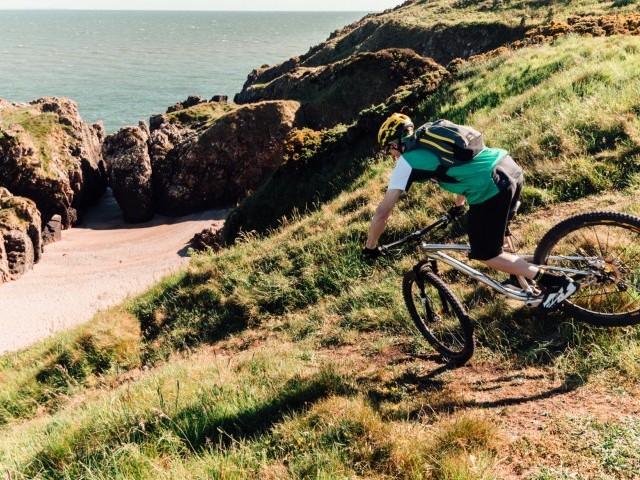
Drop-offs: Dropping is all about being behind the bar, using that hooked thumb to drive the bike out in front, then using the fingertip grip to pull yourself back to the centre of the bike in mid-air. The load should be even across the palm unless you are changing direction or adding some style.
Pressure through rolling the foot will influence the angle of the bike, be mindful of your footwork as toes pointing downwards and uneven foot pressure is a common cause of slipping off the pedals. Remember that softer tyre pressures may squirm under you as you load the bike up for take-off and when landing.
Go out and session some trail, see for yourself how using pressure through the contact patches can influence the bike's shapes, increasing grip and changing the direction of travel with just a small tweak. Still struggling? Check out our YouTube Channel for the Tech videos!
Till next time, power to ye pedals.
This technique article was in Issue 70 of IMB.
Related


By Clive Forth
Clive Forth is a rider who has been there, done that, got the t-shirt and cleaned his bike with it. He has grown with the UK scene and technological developments for the last 30 years and has competed at all levels in all disciplines riding for some prestigious brands along the way. Always looking for that extra edge with endless passion and drive he is geared up to bring you the inside line on all aspects of mountain biking skills and technique.