Speed Control Part 2 – Braking
Technique / Skills

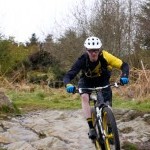
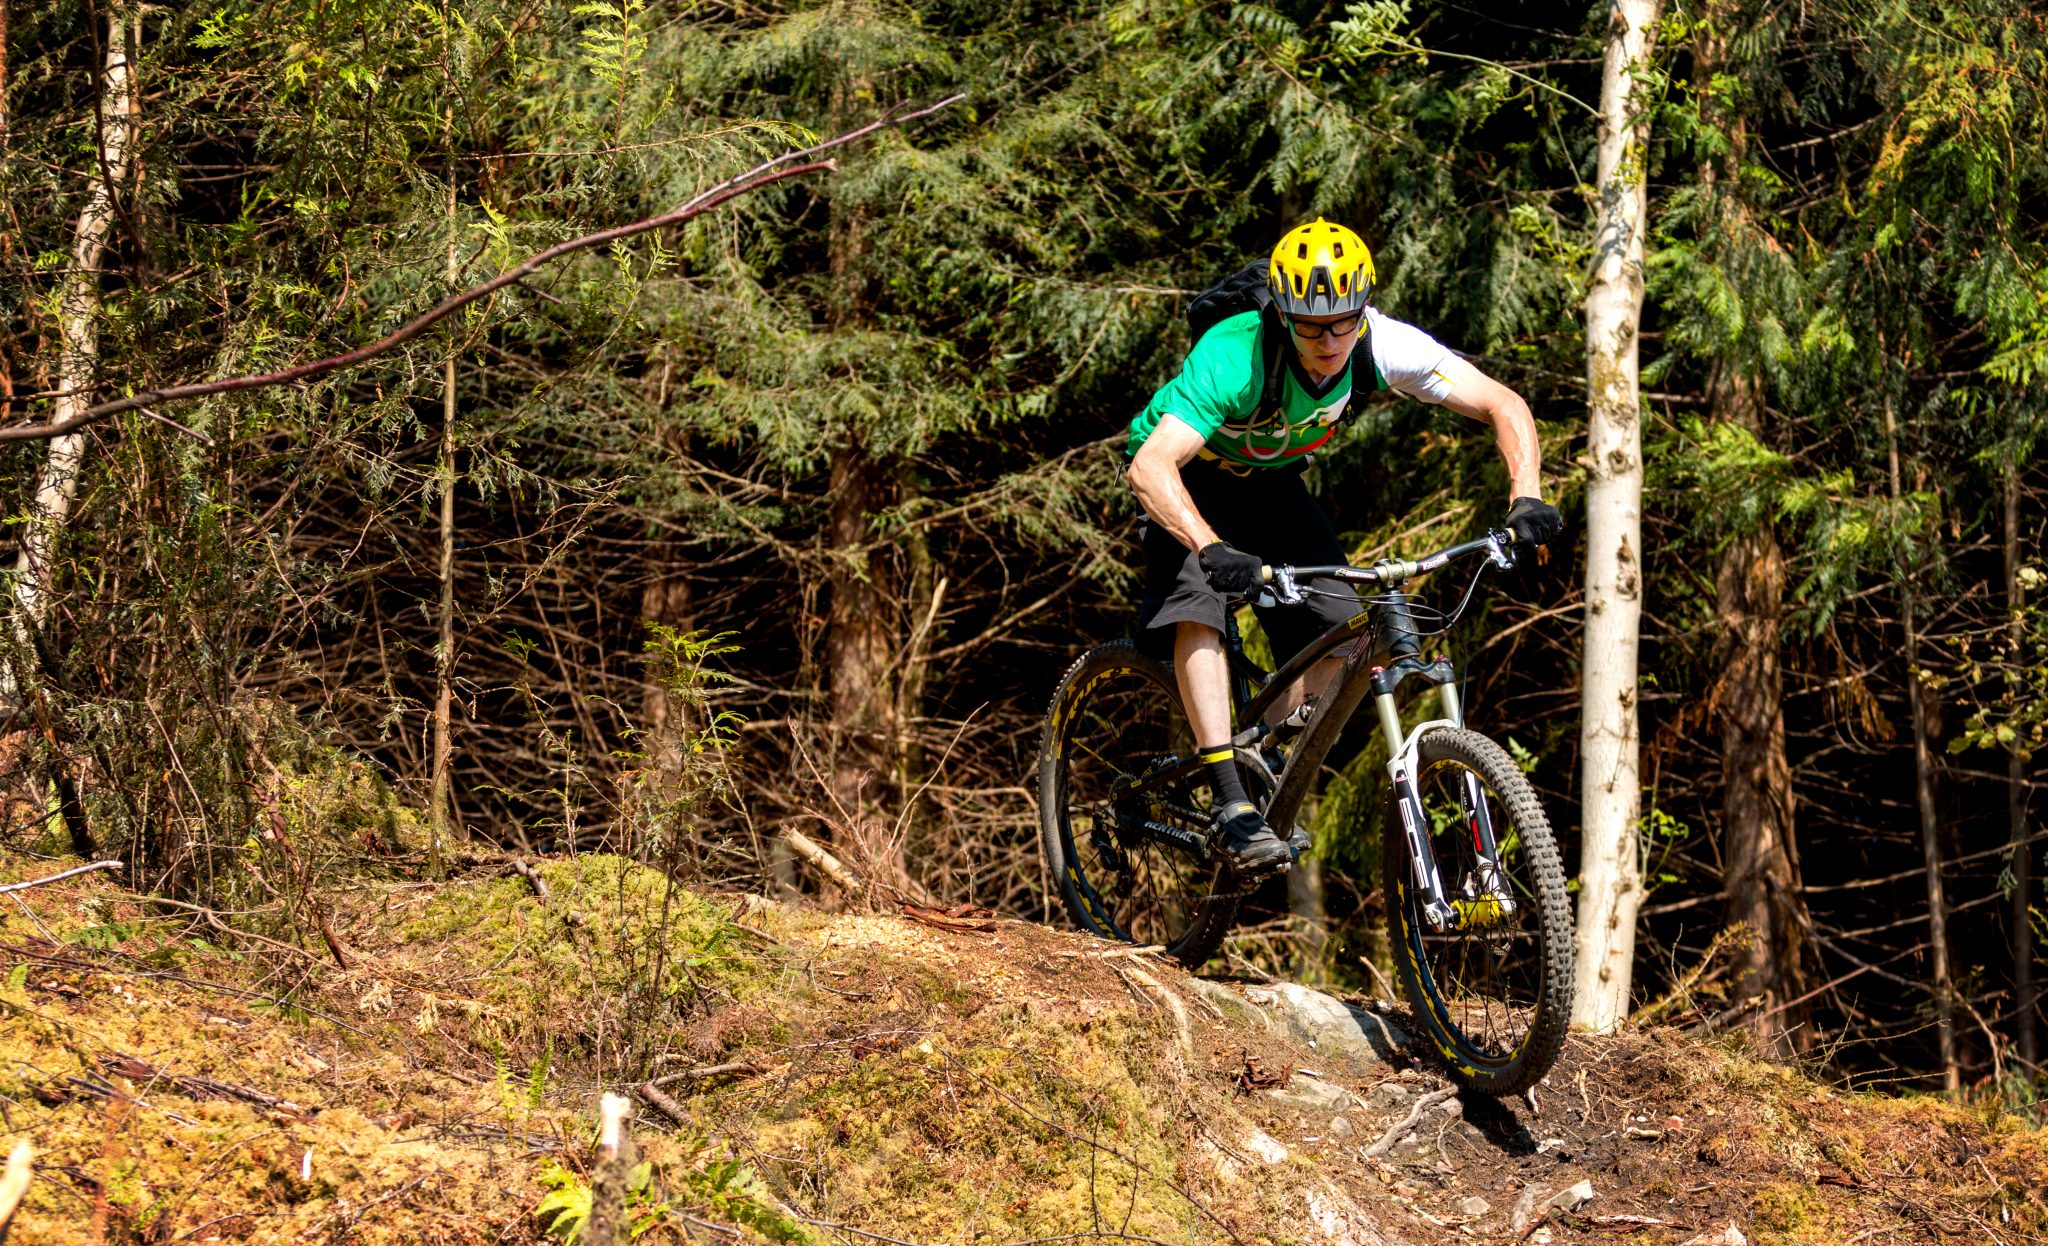
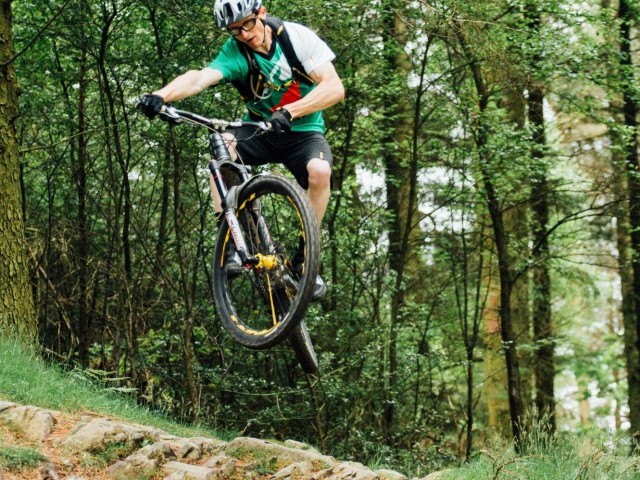
The trick with all technique and skills is to start slow, low and small and build up; repetition is everything and habits you have in slow speed situations are amplified as speed, gradient and scale of terrain increase.
Welcome to another instalment of Finding Your Flow, in this three part series we shift away (couldn’t resist a terrible pun) from last editions mumblings of gear selection and move our attentions to maintaining speed through calculated braking.


Once again we are faced with techniques that require feeling, and like all elements that build up your biking technique toolbox, this is something that comes with time, patience and persistence.
The feeling of being in control comes down to grip; when grip is lost, we react in one of two ways, cool calm and collected or in desperation and panic. The classic example that comes to mind goes something like this:
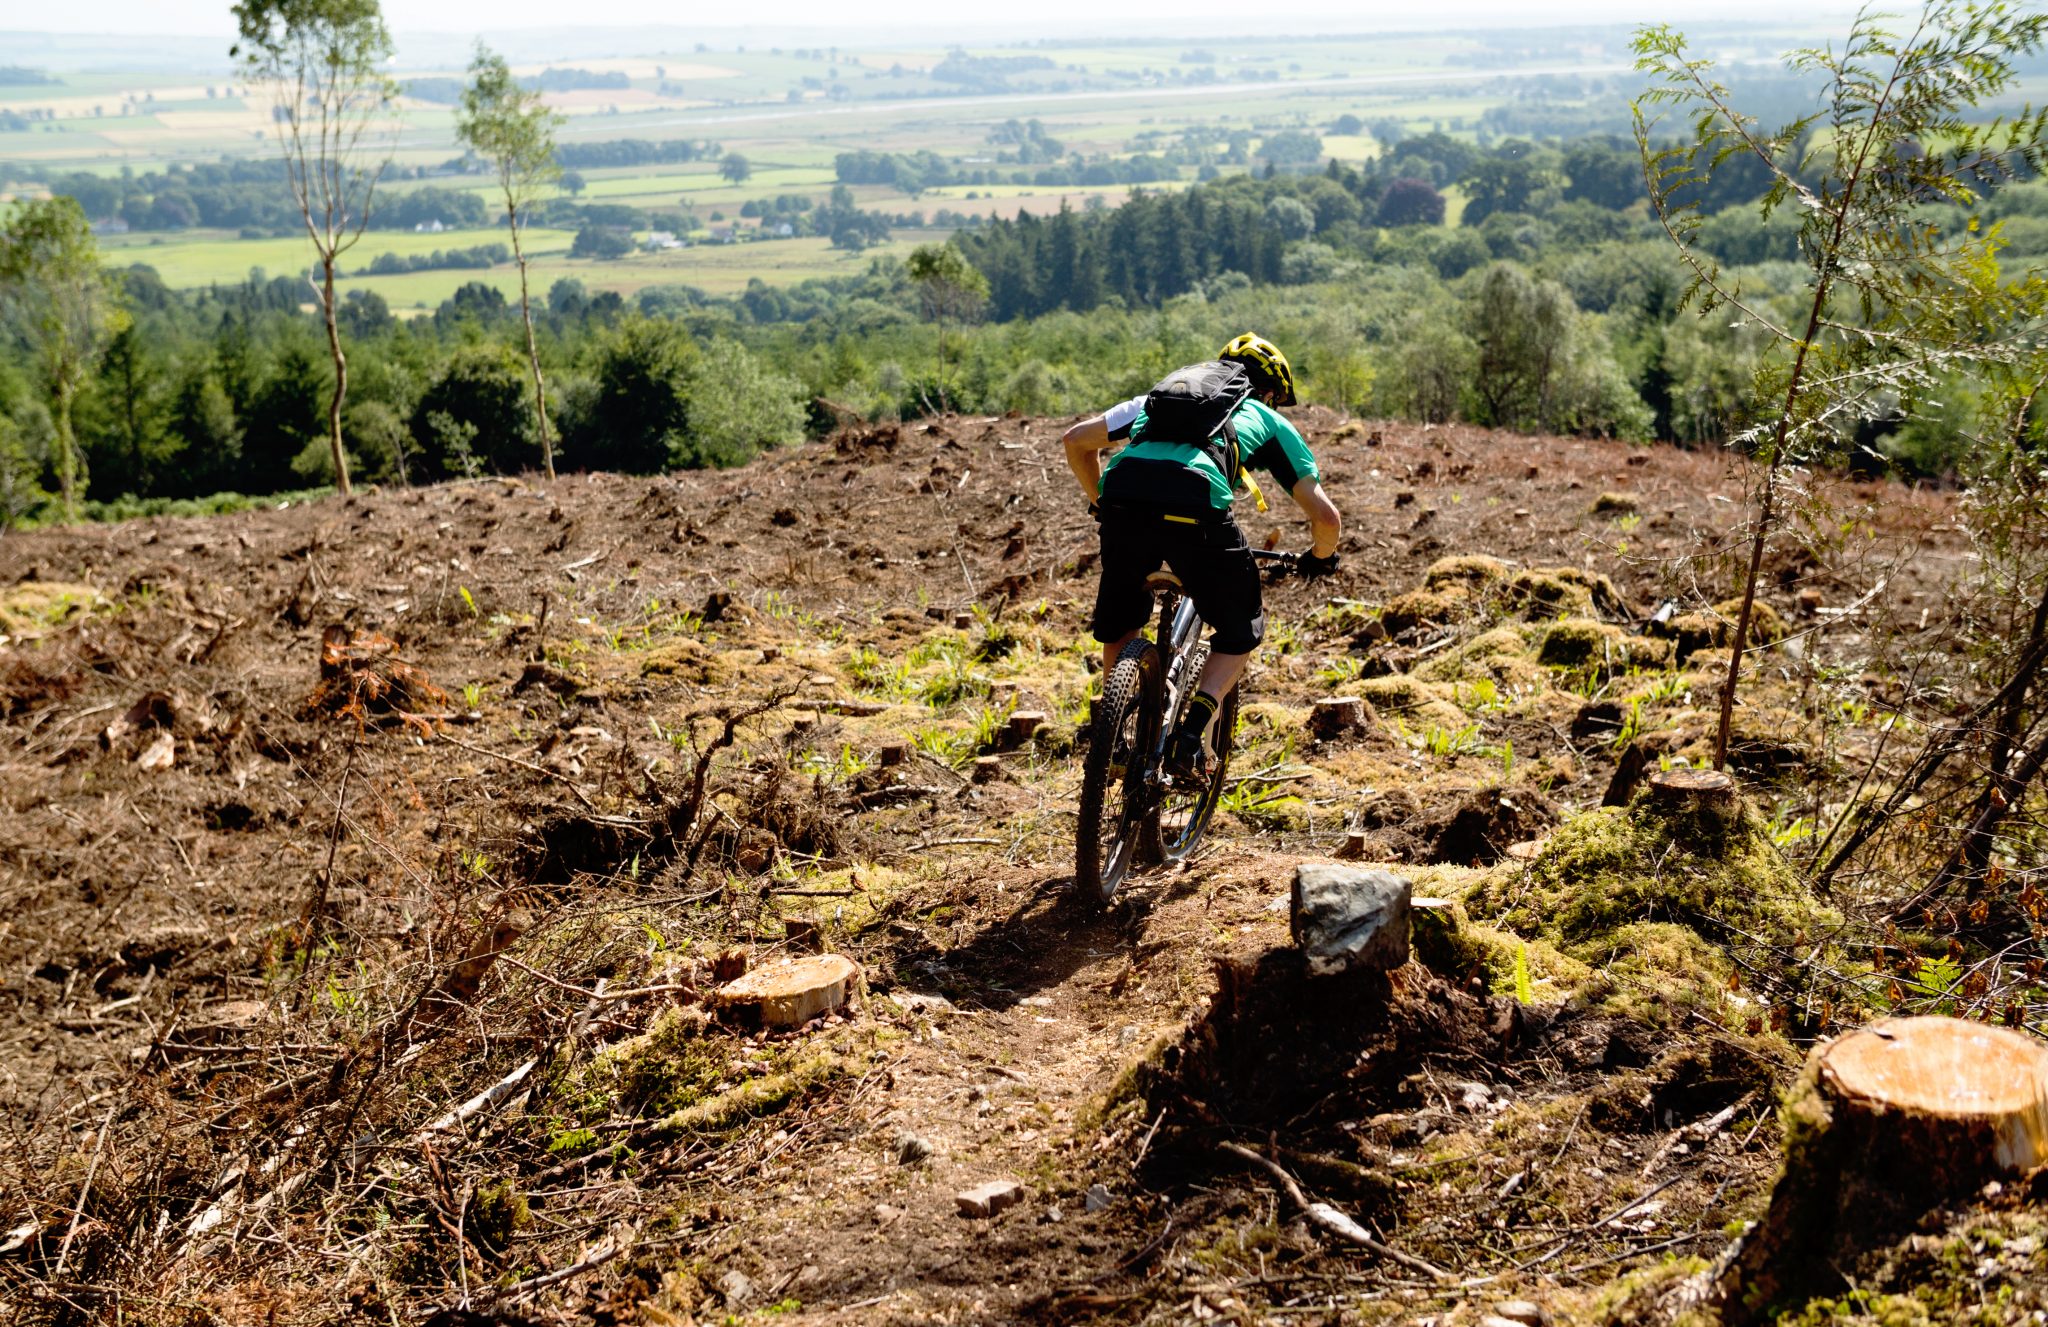
“I’m barrelling down the hill into a long corner that tightens up; I’ve entered intentionally far too fast breaking all the rules by missing my ‘sensible riding technique’ braking point. I’m looking through the corner keeping head up and letting my eye balls drop to scan the surface for some hope of grip while hard on the brakes as I lean and steer deeper into this corner.
As the corner is tightening up, and I feel like I’m running out of trail and about to take a trip to the dirt cafe and ask for a table for one and order a slice of the finest gravel rash, I keep calm and confident with head held high. (While my internal voice is screaming the words - NOT TODAY, YOUR NOT GOING DOWN TODAY OR ANY OTHER DAY FOR THAT F****** MATTER). Eyes looking up at that next line I’m so desperately trying to get to, and I know —- all I have to do to get the grip and bike back on track is to LAY OFF THE LEVERS!
Momentarily in what seems like less time than an instant I release both brakes, the bike grips suddenly and does everything I want and need it to do. I get the magic of grip, and I can change direction on that shiny six pence, and I’m so thankfully pointing the right way and bypassing the dirt cafe and its majestic menu of pain and hurt. All this before hauling back on the levers and back to the beginning of this paragraph - read - repeat - throw in some rocks, roots and other trail features for good measure read and repeat over and over until the gradient eases and I’m back in the room.” PHEW…
However, you choose to describe those moments that get “busy’ most of us have all experienced something similar to that described above. The difference to making it out alive and not dining at the dirt cafe comes down to confidence, commitment and continued concentration. TRUST is everything, trust the physics, trust the math and talk to the fingers. It's a natural reaction to want to ‘keep control’ by keeping the levers pulled at this key point, by doing so we sail past the point of control and grip and miss the line. The forces applied even if minuscule can be too much for grip to reveal itself. The difference in the outcome can be that simple twitch.

It's a constant battle and juggling act that is going on, if you ride sympathetic gradients and surfaces and are never pushing the boundaries of bike and terrain then you will never have experienced the challenges that come with. When and if you do ever enter a break traction situation then if you have not achieved deep rooted muscle memory in forearm and fingertip then it comes as no surprise that you may have that panic brake and it can go horribly wrong.
Whenever you need traction (more traction) then its key to get your head around that, you need to come fully off the brakes to get the grip. This is the tricky bit to really master.
World Cup Downhill racers (all DH racers for that matter) are the masters at the intricate adjustments made through the levers, all-important thousands of seconds are saved or thrown away at the slightest sneeze and squeeze of the lever.
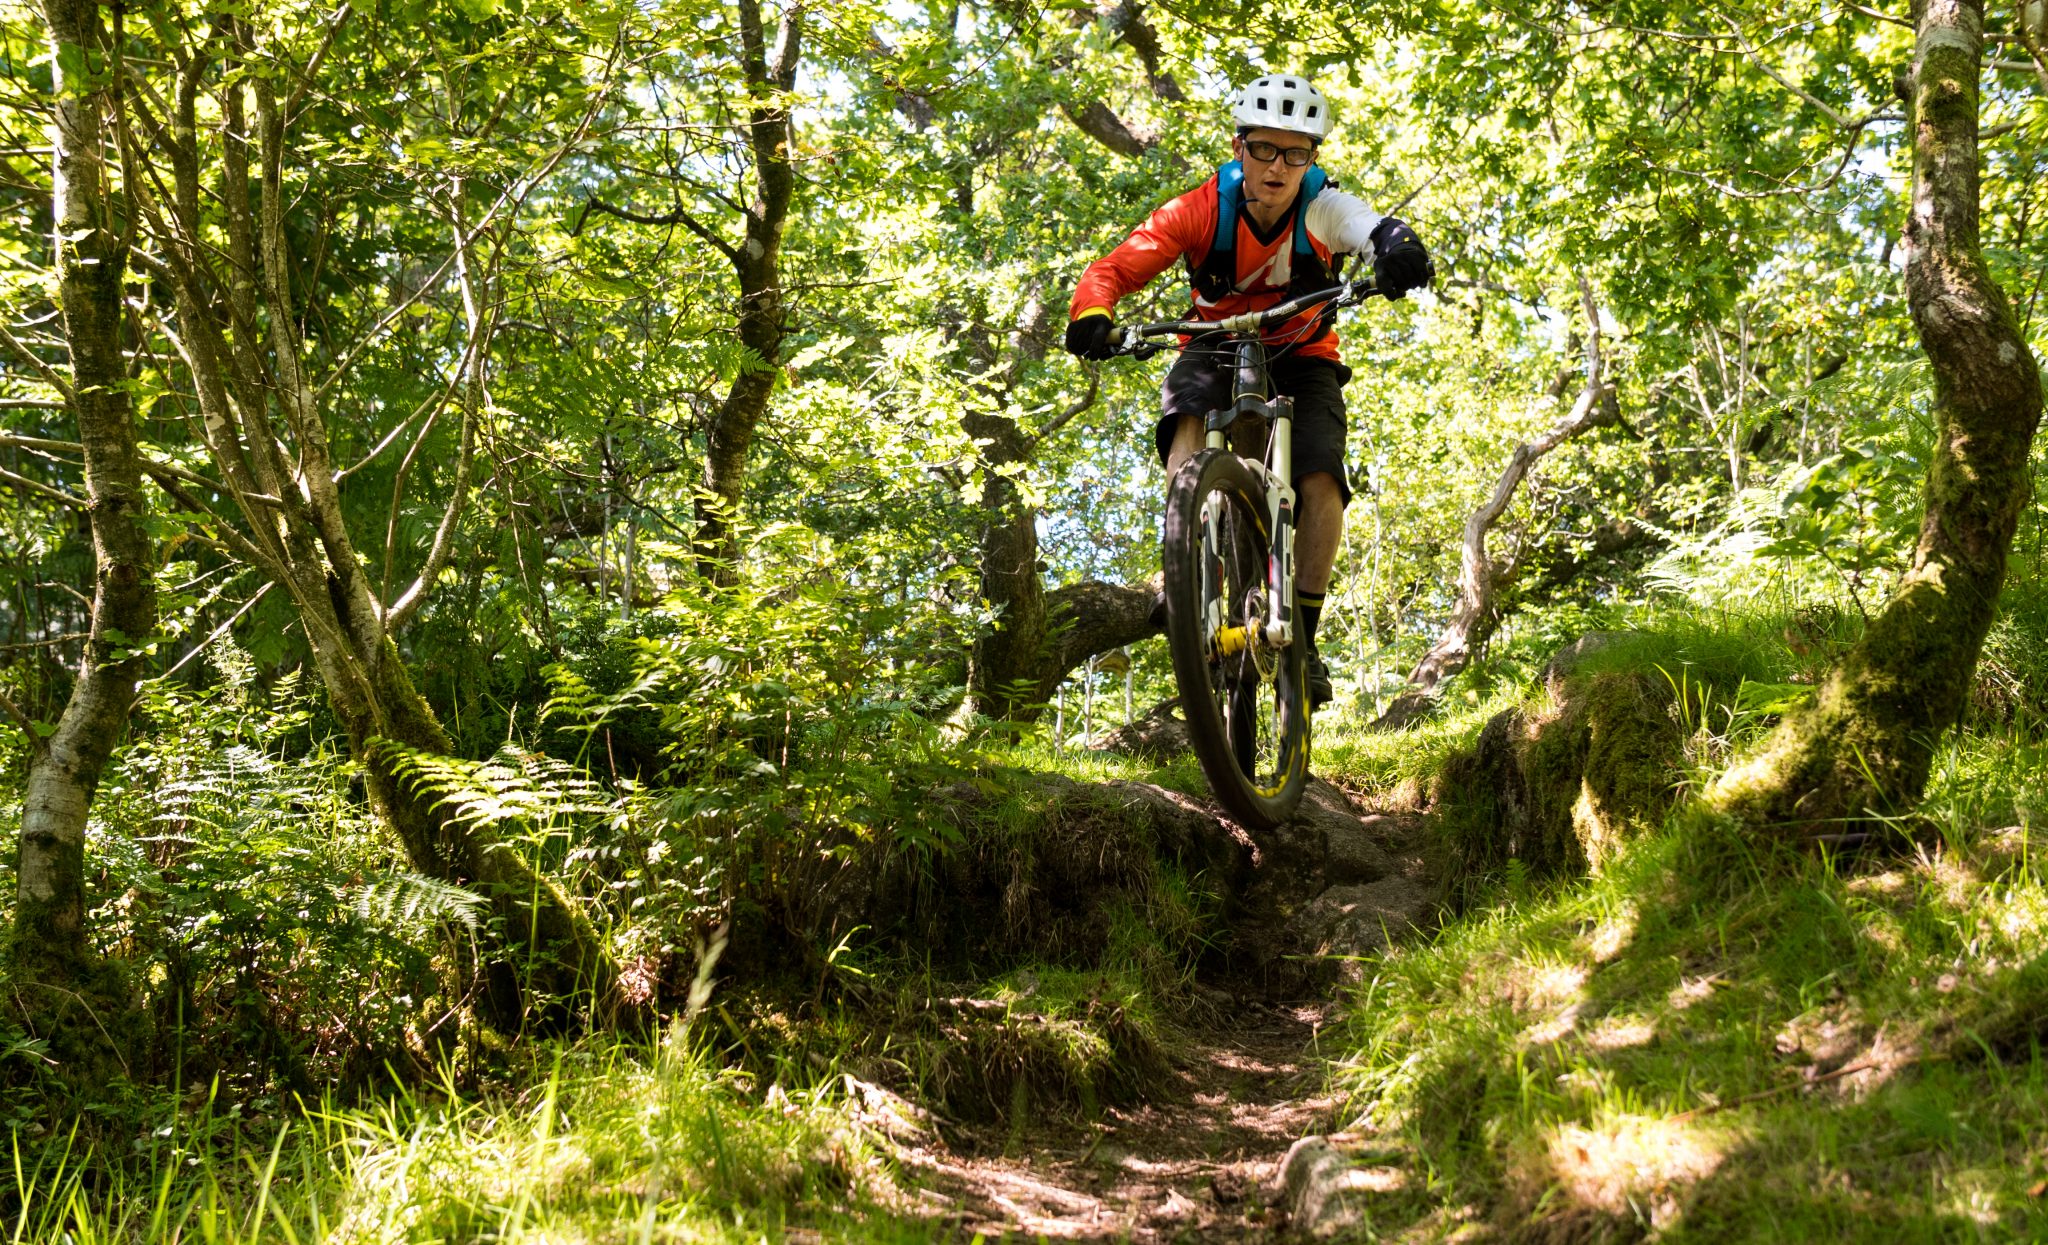
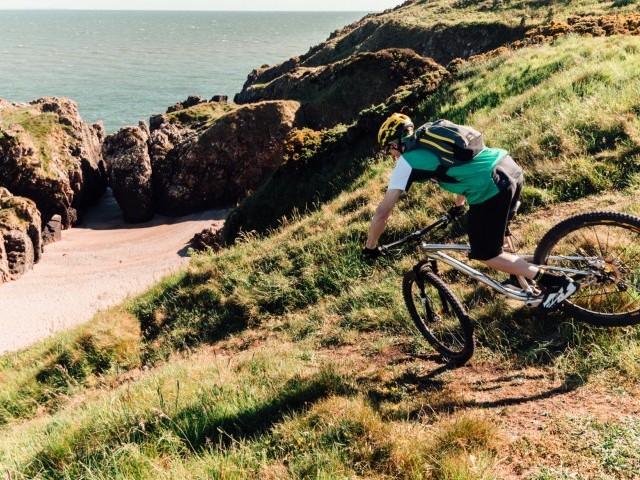
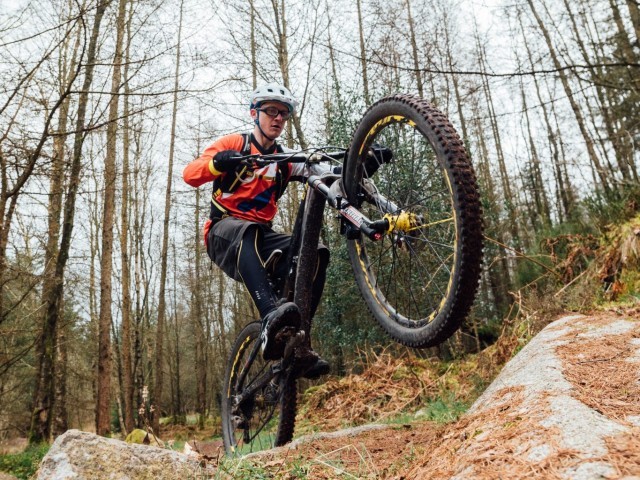
Let’s shed some light onto one of the many misunderstood misconceptions in coaching and put pay to the nonsense that elite riding fraternity do not brake in the corners. Simply untrue and easily observed through slow motion footage. In situations where the fall line of the trail is steep, a rider will drop like stone as soon as brakes are released, it is an inevitability that in order to maintain speed then the rider has to grab and squeeze the levers.
There is a fundamental difference between the type of braking happening here and its key to understand that when you want and or really need the bike to turn that you are (and even for a nano second) completely off the brakes.
Let's break this down (again couldn't resist the bad pun).
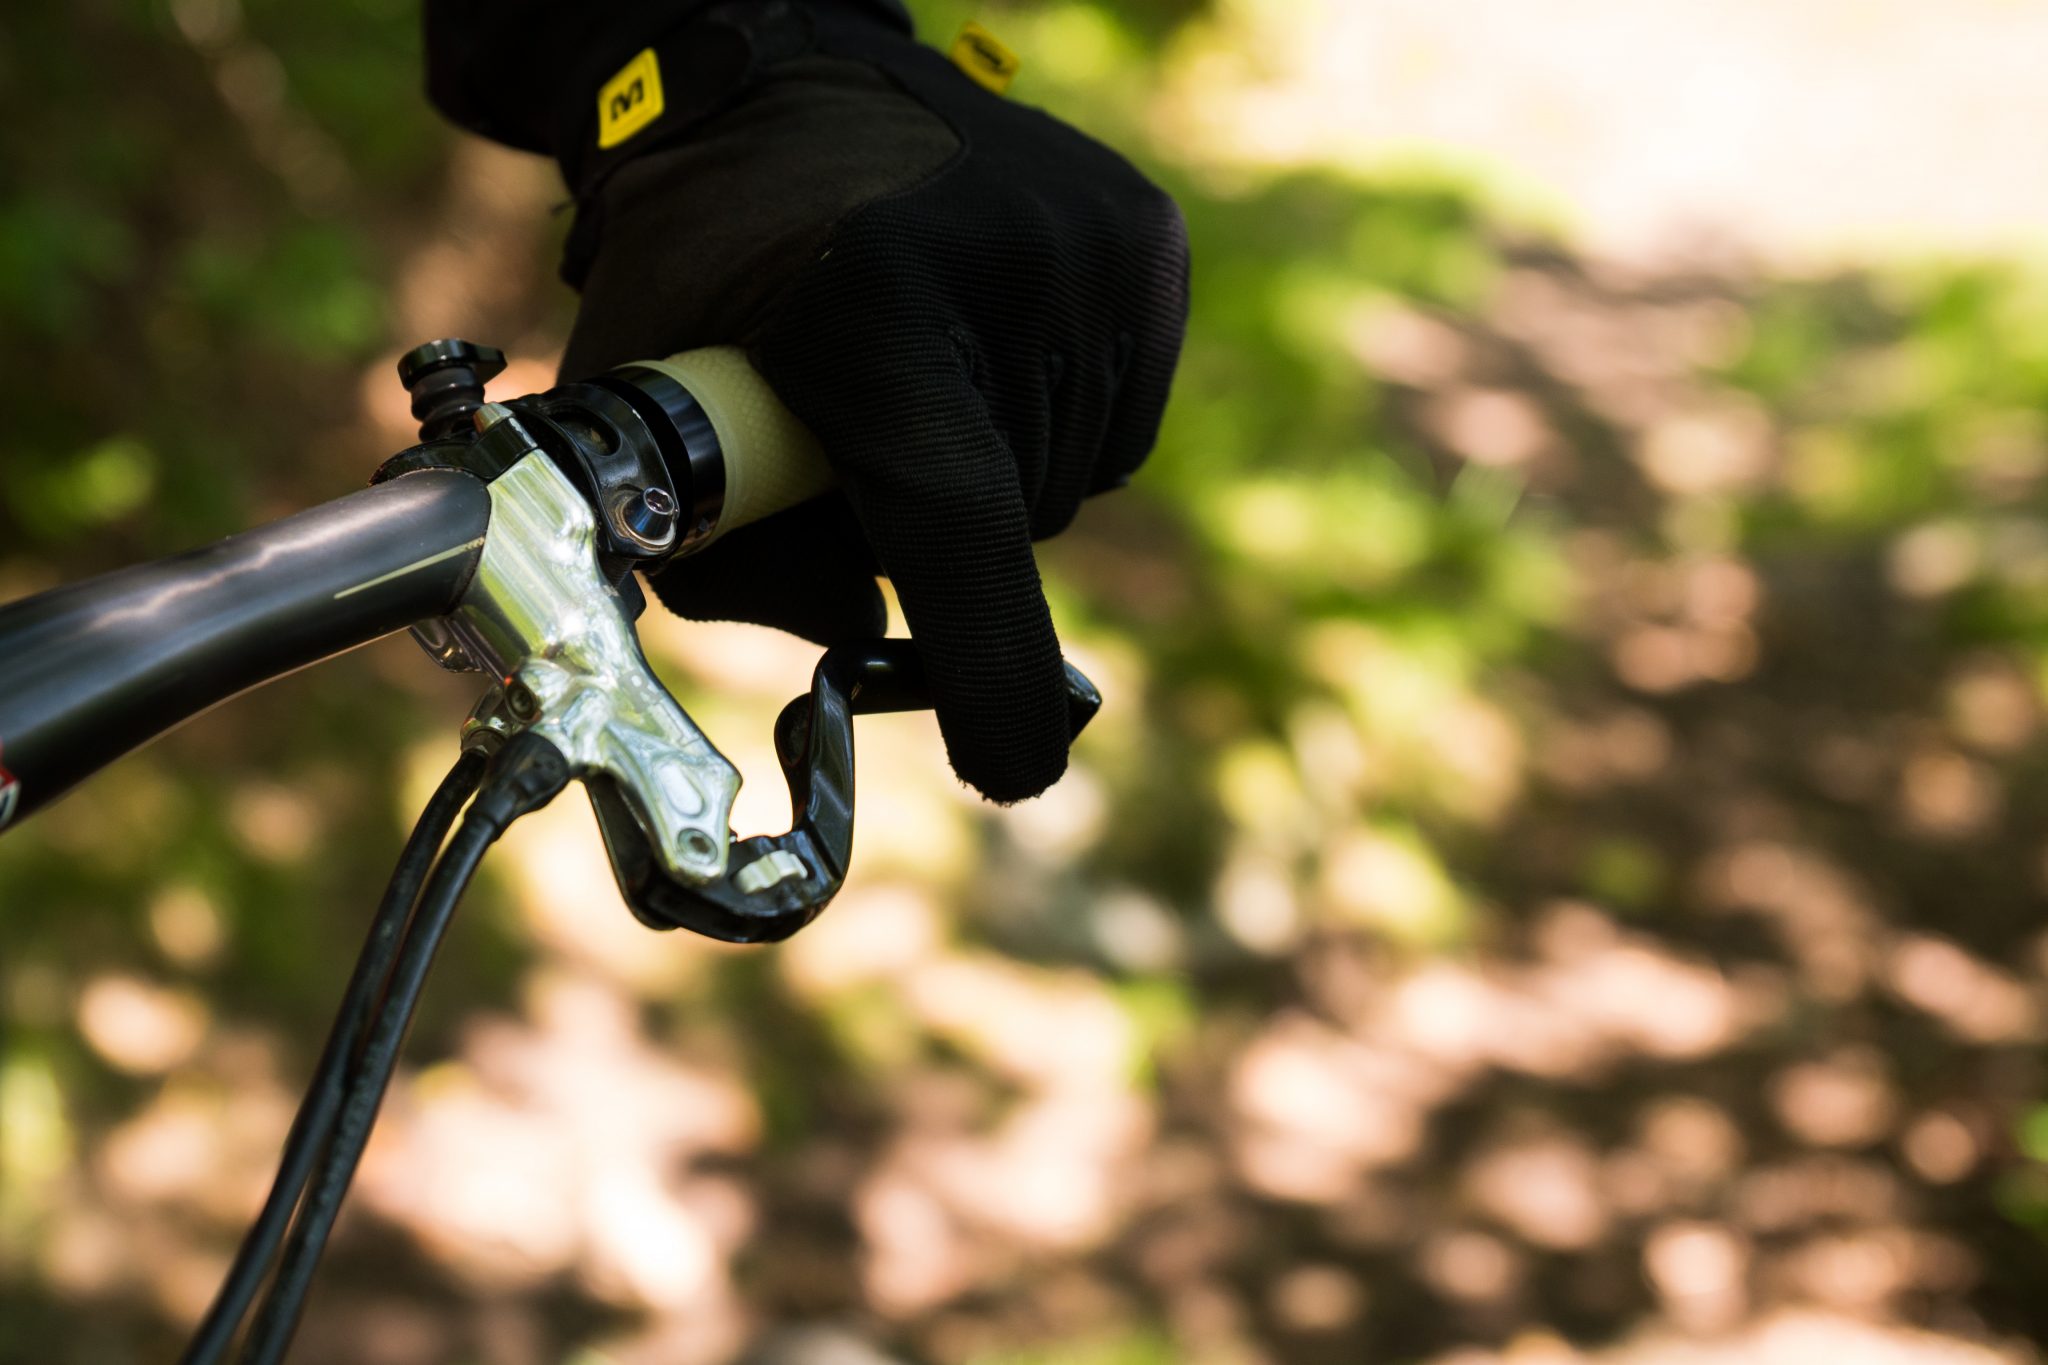
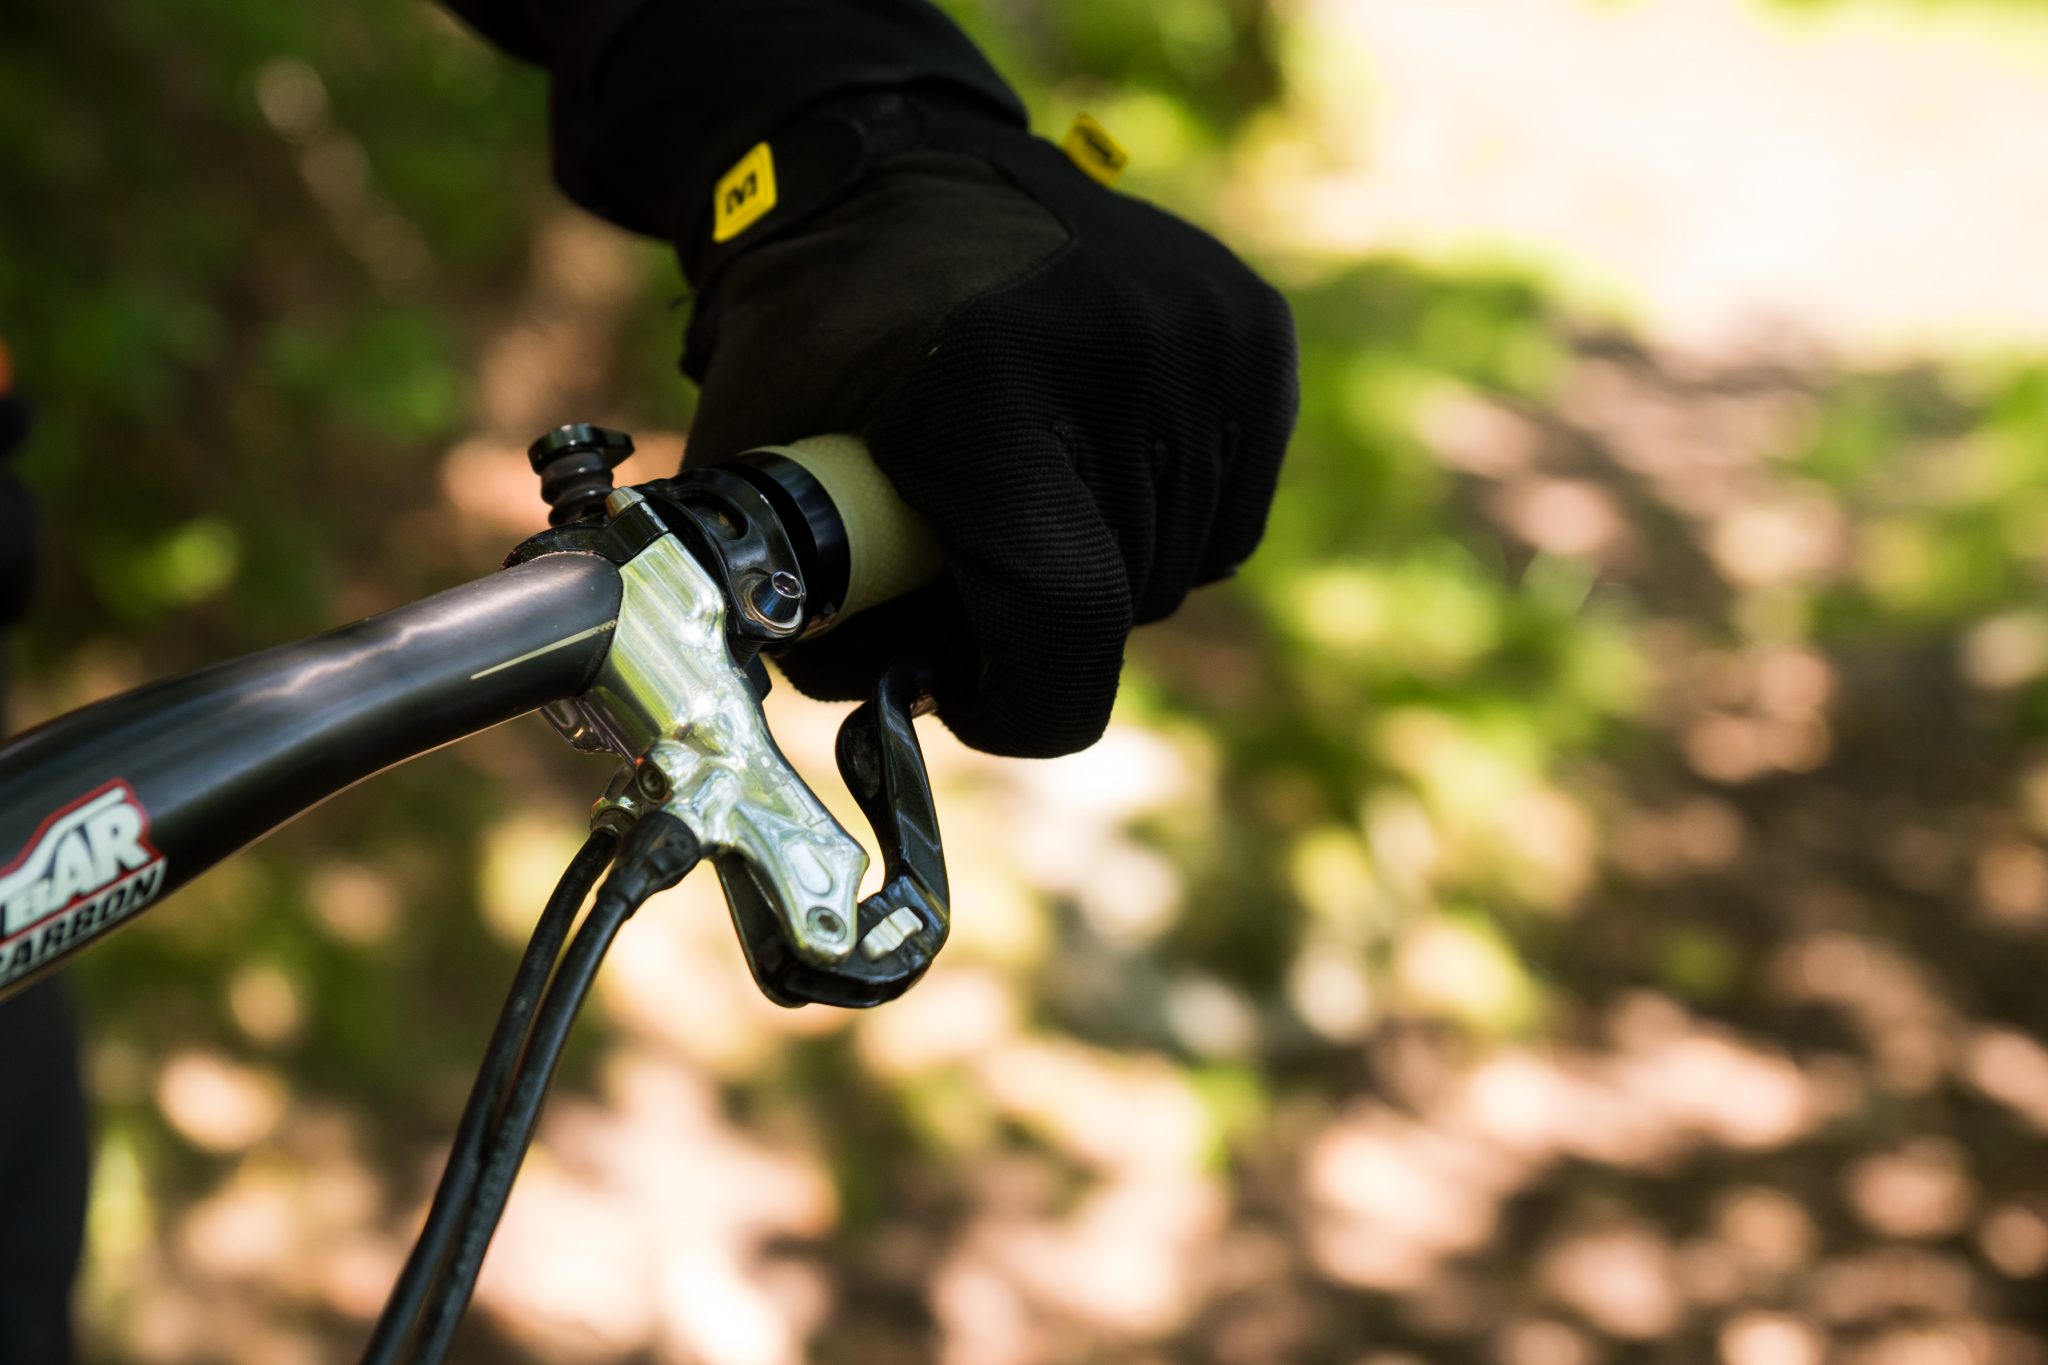
As we descend covering the lever with first finger ready and waiting to: a) maintain or b) scrub speed we can instantly recognise there are varying but two distinct forces that can be applied to achieve A or B. I refer to ‘a’ braking as ‘control’ braking, the effort is light, the forces on brake and against the trail are low, and this light braking is just enough to help keep the bike in check and not run away from you.
If we are starting to pick up too much speed or we need to lose a lot of speed to negotiate something in the trail (corner, lump, roots, badger) then effort and braking type ‘b’ is called upon to scrub off speed, this I refer to as ‘decelerate’. The braking forces are much higher, the grip of wheel to trail can be challenged and broken, and there is a lot more at stake when it comes to deceleration braking.
Problems can arise throughout both types of braking; control braking builds heat and brakes become less efficient (you hear the horror stories of brake fade from Alpine descending and what is excessive brake ‘dragging’). The light forces from control braking do not enable the bike to cut through loose rolling rocks (or pine cones and similarly shaped trail coatings) and the light force grabs at these shapes, and they then get dragged under and roll below the wheel often spitting out at an angle and re directing the direction in which you are heading.
Harder deceleration can lead to locking wheels, excessively compressing forks when running low pressures and light springs simply making it more difficult to change direction and move the bike. For the rear end, the wheel comes light making it less efficient at slowing and gripping and will to a lesser or greater extent depending on your linkage geometry have an effect on the bikes suspension.
So what’s the trick to effective braking?
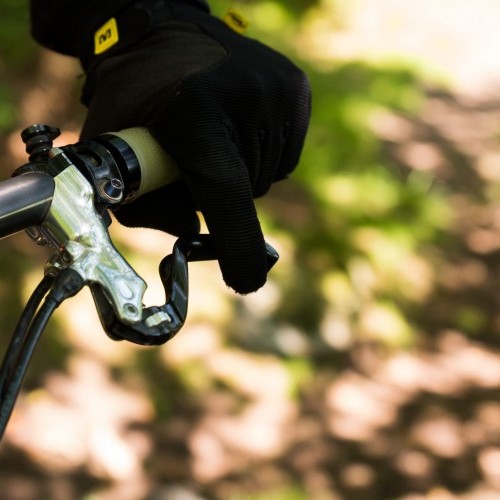
It’s all about being decisive, having fast reflexes and ‘feeling’ in the fingertip, mastering your master cylinder and practising the art.
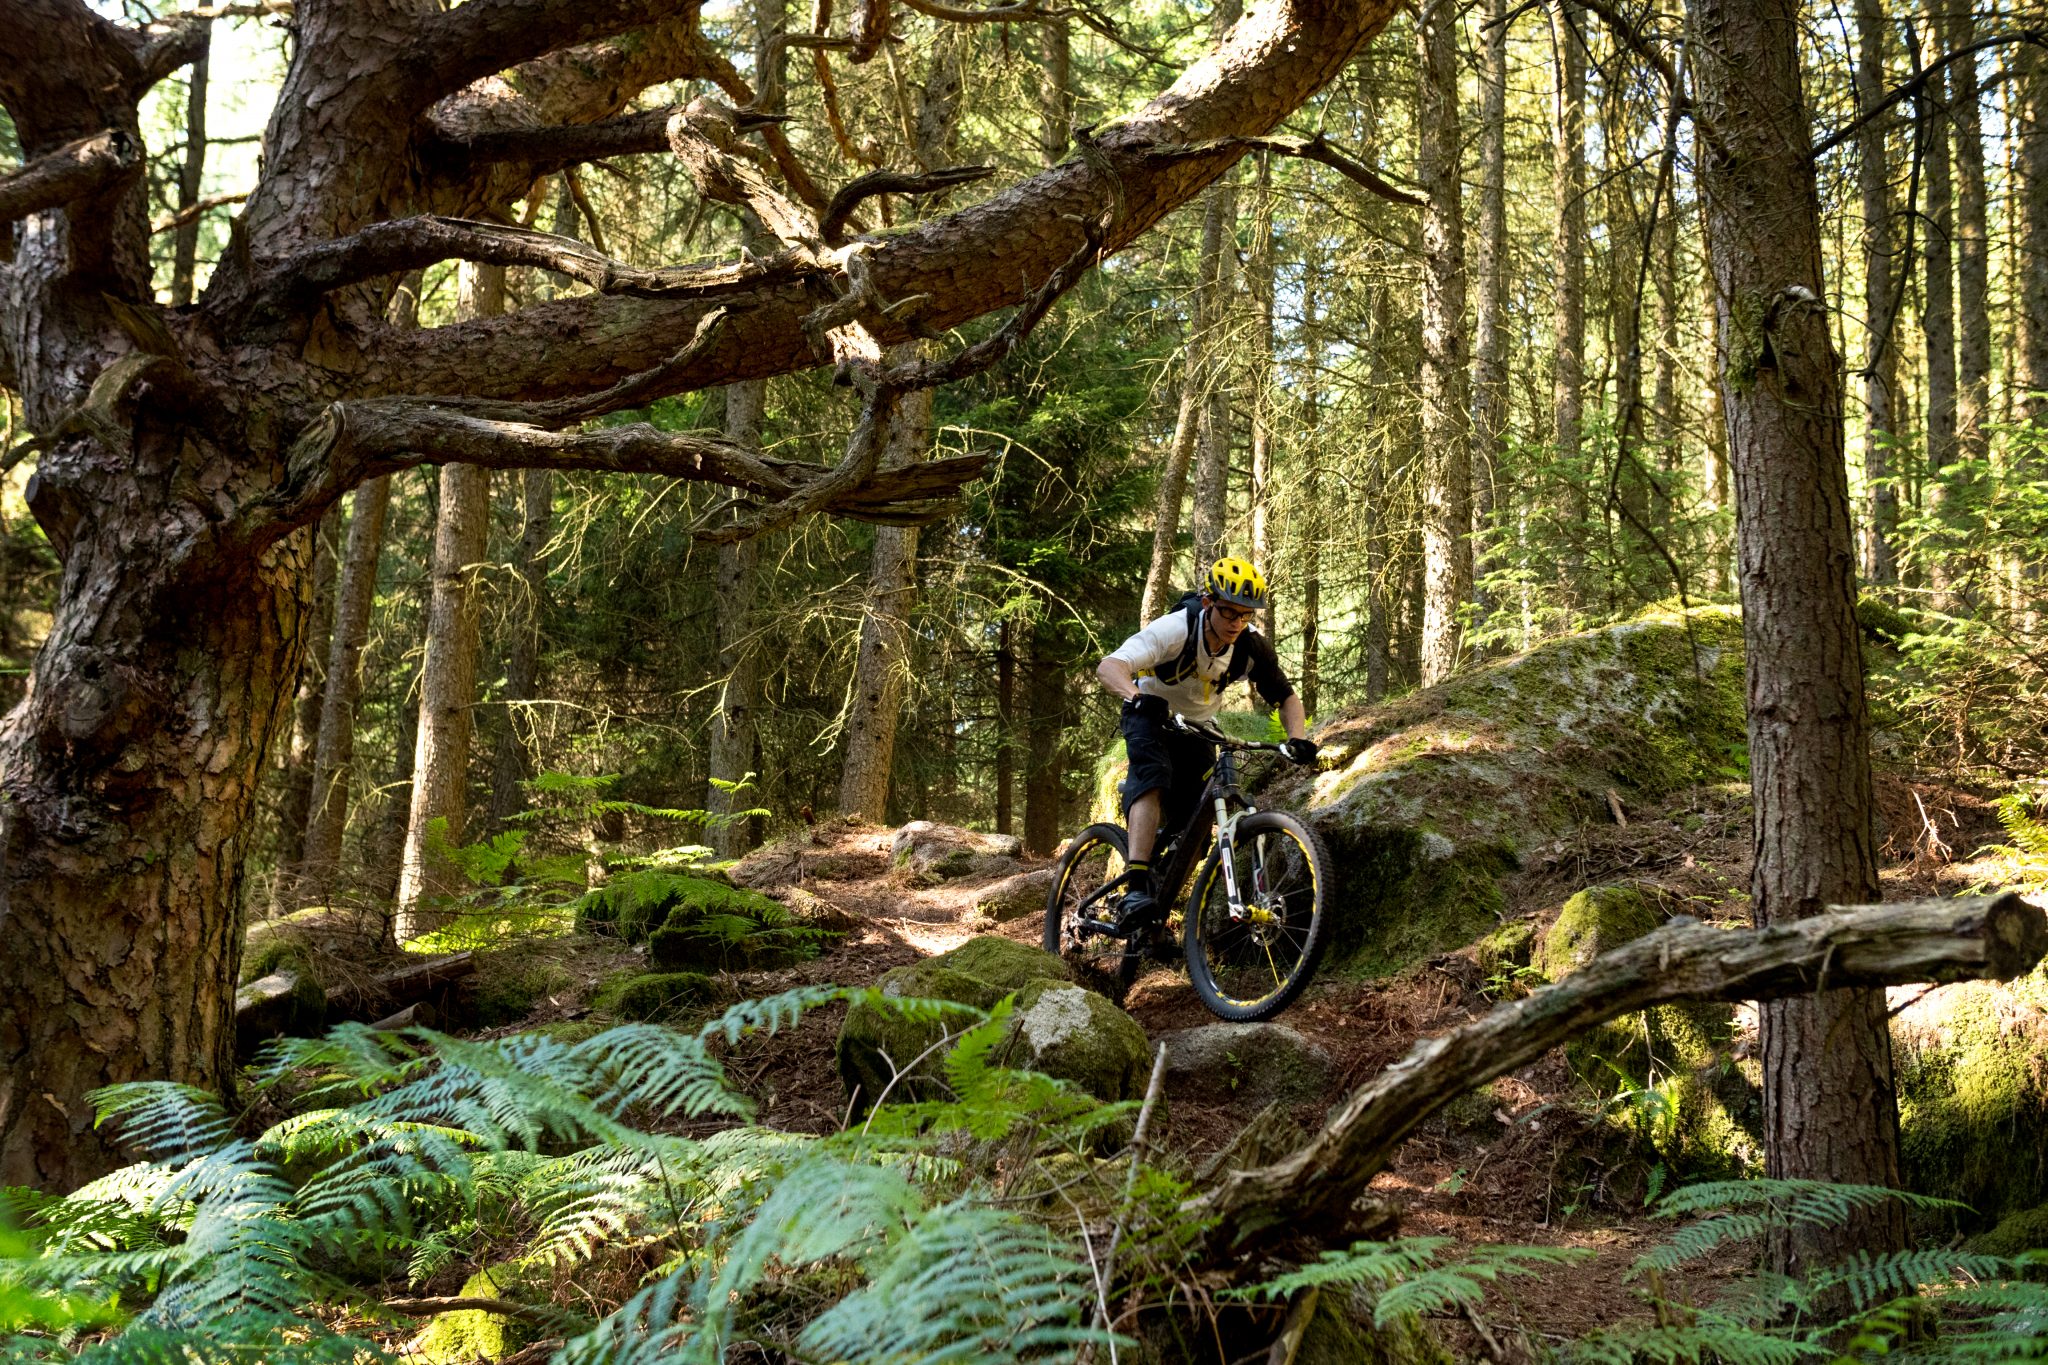
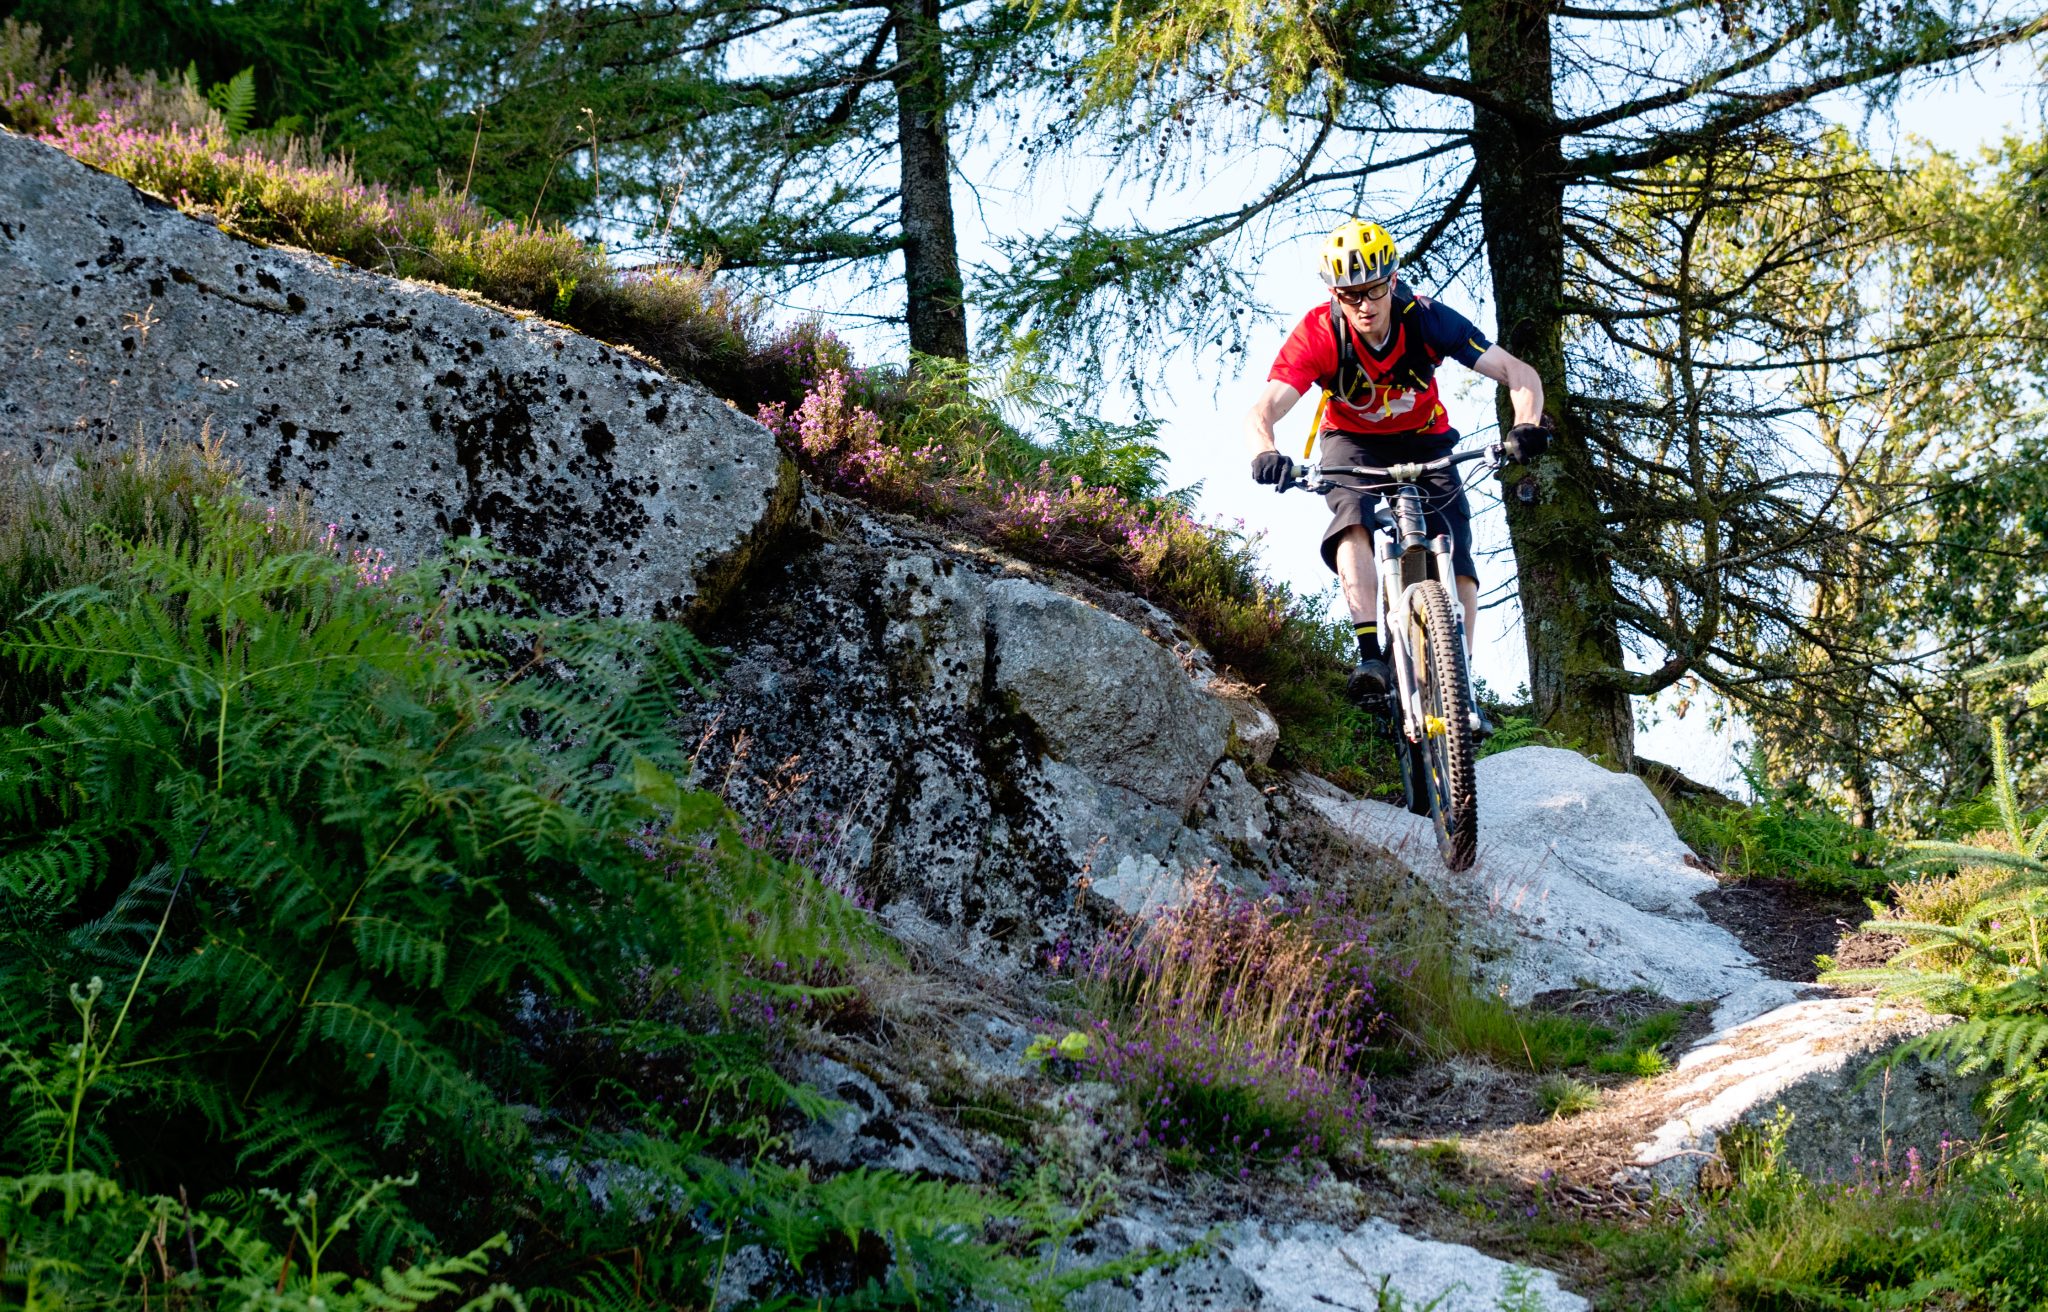
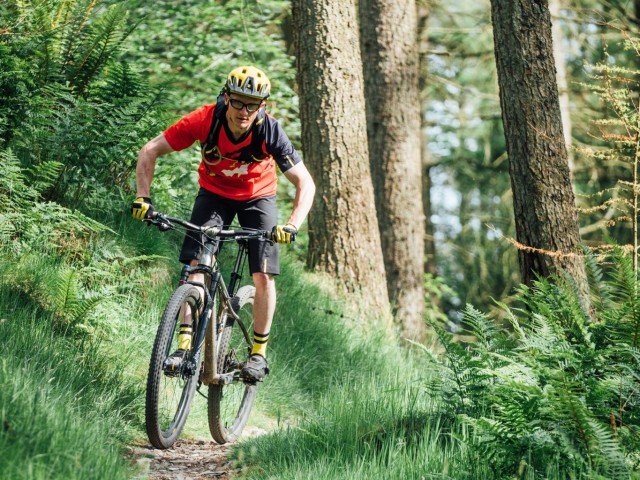
Look ahead and read the terrain, get your braking done early so you can set up for the feature with time to react.
Be decisive and decelerate before features using control braking, if speed is picking up get on the anchors hard and bring the bike back into control to maintain speed when things have calmed, and you have scrubbed enough speed then revert to control braking.
Flick between the two repeatedly and lay off the brakes to allow heat to dissipate and grip to return.
You may have heard of cadence braking or understand the intricacies of ABS, this is exactly what we are trying to achieve but through modulation of pressure rather than very digital stabbing on and off actions. We want to go from a gentle binding (dragging) of the brake to a more forceful squeeze of the lever and back, switching between front and rear brake according to traction/grip levels and angle of lean and steer.
Avoid the front wheel wash out!
Try and get that declaration braking done with the bike pointing straight ahead and upright, trust the front brake as this is where the force goes and is the most efficient brake. If there is a very obvious slip hazard (not rolling rocks but more like slick mud, green rock, wet root, crisp packet), then ease or remove front brake effort altogether and switch out to rear biased braking. Make sure you bring the front back into play as soon as the going gets good again.
When we are challenged with cambers, angled roots and rocks then its time to ease the front and get more effort going into the back brake. Likewise, if we are on the turn and lean particularly into loose and slippery terrain, we have to drop the front braking and get back to the rear brake to do the work for us.
Rear slips and slides can be controlled much easier and are far less unnerving, if we are turning the bars (slower speed, steep terrain manoeuvres) corrections of pressure through the bar will be needed to counter the forces being created from braking and rider weight being squashed forward into the front centre of the bike. This can be assisted with a change in stance by sinking / lowering into the bike vertically
DO NOT lower by pushing your bum out the back and being over stretched in the arms, you need these for steering/leaning input and to press the bike down into features in the terrain such as root and rock drops. You can work with the terrain and stand from your lowered position to help lift the back wheel to induce slide or to pivot on the front wheel around the corner; this is the ultimate technique for tackling those vicious steep and tight Alpine switch backs.
Learn to take the bike to the slide rather than the slide coming to you.
Skids are for kids, but they are also for big kids too. Just so long as your practice playground is somewhere sensible and you are using the countryside responsibly then finding a suitable location to lay down some rubber and mimic a speedway rider sliding sideways can help raise confidence levels of what to do when you start to slide. By detaching yourself from all the other noise in a trail ride and isolating the technique, you will automatically be benefitting from some deep concentration and repetition of using exactly the right muscles.
A slight downhill gradient is preferred on a surface that is sympathetic should you slide out and hit the deck. Once up to a speed where you feel confident, and comfortable, make a turn and keep tightening your turn. Try again, trace the same line but go a little faster and or turn in a little tighter and harder. Keep pushing up the speed, and inevitably you will get to a point where the wheels will want to slide out from underneath you.
If the front wheel starts to slide (wash out or under steer) then ease the steering input and brake force, let grip come back and start the turn in process again. If the rear starts to slide out (over steer or skid), then counter steer by turning the bar in the opposite direction into the skid. Under steer and over steer situations and sliding out is caused by excessive speed, excessive braking or a lack of pressure being generated to cut through the surface to more compacted material.
Once you are happy with getting loose and sliding about (winter is on the way and will give us some classic practice terrain for easy drifting) head out and find some steep banks/gradients, preferably free from interference. Roll into the gradient at less than walking pace and try to maintain speed as you descend. Feel the grip through the tyre and play with increasing pressure in the brake until you the wheel starts to lock up, ease off the pressure and go again. Hunt out a variety of terrain and gradient and try slow speed manoeuvres before ramping up the pace out on the trail proper.
Surface type and surface changes require adaptation of technique; you may need more or less braking force to keep control, two such extremes are wet slippery mud and loose rocks. Wet slippery surfaces require minimal and very decisive braking; wheels need to keep moving so fresh rubber is cutting into the ground and tyres can shed the mud. Hunting grip in these conditions is a fine art and relies on the confidence to grow the flow and slide across the wet stuff and hook up tyres on vegetation, roots, ruts, clumps of mud that are binding together and whatever is hand (tyre) to give purchase.
Loose rocks are a classic where people tend to be tentative and skate/rolling the surface, the key is to be weighty and forceful to shift the rocks out the way so you can cut through to hardback. Rolling rocks and loose surface will tessellate and bind and some point, trust this and with all riding in more challenging terrain/conditions pre-empt the movements and be prepared to go with it, increasing pressure is something we will look at in the months ahead.
Until next time, get out there and break it down, practice makes permanent and remember - The dirt cafe serves 24h a day 365 days of the year, mother nature is head chef, and she takes sh*t from no one.
One love...
This technique article was in Issue 49 of IMB.
Related

By Clive Forth
Clive Forth is a rider who has been there, done that, got the t-shirt and cleaned his bike with it. He has grown with the UK scene and technological developments for the last 30 years and has competed at all levels in all disciplines riding for some prestigious brands along the way. Always looking for that extra edge with endless passion and drive he is geared up to bring you the inside line on all aspects of mountain biking skills and technique.