Speed Control Part 3 – To Haul Or To Stall
Technique / Skills
From shifting to slowing we now continue to roll through our trail craft technique and delve into the world of all that will stall.
Welcome folks to another in’stall’ment of finding your flow, we’ve been getting down with some basics in the previous editions, and we continue the theme of maintaining speed by looking at trail elements that want to grab those wheels.


No matter what wheel size, tyre width, wheelbase you’re using mother nature will have finely crafted holes, rocks, roots and a whole host of features to grab at your wheels. Often overlooked, even the small square edge hits in the trail are knocking off vital speed and that requires either a massive amount of calories to get going again or if your lucky a handful of Newton’s gravity.
In situations where speed has been bludgeoned, and it’s down to leg power to get you going again then a mindful approach and some core technique can help with maintaining speed while saving the legs for bigger tasks.
You can always spot the riders who rode full rigid bikes from those that have taken up the sport in more recent years, only a few of the newer riders slip under the radar with their higher levels of finesse.
The Obvious Stopper
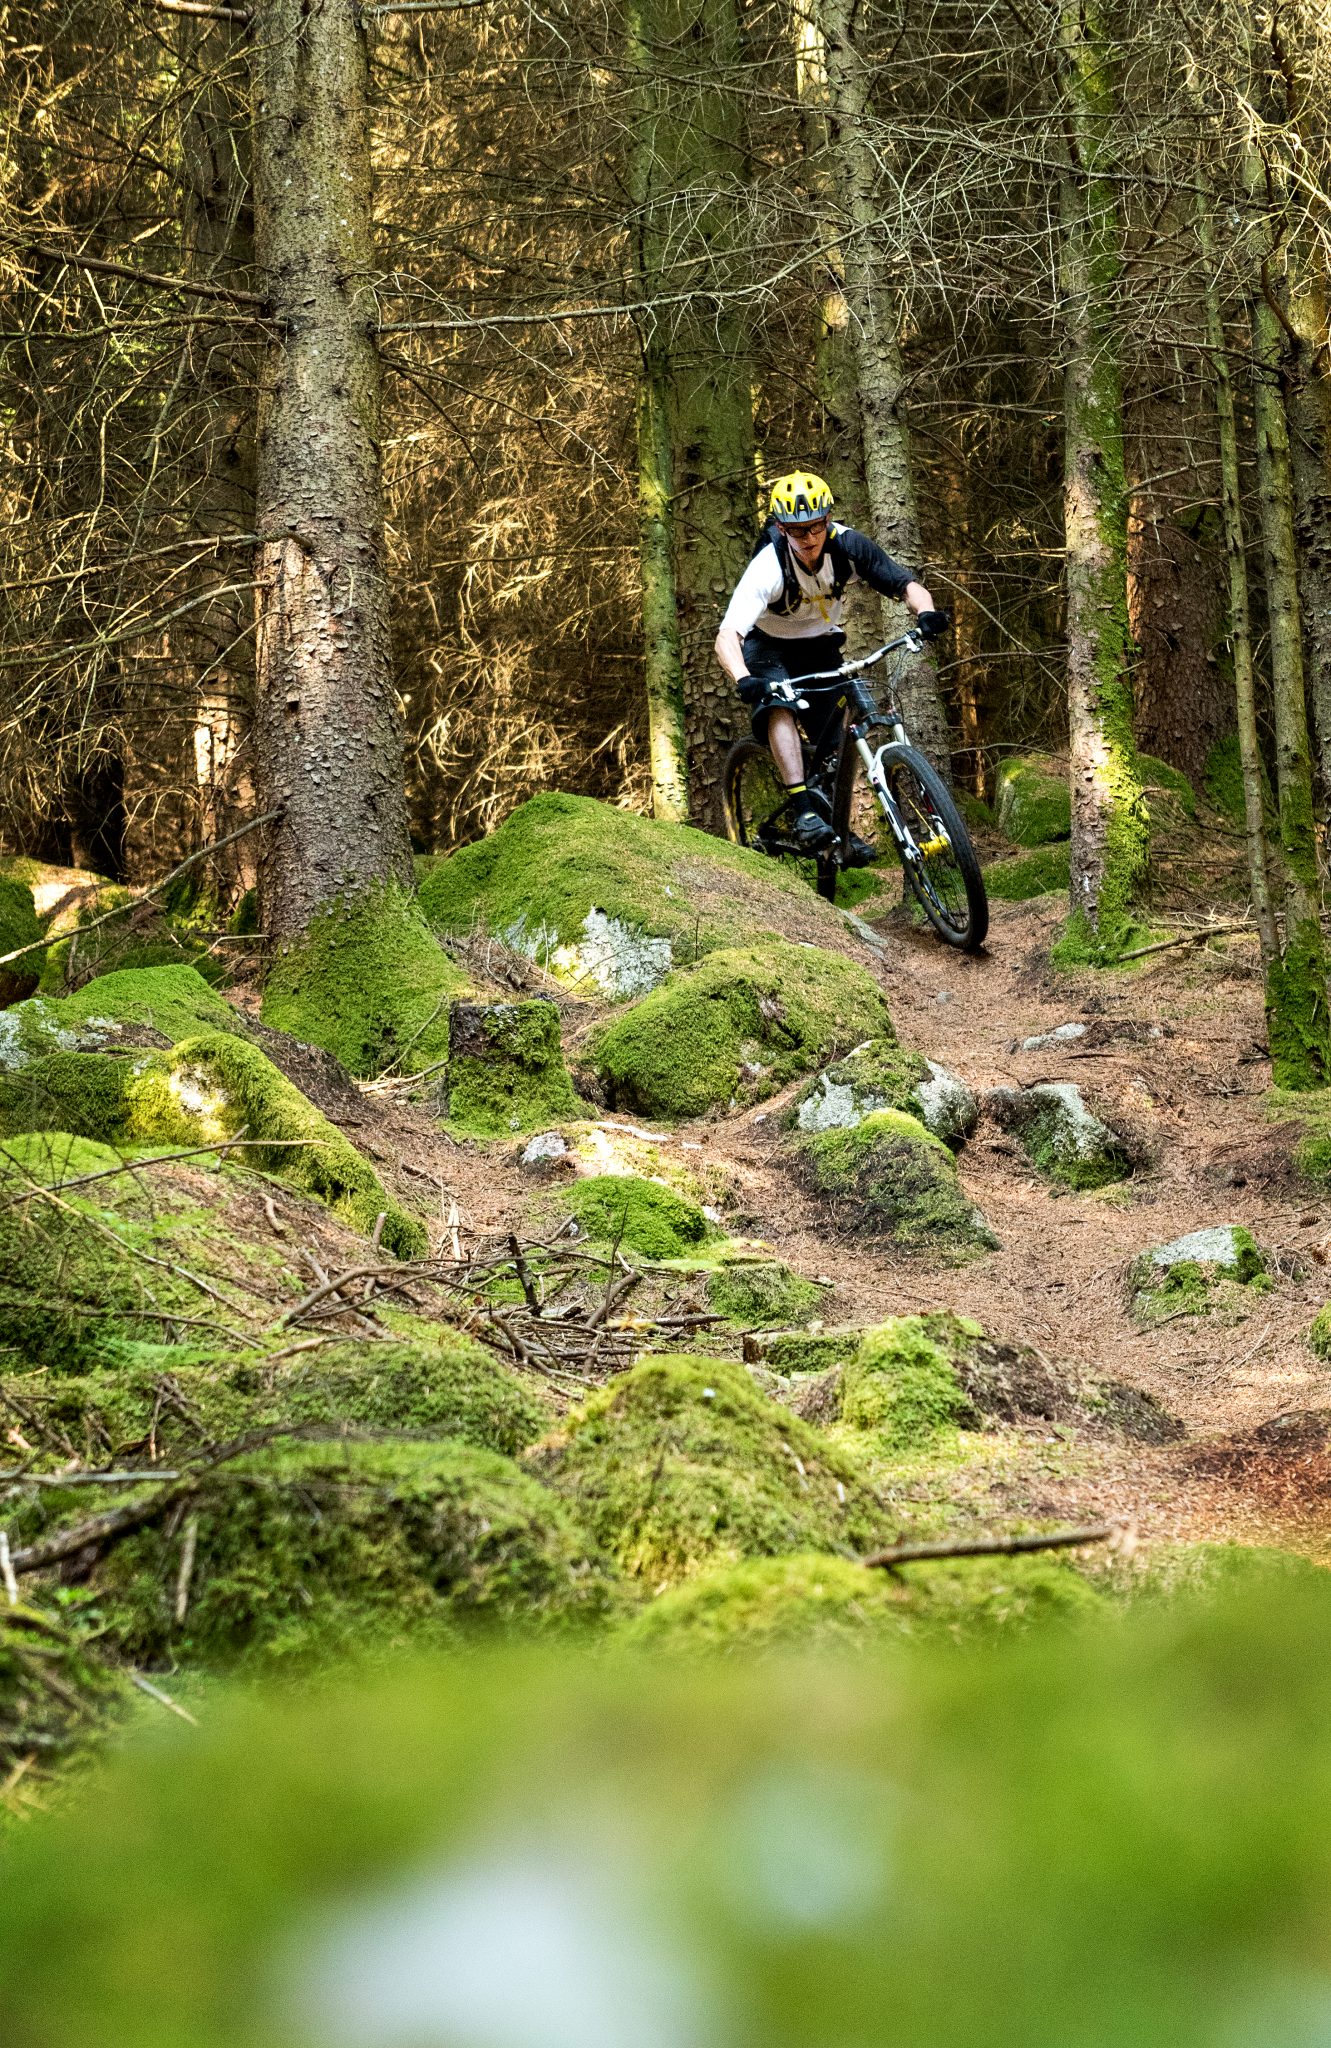
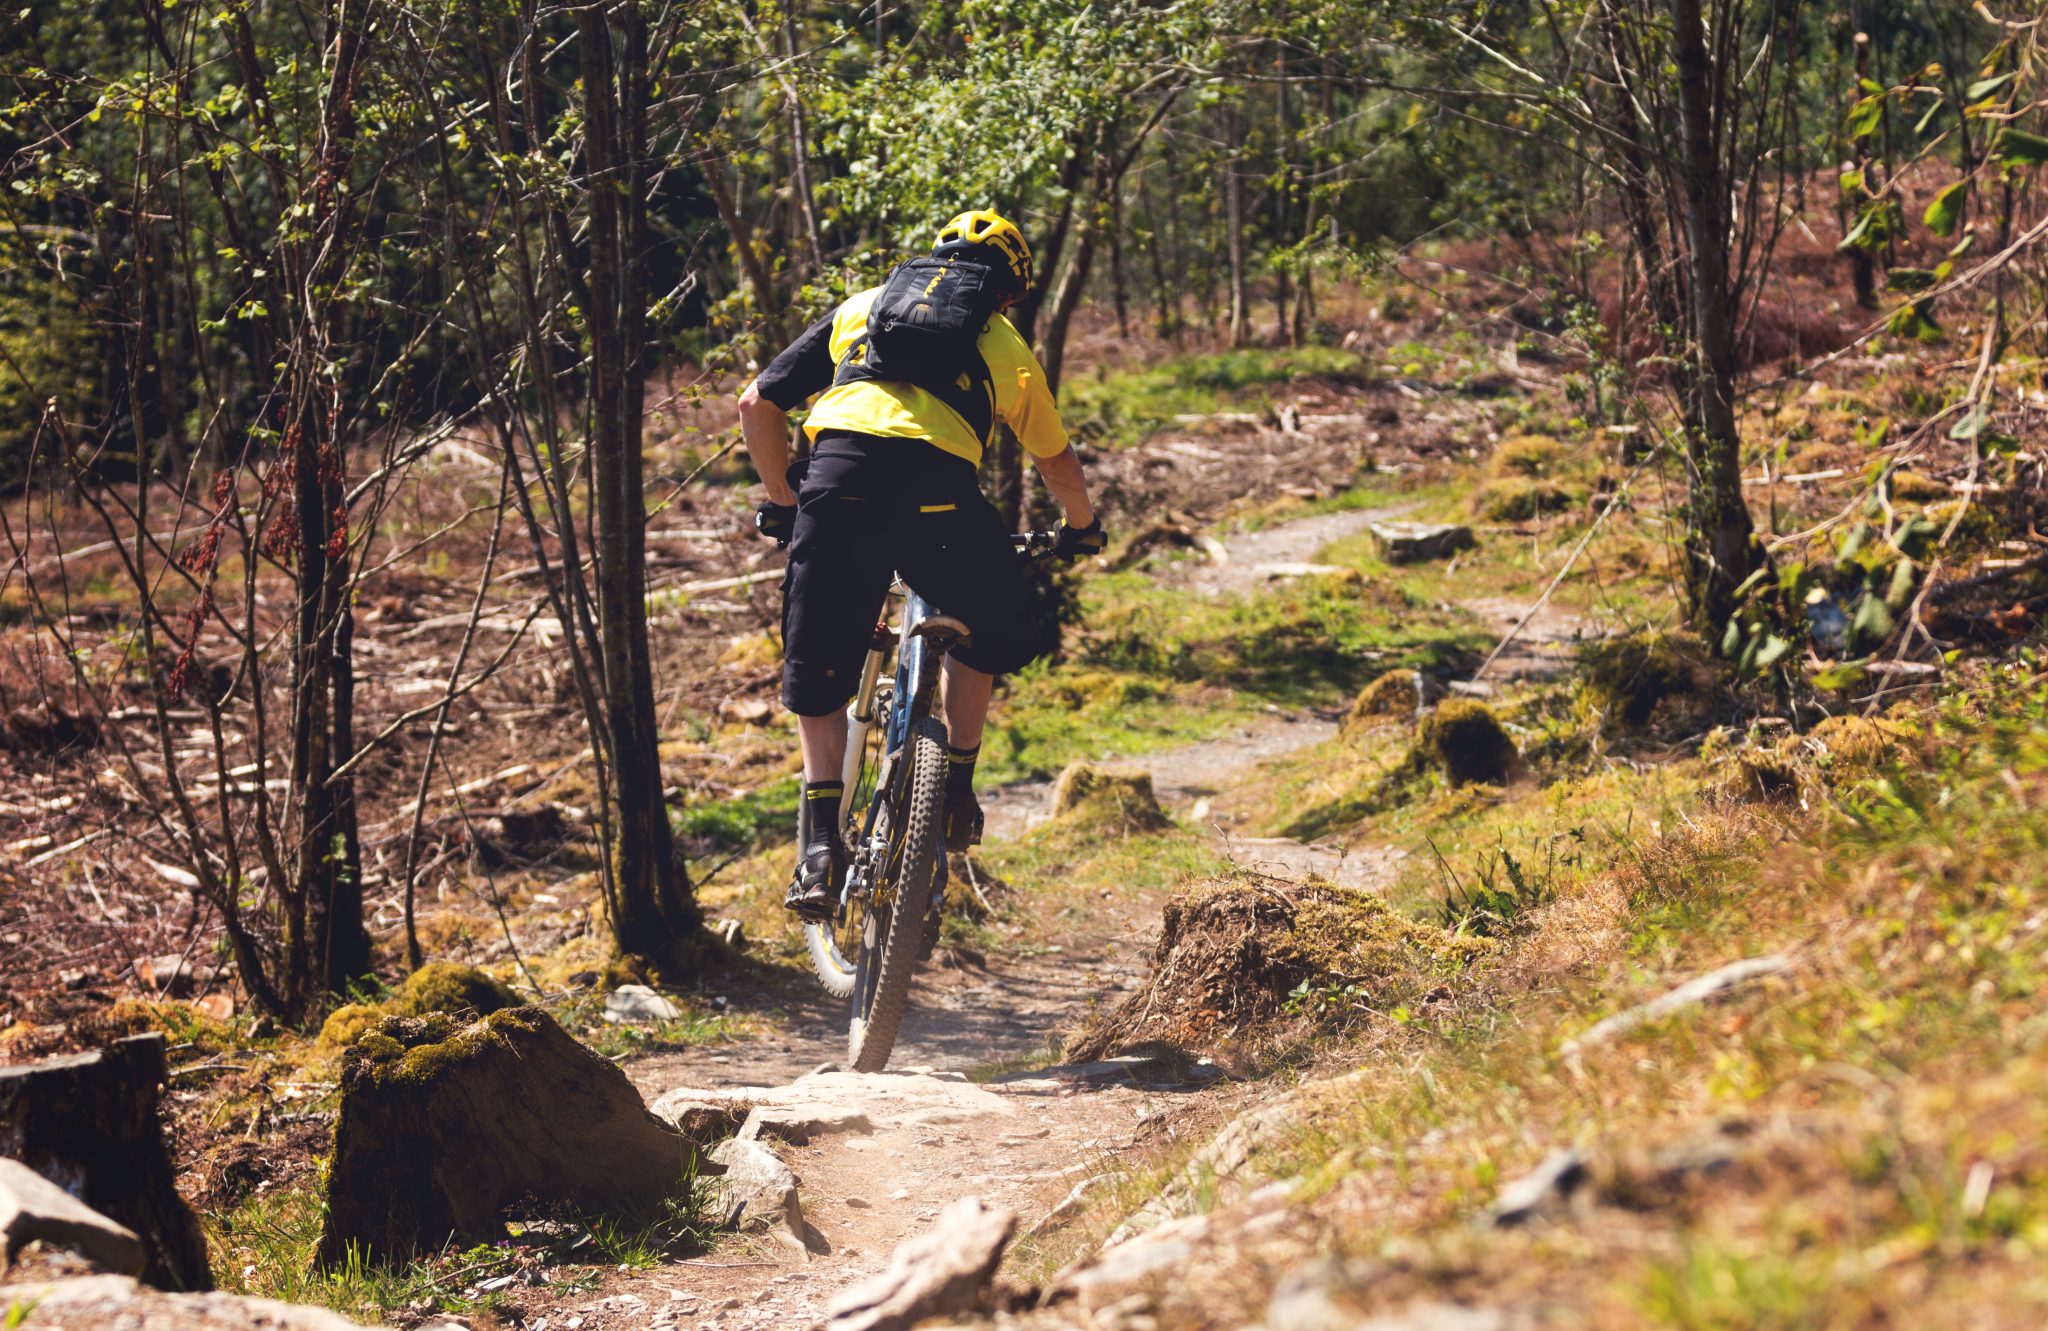
Let's start by looking at the variety of features that cause us to slow, stop and ultimately stall on the trail. Large stoppers are real killers and the least likely ones to encounter unless you are riding on terrain that is extremely gnarly. They are the big avoidable objects, tight and deep holes/ditches, trees and tree stumps, big rocks and anything else you can think of that is greater in its vertical measurement than 15cm (the distance approximately half way between the ground and axle height).

Let’s think about the scale of objects and the ability for your bike (and you) to roll up onto and over (or down through). With just a little speed you can bump up a regular kerbstone with ease, even if you sit on the bike like a sack of spuds. Increase that size and or reduce the speed then things start to become a little more difficult. The shape of the feature is also to be taken into consideration when judging how hard it’s going to bite.

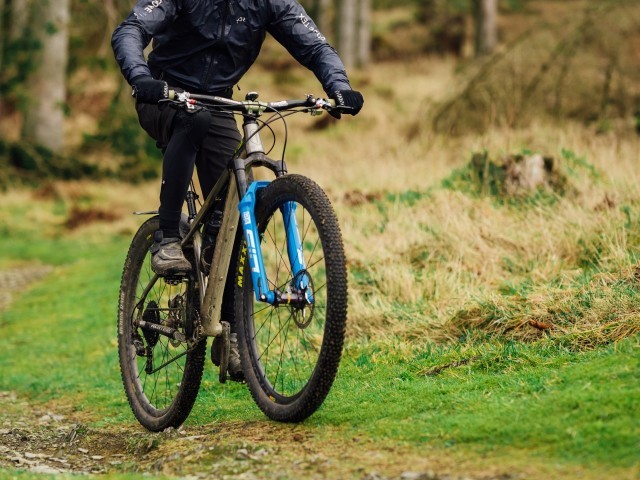
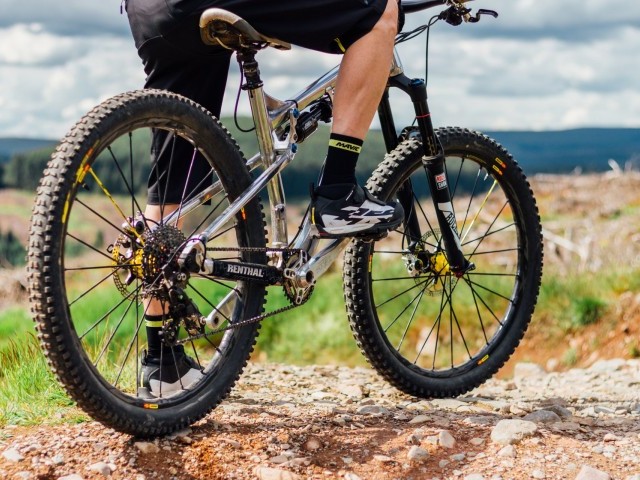
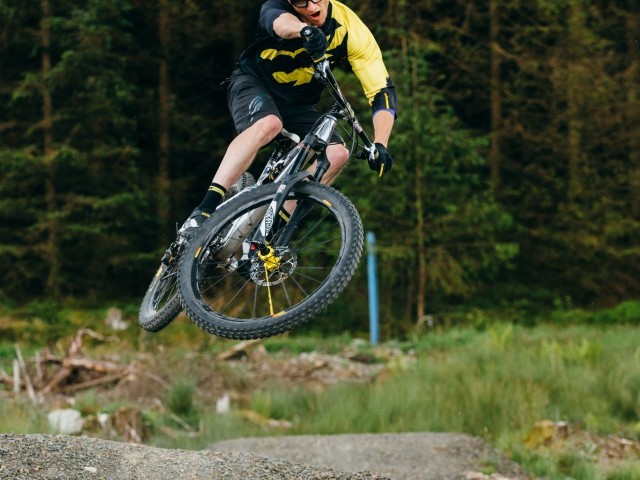
Picture a grey scale of severity where a white 15cm hit is nothing too serious then we move up towards the black zone at 30cm where the severity of the impact stops the bike dead in its tracks. My 650b Mavic’s shod with Mavic tyres sit my front axle at 36.5cm, a hit at this height sees the load/force going horizontally through the bike at axle height, the result of the impact is the body being thrust forwards on the bike rotating forwards around the axle/point of contact with the obstacle.
When we are talking about stop moments that arise from dropping into holes, then the situation worsens, its the face on the far side of the hole that does the stopping but in this scenario, we have added compression forces through the bike (fork) and into the trail.
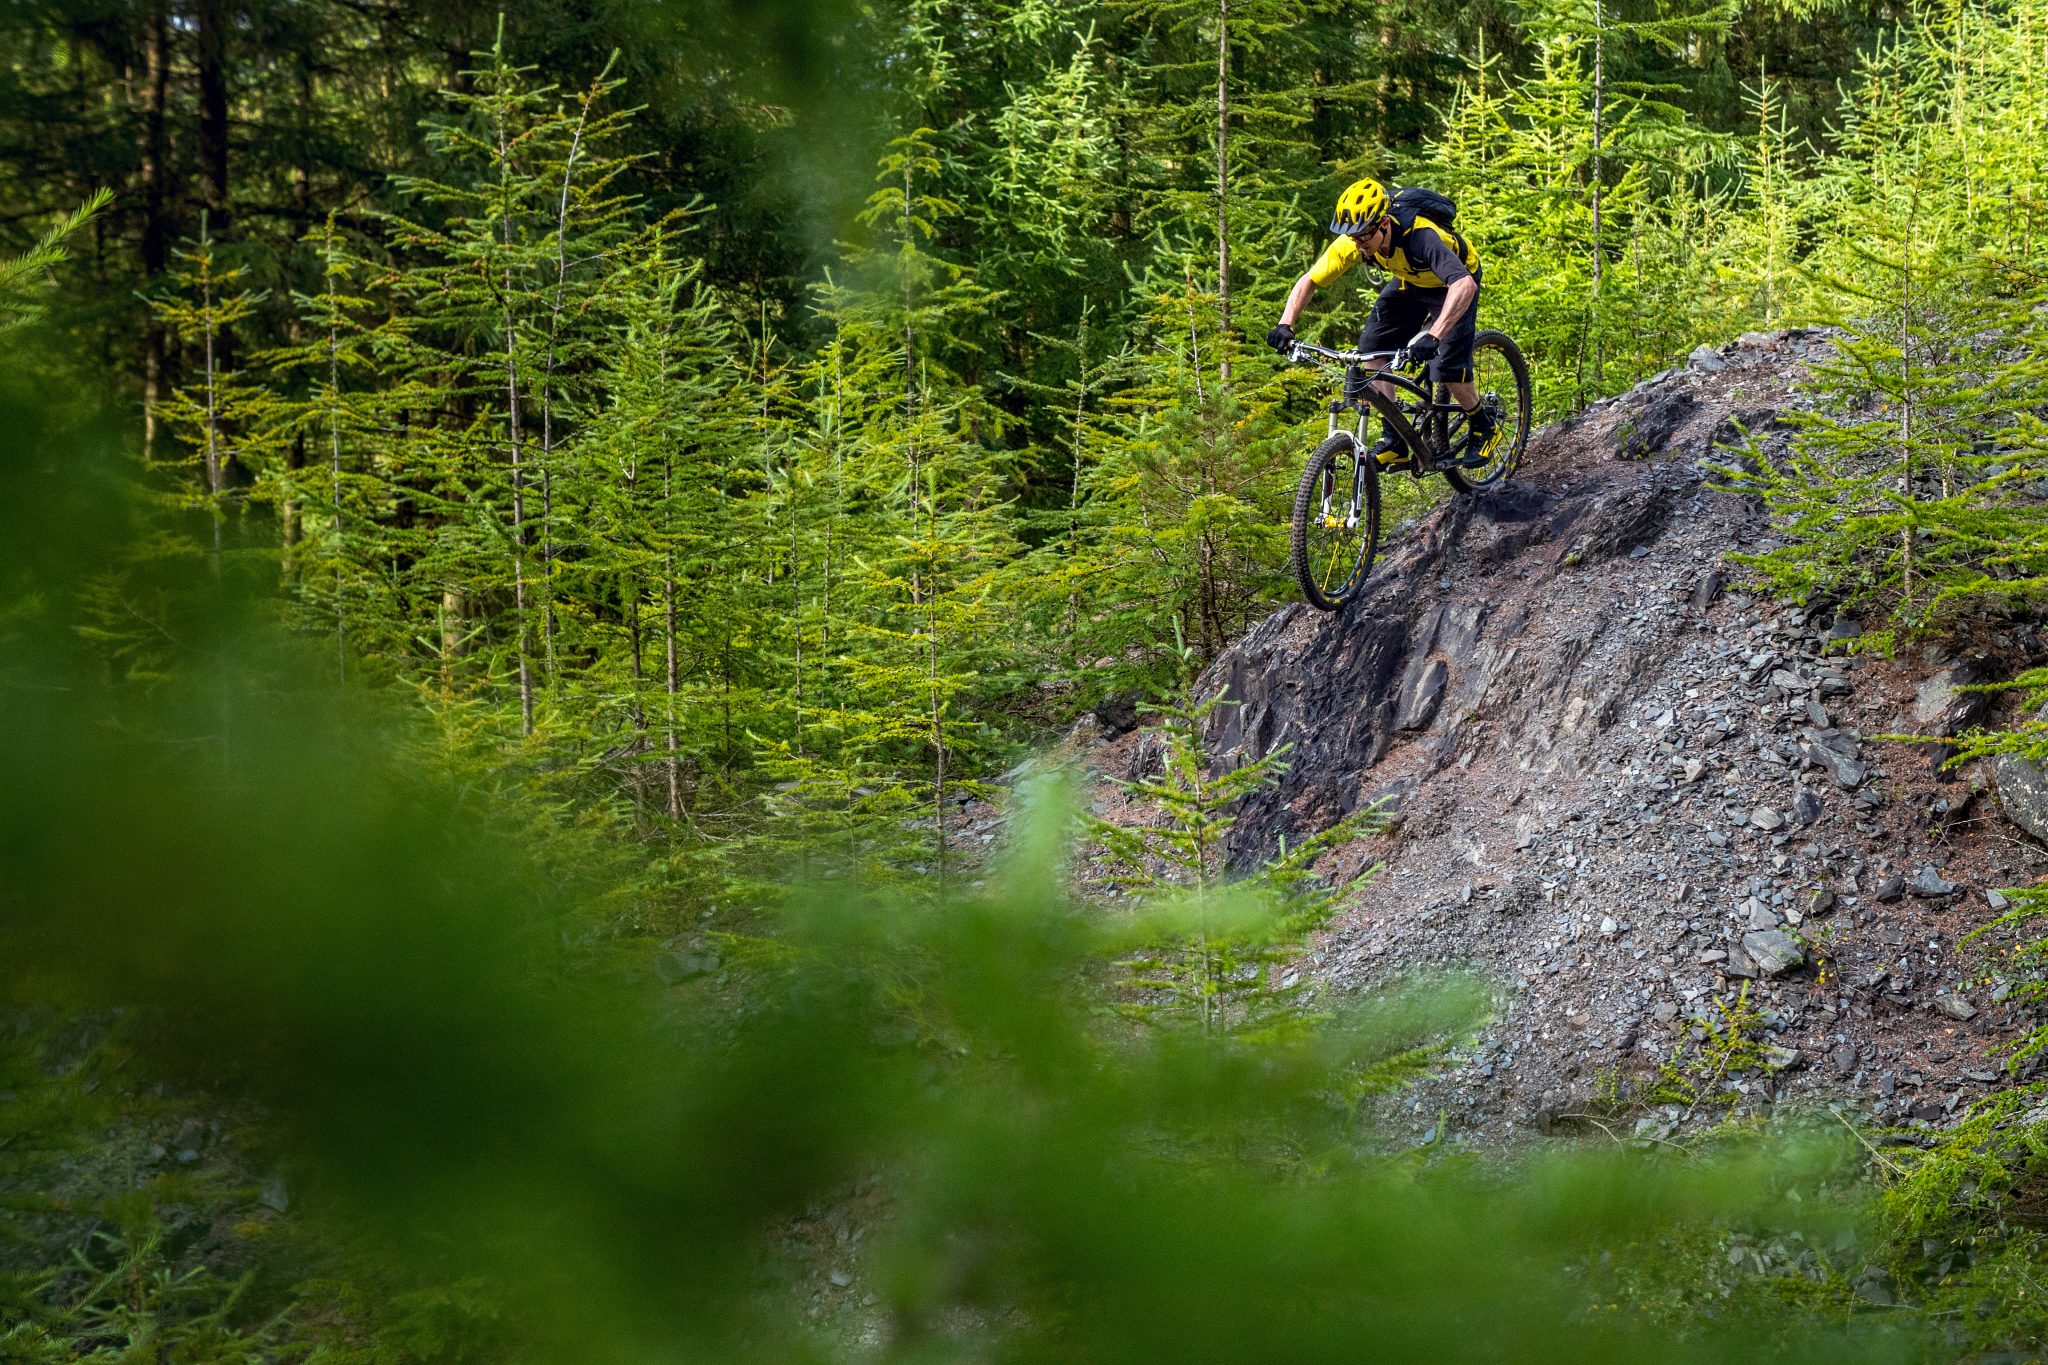
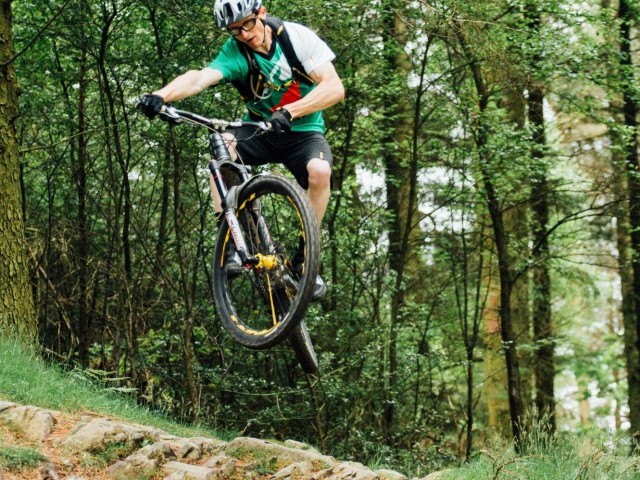
Hits taken in and above the grey scale o’meter of doom require serious technique to overcome, well-timed manuals, hops, power wheelies and so on will ensure weight is removed from the front end, and subsequent hit eliminated or at least eased. We will cover details of how to master these exact skills in future features.
Mid Size Stall Points
Smaller size square edges and lumps and bumps generally cause us less issue; this is where we enter the world where the devil is in the detail. We drop down smaller in size from the grey scale o’meter of doom and into a colour pallet where green and easy represents ‘stuff’ that measures upwards from 7.5cm to the red zone topping out at 15cm.
With average tyre height in the 5cm to 6cm range, we may risk rim dinging and pinch puncturing (for those running tubes) but the stopping / slowing/stalling out from these features is minimal. Only in situations where rider weight is poorly placed, or we are on the turn do we increase the chances of the often-avoidable OTB (Over The Bars) moment.


In the green we are running pretty clean so long as we have some momentum, the tyre and fork (where suspension is present) are tuned to take out these hits, the body has to do pretty much zero to absorb these hits, that can focus on the bigger undulations in the terrain. However we are being slowed by each and every hit that occurs, this is even more noticeable on climbs and flatter ground and sections of trail where gravity is doing little to keep you moving.
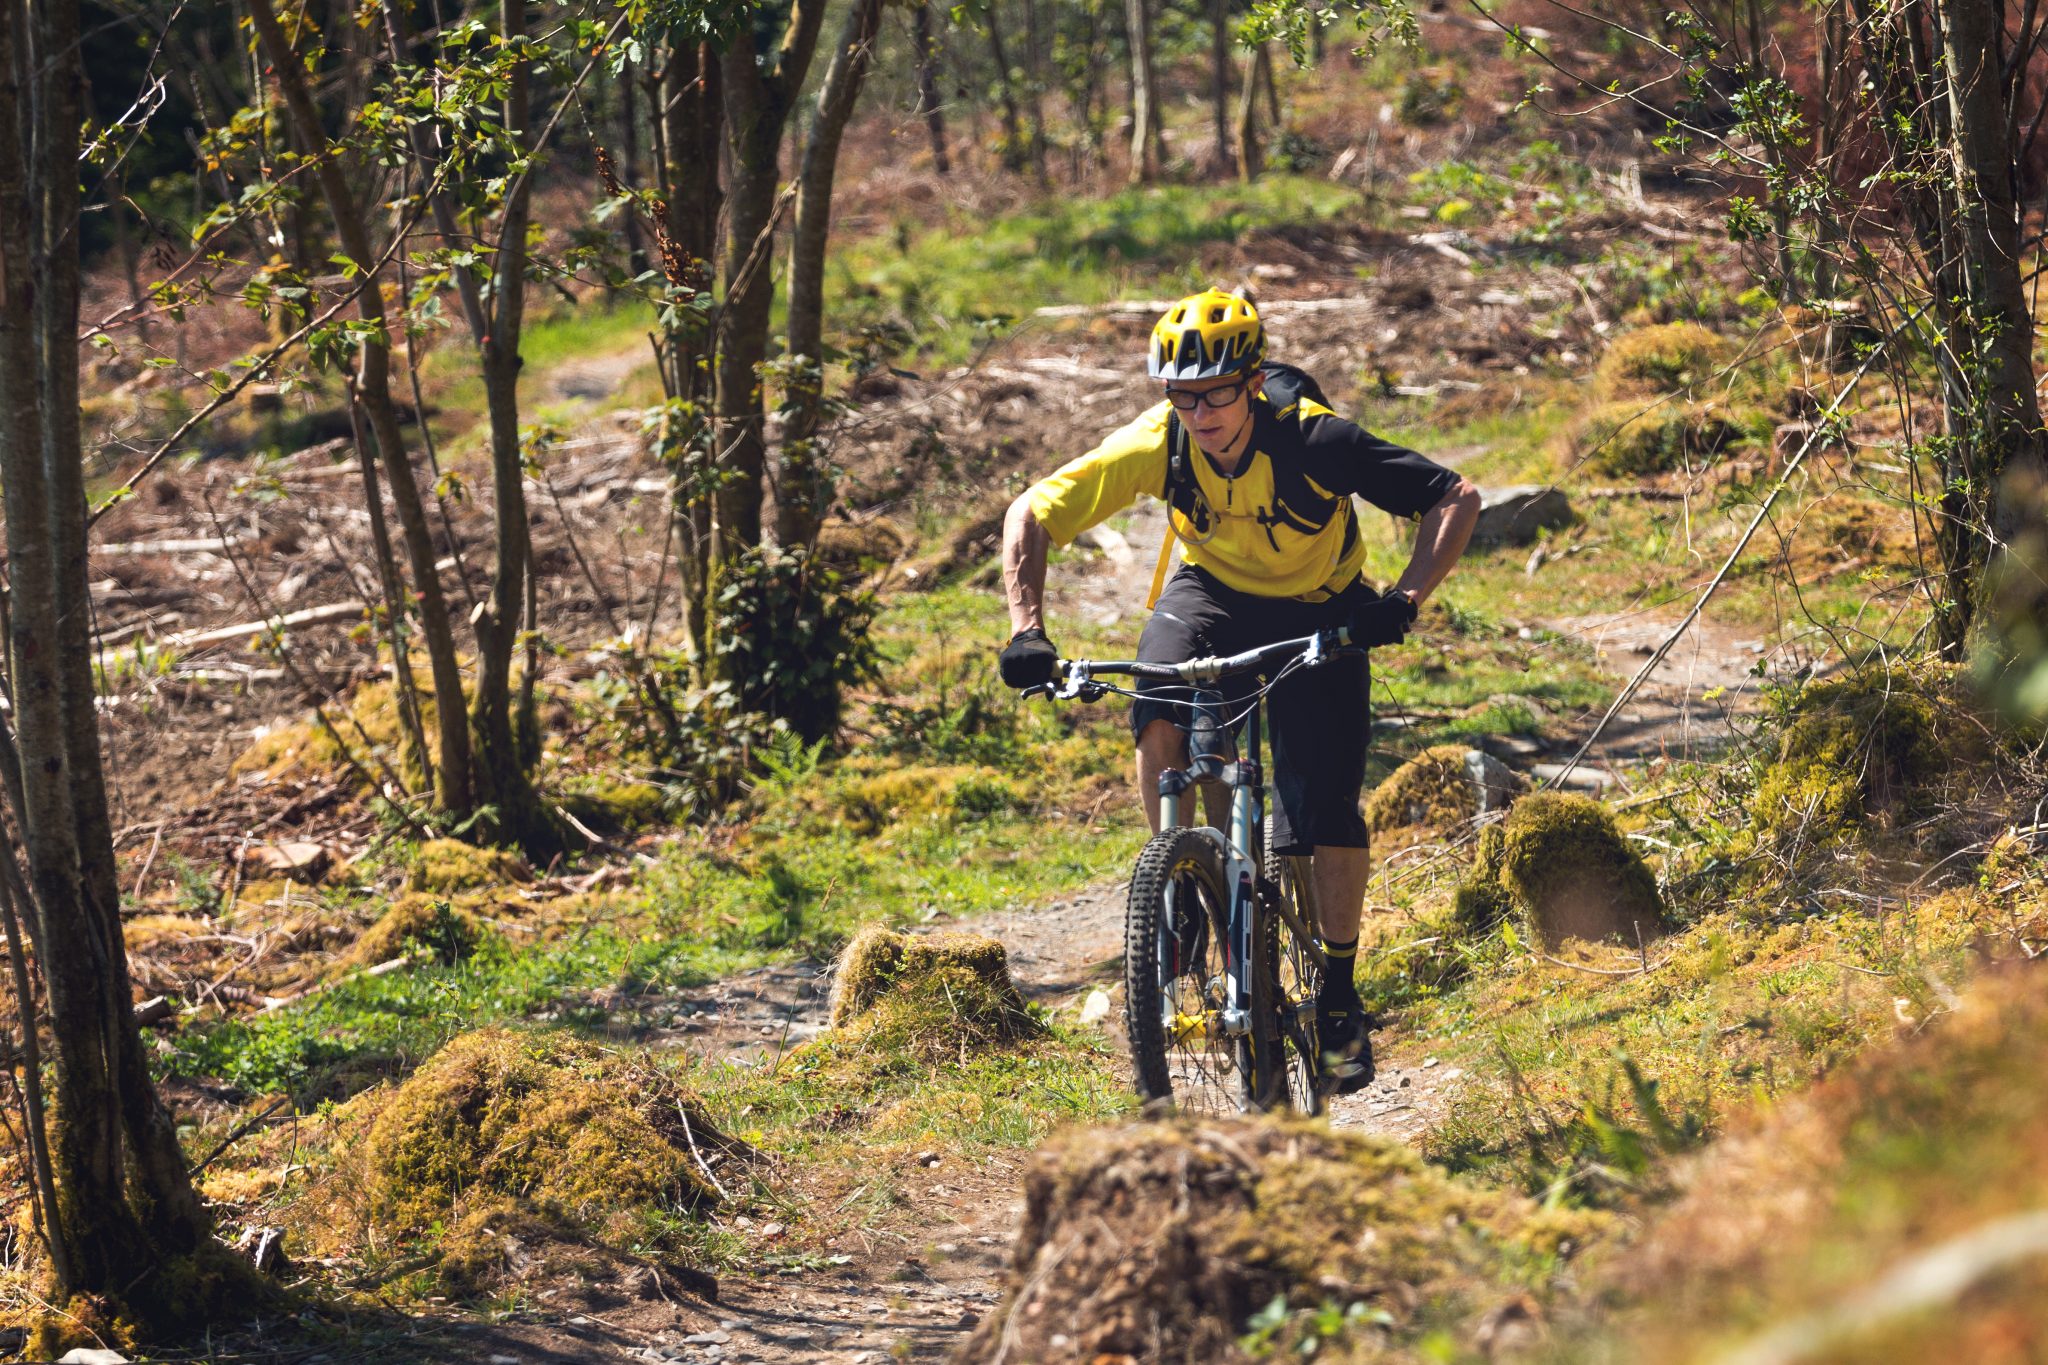
Unweighting Is A Key Component For Maintaining Speed
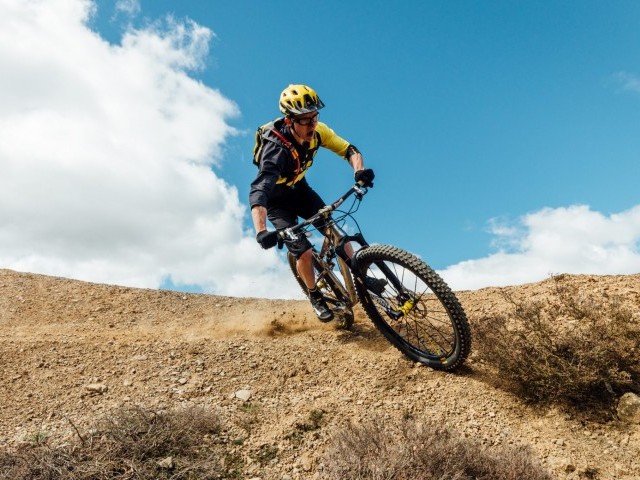
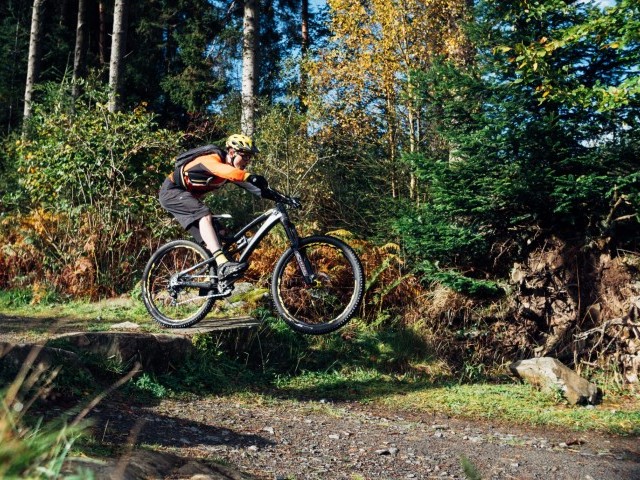
This is where subtle ‘unweighting’ pays dividends when descending the default standing tall and proud position will enable the limbs to act as additional suspension easing the bike over the hits and holes. Let the hit from a feature lift the front wheel to float over the next, ready and unweight the back just before it strikes the feature.
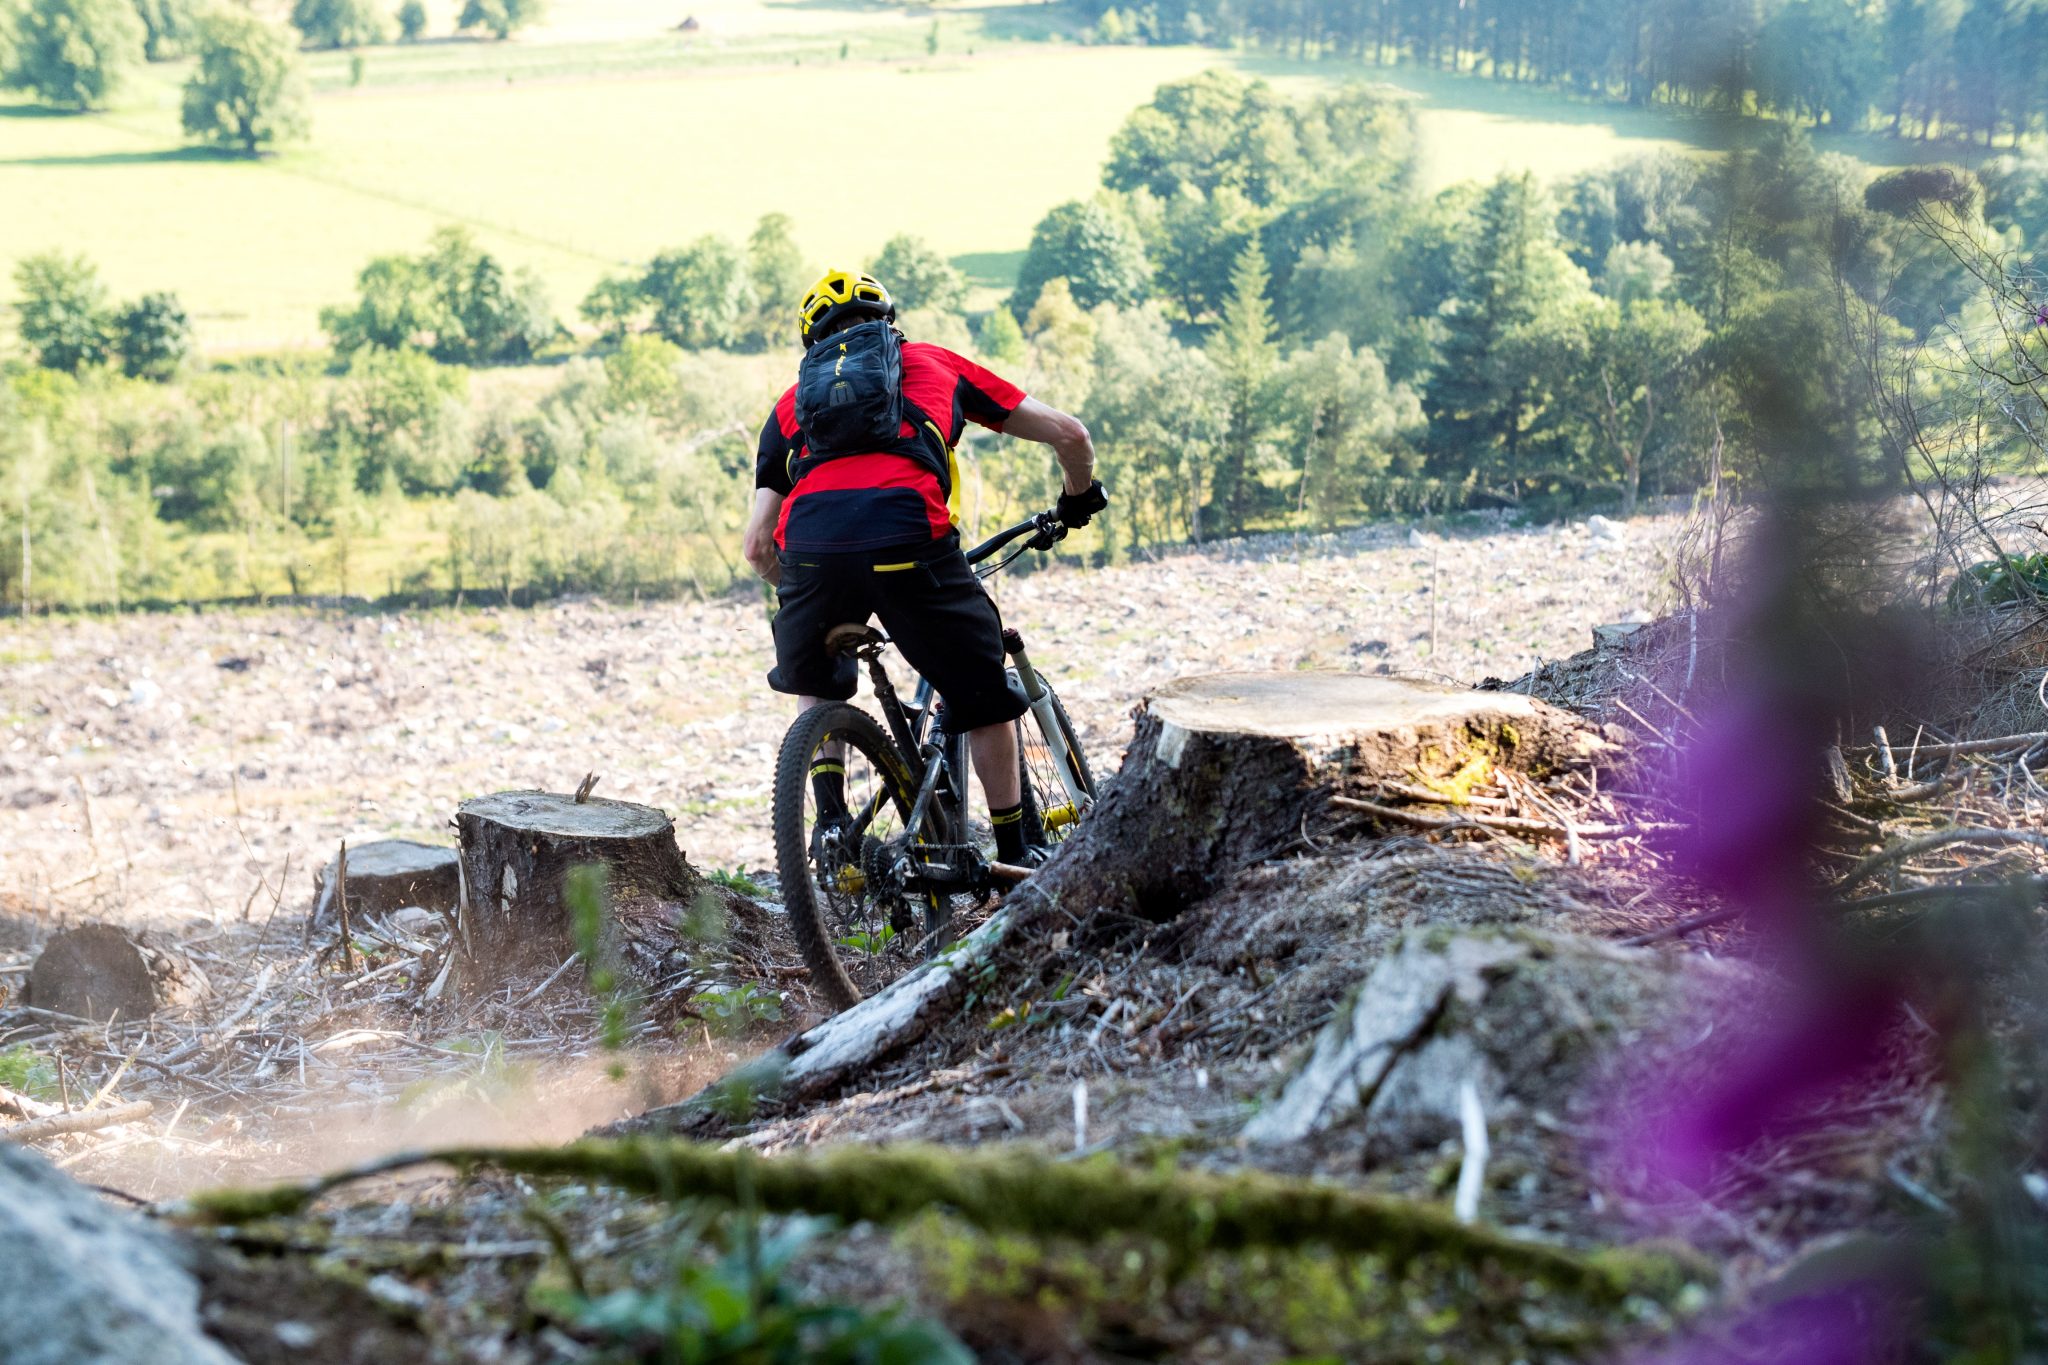
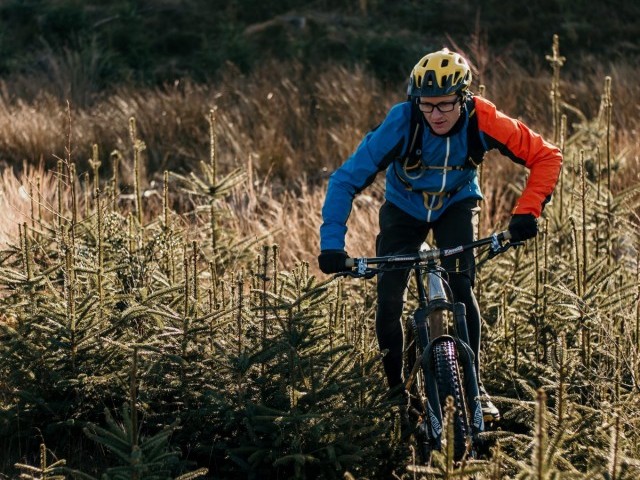
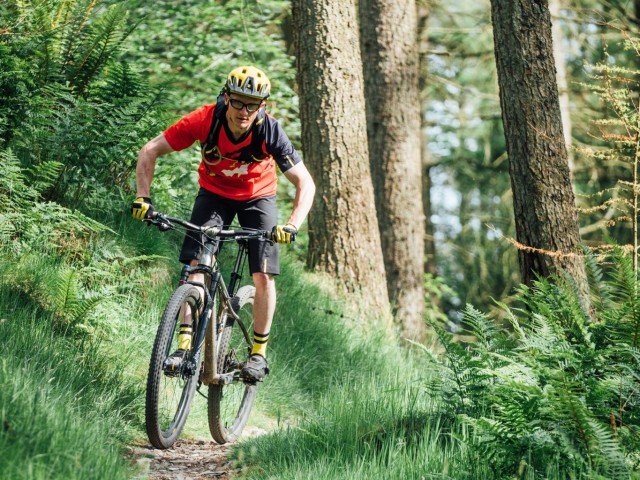
When traversing and climbing you can use a well-timed power stroke to lift the front wheel, as the rear is about to contact the feature, lift your bum out of the saddle to help ease the bike over the feature. All too often riders sit planted like a sack o tatties (bag of potatoes for those who live outside Scotland) adding to the stall point. We have to hover in the saddle when the terrain gets rough and bobbly, switching between seated and just up (the size of the bump) above the saddle before we roll onto or over a feature. When there is a hole to deal with we let the bike drop below putting us in the standing position (keeping hips and bum at the same height) to gracefully become seated again on the far side of the feature.
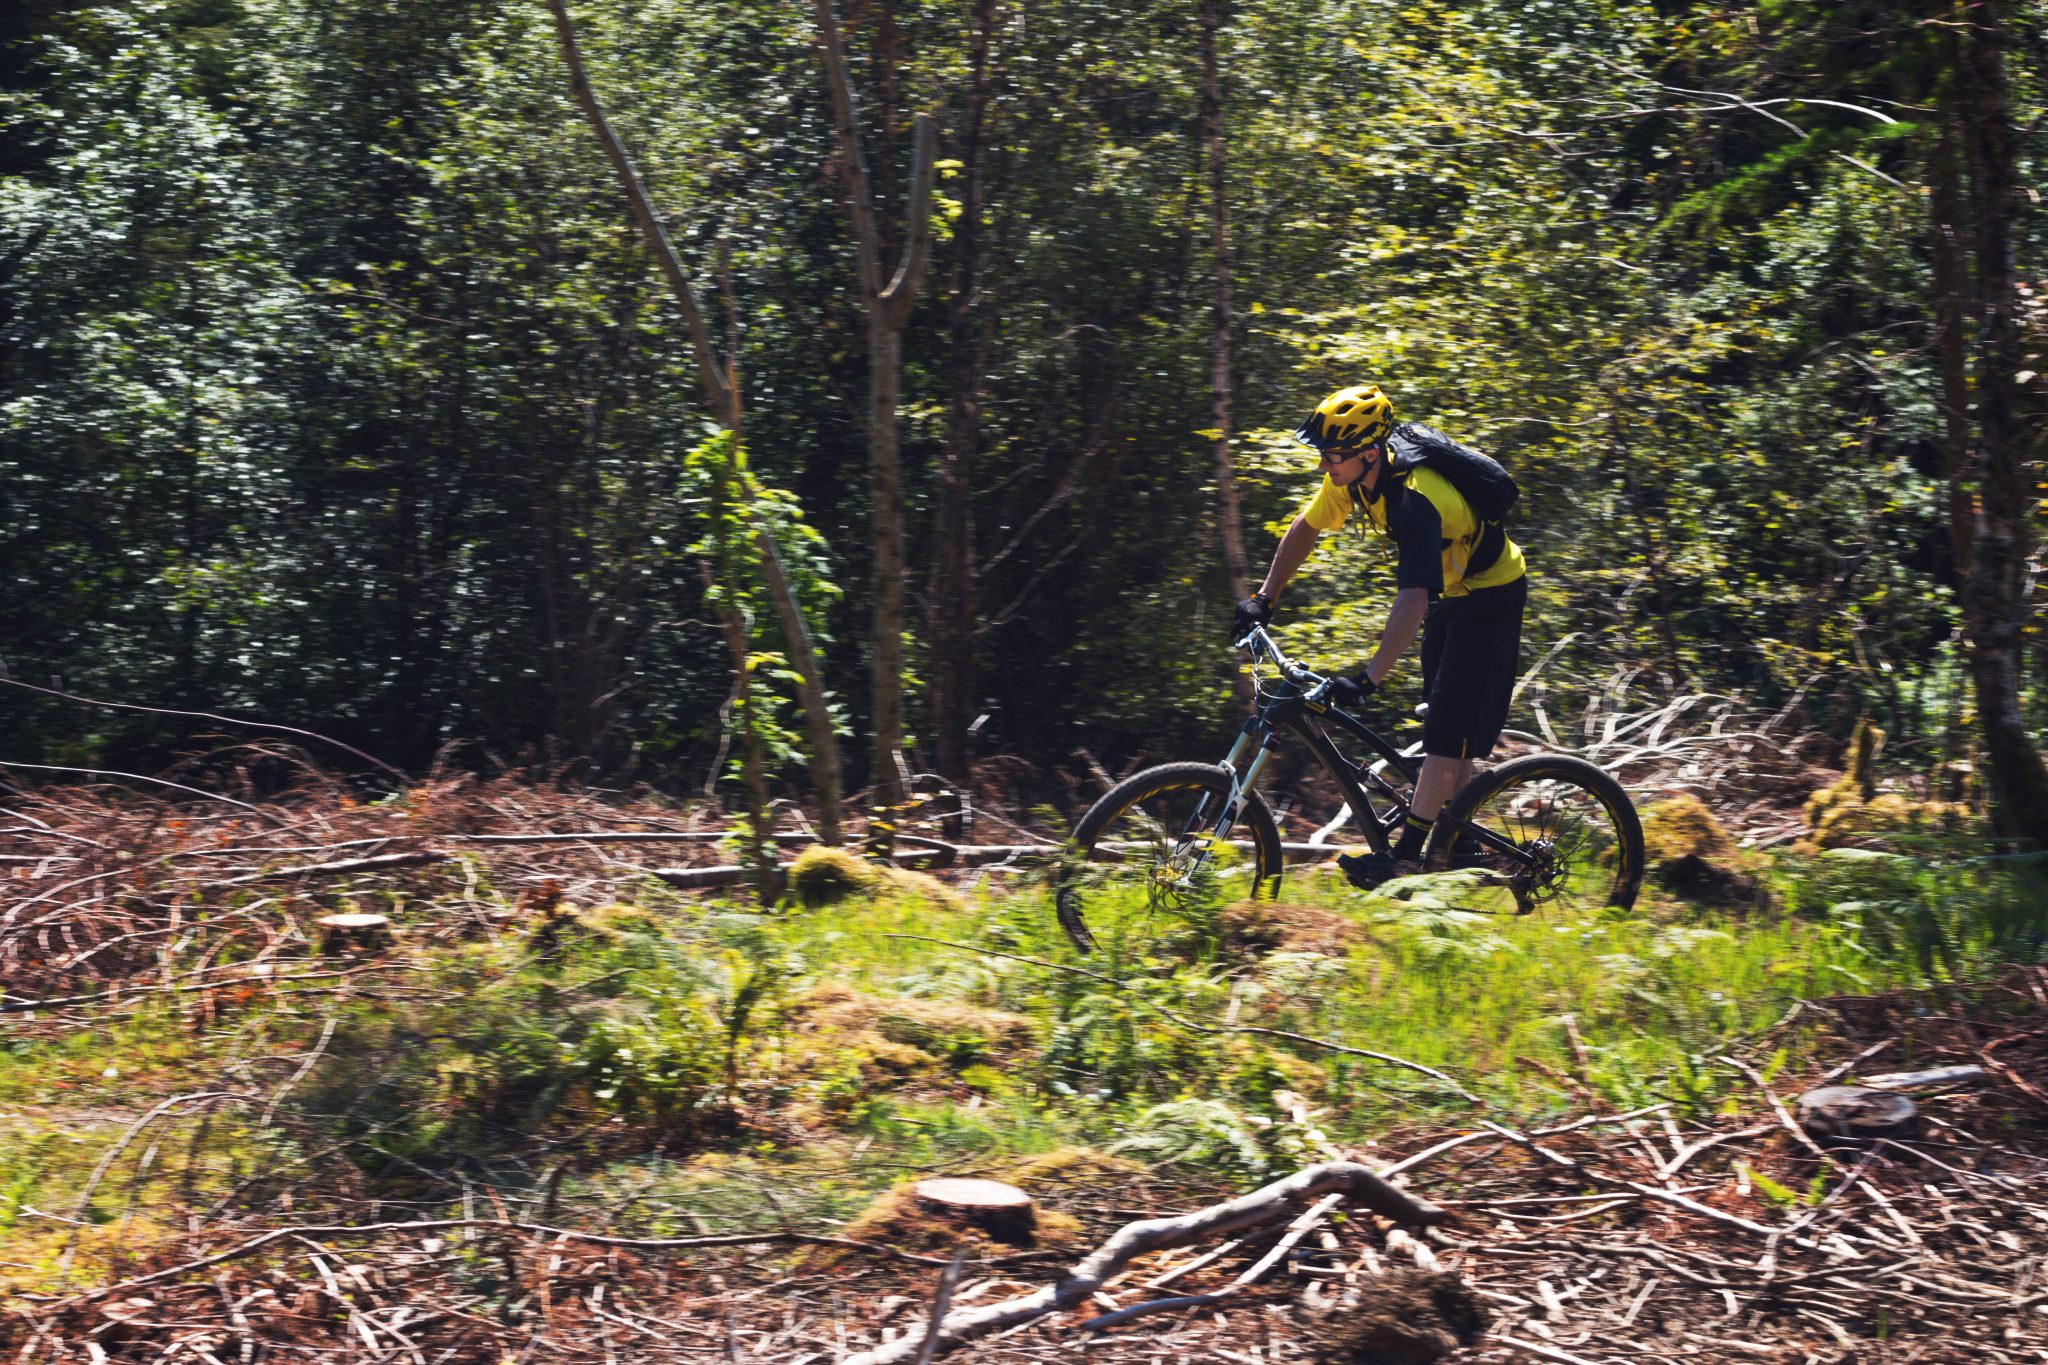
Conserving Energy
I appreciate you are probably tired and need that plush 140mm travel armchair for rest purposes but you are partly tired due to recovering the loss of speed from taking all those hits in the red which could have been avoided. Oh yeah,, those hits are also beating you up burning energy!
I can assure you that you burn less juice by standing, pedalling while standing, floating in the saddle and being proactive to help ease the bike through the terrain. If while reading this alarm bells are ringing then keep reading as we will help you add to the points above in this and the next series of features.
The type of terrain we are referring to (especially when you add in some grey scale stuff) requires a lot of technique and genuine endurance levels of fitness. Each hit and skill/technique encountered and used require strength and stamina, the real measure of fitness is all about your ability to recover after an effort, accumulative load and sustained power output over a duration are factors that apply to all.
Consider this folks: Why not ride smarter? By this I mean focus your attentions to these details and ride shorter distances and possibly slower with your focused energy going into being smooth and deploying well times and executed technique, food for thought.
The sport is full of compromise and to be proficient is multifaceted and requires a double edge sword. We have to power the bike and suspend; the ability to move through the terrain is a combination of your power output to the overall weight of you and the bike. The compromises come in all shapes and sizes, travel options, geometry, tyre tread depths and widths, equipment carried and so on. Go light, and you may not have a set up that is robust enough, build a big hitting 160mm machine and you're carrying a lot of excess weight for those rare occasions where you need that big hitter.
I fear many riders are heavily reliant on suspension, but for the purposes of comfort rather than increased performance, big suspension bikes can easily make a rider lazy, even proficient riders get soppy with technique by ignoring the smaller hits in the terrain. Which brings me on to…
Micro Stall Points
The hits taken under the 5cm range are like wasps, on their own they almost go unnoticed and are fairly innocuous, but when there is a whole load of them firing stings into you then it's a different story. If we have a decent bit of gradient working in our favour then its less of a problem and almost insignificant, but on slight gradients, flat ground and anything heading uphill then we must take into consideration the micro stall and slowing of rider/bike progression through the terrain.
In the weeks leading up to sitting and writing this article, I’ve been experimenting myself with a section of trail that lies between two long sections that have distinct downhill gradient. The trail flattens out, has slight rises, corners, rough rocky sections and a host of opportunities to lose the speed carried over from the opening gravity fed section.
On a good day through this section if I a) enter with enough pace and b) thread the bike through the gaps in the micro and mid-size features then I’m able to not put a single pedal stroke in to link to the next gravity fed section. It's a long link of a couple of hundred meters, and the difference between having to pedal or not does come down to the avoidance of stalling and being slowed through the rougher sections that to the eye (or feeling through the body aloft a 160mm bike) don’t appear to be that rough.
If I glance an edge on a piece of rock, I’ll not make it, if I hit a Green Mid size rock or root I’ll definitely not make it, if I miss match a manual over dips in the trail or even if I take too many micro stall points I’ll not make it. The bigger marker points and key passages to hook are are really quite easy, just the old classic “where I look I will go”. The smaller detail, however, present higher levels of focus and smooth arcing shapes to navigate. I really do notice a huge difference on the accumulative effect of micro stall points; there must be countless amounts of them within the 200 odd meters of bedrock, stone built root-strewn trail.
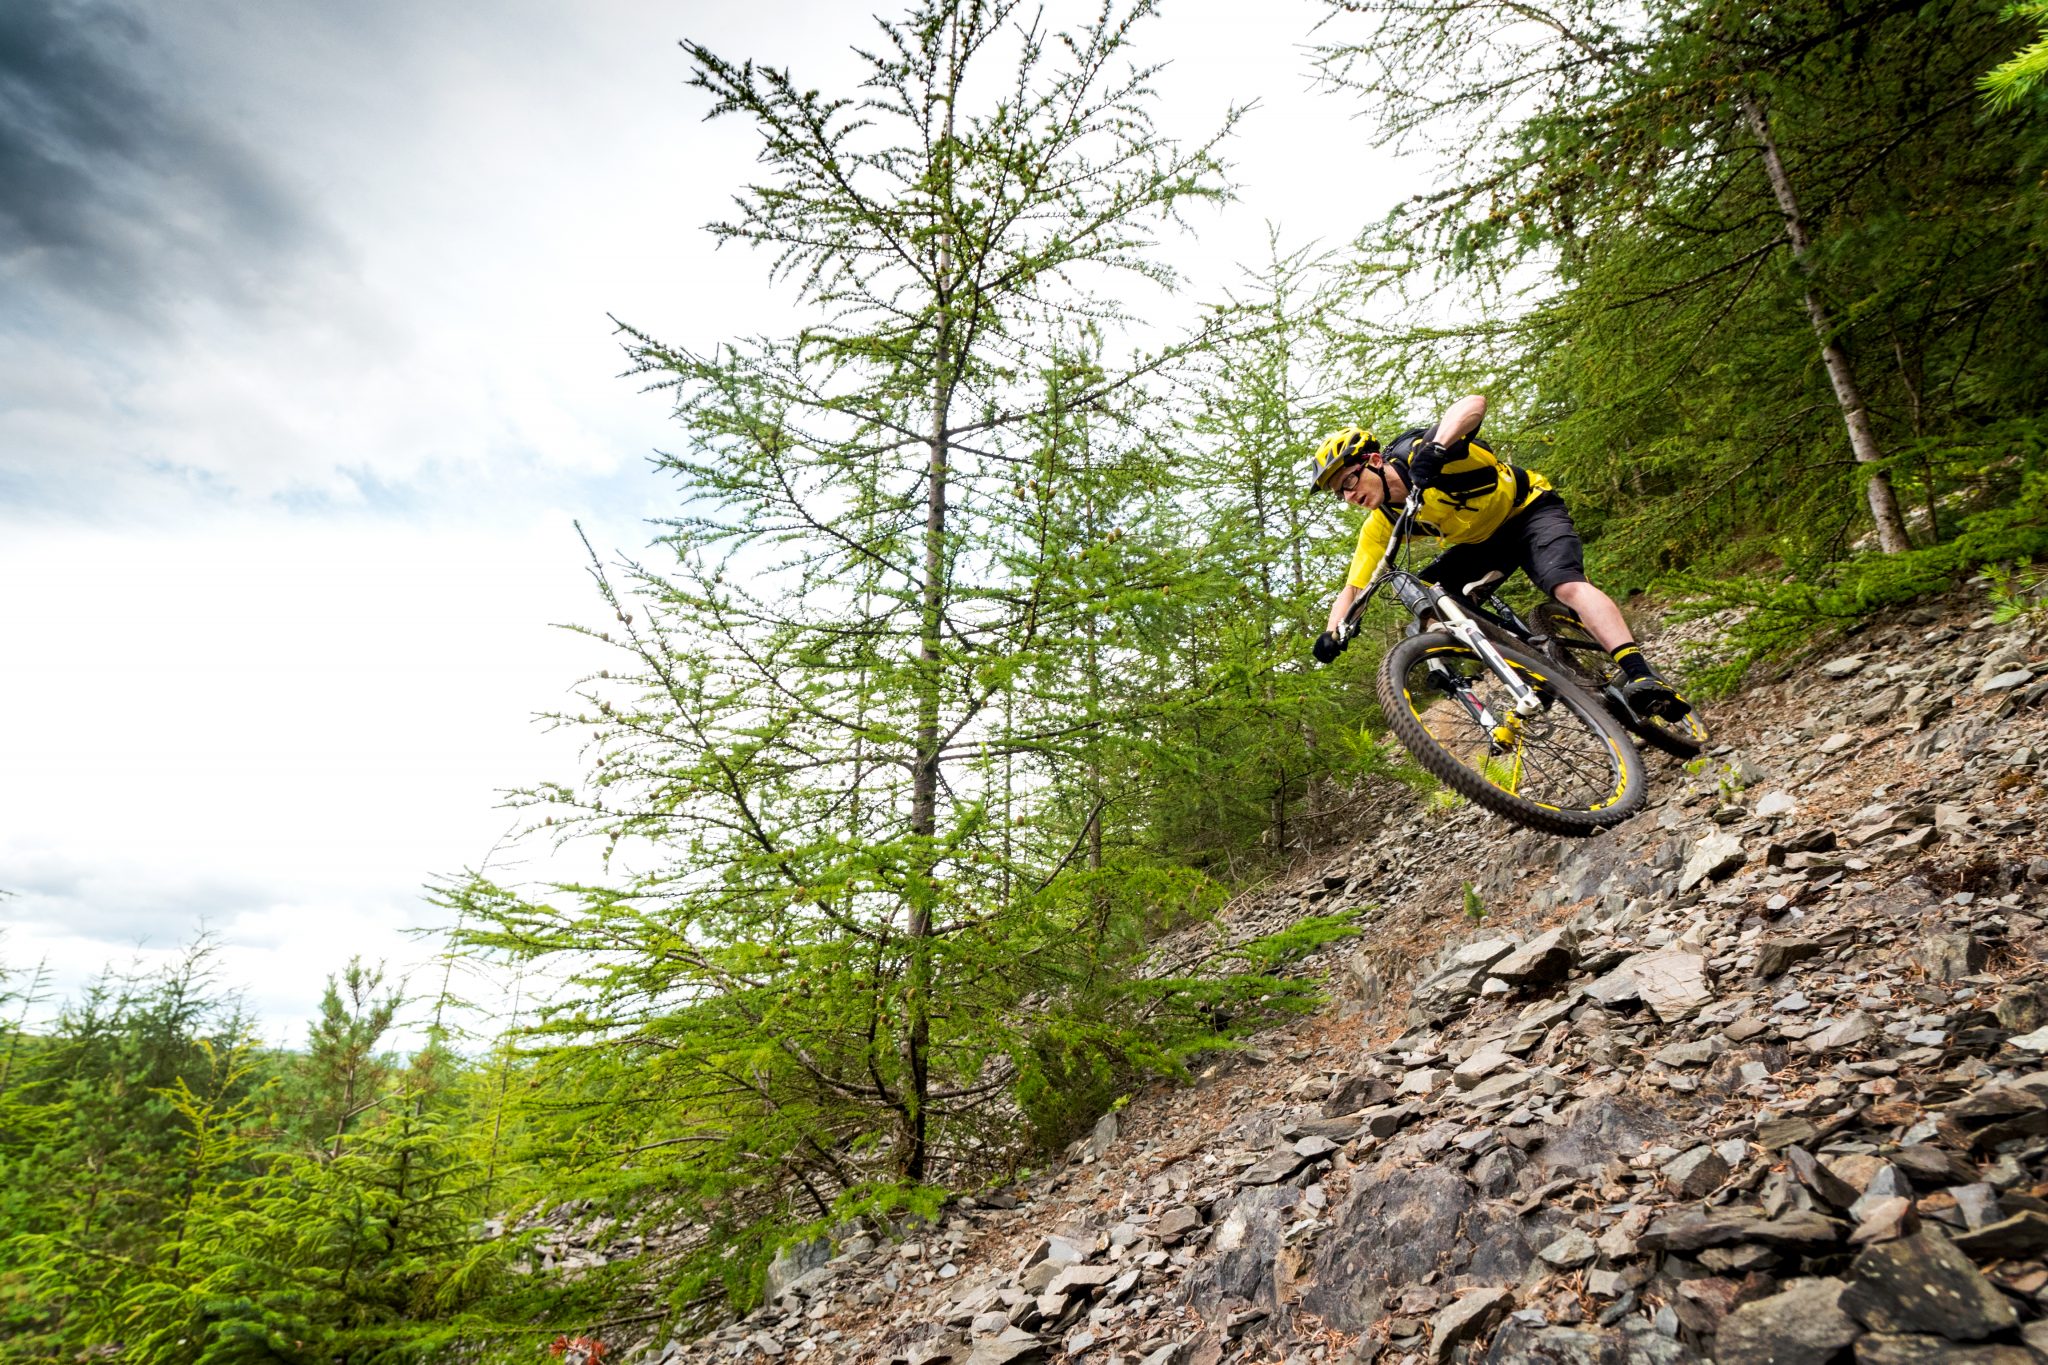
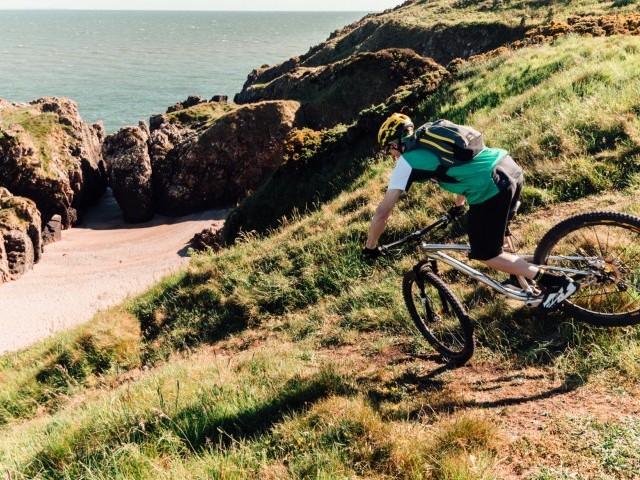
The secret is to choose lines of least resistance wherever we ride, ease out the corners with long sympathetic radii, unweight and help the bike roll up onto and over (or down and through) features and when descending lay off the brakes as much as we can.
But there is the crux and impending compromise that mountain biking always presents. We have to be mindful to not over-egg the cake; sometimes we need to take that up onto and over line, sometimes a bit of bully bully brute force is required. That choice can come down to speed, space on entry and exit, set up and ability.
First up by constantly weaving all over the place trying to avoid every little bump on the trail we make for a long ride where forward progression goes out the window, secondly we add more slip and slide, steering stall/bar jack potential from the front wheel as we thrash around all over the place. This slaloming around inhibits the ability to maintain any descent speed and leaves us with the only sensible option to go over and through things.
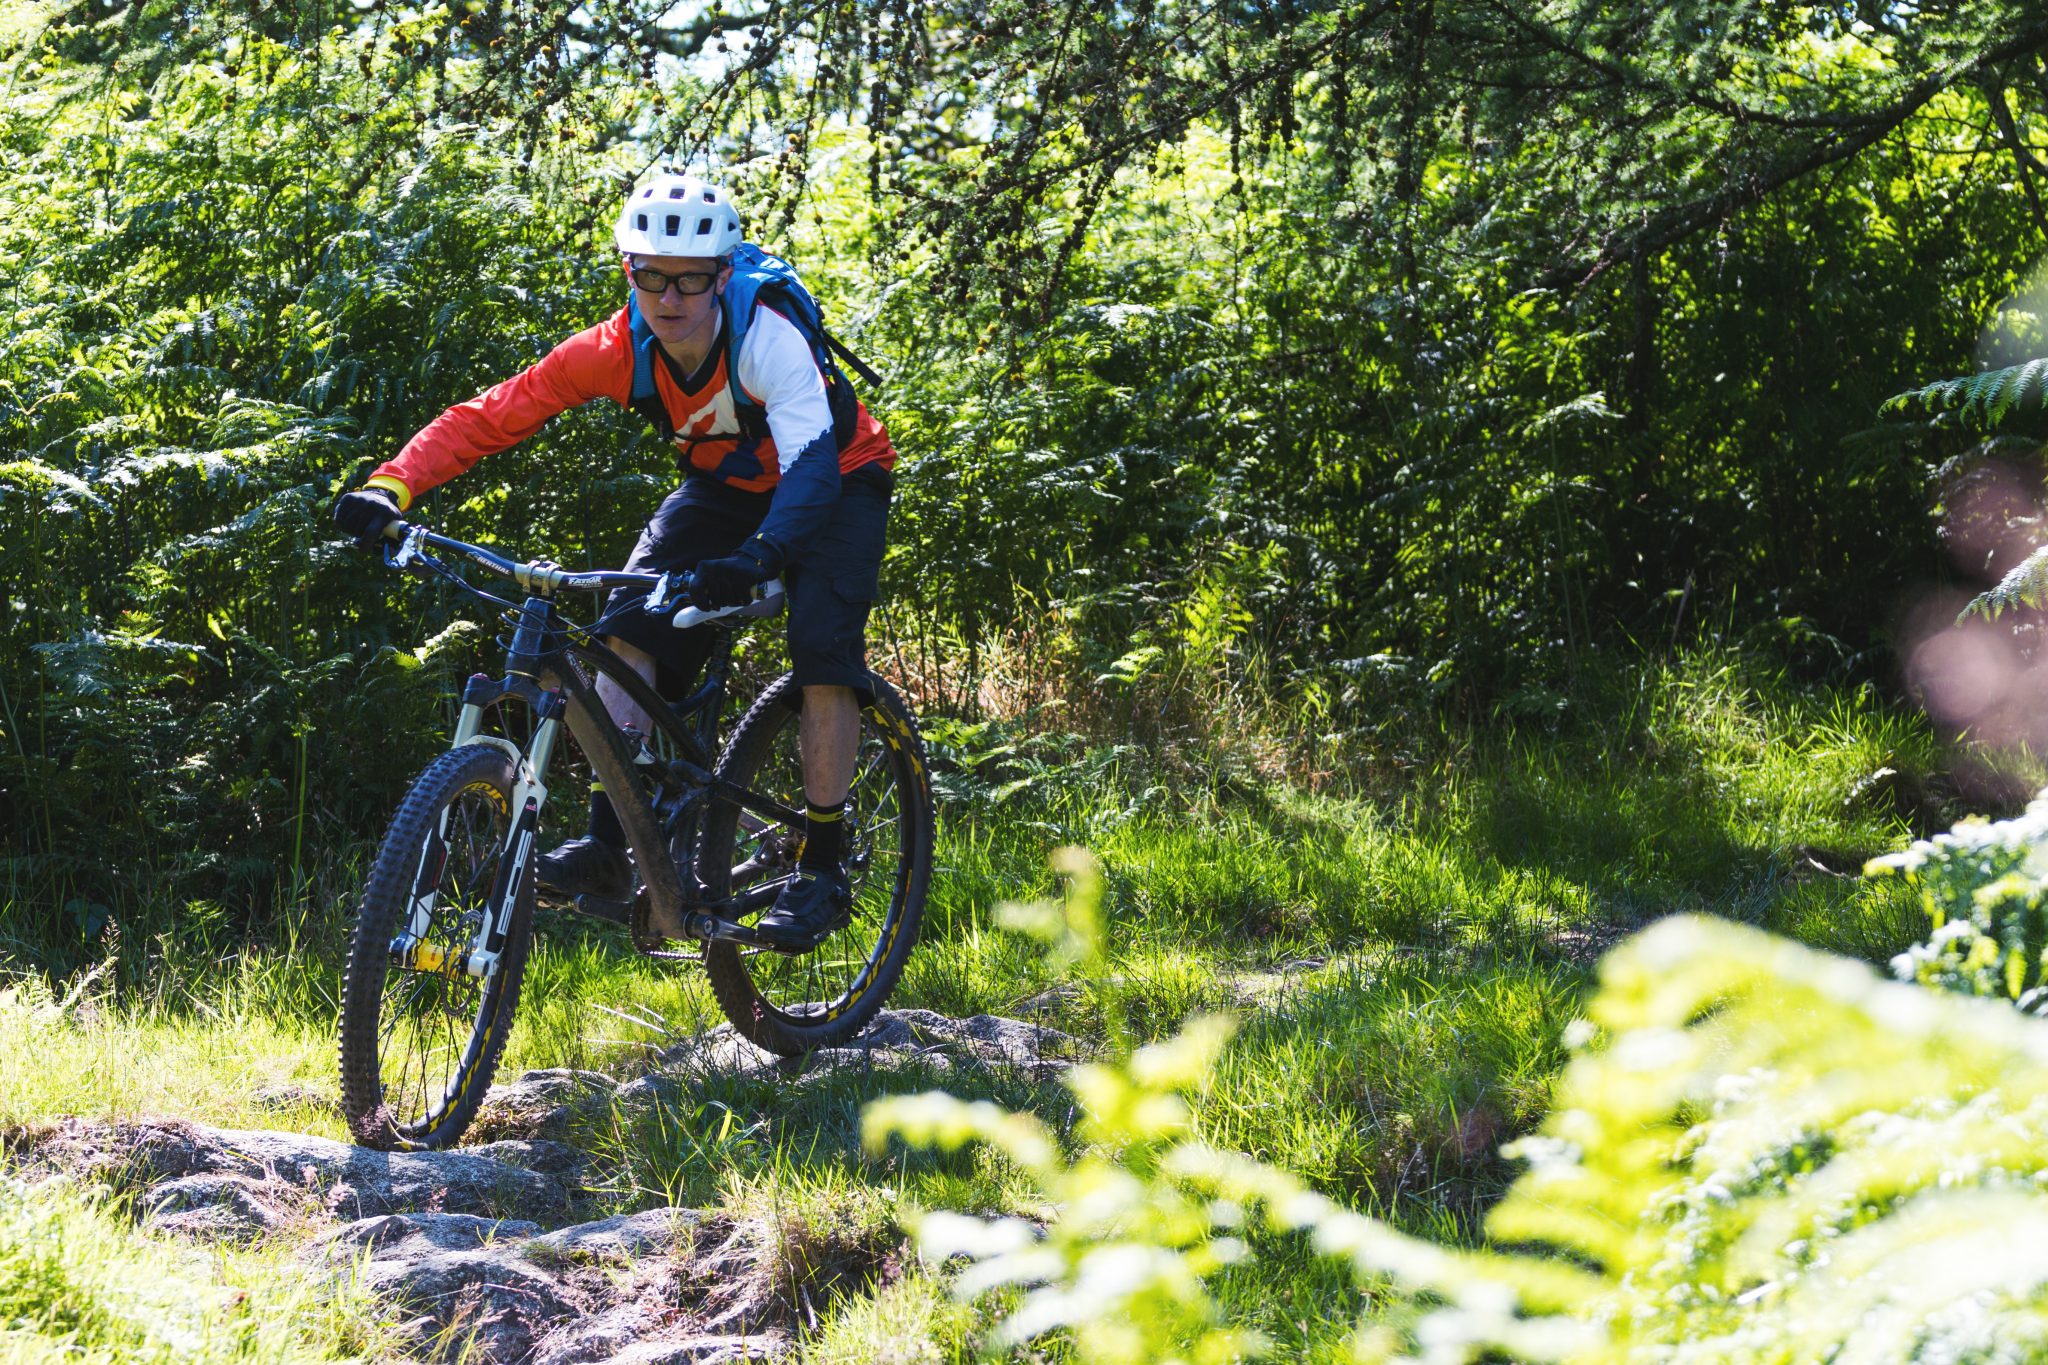
Get Over It…
Vision is always the first point of reference in any skills/technique instructional and it's the watchful eye that will allow you to size up and consider your desired line. Ask yourself do you have the momentum to punch through the object? Will it blunt off too much speed for the following section? Can you regain that speed if needed? What options lye left and right?
Once the eyes have told the body where to put the bike then it's up to the muscles to move the limbs so as to navigate the bike through the terrain (left right, up down). The faster we go the further up we need to look to read the trail and the faster the responses will have to be so one's timing is kept in sync with the passing trail.
If you can’t move the bike, then some core skills need working on, if you can move it but not quick enough then brush up on your technique and slow it down to give yourself that little bit of time to respond. It's important to practice stuff starting off slow then building up pace, always kick off with small features and then build up the scale. Each time you up the scale bring the speed back down, you will through direct experience learn to judge the pace and set the right speed according to scale of feature.
As winter knocks on the door and both day light and trail time become reduced do not despair, it's a good time to practice some core skills, next time we will get a look at some key techniques to gear you up for the season ahead here in the Northern Hemisphere.
Like those micro hits, little but often skills practice will add up and become your sting in the tail enabling you to fight back next time you hit the trail. As the famous boxer, Mohamed Ali said, “float like a butterfly and sting like a bee”.
This technique article was in Issue 50 of IMB.
Related

By Clive Forth
Clive Forth is a rider who has been there, done that, got the t-shirt and cleaned his bike with it. He has grown with the UK scene and technological developments for the last 30 years and has competed at all levels in all disciplines riding for some prestigious brands along the way. Always looking for that extra edge with endless passion and drive he is geared up to bring you the inside line on all aspects of mountain biking skills and technique.