Up and Overs
Technique / Skills


Introduction
We all love the flowing feel of gliding down trails, effortlessly zipping along, experiencing Mother Nature at high speed. 'Flow' is not a given and you'll often hear riders praising a trails flow or bemoaning its lack of it. The reality is that, although 'flow' can be engineered into a trail - with swooping smooth transitions and bermed corners all playing their part - better riders find 'flow' even on trails where Mother Nature (or the trail designer) has other ideas.
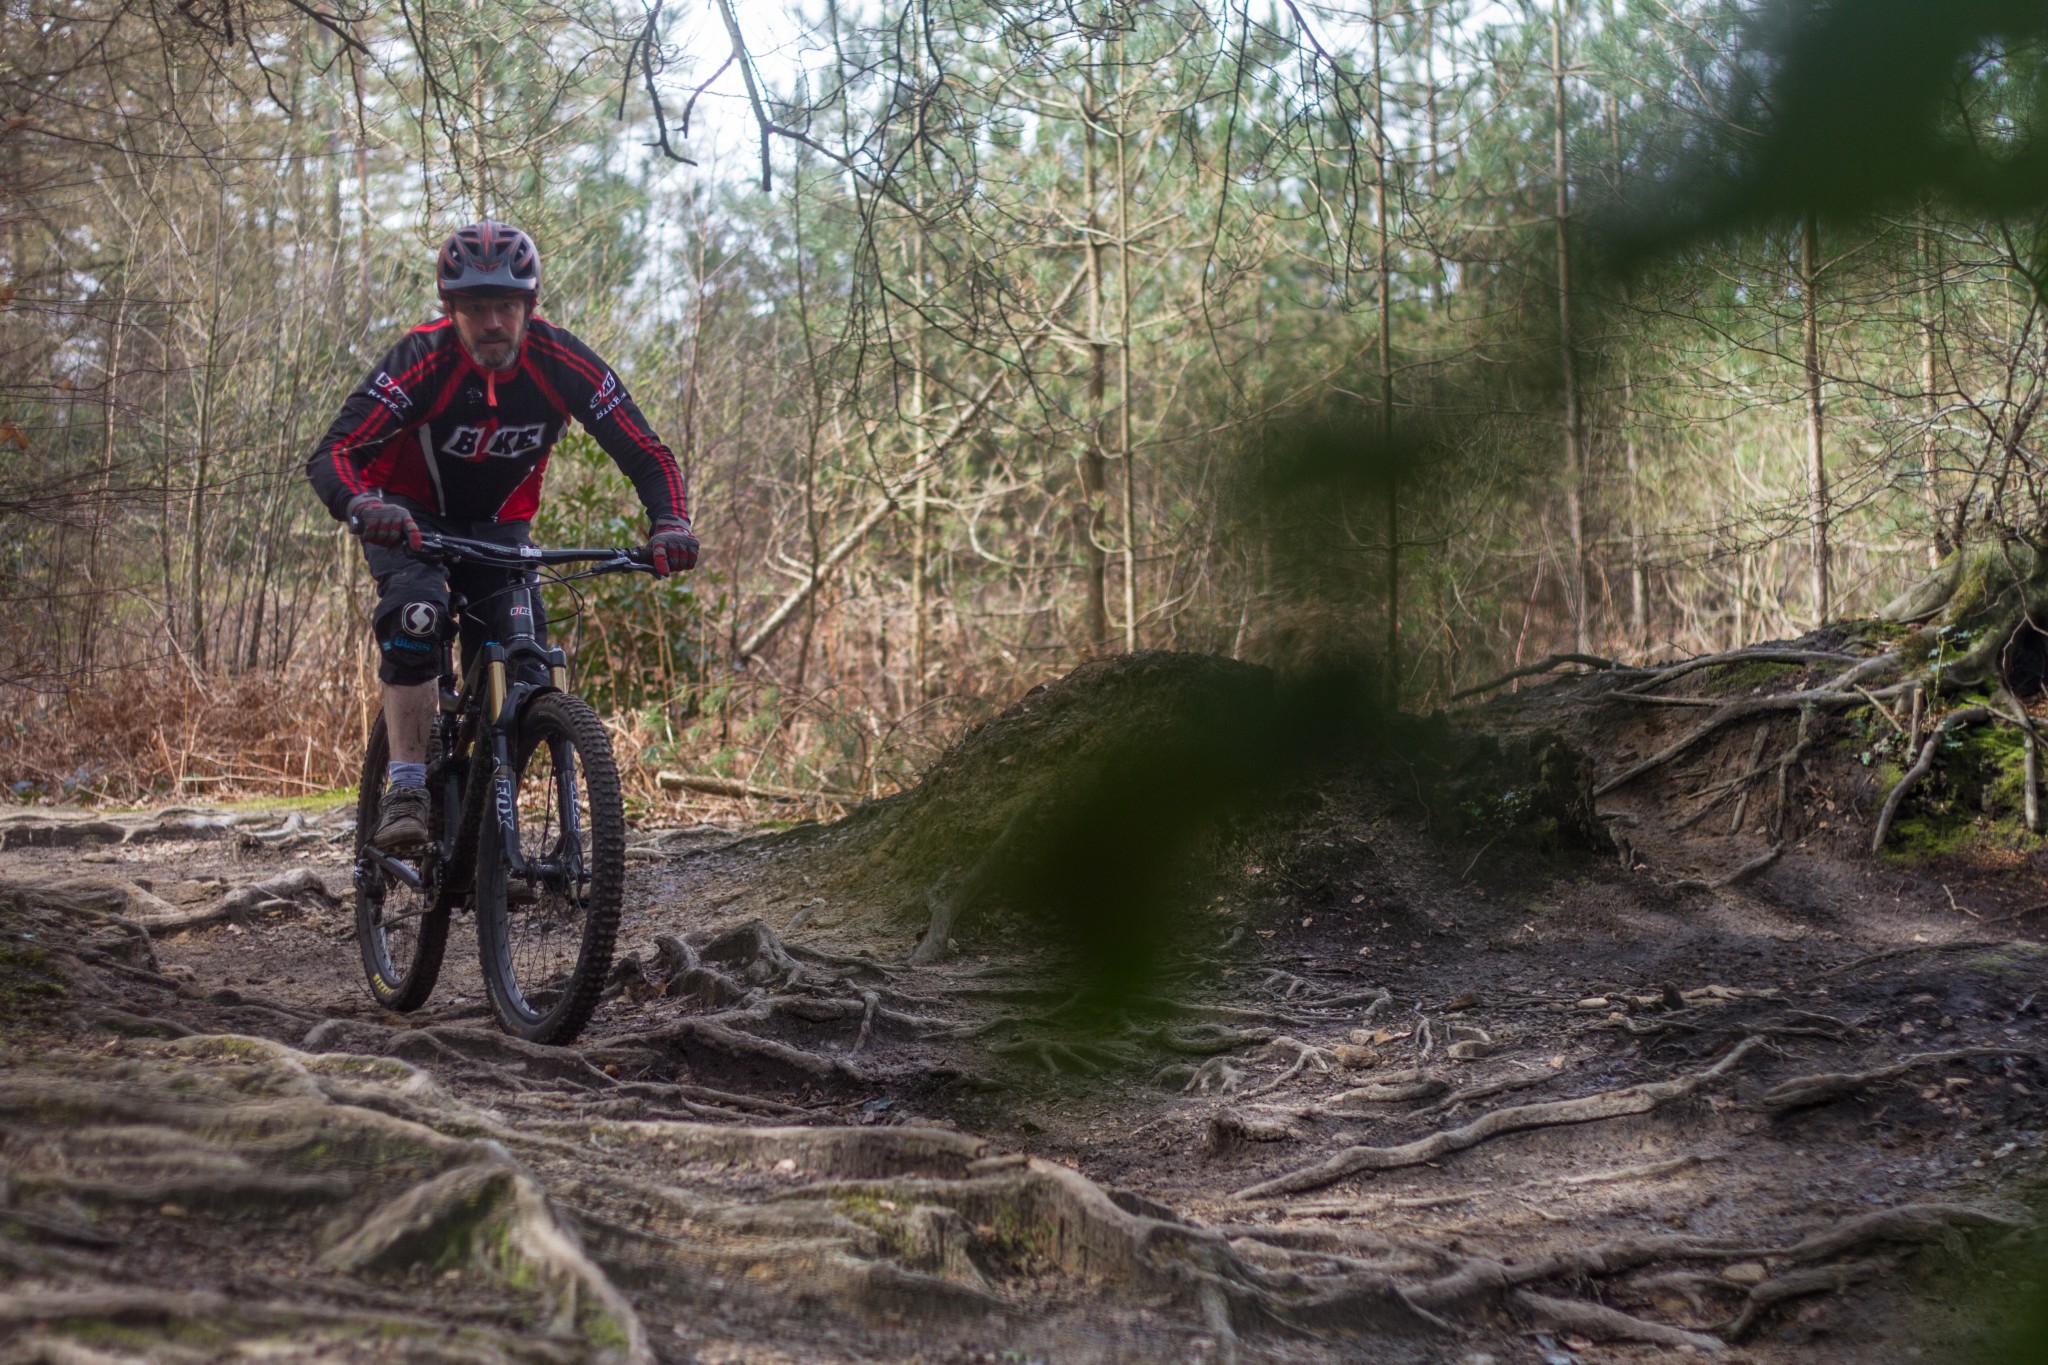
One of the most common features that can interrupt the holy grail of 'flow' is the good ol' 'up and over'. Whether this is a smooth roller, rocky outcrop or fallen tree, there are ways and means to ensure that we progress smoothly as a rider even when the trail ahead offers more than a little in the way of resistance. Whether it's a super smooth transition, the up then down of a crafted roller, or a more jagged, potentially stall-inducing outcrop of rocks or fallen tree, as a rider there are common skills that we can apply to keep the wheels turning. With the right technique, you can roll smoothly, stay in control and of course importantly, not have to dab a foot down, come to a halt or get disengaged entirely from our two-wheeled steed.


Although the physical nature of up and overs may vary considerably, the core skills that we need to polish are more constant.
Visual Impairment
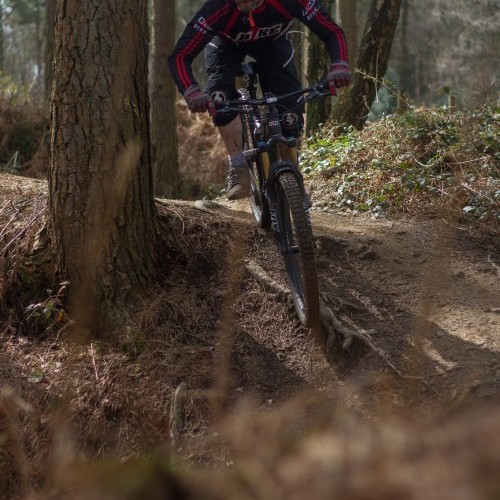
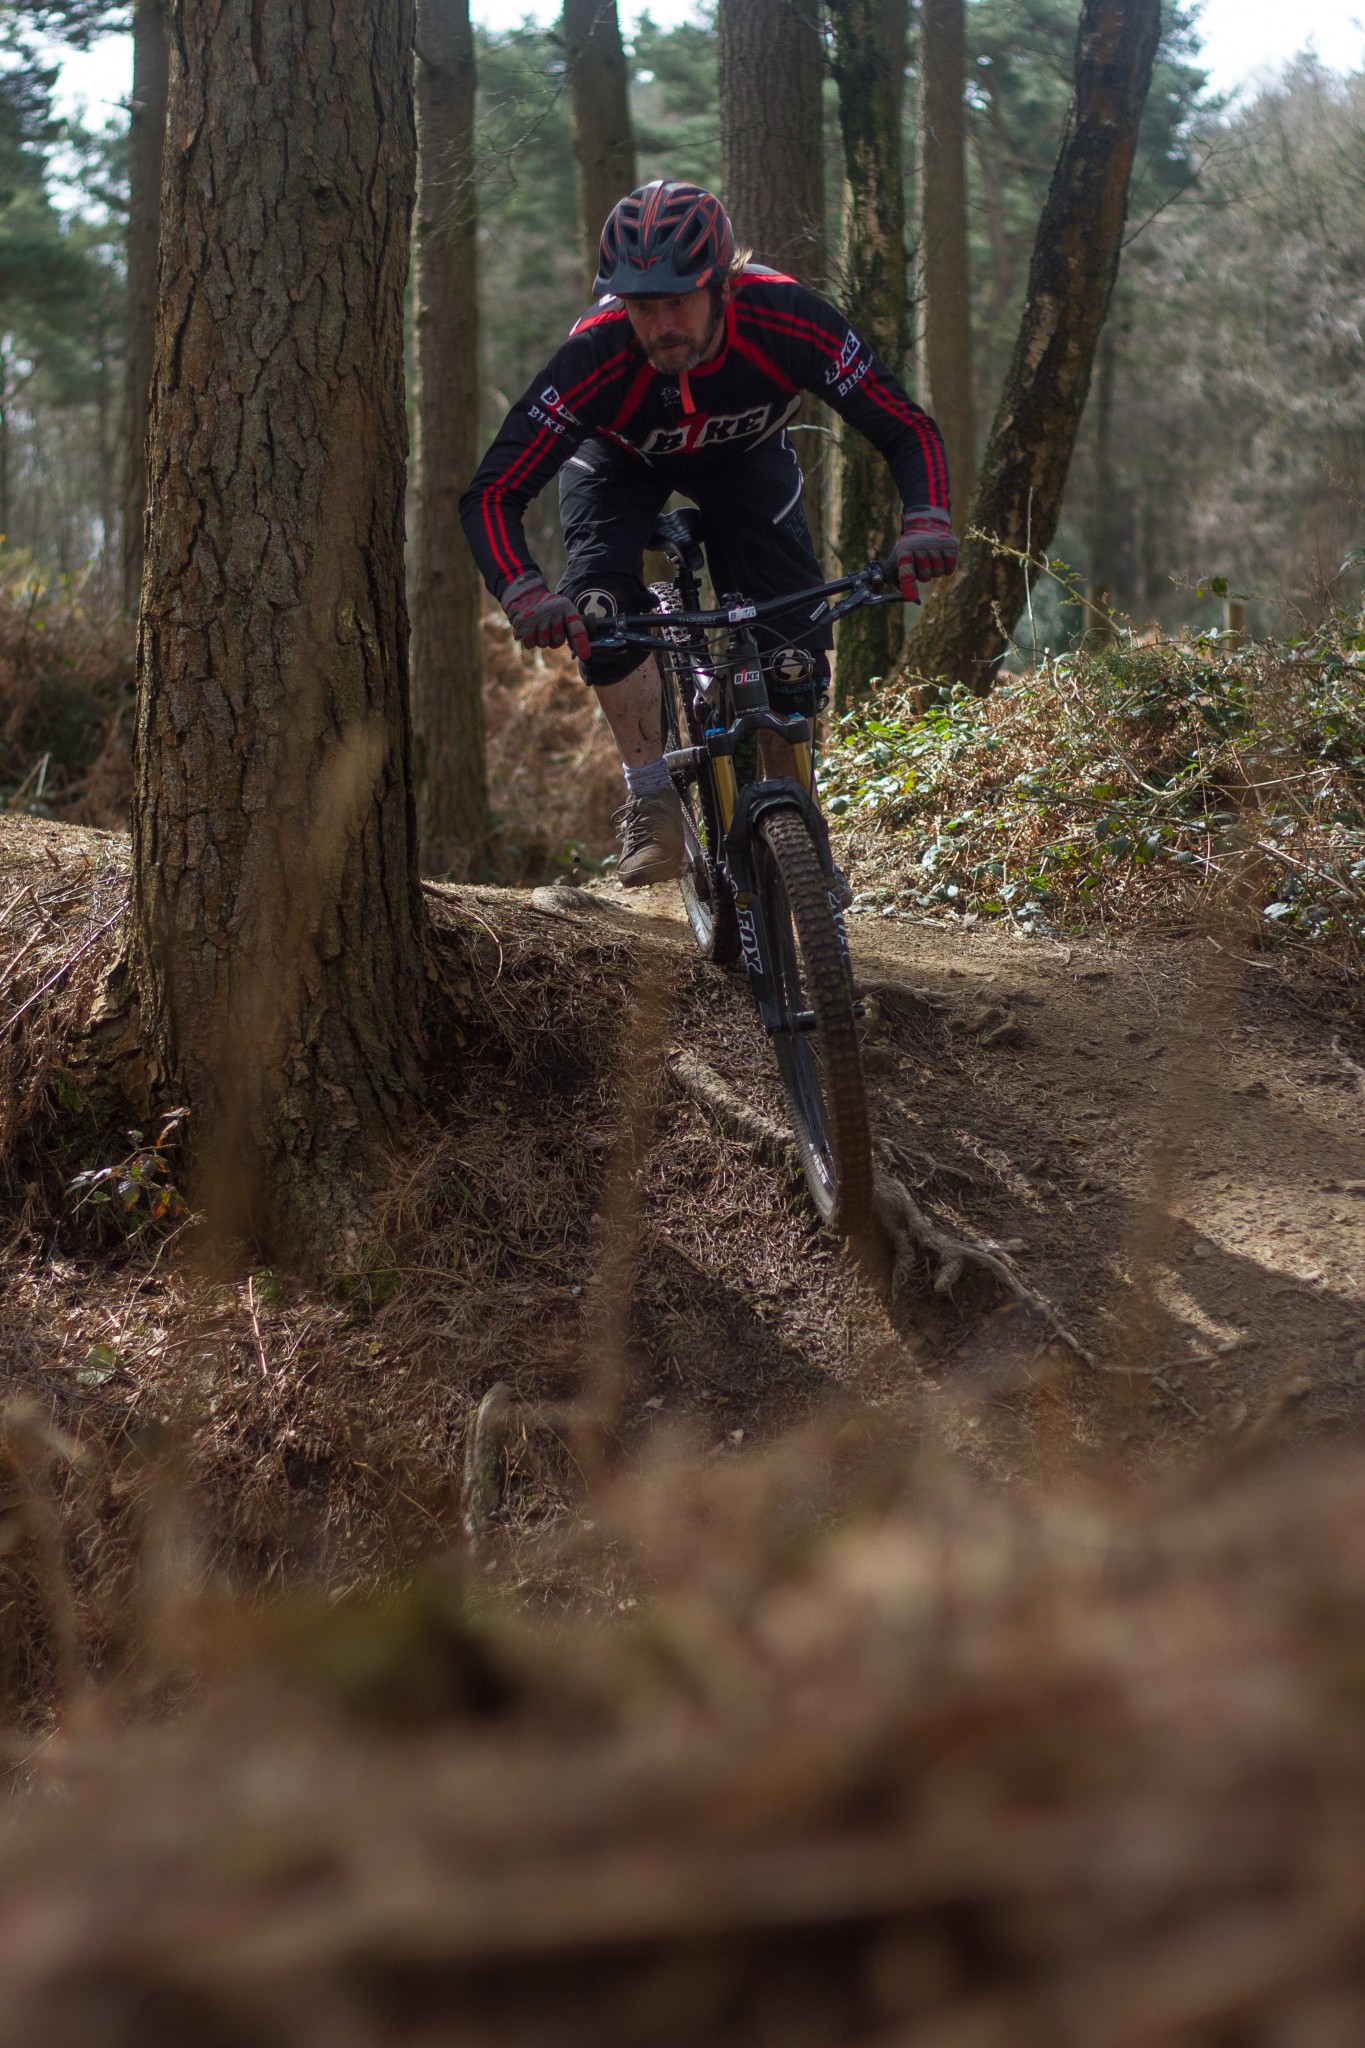
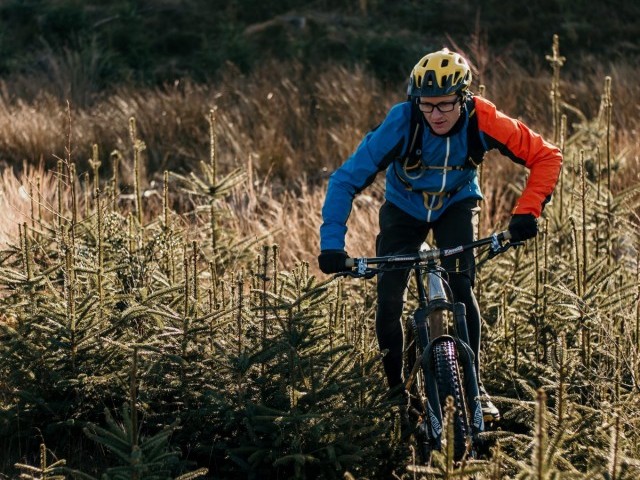
One of the easiest things to correct, but often the one that lets us down first, is what we do (or don't do) with our eyes. Transitions, rough or smooth, can create a tantalisingly attractive focal point and induce us to look to the wrong place. The upside presents us with a face - and we all like to look at one of these. Down to flat transitions on the downslope can be equally compelling. Several issues can arise when you are visually suckered by 'up and overs'. That is not to say you will never get sucked into looking to the wrong point, but we need to recognise when it is happening and deal with it sooner rather than later.
Reducing 'dwell time' is the key to success. Reducing how often and how long we drop our focal vision into the area our peripheral vision covers is the goal. Ideally, we want to look over the high point to further high points as far down the trail as we can see at our eye-line. The reality is the unsighted nature of the downslope (we can not see it as we approach, but will as we crest) or the potential threat of a far from smooth upslope can play tricks on both our mind and body. Looking to not through, can contribute to the bike stalling on the upslope. Simply dropping the head as we look down will transfer more weight forwards and lead to a heavier front wheel that on an uneven upslope will offer up more rolling resistance. As you roll over the top, looking into the down to flat transition once you have crested the 'up and over' can lead to the rider becoming the accelerating mass and starting to overtake the bike. At best you will get a bit of a push forward and cause an increased level of stall, at worst the front wheel will snag and as the rider, you may overtake it. The trick is to ignore the urge to dwell (or even look at all) into the upslope or the downslope. Raising your eye-line will positively affect your body position, especially if combined with good footwork and energy management. It will help you not only keep mentally ahead of the bike but keep your body weight as the under-rotating mass and drive the bike through the transitions, even if they are far from smooth.
Energy Management
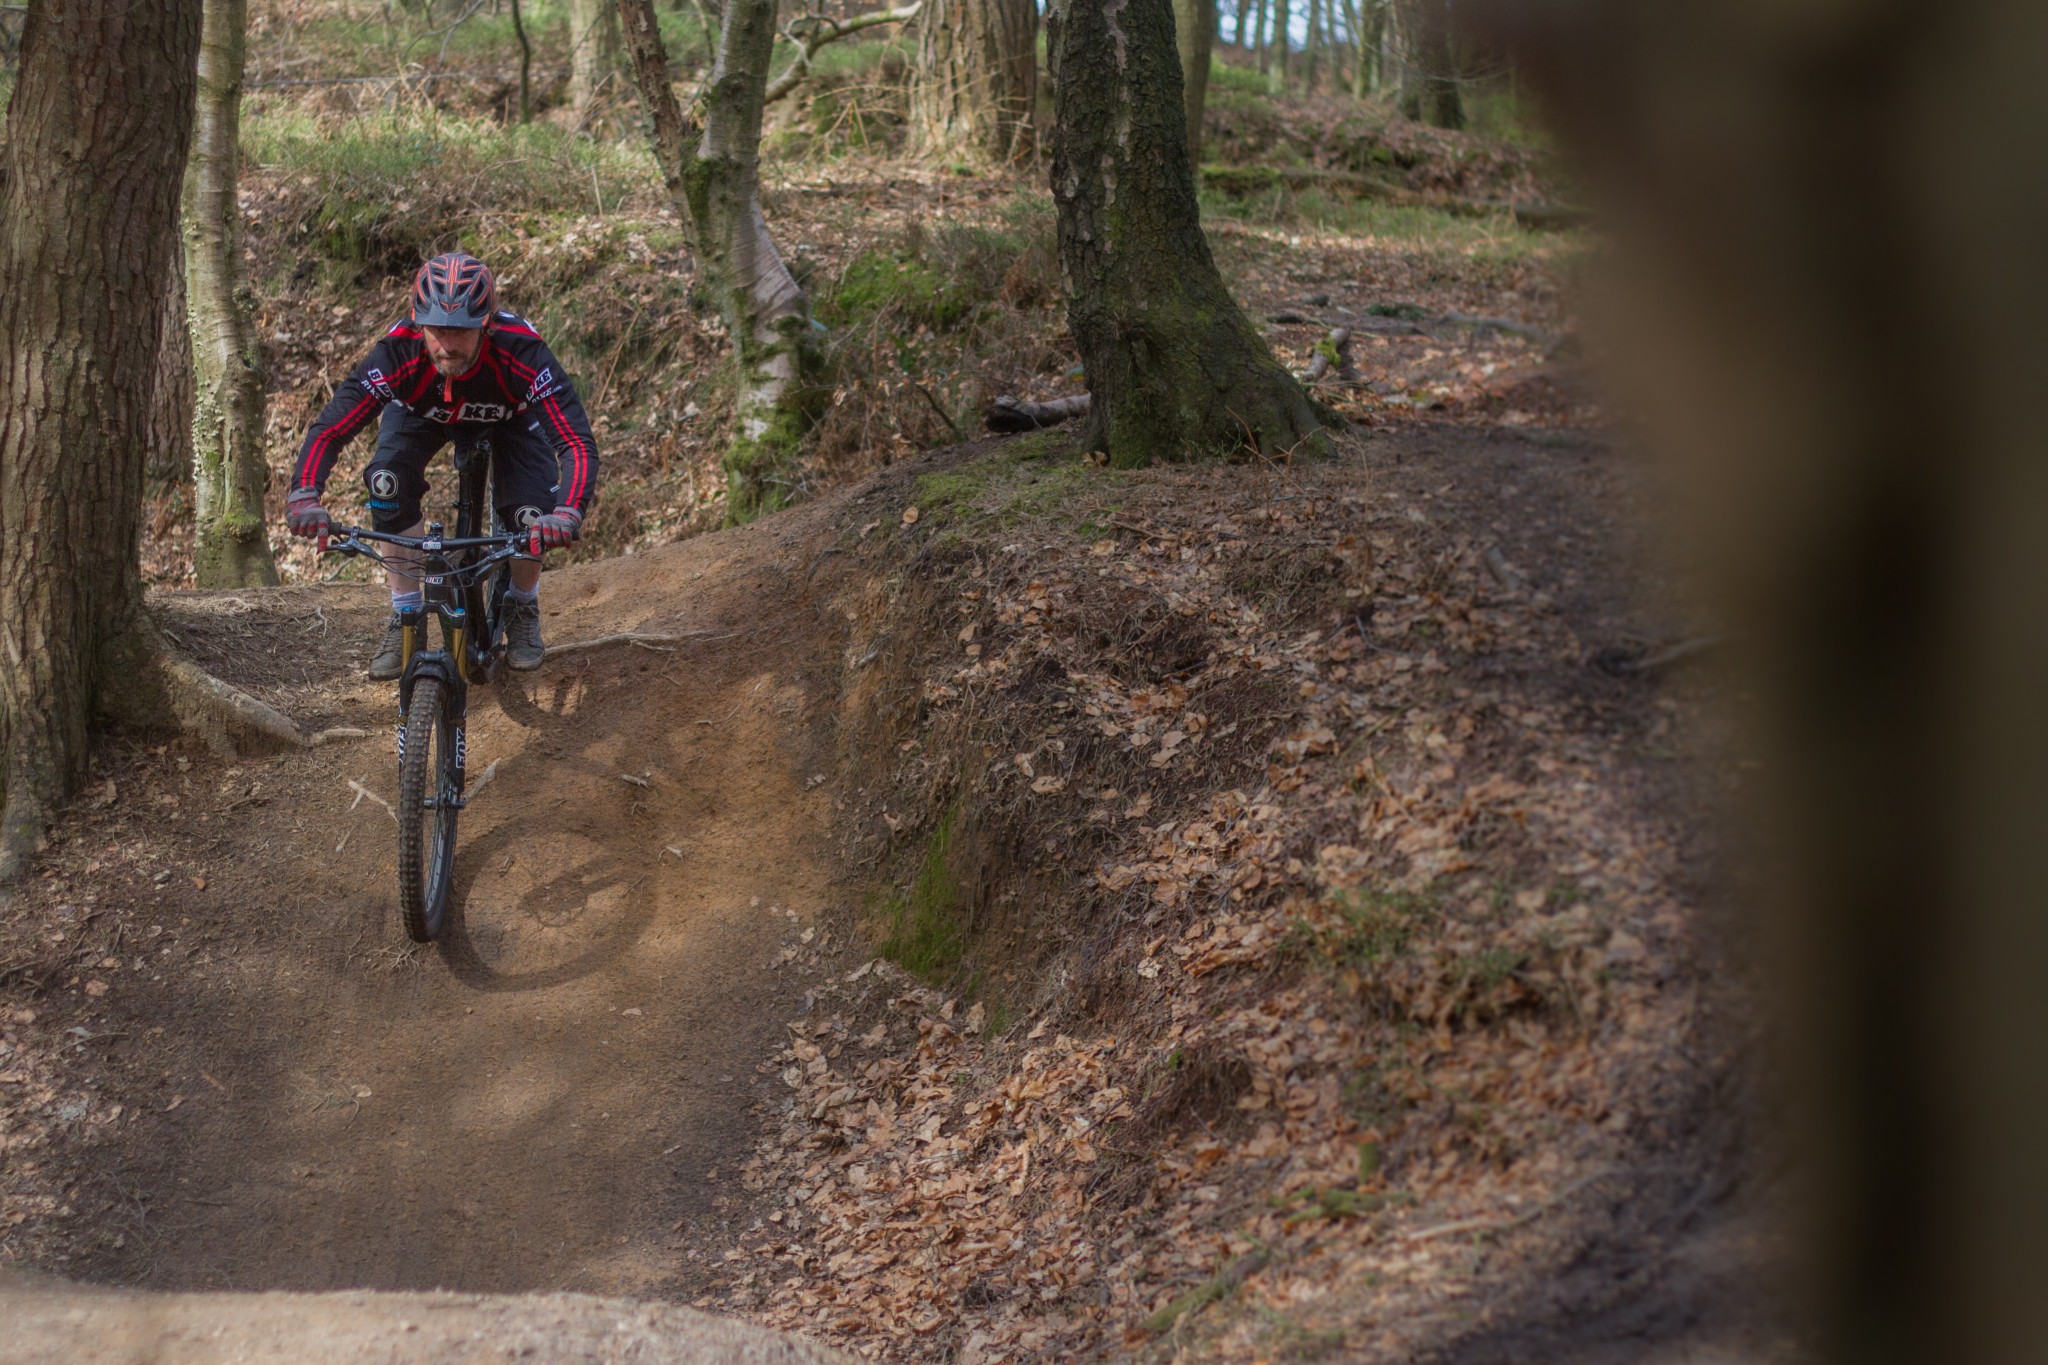
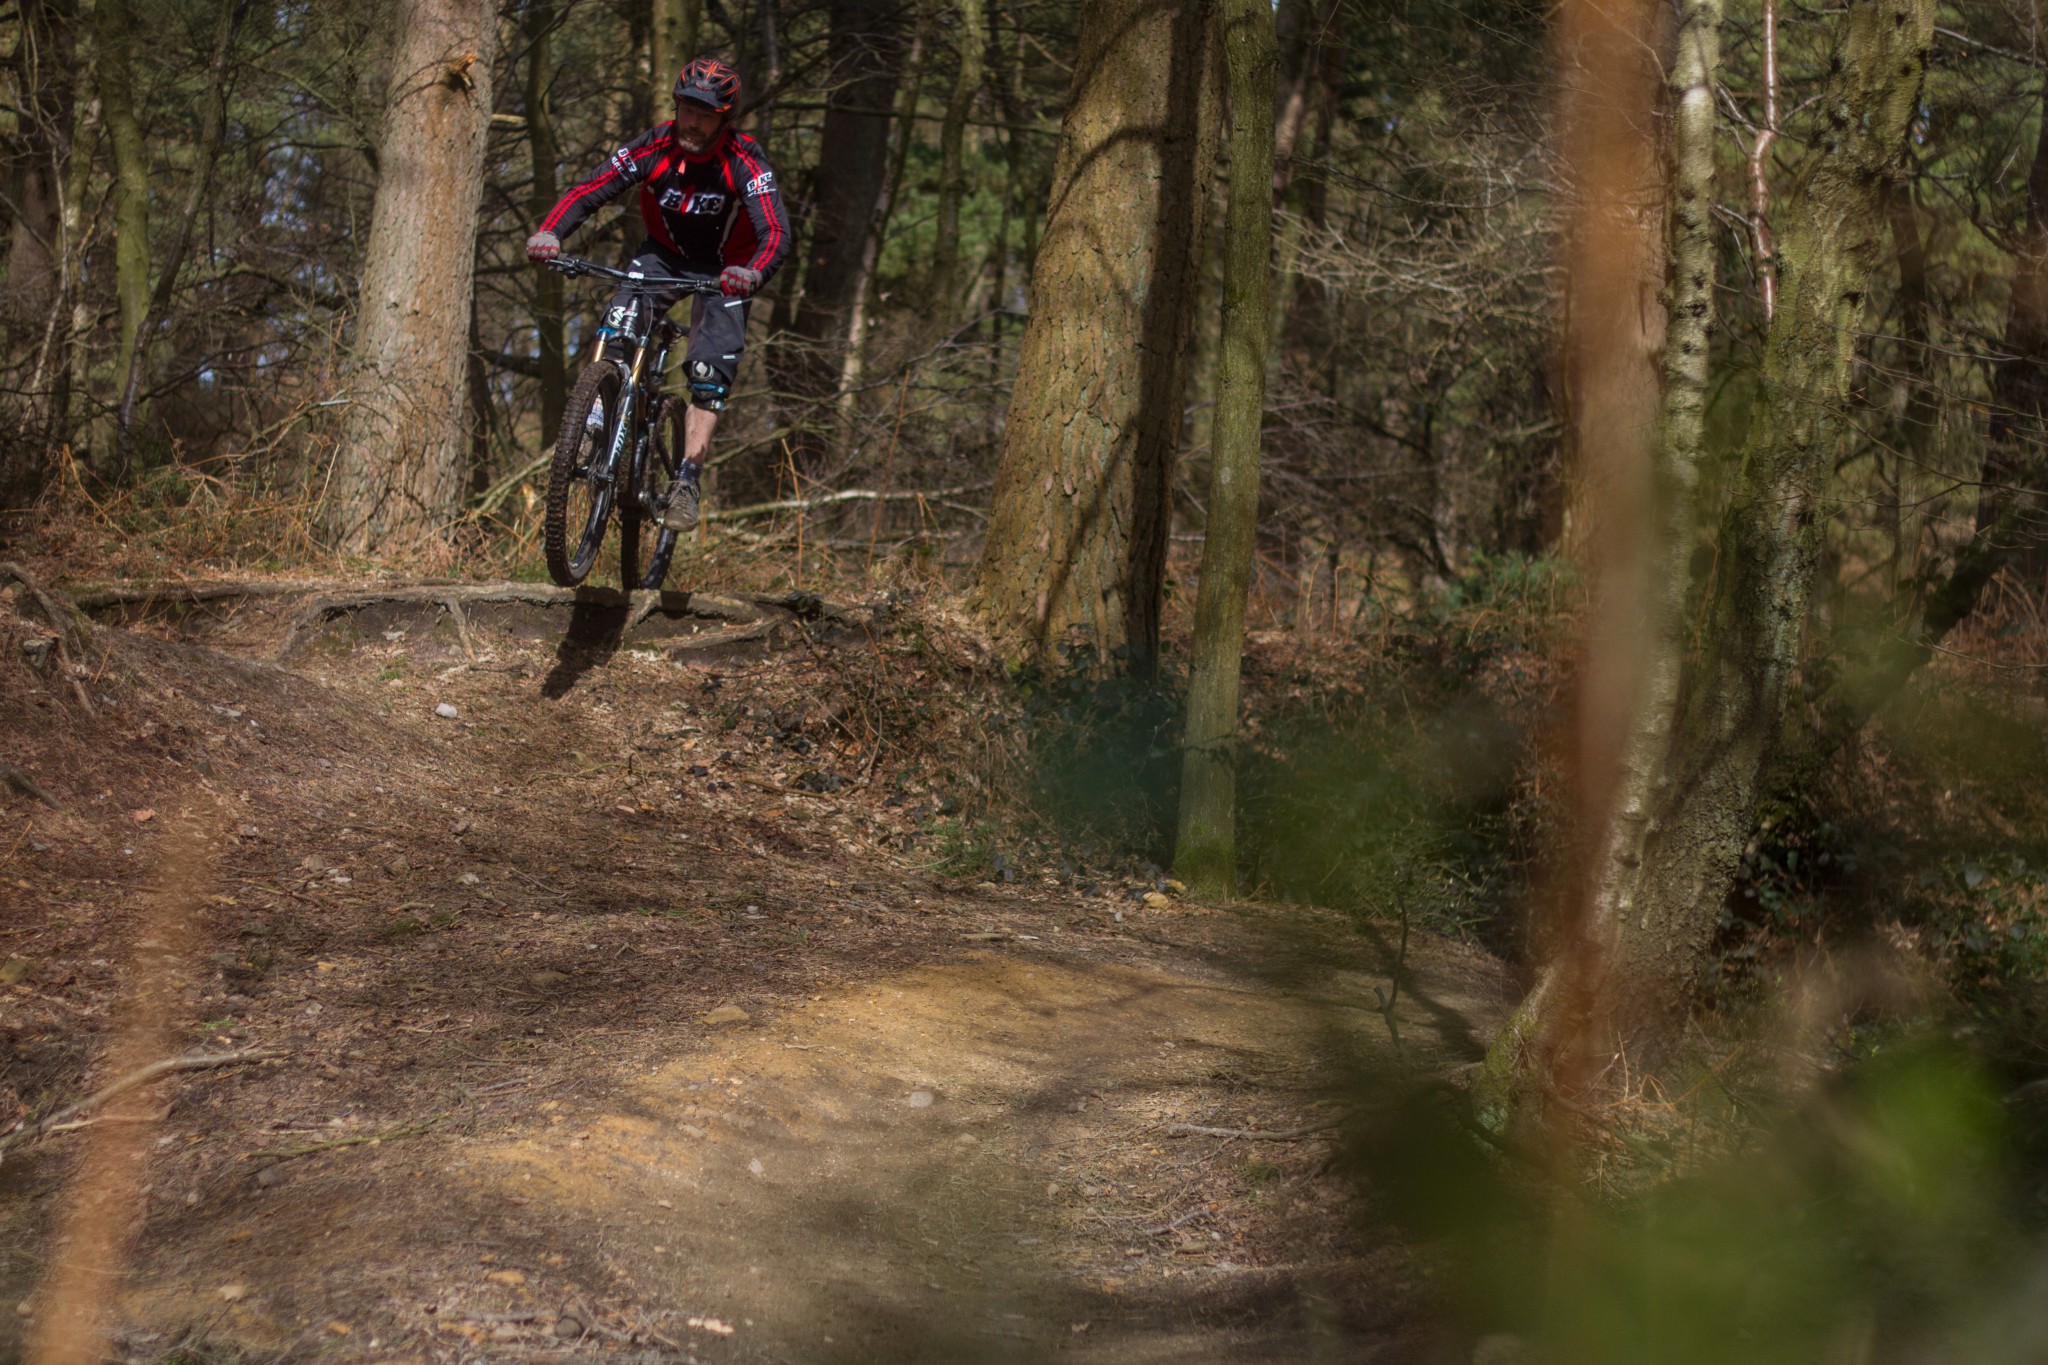
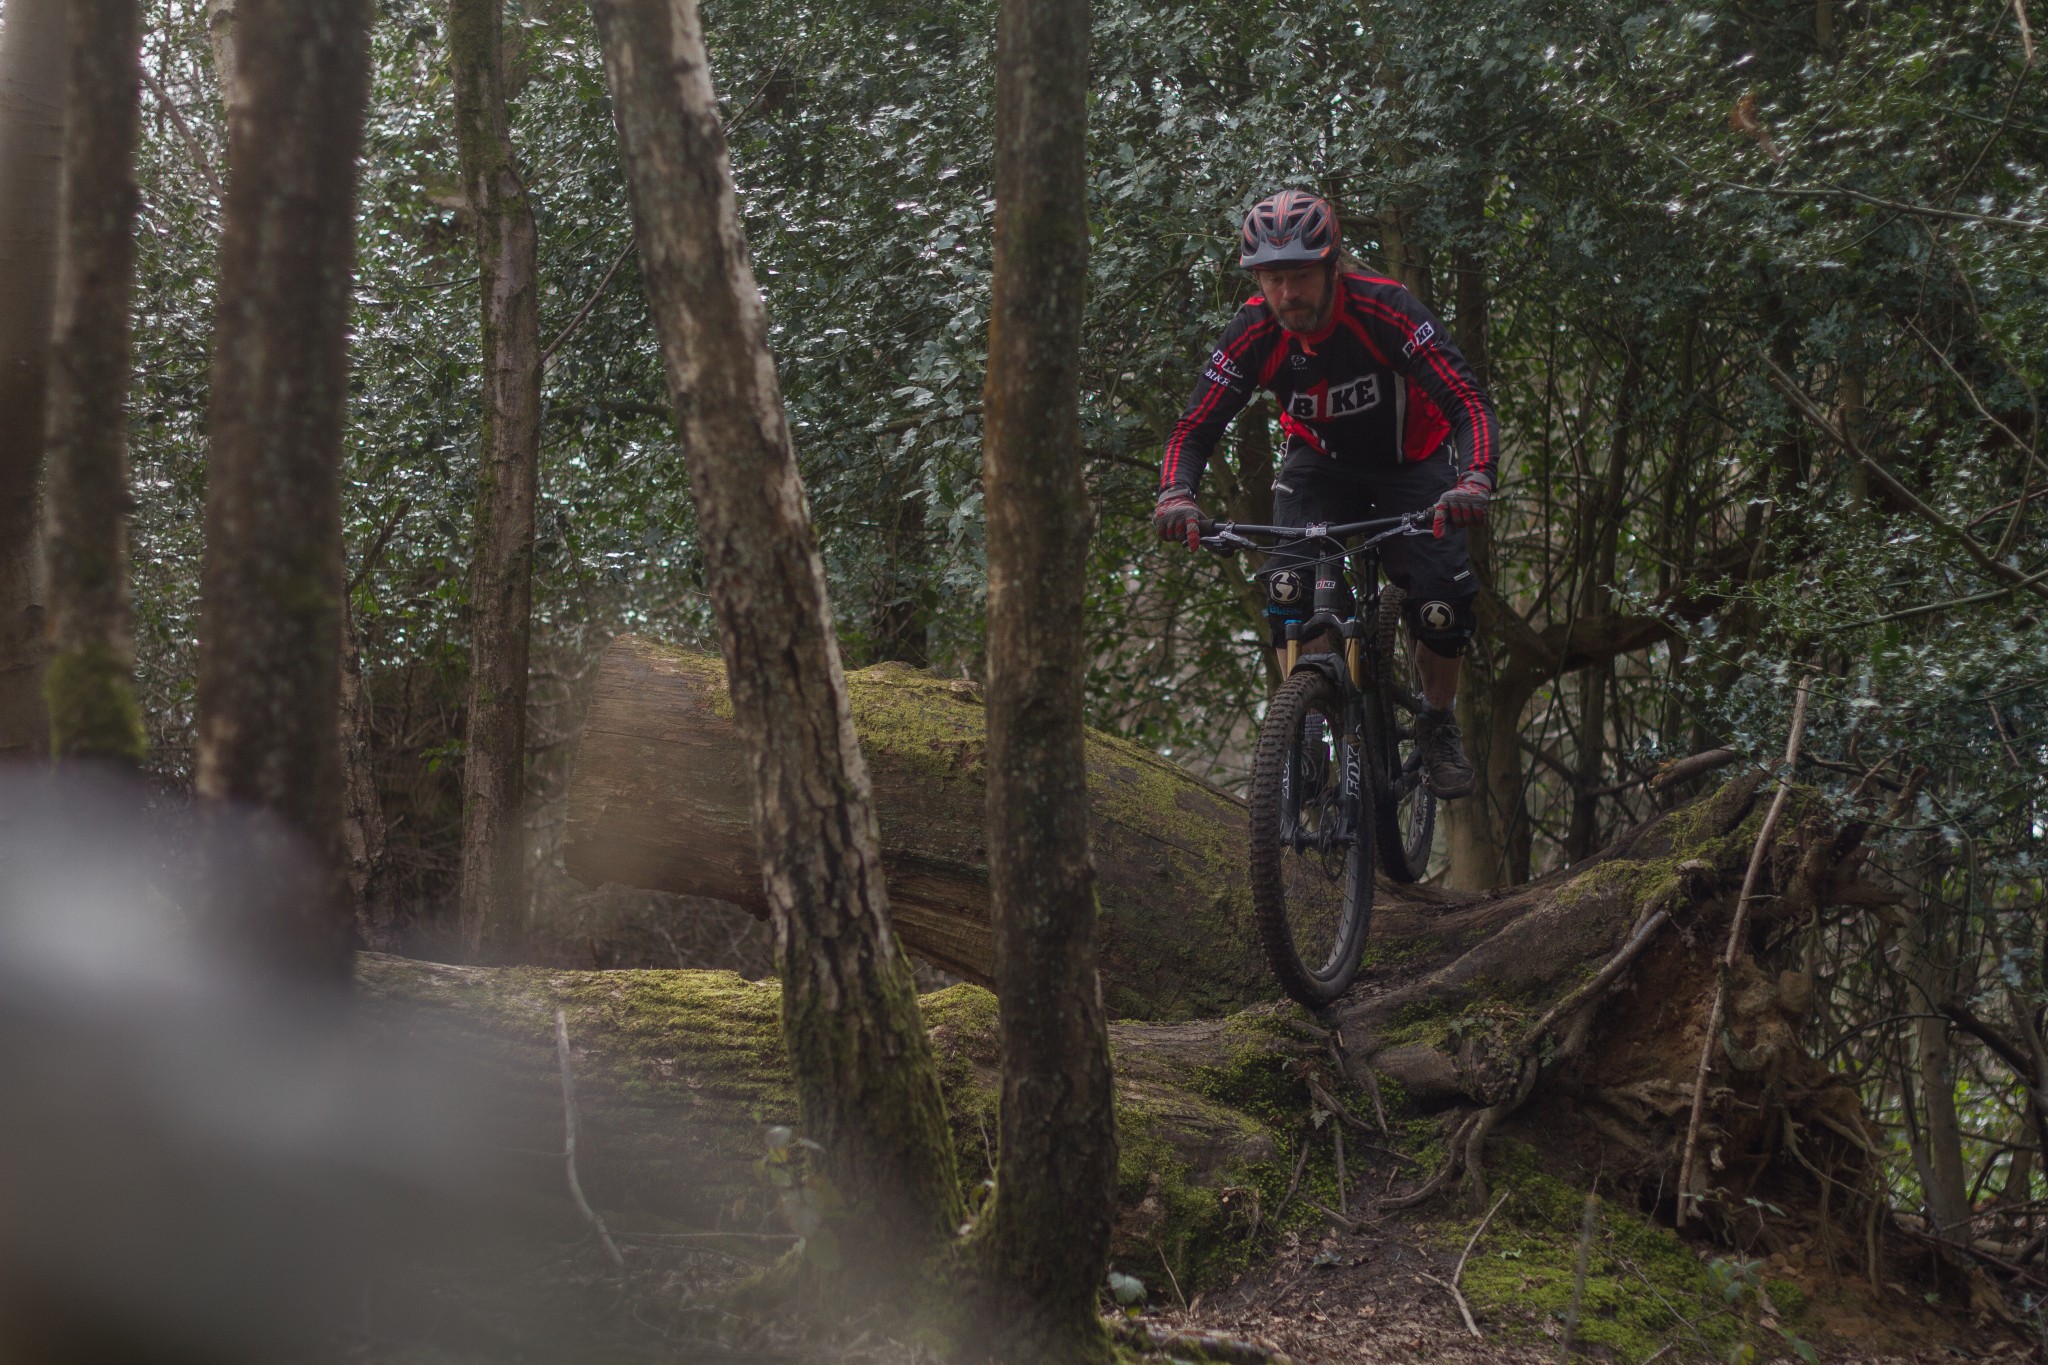
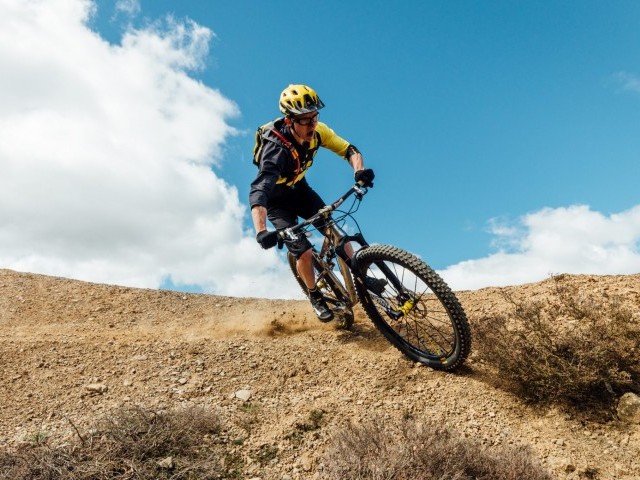
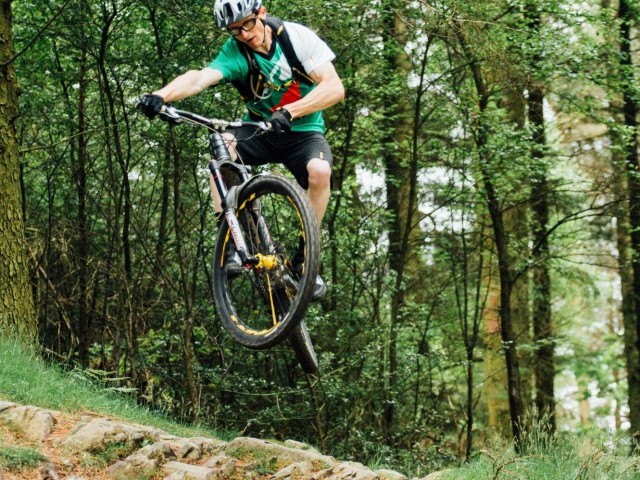
Pedalling over 'up and over' sections may be possible in some cases, but can lead to pedal strikes, loss of traction and getting 'pushed' as the rider. A far more important skill to apply is your ability to 'pump' the bike. Generating speed in this way will give you the acceleration you need through the entry point and up the upside transition, into the section and carry you to the high point. For added speed, pumping the down slope transition will offer acceleration out through the exit. The smoother the trail surface and the more uniform the curve of the transition the easier it is to pump all the way through the transition. If the 'up and over' has a less than uniform surface at first glance you may struggle to commit to pumping into the upslope and fail to utilise the transition that is there. For sure, you will need to refine how you apply the pressure and be sensitive to how, when and where you deliver the energy through the bike. Too heavy on the front and you risk the front wheel stalling against any protrusions, too quick in transferring weight rearwards and you'll lose control of the front wheel as it lightens and rises from the trail surface. Get the balance right and you can pump through even the roughest of upslopes. This will help you generate the necessary momentum to accelerate the bike up relatively uneven and steep transitions. Once cresting the high point, it’s important to centre up ready to deal with the bikes forward rotation into the downslope. Too far behind the centre line at this point and you won't be able to pump the downslope and 'looping out' can become an issue. Too far forwards and you will likely rotate too much as the bike pitches down the downslope.

As the videos show even the most uneven of surfaces still offer up opportunity to pump for acceleration. Working smooth rollers is simpler, there are fewer inputs to deal with and less chance of the bike stalling. That said, even the most rugged of surfaces provides an opportunity to pump your way to success. The balance between when to weight the bike and when to allow it to rise can be harder to find, but there is a transition to be worked. Fine tuning your pumping will allow you to breeze up and over without losing momentum or confidence.

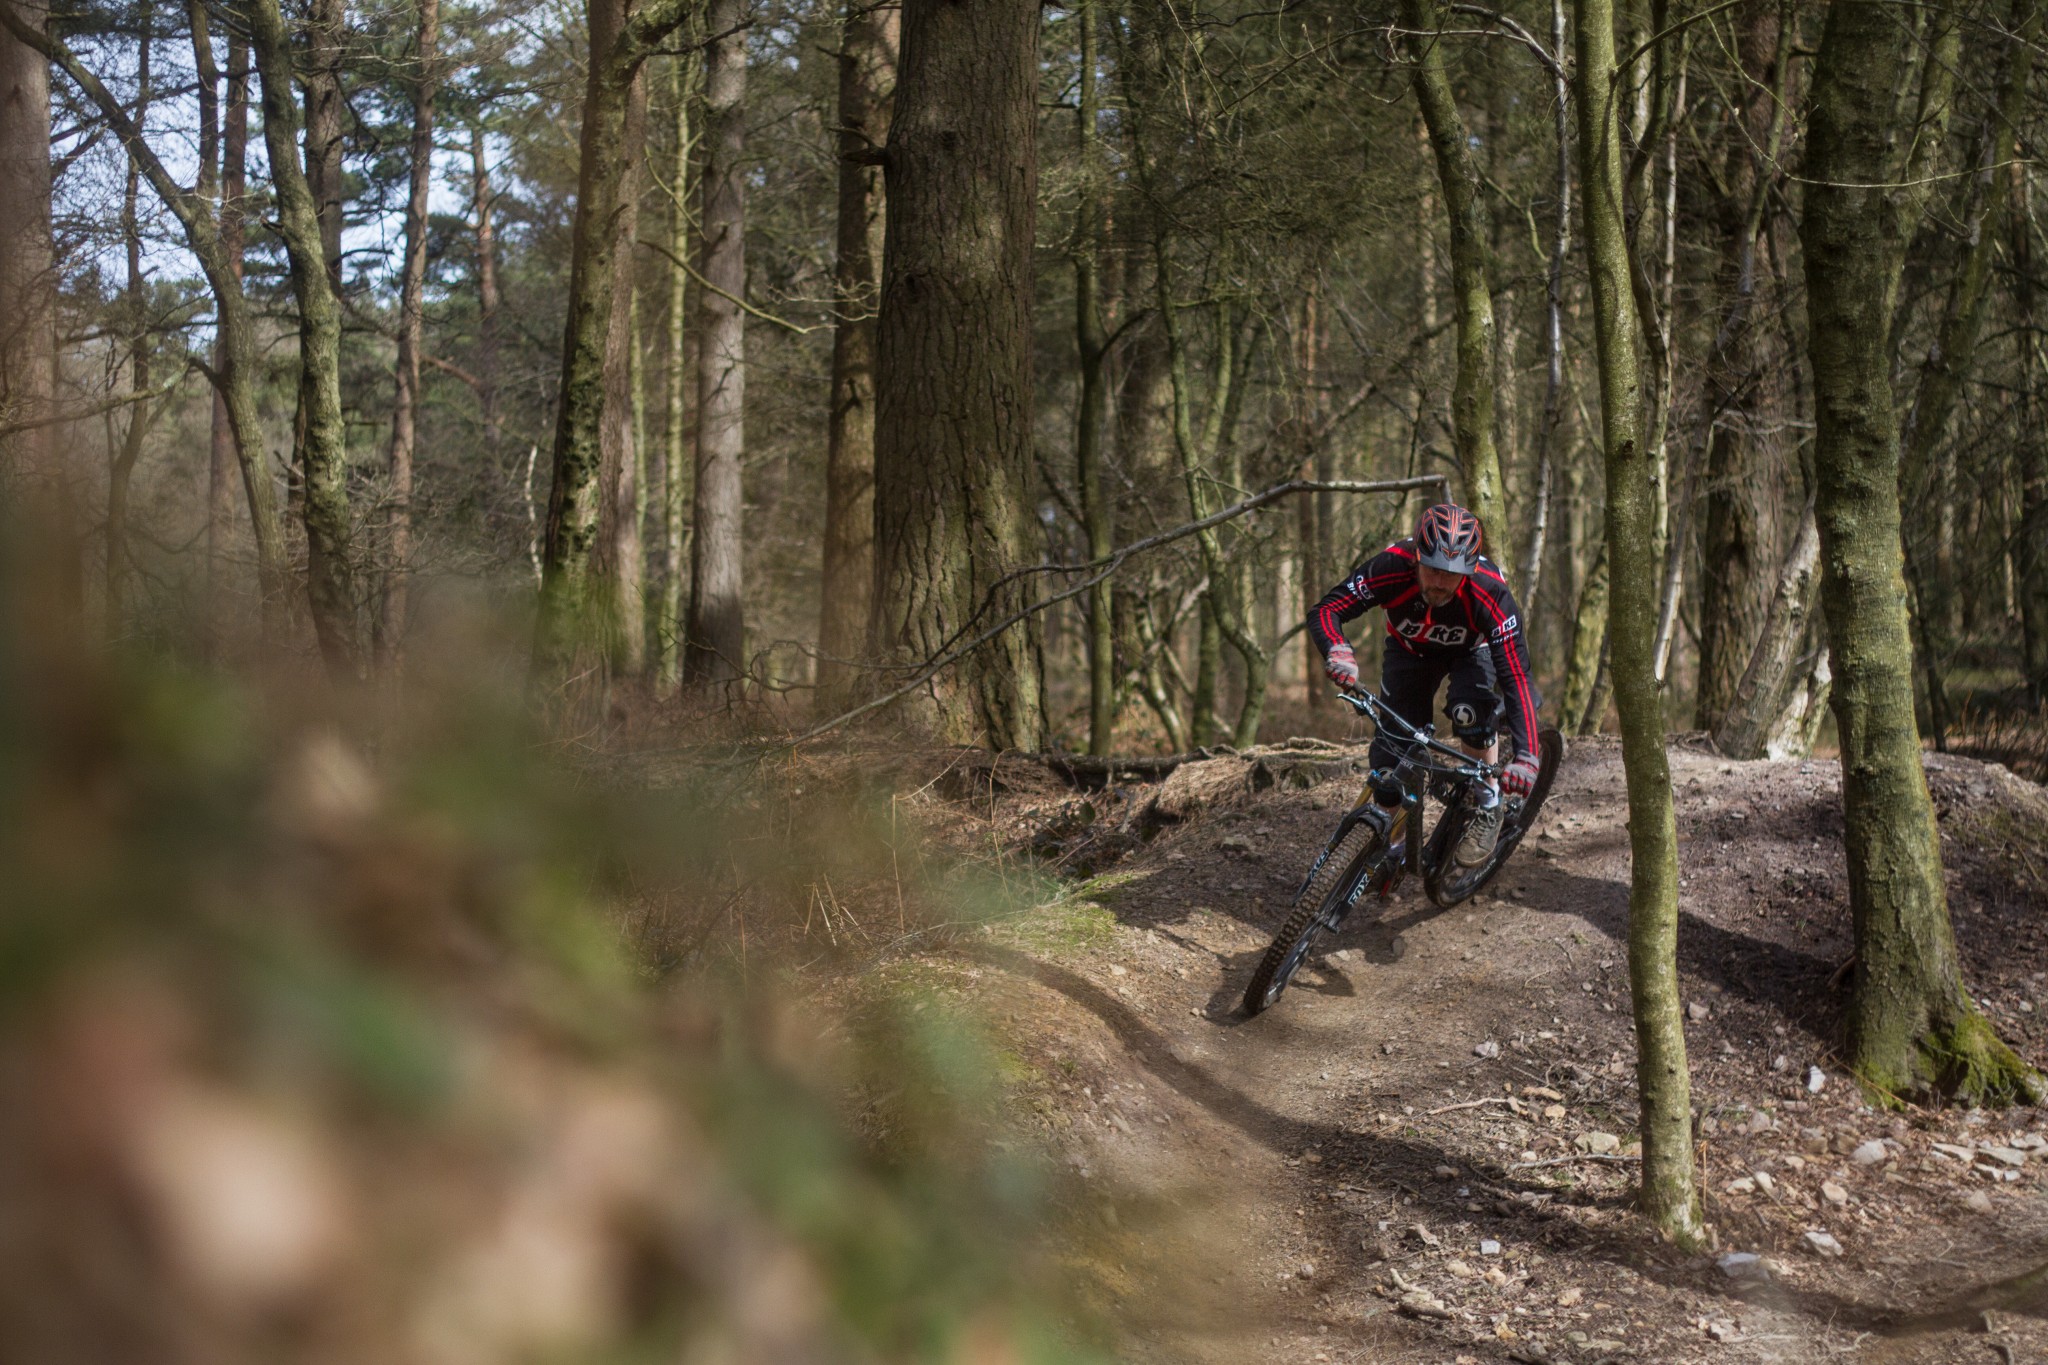
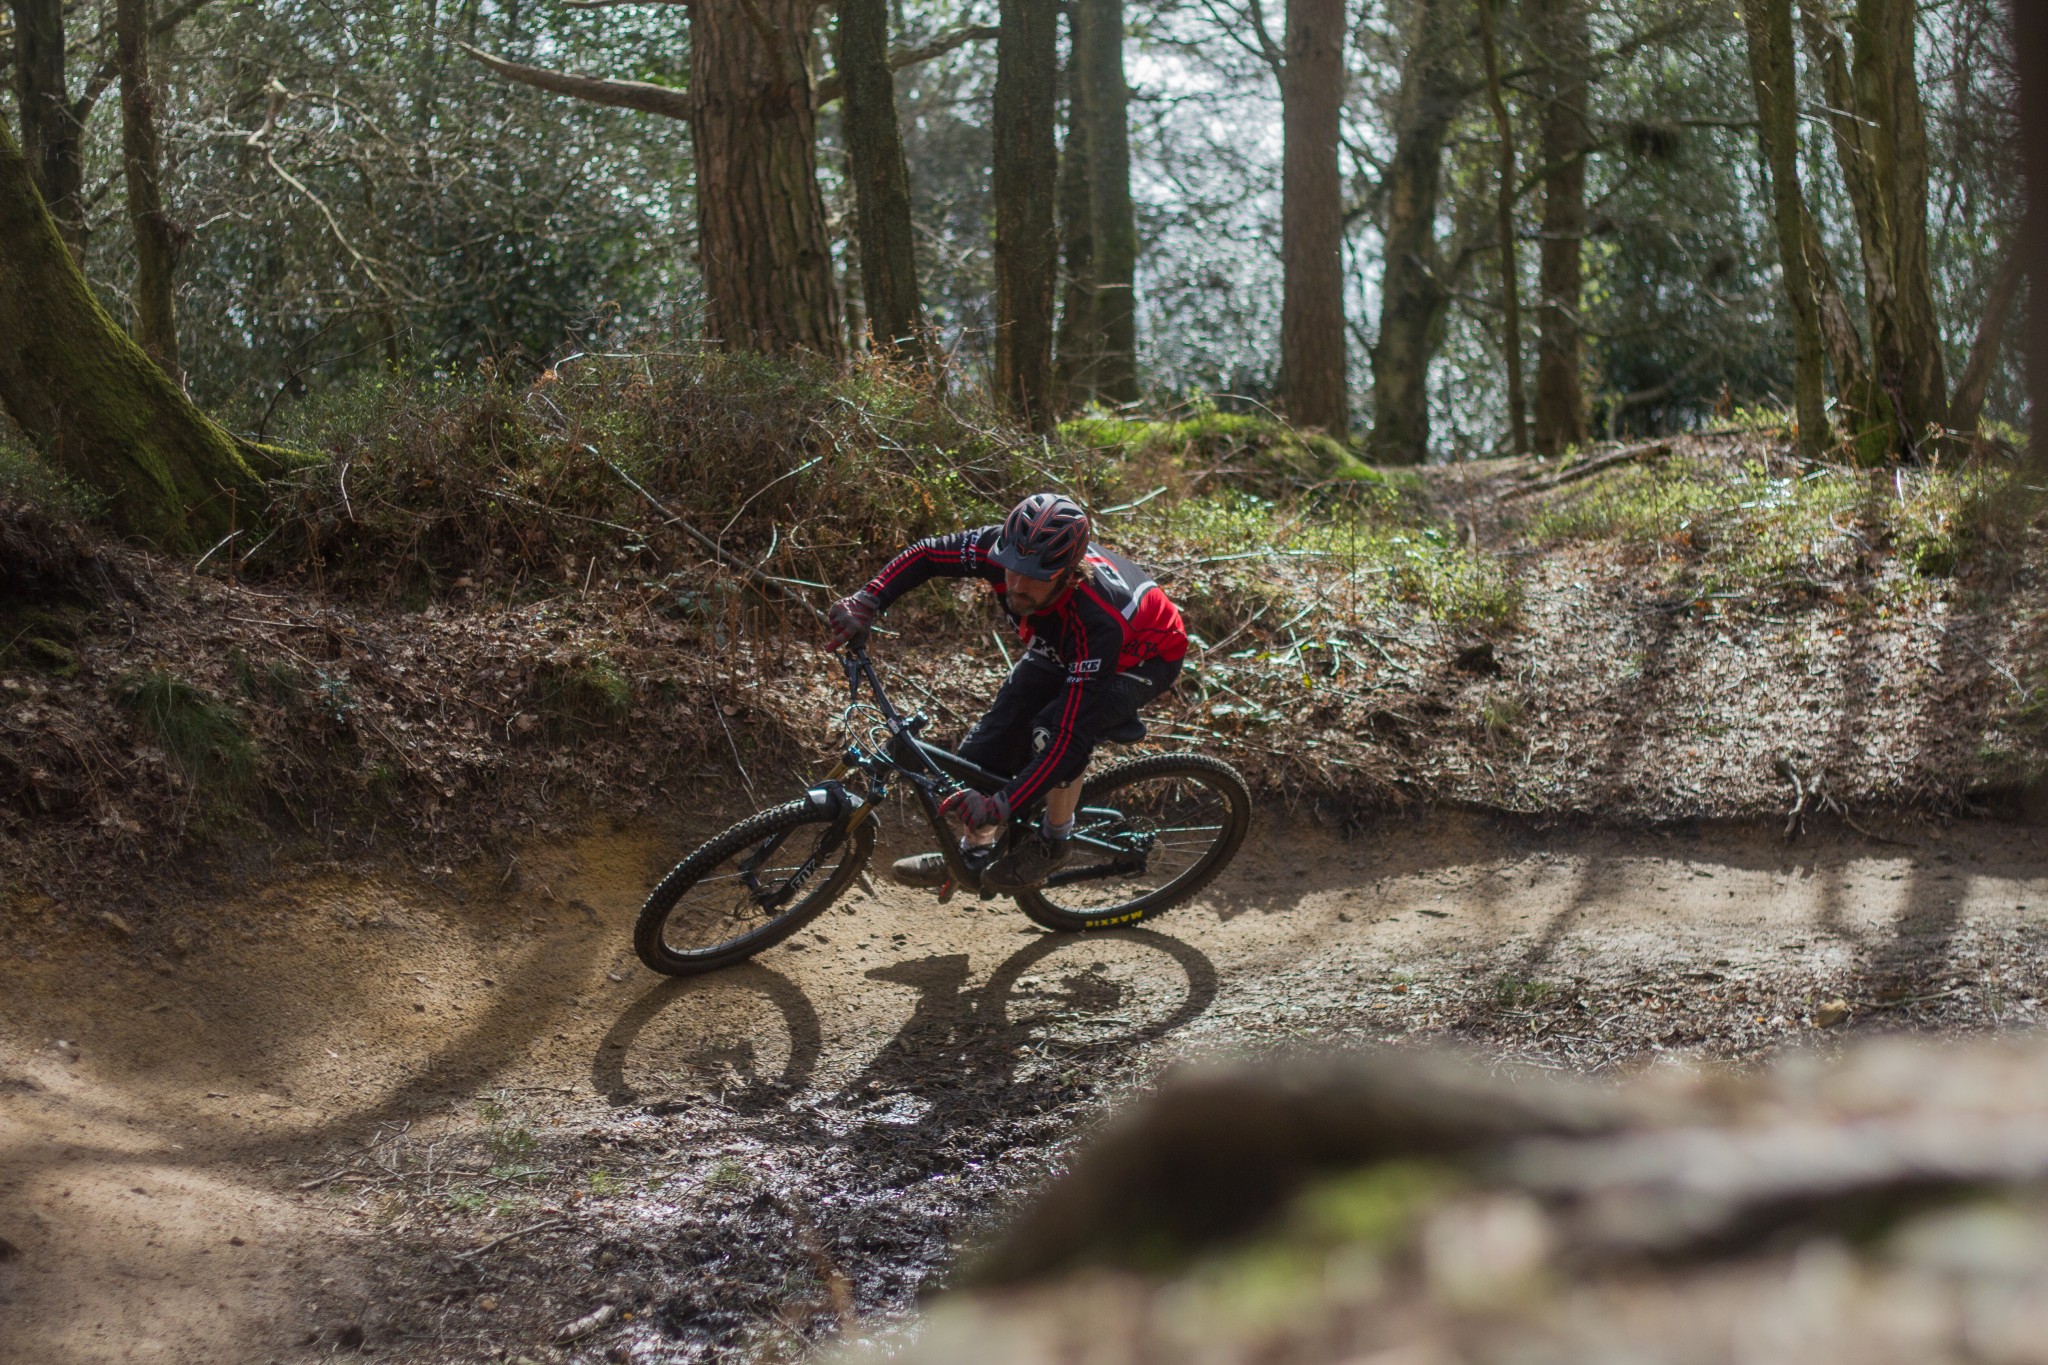
Body Position
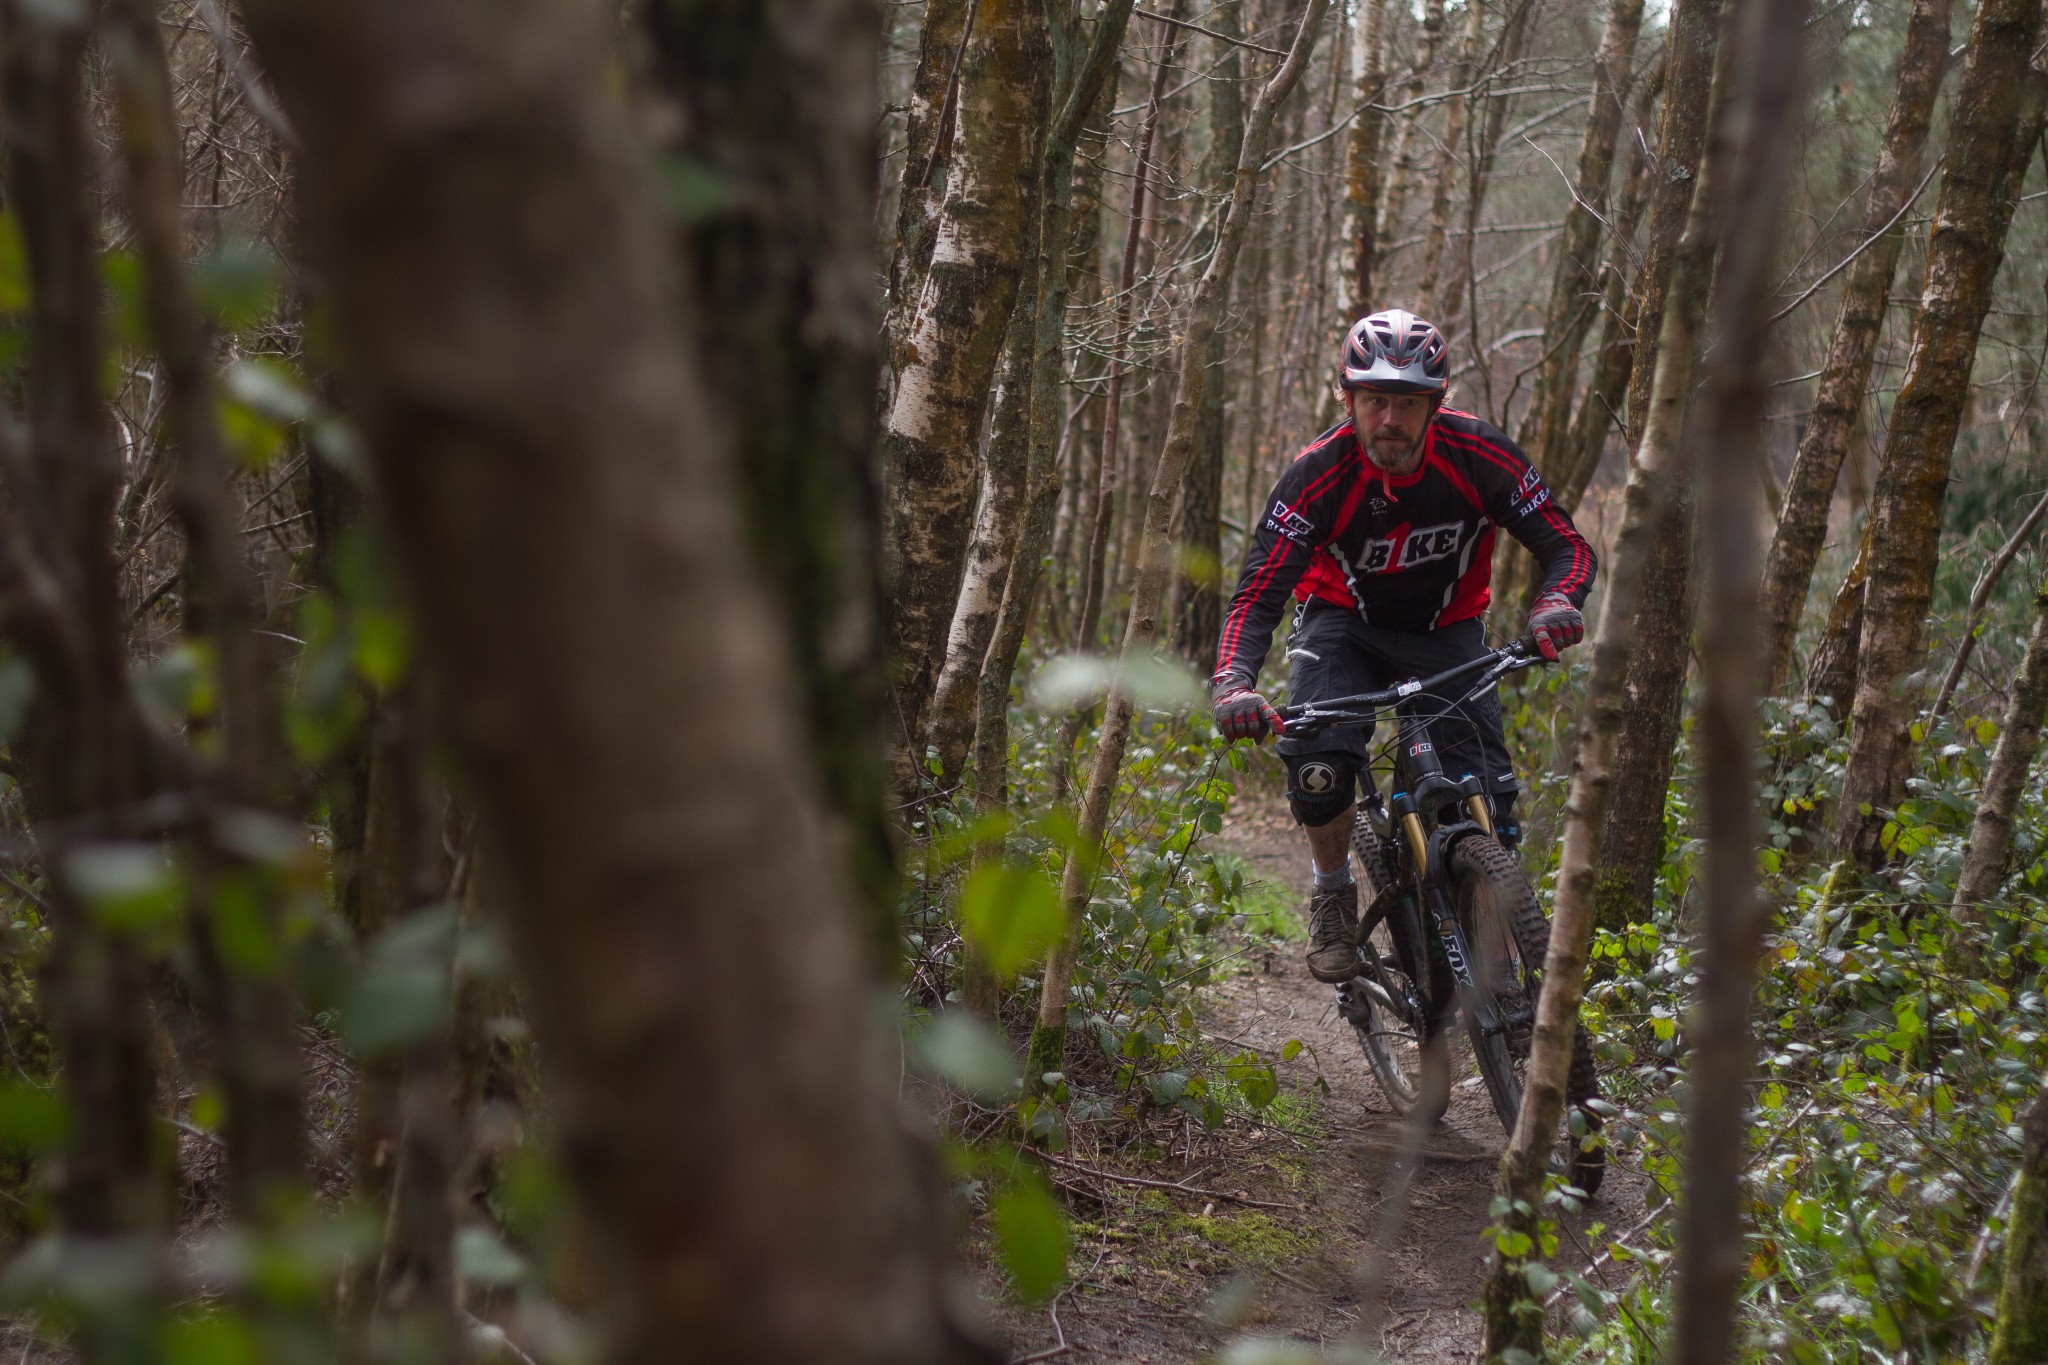
It’s easy to think of big forward and rearward movement of your body around the bike to deal with changes in gradient; however this is not, strictly speaking, the case. Think more of staying in a uniform position just rear of the bikes centre line (the 'pocket'), rather than you rotating letting the bike rotate below you. Lunging your weight forward into the upslope then driving your backside rearwards on the down slope will not serve you well. We want to drive the bike, but do it from a relatively stable platform and keep our weight in what we refer to as the ‘pocket’. Bending and straightening should be done more from the knee than the waist. Driving energy through the bike at the right time can be achieved best by using the levers of the heel and wrist. Dropping heels and wrists creates down and through force, which can drive the bike through the upslope then the downslope without violently altering your overall body position. Controlling the lower half of the body is easy once you set yourself up correctly, but it is the upper body control that can more commonly let a rider down. Try and keep a relatively uniform position in terms of shoulders and hips rather than being flung back then forwards as the bike rotates one way then the other. When showing the trail ahead some respect, think curtsey, not bow.
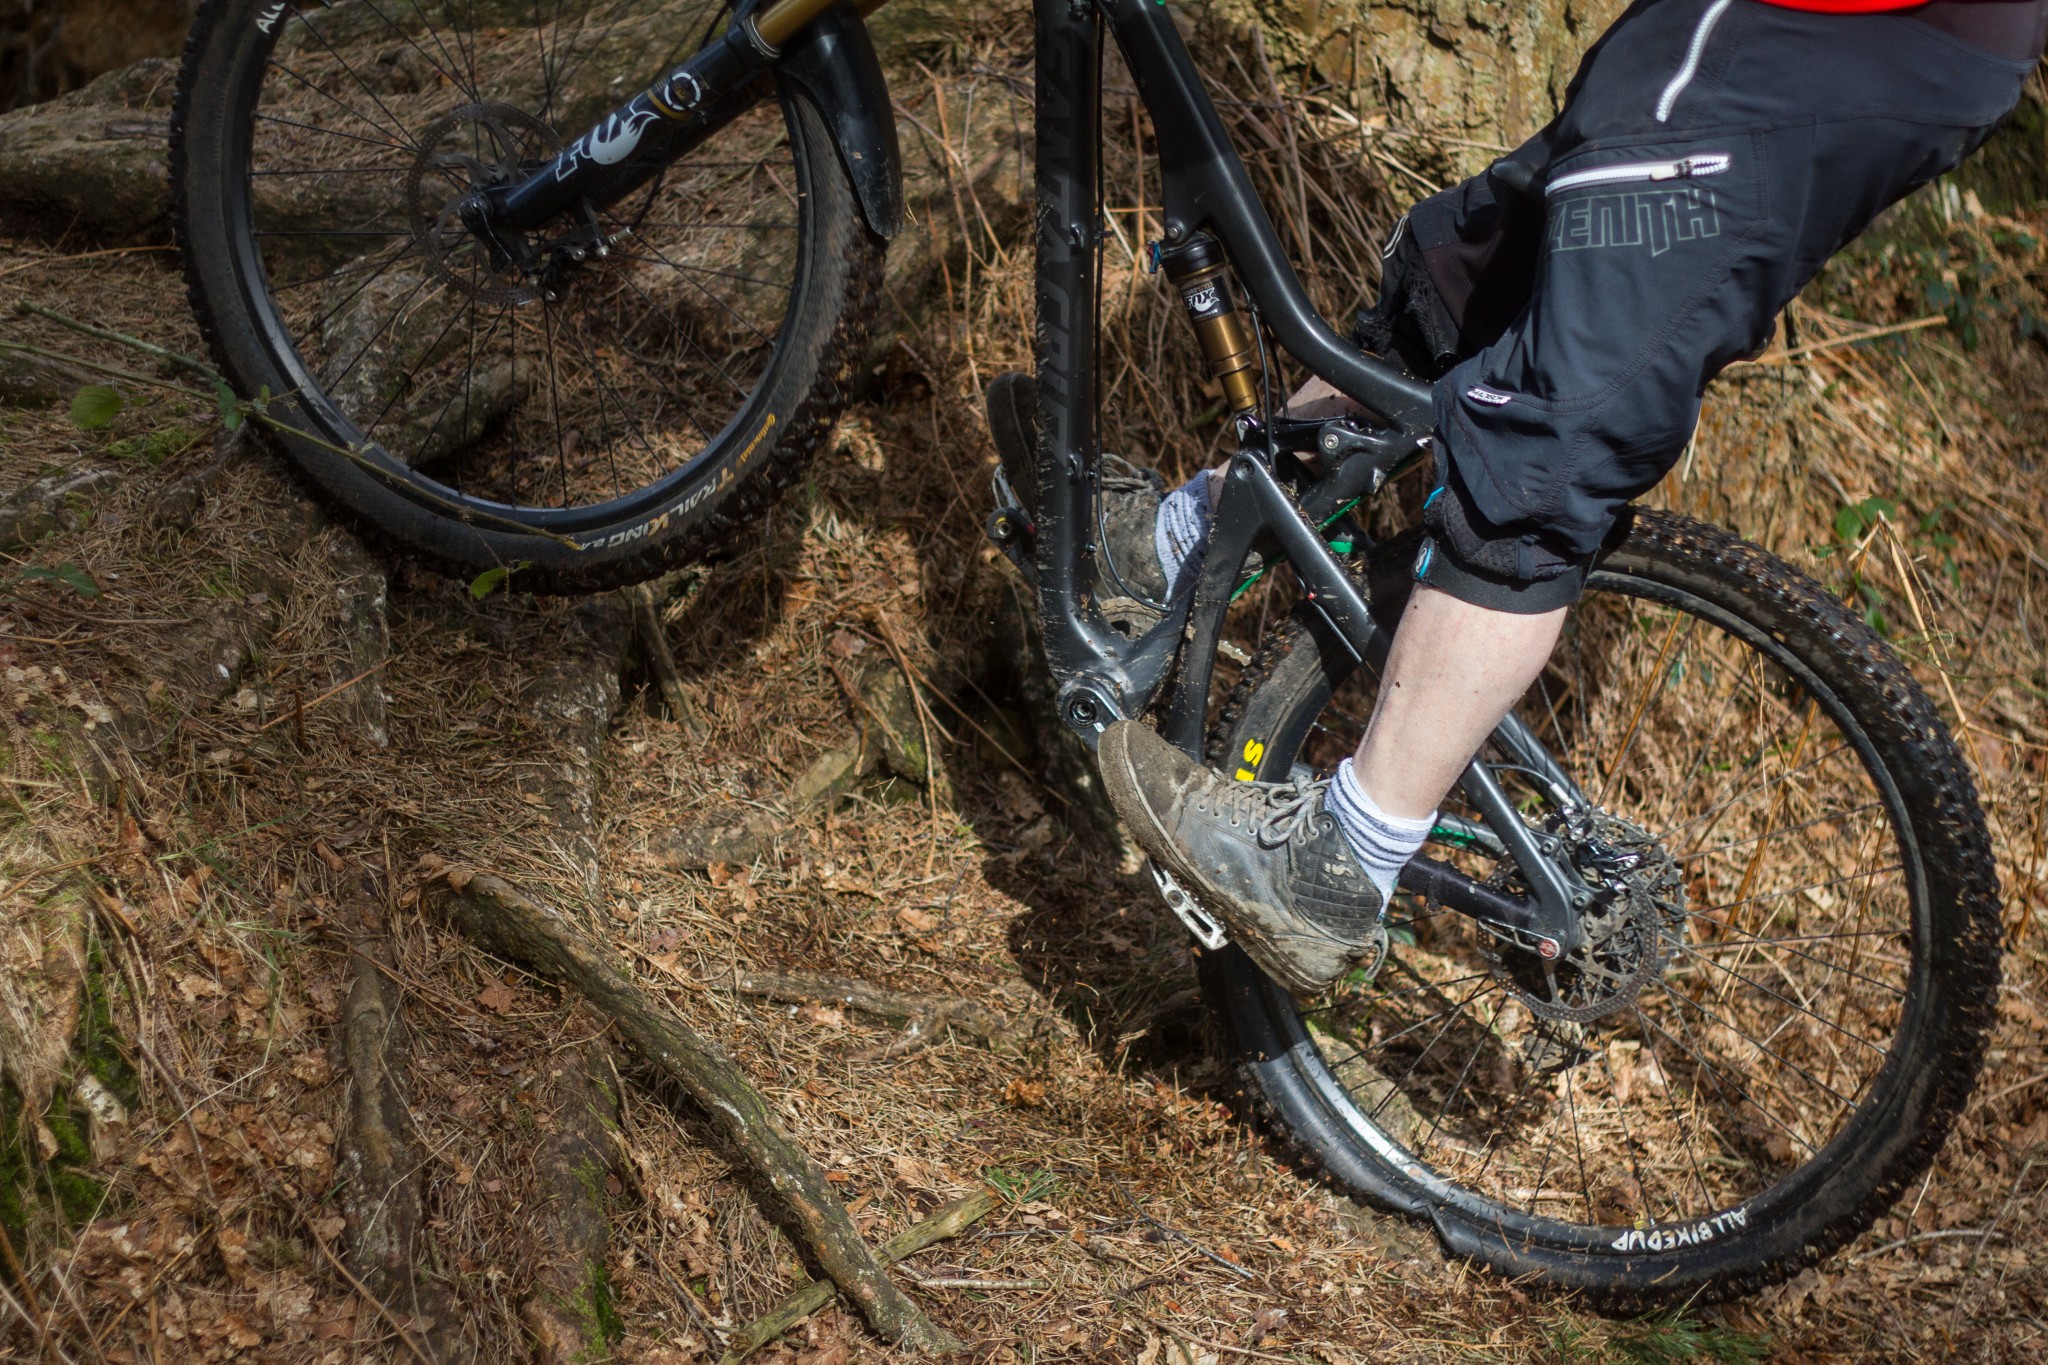
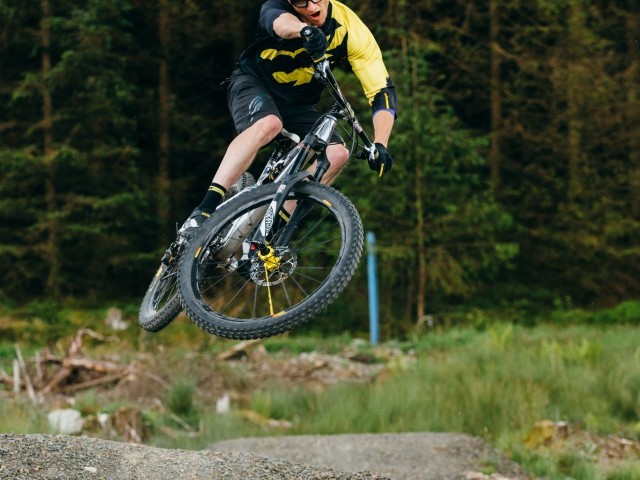
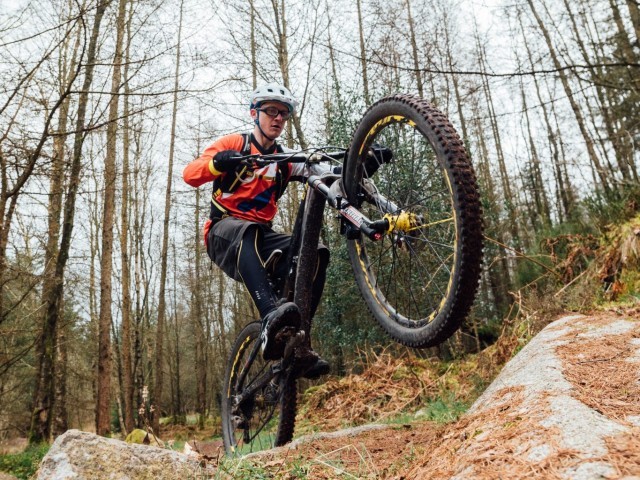
Footwork
As alluded to above, good footwork can optimise your performance. Heels should drop progressively as you ride the upside. At the crest, your heels may rise a little, but remember as your toes drop you accelerate, whereas as your heels drop the bike does. Getting toe heavy at the crest can set your body mass on a trajectory where you start to overtake the bike as it falls away from you into the downslope. Your forks are there to help but are by no means a 'catch all' and they sure as hell won't catch you if you have gained too much forward momentum at the peak. That said, hanging way out the back as the bike levels at the top will lose your directional control and can lead to issues as you descend the other side of the hump. Once descending and rolling through the downslope transition, heels dropping will accelerate the bike, aid traction and help you maintain a high level of control. Once again, it’s dropping the heel more than rotating the whole body mass too far rear of the centre line. Opening up the lever of the ankle and bending the knee in combination will lead to better overall control.
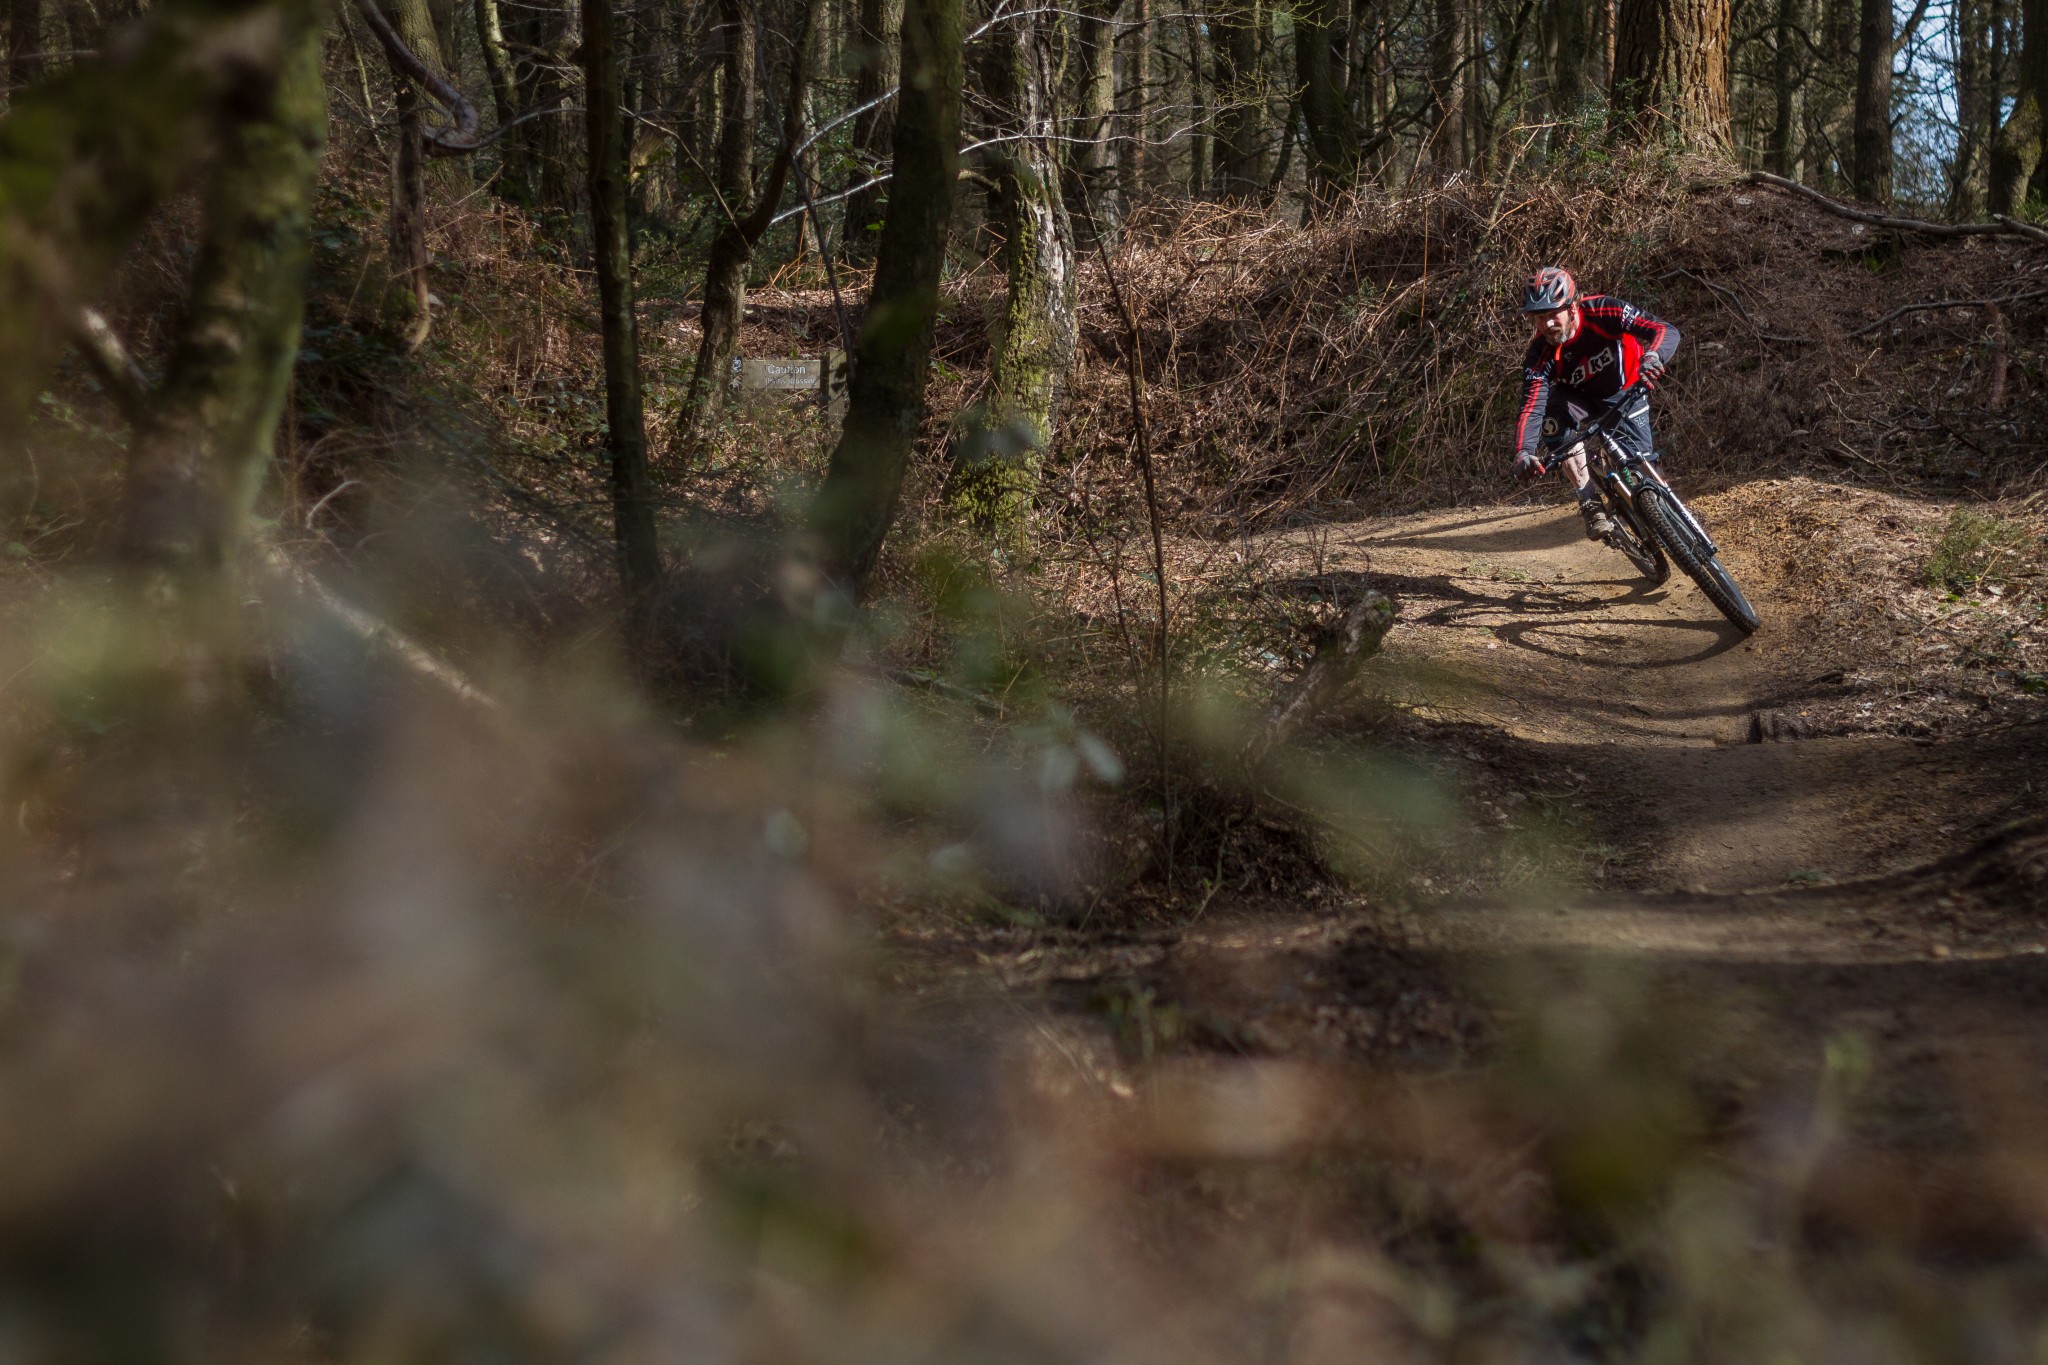
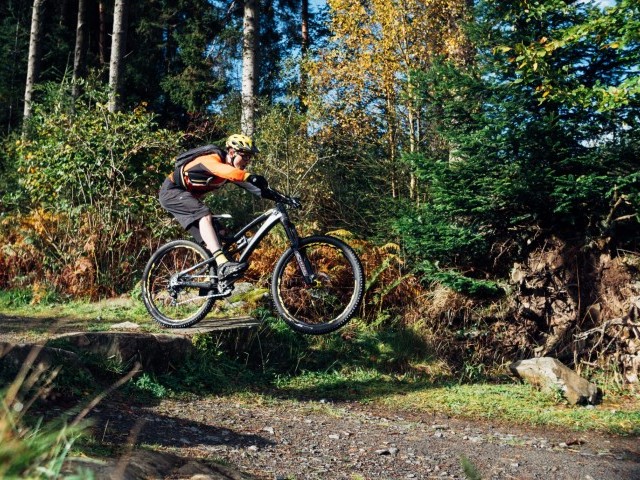
Mind Games
Commitment is a big factor to riding any section and it is no different when it comes to getting up and over things. Don't forget we are committing to both the section itself and our own skill set. Be positive in your approach don't just think to the high point, but through it to the exit and beyond. With the exit unsighted as you approach it can be hard to do this. It is natural that what the eyes can't see the body might fear. If you don't commit on the upside, you may not make the crest or if you do you come to a complete halt at the top. Balance can then become an issue as you come to an unexpected halt, teetering at the top of the downside. As a result, you will need to react quickly to the downslope phase of the section, and you may well feel the need to glance down and check the trail that is only just ahead. If you do so, quickly bounce your eyes back up and look for that next high point ahead. If you keep your head level, you are of course more likely to stay, well, level-headed!
The anticipation as you approach the entry point, if left unchecked, can easily lead to common flight and fight responses of tensing and holding your breath. This will not help smooth passage of either bike or rider. Control is about keeping emotional control and not succumbing to these primeval responses. Breath out through the entry and stay supple (although not floppy like a rag doll). The bike needs to move smoothly below you. Ideally, you need to pressure the bike through the transitions rather than hanging on with a death grip and being just a passenger. In terms of concentration, it’s about staying high up what we refer to as the 'concentration ladder'. We should not be thinking 'where am I, what am I doing?' or 'where am I going and how do I get there?' We should be thinking beyond that to 'what is next'. Keep the brain as far ahead of the bike as possible at all times and avoid, if possible, thinking in the 'now'. Thinking in the 'now' will dump you to the bottom of the ladder.
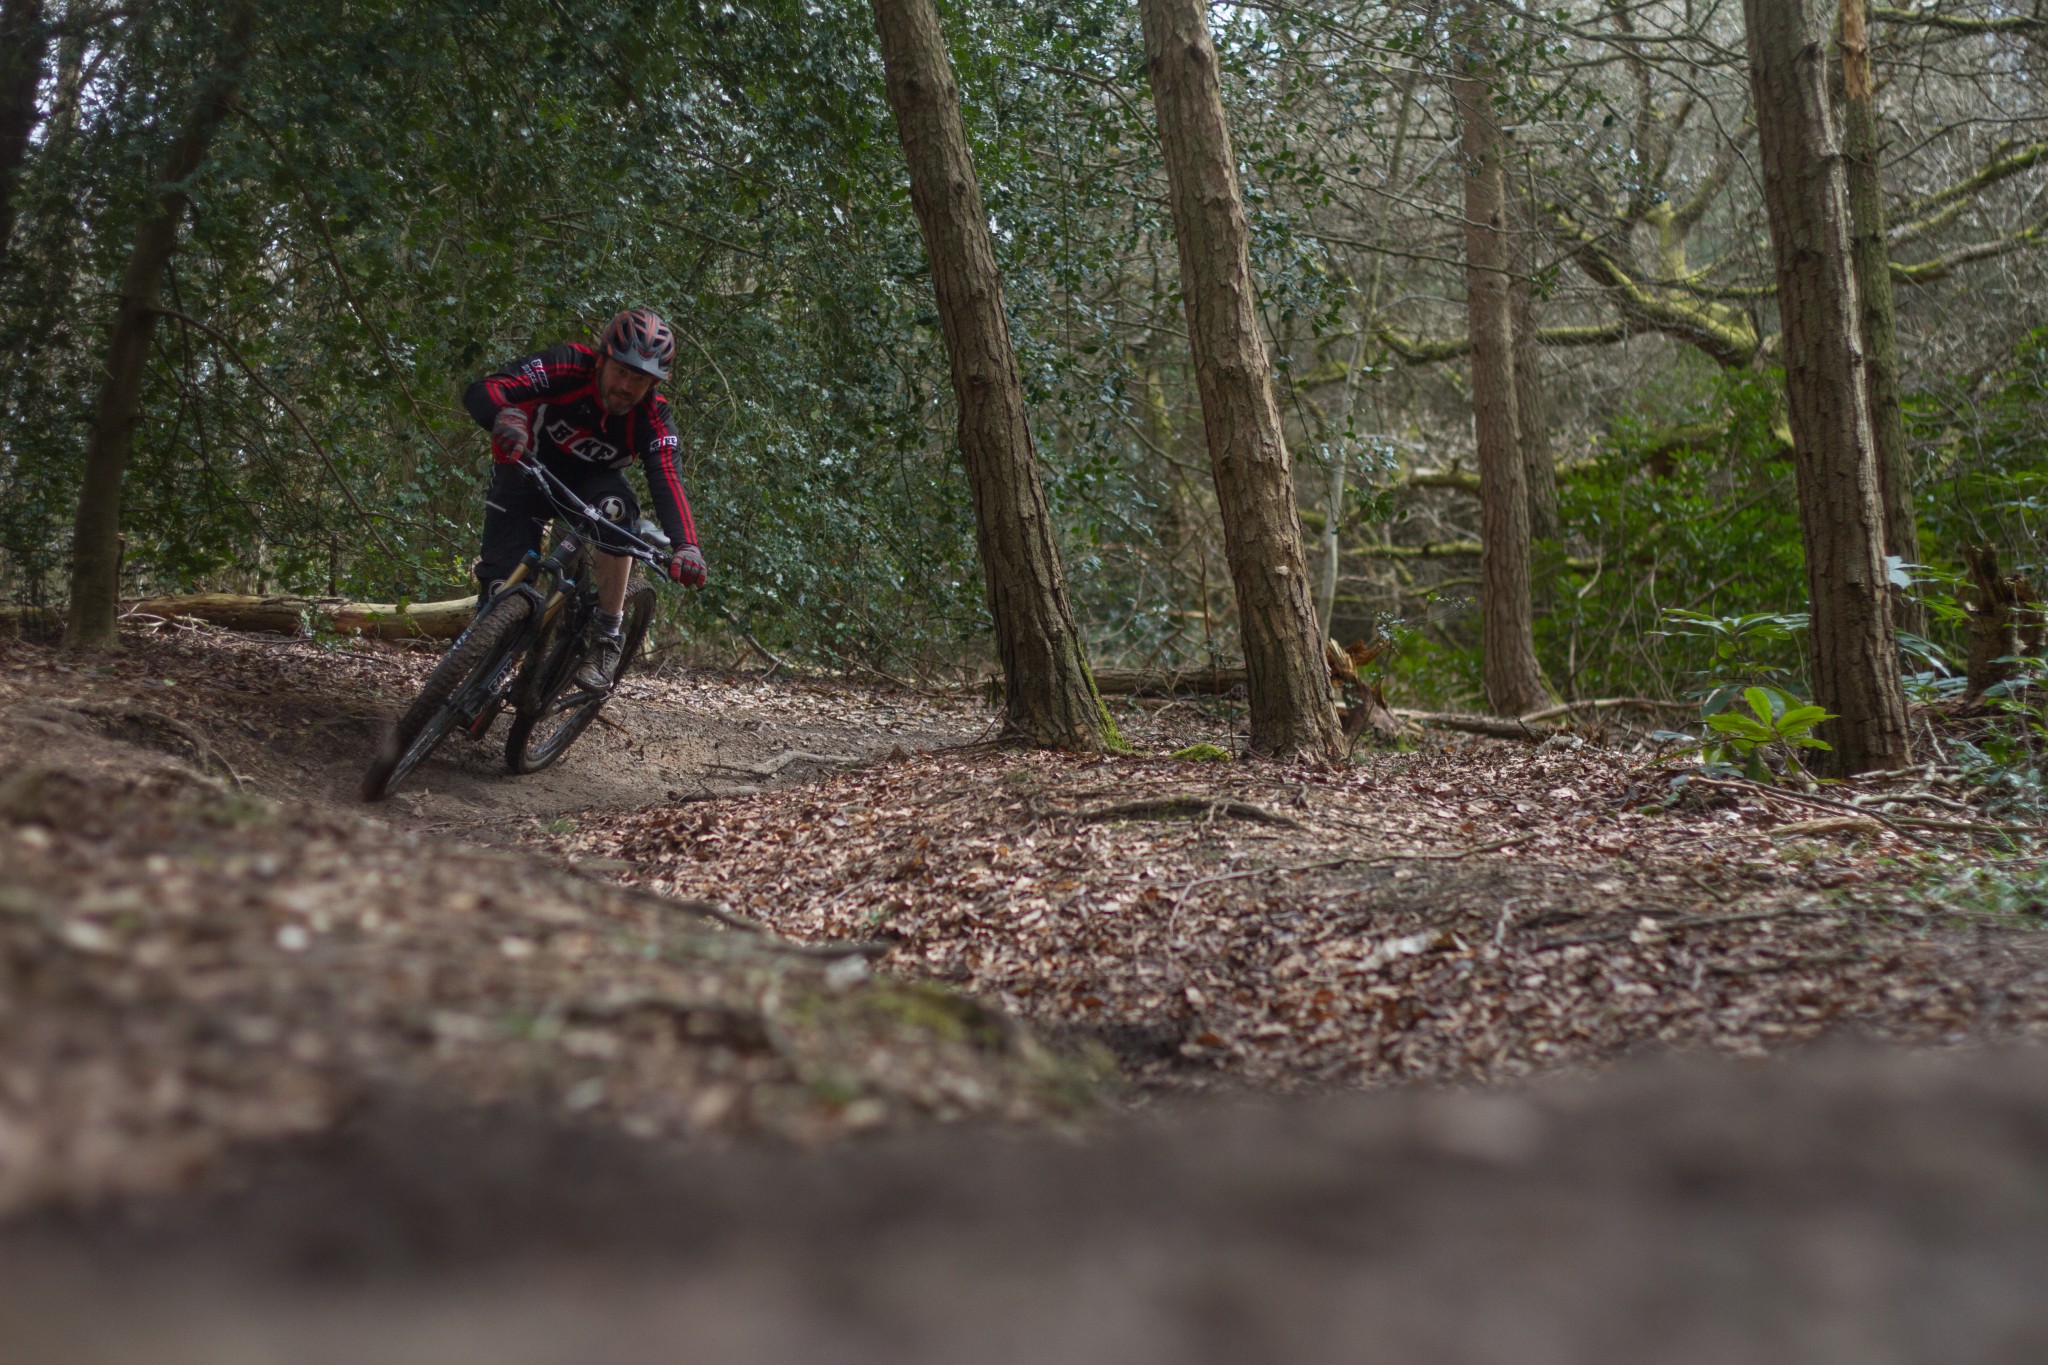
Speed Control
It is always important to consider this as a factor, but especially when dealing with 'up and overs'. There is a balance between overcoming and overshooting. You neither want to fail to get up or have the bike accelerate away from you uncontrollably on the way down. Get used to adding any acceleration through pumping once in the section, not pedalling. You might need some should you have approached too slowly or the bike slowed more rapidly than you expected. Having some pump in your pocket to rely on when it is needed is a valuable asset. If you pump rather than pedal, then you will not suffer a loss of traction or risk your body being pushed forward and unweighting the back wheel as you turn the cranks.

'Up and overs' are a standard trail feature that with a little practice and application of certain core skills are less likely to phase you. Understanding the basics and applying them on less technical, smoother transitions will help you quickly progress and approach even the most jagged of rocky outcrops with the same confidence and gusto you would a series of rollers on a pump track. Don't let these lumps disrupt your flow. If 'up and overs' stop you in your tracks keep it simple, commit, look through, think through, pump through, and most of all...get over it!
This technique article was in Issue 41 of IMB.
Related

By Richard Kelly
Richard Kelly has been riding bikes since forever, and teaching people to become better mountain bikers for over a decade. He’s always out in the Surrey Hills training riders, building trails and riding for himself whenever he gets the chance. His unique perspective on mountain bike technique has earned him fans the world over, with some speculating he is actually Jamiroquai or perhaps Jack Sparrow…